….I love to photograph trees and I love to draw them
Today I decided to take it one step further and create trees from some art papers that I’ve saved from previous projects. I was inspired by Jill’s collaged trees over at Jill’s Art Journal.

….I love to photograph trees and I love to draw them
Today I decided to take it one step further and create trees from some art papers that I’ve saved from previous projects. I was inspired by Jill’s collaged trees over at Jill’s Art Journal.
…..owls, ferns, cacti, fish, fungi, tulips and bikinis
I’m almost at the end of my 31 day challenge for drawing simple objects with Lisa Congden on Creative Bug. Here are a few more of my drawings:


….I haven’t posted any art in awhile
My life has been in a bit of a turmoil lately and I find it difficult to find time to work on my bigger art projects. Not having my space to work in doesn’t help either but I have managed to do some small daily drawing assignments in the last six days.
Lisa Congden is the artist who is challenging her followers to draw simple objects every day for 31 days. Lisa Congden from Creative Bug is a graphic and textile designer who hosts numerous on-line classes at this site. For a very small monthly fee you can access numerous how to videos for lots of DIY projects.
Here are some of the drawings from the first six days. I need to work on my sneaker skills.


….I can’t tell you how much my students loved going outside and sketching the cracks in the pavement
Today my grade two students took their favourite sidewalk crack and using it as the starting point drew an imaginary creature. I can’t take credit for this idea. I’m taking an on-line class with Carla Sonheim called Imaginary Creatures and one of the assignments was to pull out images from cracks anywhere you could them.
Here are some of the creatures that my grade two class created today. I included two of the original cracks that inspired the finished project. I hope you enjoy them!


….with their eyes closed my students started to draw lines randomly across their paper
I didn’t want students to have a preconceived idea of what they wanted to draw so I asked them to close their eyes, and start drawing one continuous line all over their paper. When they opened their eyes they were allowed to add some more line if there was a lot of untouched space or if some of the shapes that they created were very large.
They rotated their paper to see which way they wanted to orientate their design and then they chose a variety of pencil crayon colours. I encouraged them to start with one colour and fill in spaces in different areas of the paper. Then they moved on to the next colour and then the next. When they had used all their colours they re-examined their work and decided where more colour was needed and determined if it was balanced.
After all the colour had been added I suggested to some that they go over some of the same areas again so that the shapes were fully covered. Once that was done they were allowed to take a black fine point Sharpie and start adding some line detail to their shapes. Some students found animal shapes and added eyes, noses and scales, while others made random lines and dashes.
I think they did an amazing job. These samples were done by my grade 1 and grade 2 classes.


….thanks to Carla Sonheim’s free on-line kid’s art lessons for this idea
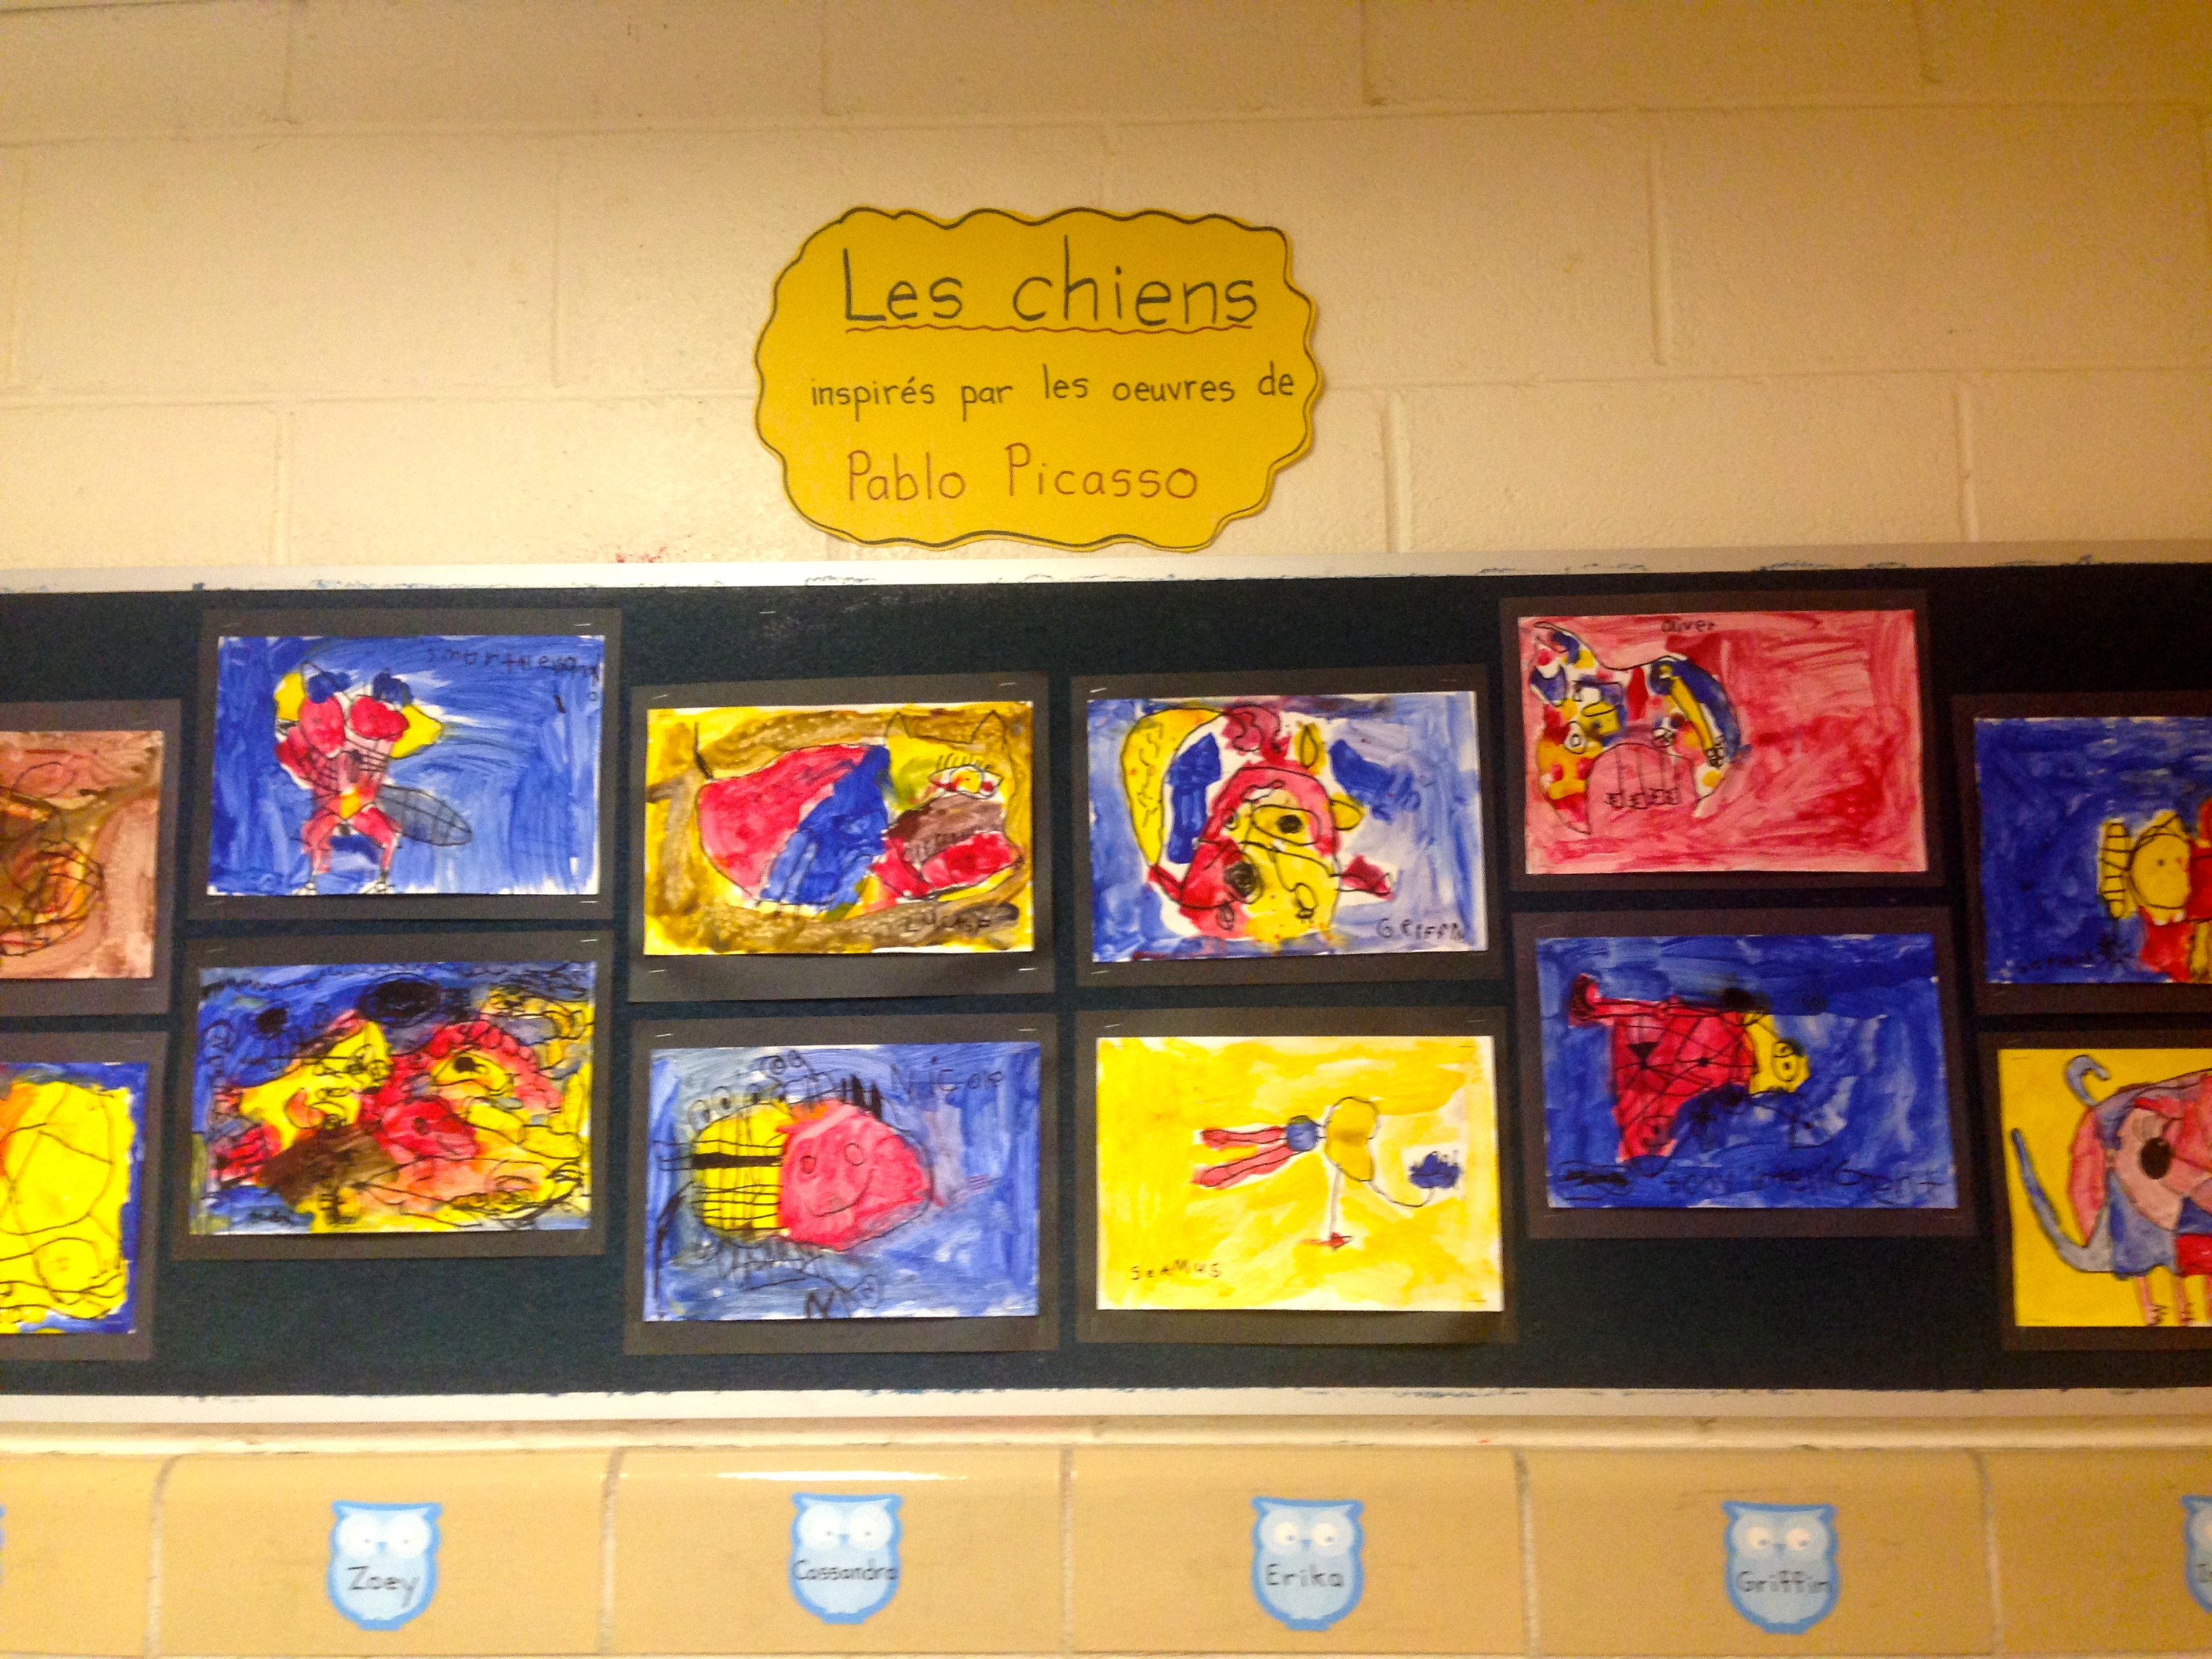
For my very first art lesson this year I introduced my grade one, two and three classes to Pablo Picasso. We looked at his traditional vs abstract paintings and explored some of his unusual portraits. Carla’s unique approach to drawing an abstract dog made the assignment fun and less intimidating than drawing a traditional human face.
After we practised drawing some dog features (snouts, eyes, ears, tails, paws) I gave each child a piece of watercolour paper and instructed them to draw an eye, turn the paper and draw a larger eye and continued like this until there were six or seven features on the paper. Then they had to turn the paper and find the layout they liked best and start joining the features to create a dog. They could change things around and add more features as they went along. This took up pretty much all the time we had in our first class. I collected the papers and stored them away for a week.
The following week we discussed what the primary colours are and I demonstrated how to hold a brush and apply paint to the paper. I returned their work from the week before and handed out the paints. For many in grade one it was a challenge to stay in the lines but for the most part they managed to keep the colours from blending into one another. We used tempera paint so it took a while to dry. I asked the homeroom teacher to give the students time to go over the pencil lines with a black Sharpie so that their dogs would reappear.
I loved their finished works of art. I’ve selected a few to share with you.
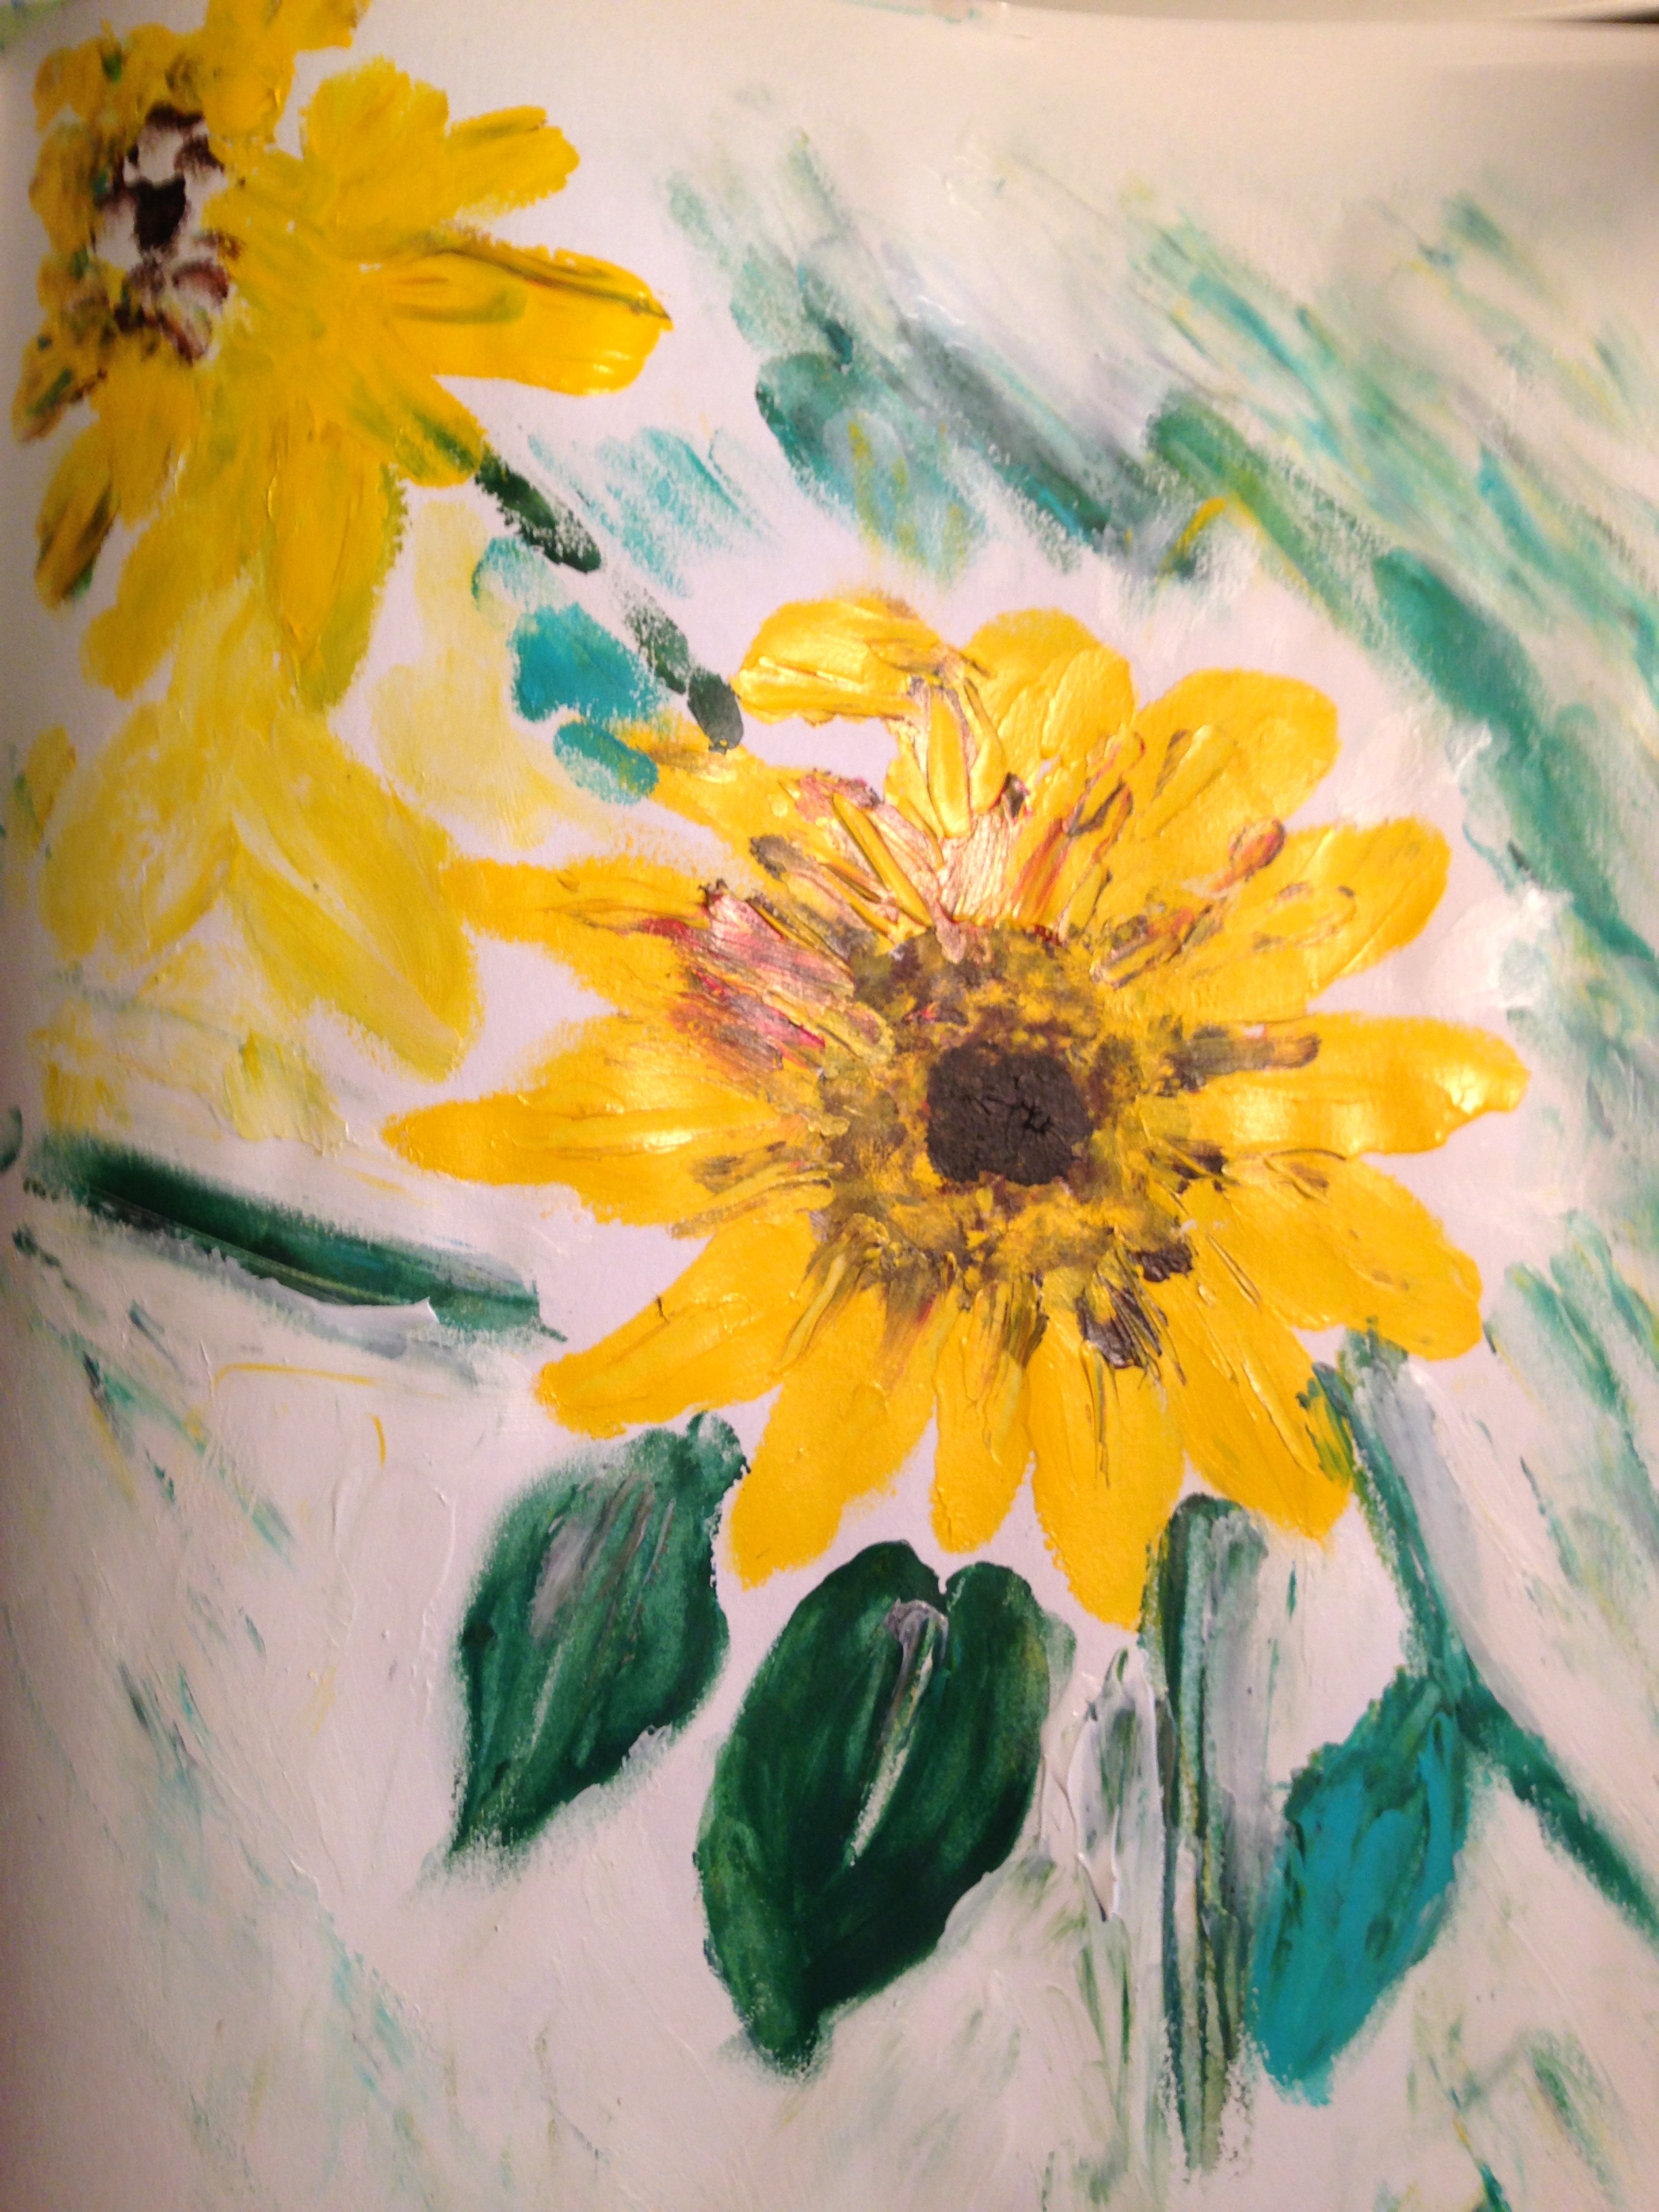
…thanks to Carla’s recent on-line mini class in finger painting
Using only your hands to paint is very liberating. I loved the simplicity of it and the feel of the paint on my fingers. I’m hoping to do more and I haven’t even tackled the third assignment that let’s you get really messy.
The first assignment was to create a palette of colours using your fingers to mix the paint and apply them to the paper. The second part was to paint a vase of flowers but I decided to use two of my photographs that I recently posted and try to recreate them with this finger painting technique. Jill Kuhn actually gave me the idea after she commented on the first photo, suggesting that I paint it with watercolours. Instead, I used acrylics and my fingers. What do you think?


….at the baby shower guests were invited to decorate white onesies with personal messages and art
Our daughter, A, has never been too excited about party games but for her sister’s baby shower she acquiesced and found a fun activity for people to participate in. Actually she found three activities but I’d like to share the onesie project with you.
We weren’t sure if people would gravitate toward this task because it did require some thought and creativity. Surprise, surprise….people loved it. First of all A went out and purchased about a dozen plain white onesies in a variety of sizes. She was able to get them for about $3.00 a piece. You also need fabric markers and cardboard for this project.
A and J cut up cardboard to fit inside each onesie so that the marker would not bleed through to the back. In the backyard a work table was set up and people went outside throughout the afternoon and created their masterpieces. When they were all done, G, the mother to be, judged them all and picked her favourite. The winner went home with a bottle of wine. It wasn’t an easy task (the judging that is) and some of us who organized the shower quietly took ourselves out of the mix and made sure that our designs didn’t win. I had already won the matching game, my sister had won the guessing game and A and J felt it wouldn’t look good if someone else in the family won another prize.
All the finished onesies were put on a clothesline to dry. I forgot to take a photograph of the finished pieces but my daughter kindly photographed each individual onesie from her home and sent them to me. By the way she photographed them after she washed them so it’s good to know that the marker didn’t fade in the wash.
Which one is your favourite?


….another great art lesson for kids
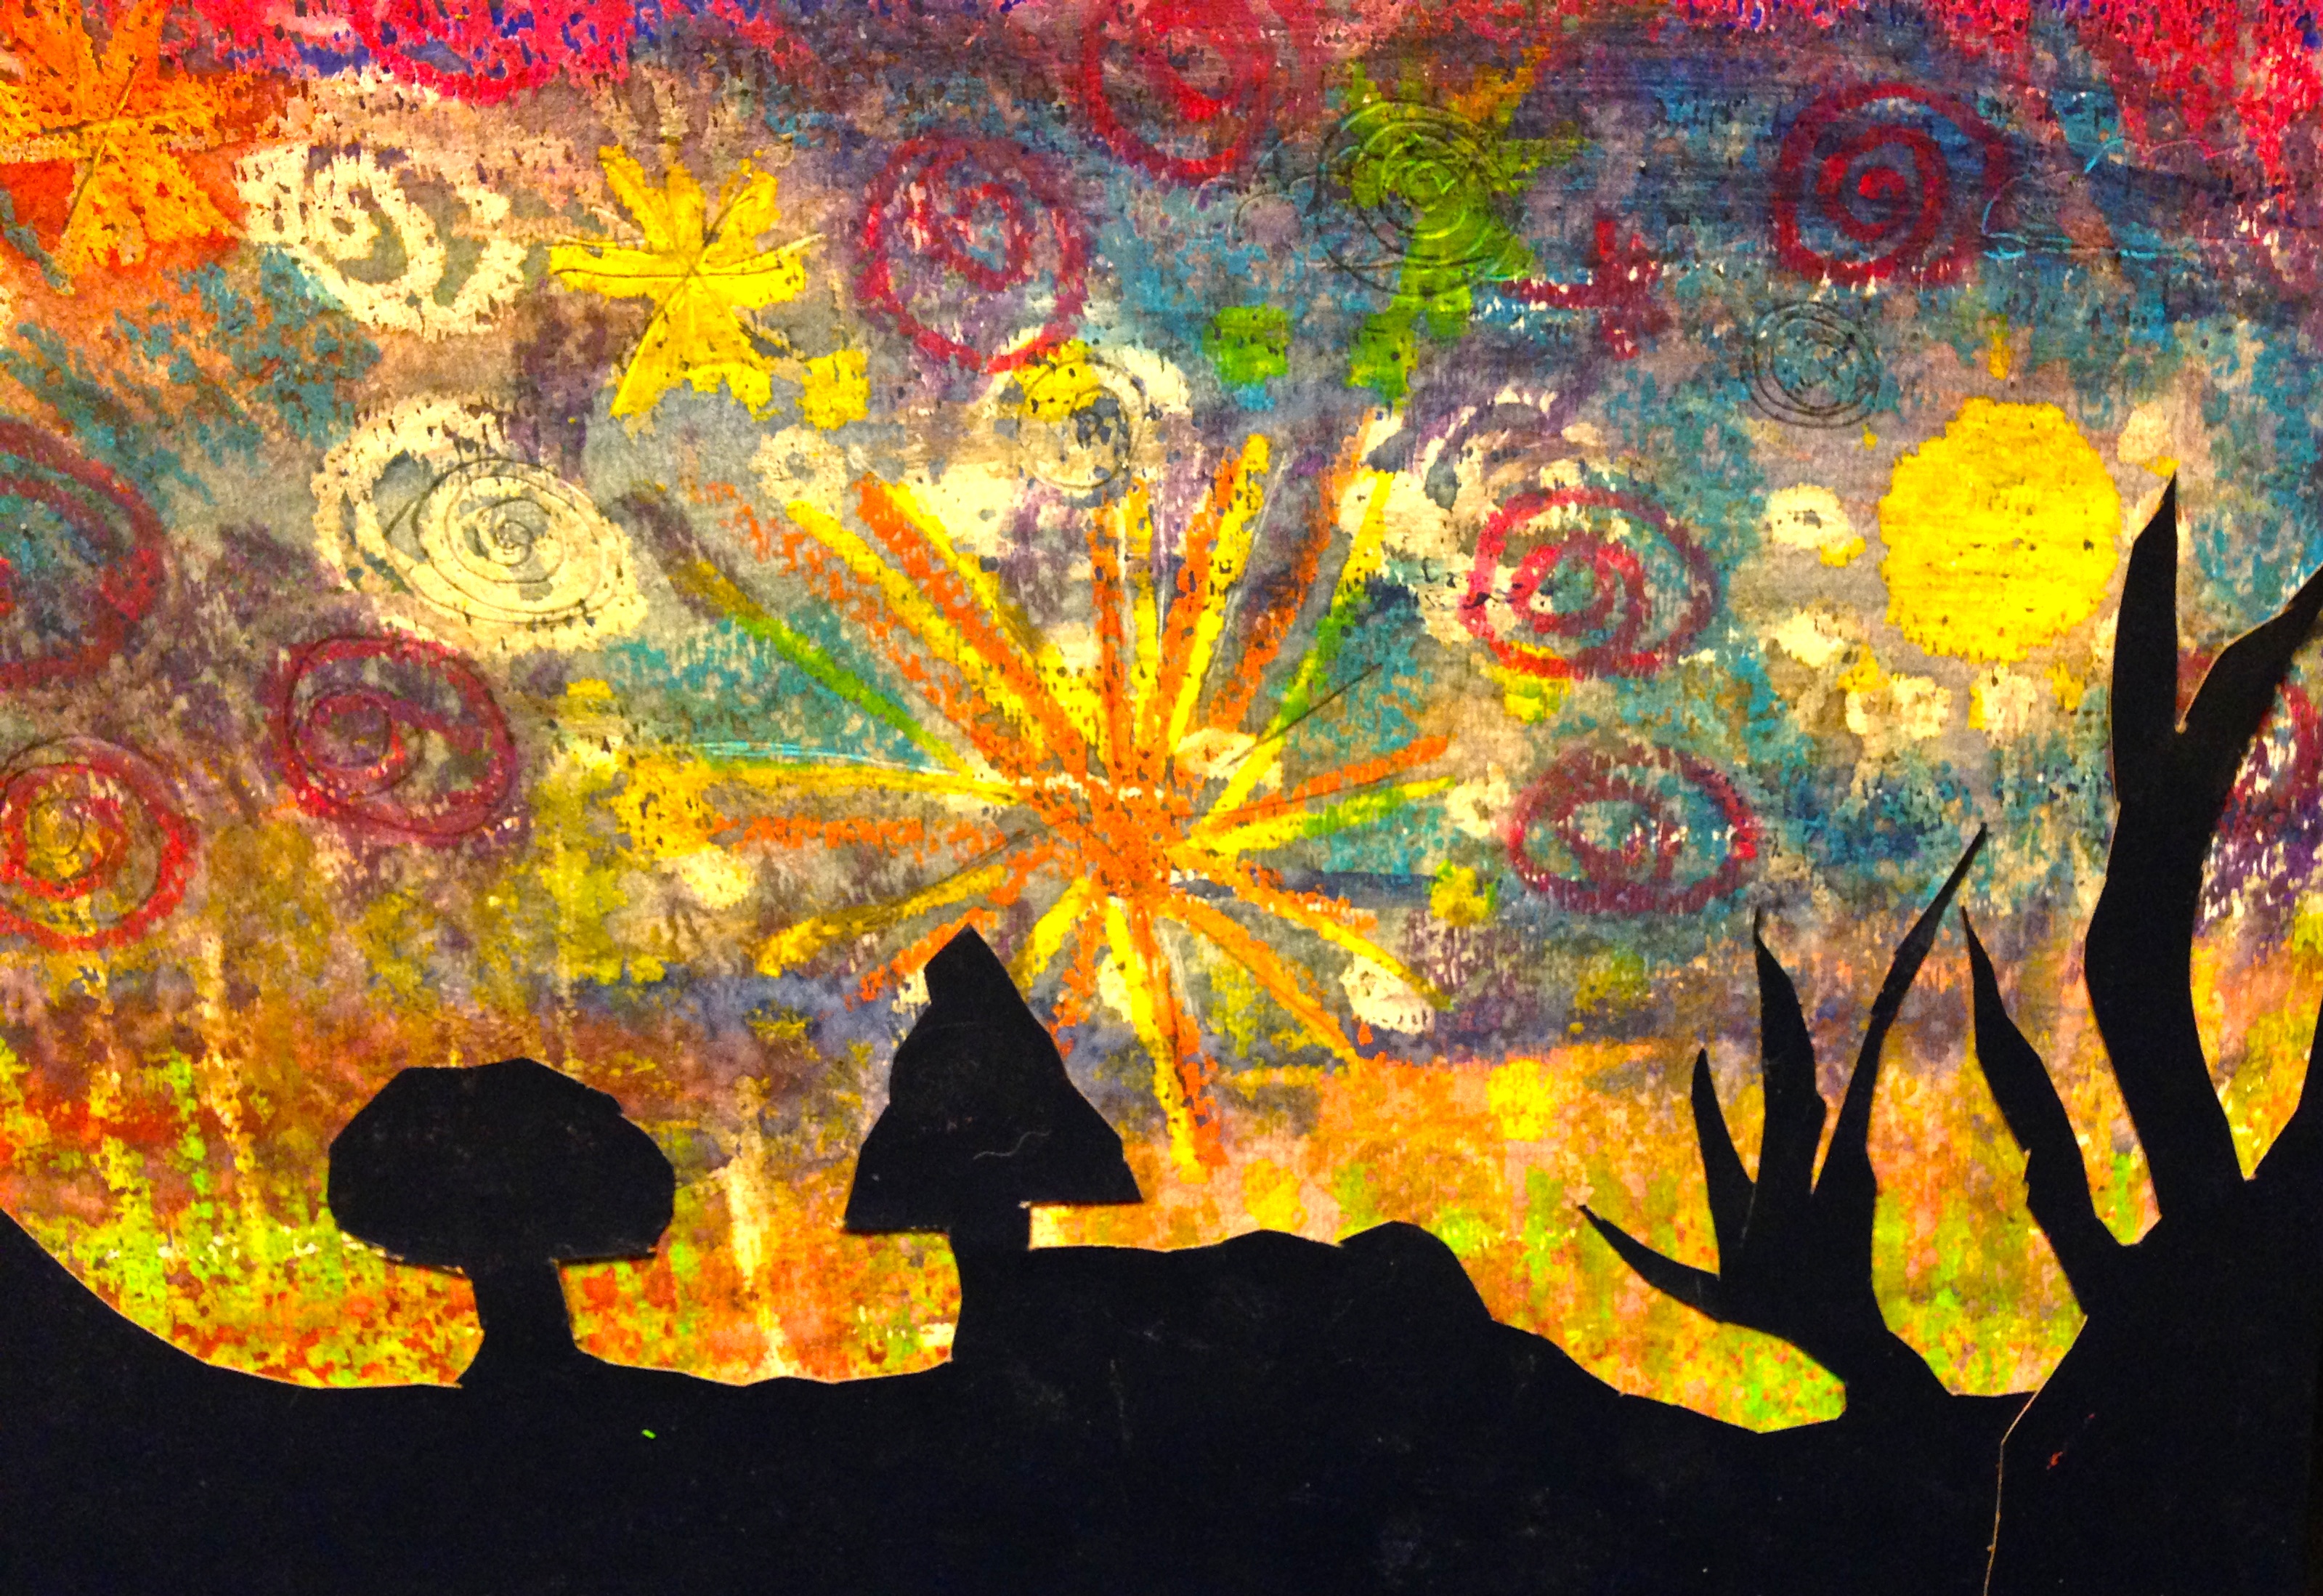
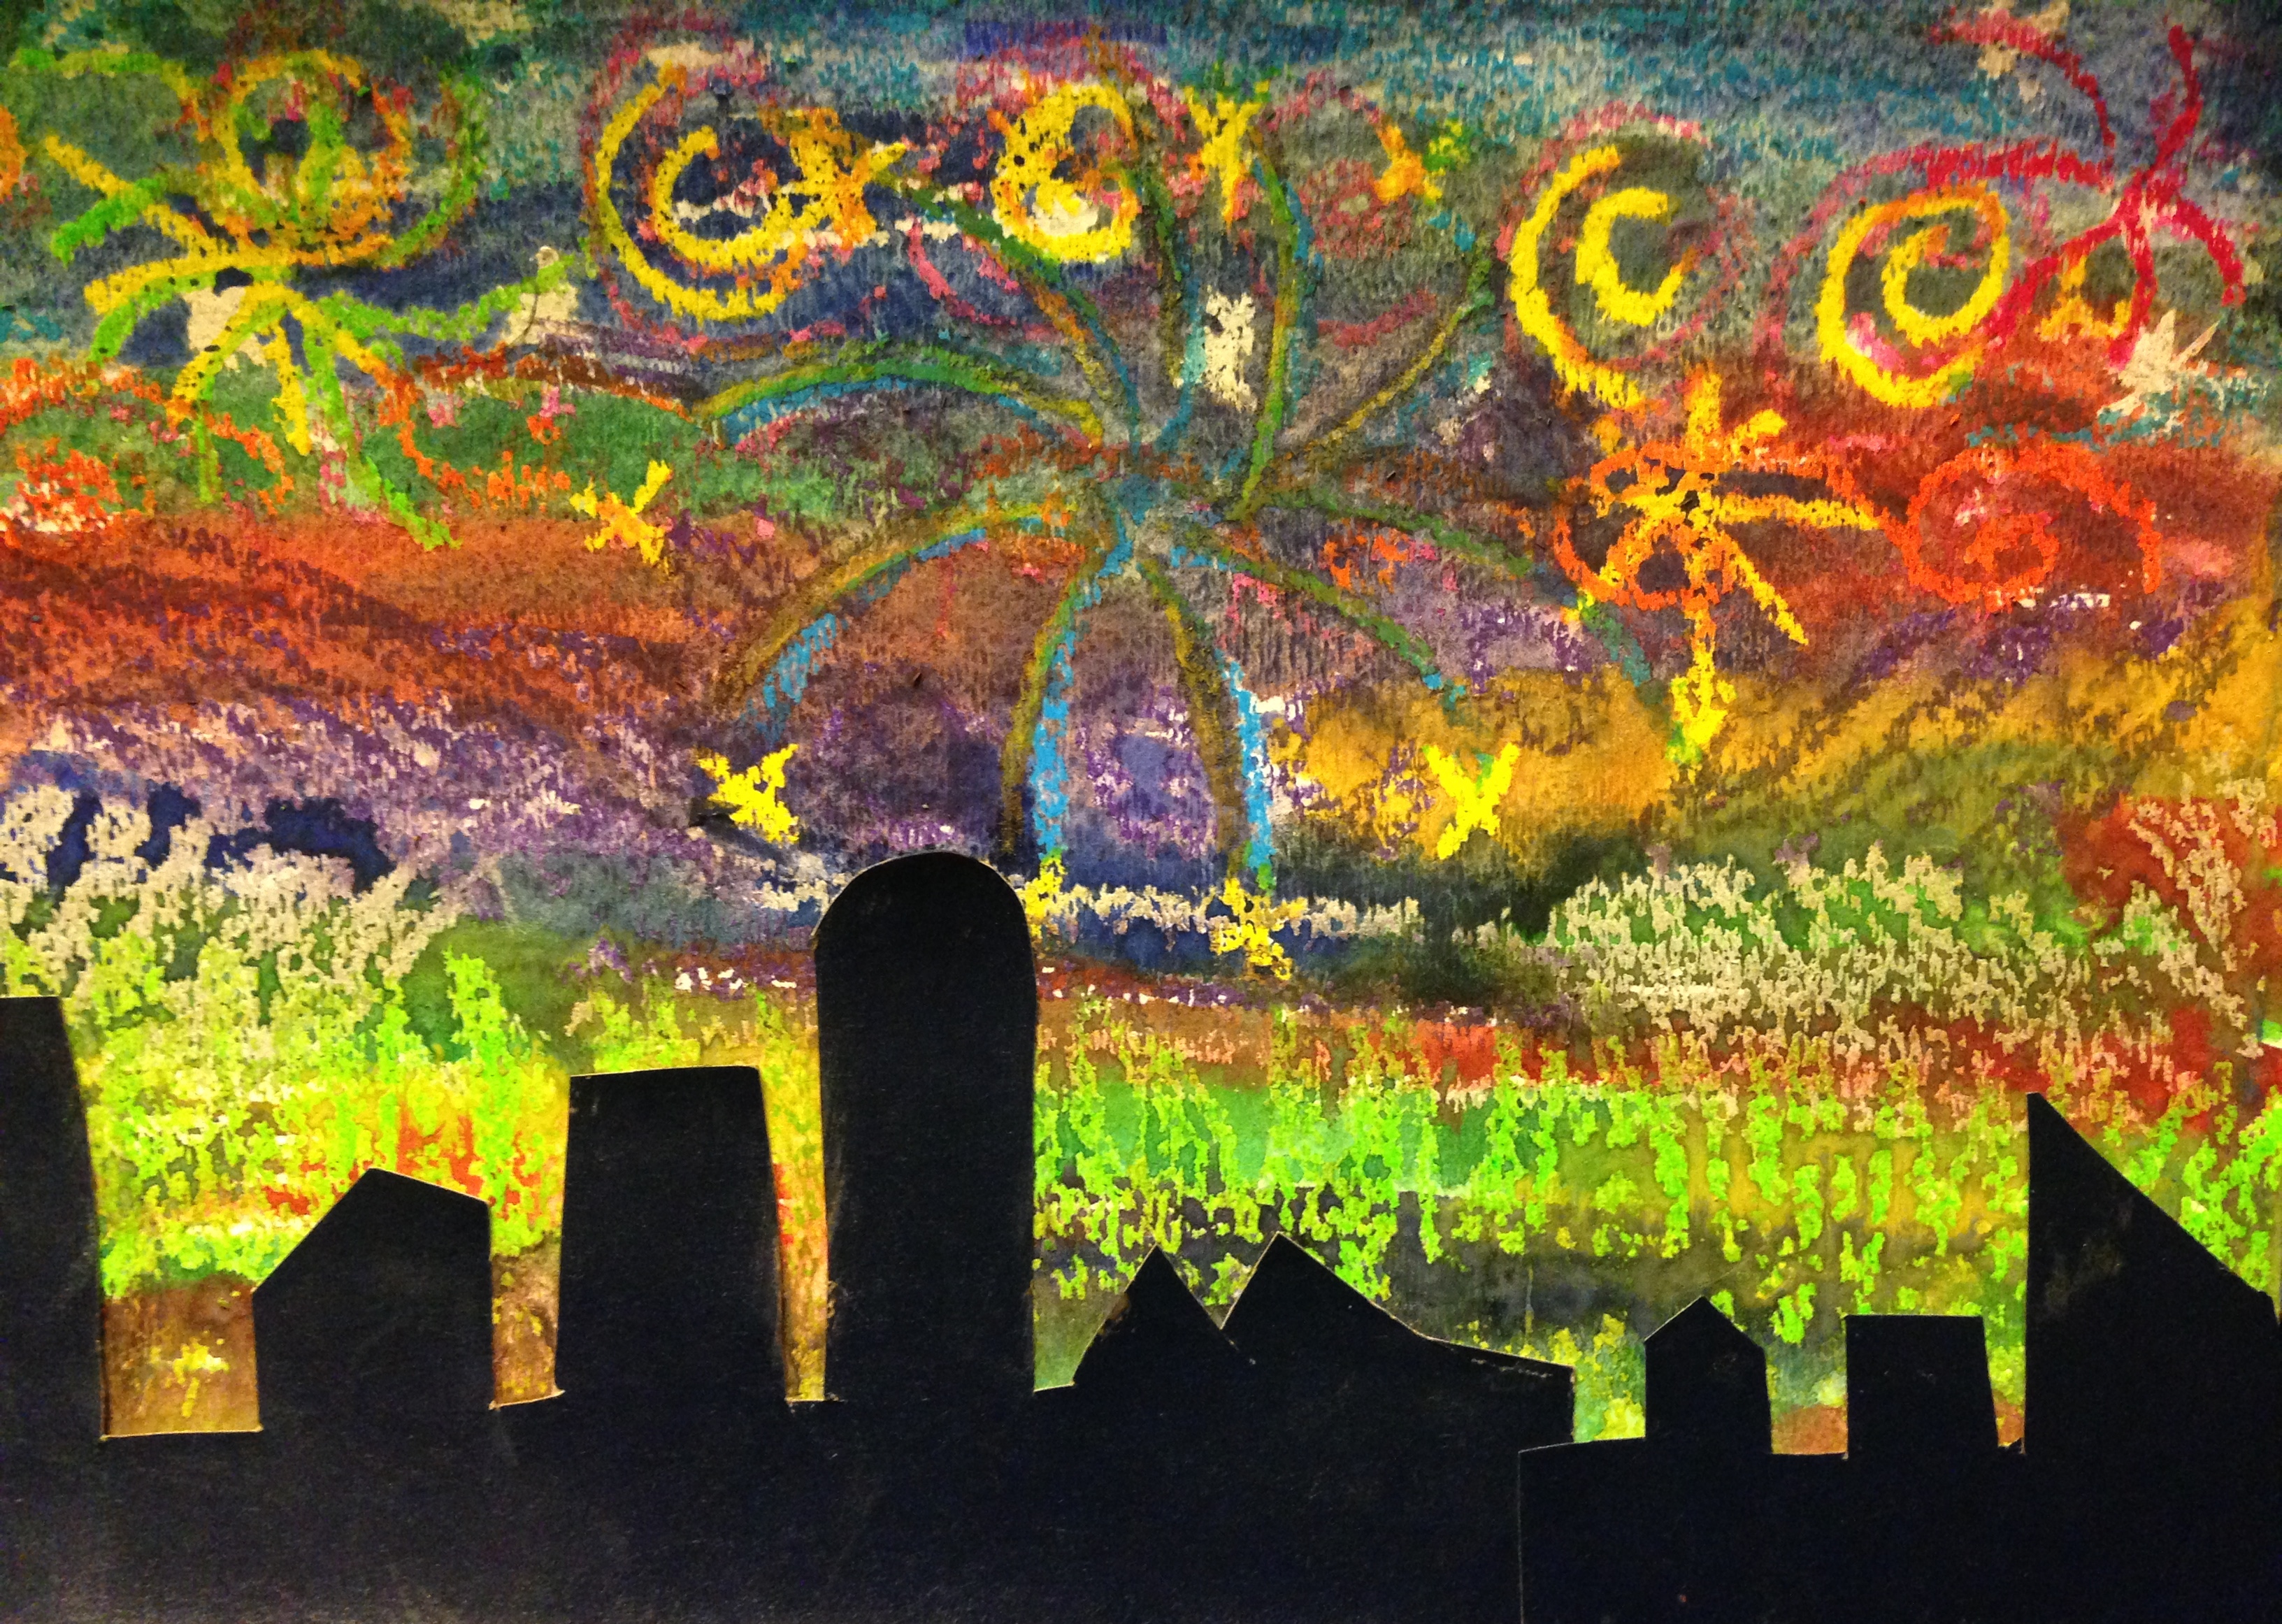
Thanks to Carla Sonheim and Diane Culhane from Kids Art Week for this great lesson called Crayon Resist Night Sky.
This would be a great introduction to Vincent Van Gogh and his famous painting Starry Night. I used oil pastels but wax crayons would also work for this project. Students should be encouraged to use lighter colours from the crayon box, especially white. They make the most impact after the water colour is washed over them.
This could also be a lesson on texture so colouring in various directions and pressing quite hard are essential. Swirls and stars will add visual interest and are details seen in Van Gogh’s painting. Be brave and experiment with lots of different colours. Don’t limit yourself to colours that you think are sky colours. Reds, pinks and yellows and even greens make for very interesting night skies. Think of the Northern Lights and have fun.
Once the paper is filled with crayon or oil pastels move on to the water colours. Make them quite watery and start with the darker colours at the top of the page. Again use a variety of colours but avoid black. While the paint is wet you can also add salt to give your painting even more texture.
Using black or a very dark paper cut out silhouette shapes to add to the bottom of your painting. This can be anything you like; forests, hills, mountains, houses, fences and city skylines. When the paint is dry glue the shapes to the bottom of the paper. There you have it, your very own Starry Night painting.
….Monday, July 6, 2015
People often wonder what I do at the cottage all day, especially when I’m up here alone. Well there’s lots to do but no pressure as to when I do it. I like that.
Instead of spending two days of solid cleaning when I first open the cottage I like to spread it out and do a little bit every day. I take care of the absolute essentials when I first arrive, like fill up the water barrel, start the fridge, make the bed, uncover the furniture and wipe down all the surfaces that I’ll be using right away.
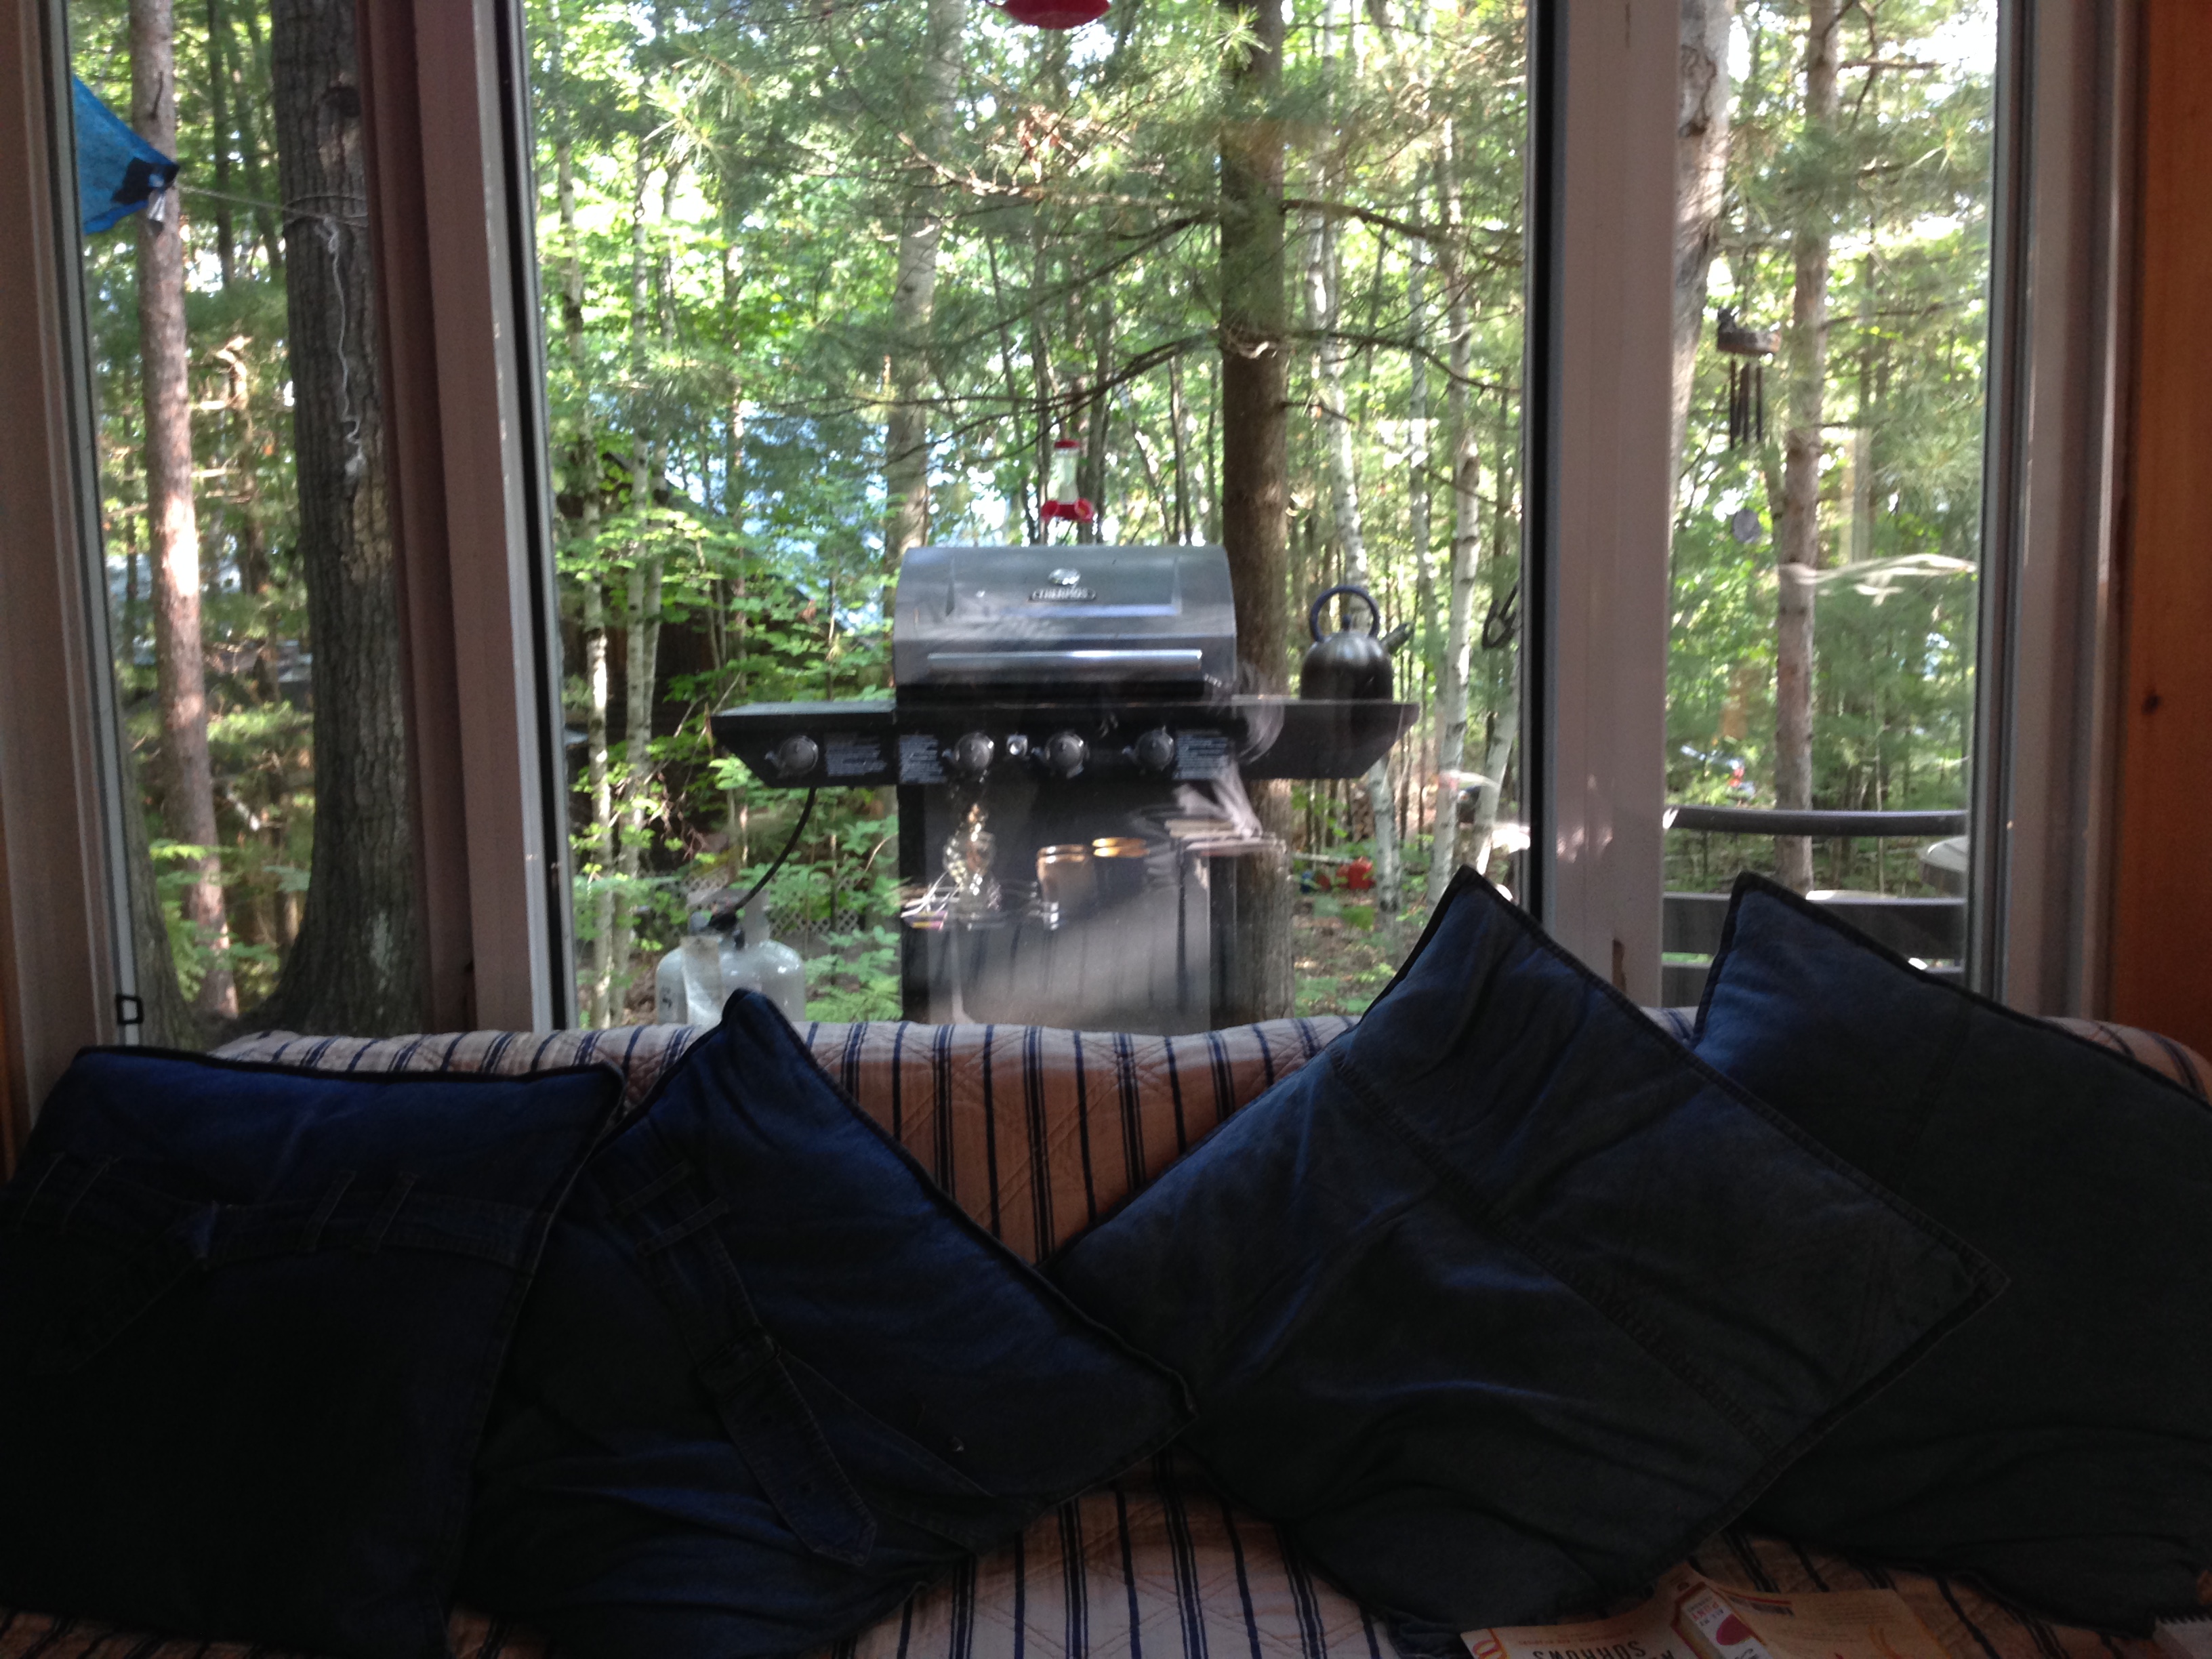
On subsequent days, I’ve washed all the dishes, even though they were clean when I left in October, wiped out the cupboards and restocked them and organized my clothes and put them back into the dresser. All of this is necessary because at some point in the months when we’re away a few rodents manage to find their way into the cottage, looking for warmth, food and shelter. Unfortunately for some of them they don’t survive and I usually find a few carcasses lying about and of course evidence that they’ve been around. Luckily this year the evidence has been minimal and a few of them had drowned in a bucket of water that was inside the cottage.
One of my goals this summer is to finish reading the books that I started this year and then didn’t finish before I picked up another to read. I’m happy to report that I’ve finished two of them and am concurrently reading two more. I also started a new book and I finished that as well. I think I will report on those books in a future post.
Another goal is to do a little bit of art everyday or at least a couple of times a week. I completed one art assignment this week and I started sketching in my art journal. Another goal well on it’s way!

I didn’t bring up a lot of food on this visit but enough to get me through the week. When I was cleaning out the cupboards I noticed that I had left a container of dried beans here over the winter. I decided to make soup from scratch. I turned on the side burner on the BBQ and cooked onions, celery and carrots in a large soup pot. I added a chopped clove of garlic and then 4 cups of broth, 2 cups of water, a tin of diced tomatoes and 1 cup of dried beans. I added salt and pepper to taste and then I let it cook for 2 hours. After the two hours I looked in the fridge to see what else I could add and I found some chick peas, cooked hamburger and fresh mushrooms. I chopped up the burgers and the mushrooms and added everything to the pot. I let it cook for a few more minutes and dinner was ready. I grated in some fresh parmesan cheese. Delicious!
Of course I had way more soup than I could eat so I put the rest into container and froze it for future meals and I kept some in the fridge for another dinner this week.
While I was cooking I got a phone call from a friend who has a cottage four roads over from mine. She invited me to come to her place for a chat, a glass of wine and to see the finished renovations on her cottage. The soup had pretty much finished cooking, so I turned it off and walked over (1500 steps). The cottage looked fantastic and since we hadn’t seen each other since January we had a nice long gab and got caught up on each other’s lives.
When I finally left it was going on 8:00 and I ended up having a late dinner. The nice part was that it was already cooked, I just had to reheat it. Even though it was getting dark I ventured down to the beach for one last walk and just managed to get in my 10,000 steps for the day. I did decide though that leaving my walk for that late wasn’t the best decision because the mosquitoes also come out at that time. Note to self, walk before the sun sets.
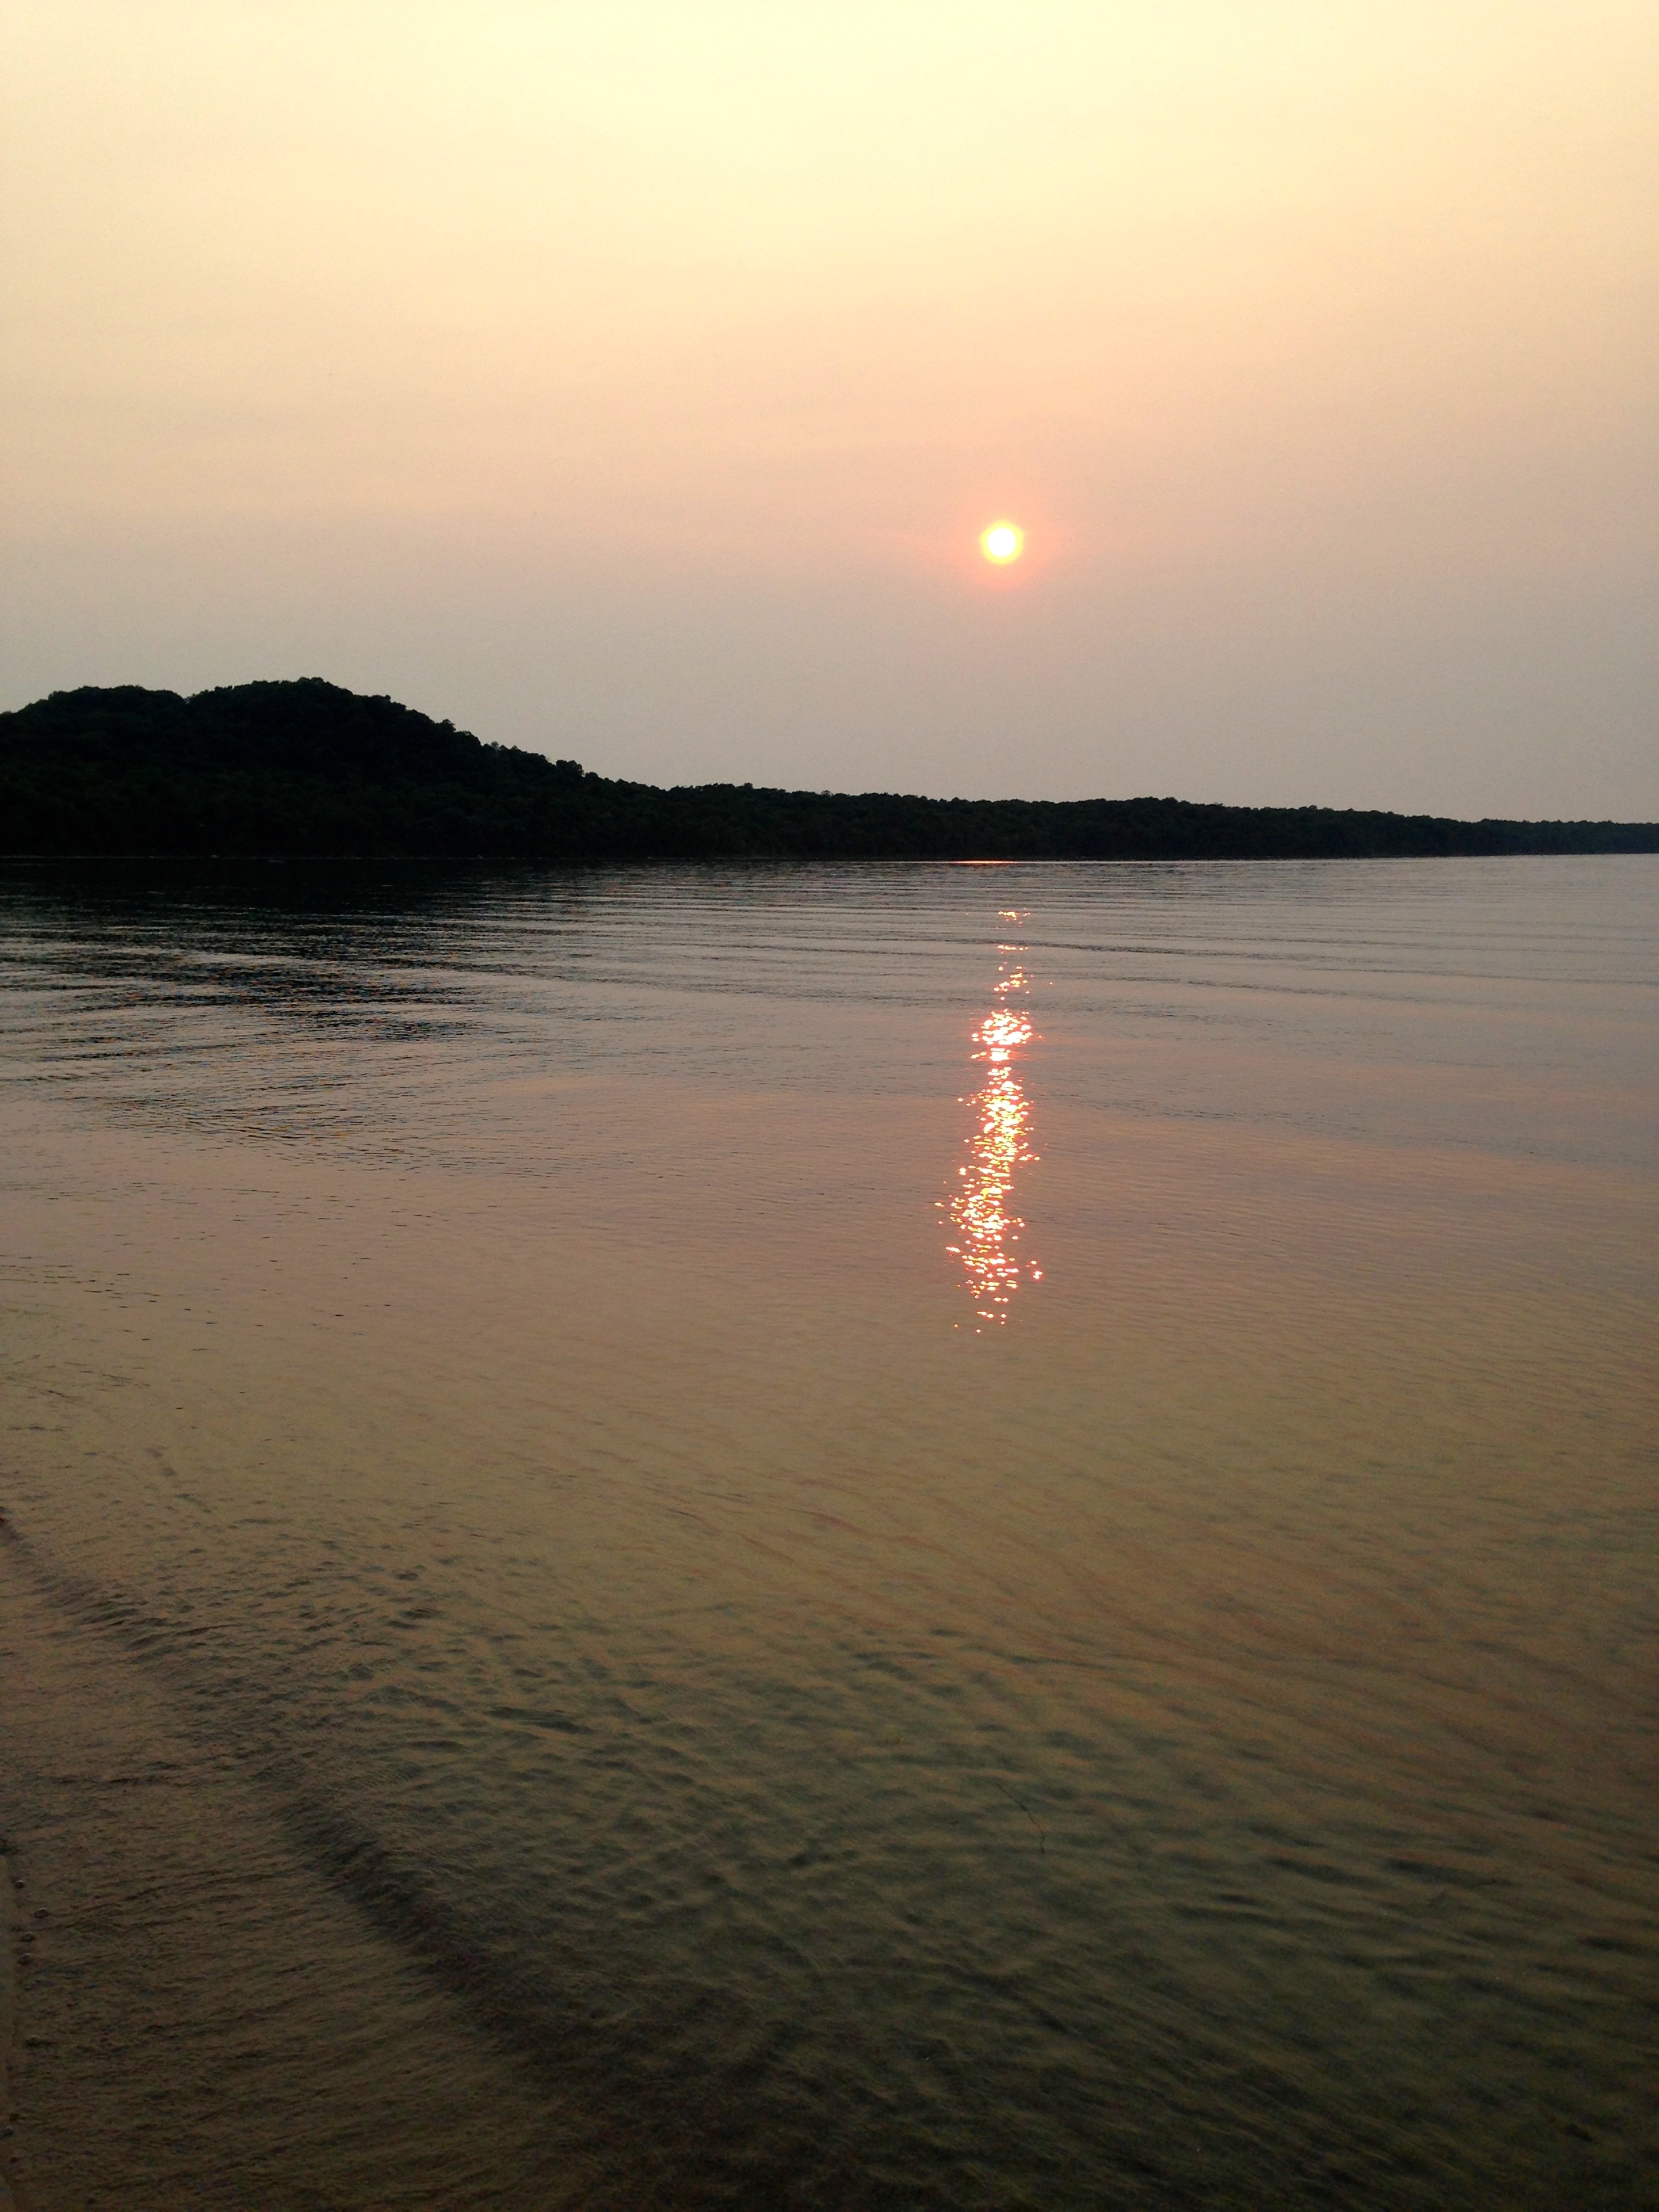
So that’s my day in a nutshell. Everyday I read a little, do art a little, cook, clean and visit friends, either in person or on the phone. I hope all of you enjoy your days as much as I do. Cheers!