….I seem to be a day late with everything so far this week


….I seem to be a day late with everything so far this week
…..using ink
I know that my hand made brushes will react differently to different media and the type of paper I use. Yesterday I used simple newsprint to experiment on and I painted with black India ink and green and gold acrylic ink.


Most of the brushes produced very thin lines but the simplest brush with the larger buds produced the bigger marks. I’m planning on trying this again using acrylic paint to see if the more viscous media leaves more dramatic marks. Maybe I’ll try watercolours as well but I suspect they will react the same way that the inks did. These papers will come in handy for collage work that I’m planning on creating for the next show.
….from materials from the garden and the water’s edge
After completing my three art pieces for this weekend’s Small Gems Show I started to delve into some video art classes that I recently purchased. The first class is called Loosen Up and Tara Lever has produced some very inspiring lessons. One of the first ones is making your own brushes from natural materials.
I thoroughly enjoyed going on a foraging trip through my garden and the park at the end of my street. I came back with a bag full of interesting plant material.


After sorting through the stems of dried materials I started to bunch them together and wrapped them with yarn, thread and wool. I loved doing this and when I finished I placed them in a vase that I made a couple of years ago.


Now I’m ready to get out my ink and paints and experiment with mark making using my new brushes. Some of them may not hold up well but that’s okay. I’ll post some of my experiments later this week.
Cheers!
….another calendar for my other two girls
When I saw the jewellery organizer with pockets I knew I wanted it for another advent calendar. The only problem with this piece is that the pockets are a little on the small side and and there are only 21 of them. On the plus side there are more hangers on the back of it and it can be used after the advent season is over. If the girls don’t need a jewellery organizer they can put it in their bathroom and put small toiletries and make-up in the pockets.
I would highly recommend gathering items for this kind of organizer well in advance. I’m debating whether to wrap each individual item or just place them in the pockets as is. My fear is that the wrapping paper might make some of the items too large for the small pockets. Part of the fun of these types of advent calendars is unwrapping a new item each day. Maybe I’ll wrap some and leave the rest unwrapped.
Here is what it looks like before it is filled and after it’s filled. I’m already 3 days late giving this to my daughter and her wife so I’ll have to decide tonight how to present it. I’m hoping to drop it off tomorrow. 

….for art lessons, teaching math, classroom rules, class management and Christmas crafts
Last week we hosted our annual Craft Night at our school. It’s an event that the community of parents and students loves to attend. For weeks in advance the teachers pair up with a colleague (some go solo) and scour the internet for craft ideas that small children and their parents can successfully complete in 10 to 15 minutes or less.
The parent council funds the evening and each teacher is given a set amount of money to purchase supplies. It works out to approximately $1.00 per craft. This year some of the crafts included bees wax candles, decorating glass ornaments, making bath salts, and decorating cookies.
I went straight to Pinterest for inspiration and came across these beautiful paper trees mounted on a disc of spruce wood. Lyckoslanten is a Finnish blogger who posted this simple craft over at Lyckoslanten. I didn’t discover the translation button till much later but I easily figured out how to recreate this craft.
The tricky part was figuring out how to get the wood. At first I thought I could pick up branches from camp but that didn’t happen. Then I thought I could use the cut-offs from Christmas trees but we didn’t get our tree until after Craft Night.
into intoA week before the event I went to a Winter Market in the Junction. While there I saw a couple of vendors who used birch wood to create some of their crafts. I also saw some beautiful trees made from birch wood. I asked them where they got their wood. One of the vendors offered to cut all the discs for me but at a price of course and it would have used up most of my budget. In hindsight it might have been worth it. The other vendor suggested that I buy the birch logs from a garden centre and use a chop saw to cut them up. A much cheaper option.


I went with the cheaper option and spent two evening cutting up two twelve foot birch branches into about 180 discs. I couldn’t belief the amount of sawdust it created. I spent almost as much time cleaning up as I did cutting. After I cut the discs I also had to drill holes into each disc for the skewers to fit. My friend L photocopied Christmas sheet music onto 150 sheets of photocopy paper. We tried heavier card stock but it was more difficult to fold.


On the night of the event we set up the tables at the back of the library with all the supplies that people needed to complete the trees. We added some tiny gift boxes that could be added to the base and some stars and snowflakes that could be glued onto the paper.

The entire evening took only an hour but it was extremely busy and I spent most of my time punching holes into the pleated paper so that the skewers could go through the middle. By the way, the best tool for this turned out to be an awl and a hammer. All in all it was a very successful night and everyone loved their trees.

….at the baby shower guests were invited to decorate white onesies with personal messages and art
Our daughter, A, has never been too excited about party games but for her sister’s baby shower she acquiesced and found a fun activity for people to participate in. Actually she found three activities but I’d like to share the onesie project with you.
We weren’t sure if people would gravitate toward this task because it did require some thought and creativity. Surprise, surprise….people loved it. First of all A went out and purchased about a dozen plain white onesies in a variety of sizes. She was able to get them for about $3.00 a piece. You also need fabric markers and cardboard for this project.
A and J cut up cardboard to fit inside each onesie so that the marker would not bleed through to the back. In the backyard a work table was set up and people went outside throughout the afternoon and created their masterpieces. When they were all done, G, the mother to be, judged them all and picked her favourite. The winner went home with a bottle of wine. It wasn’t an easy task (the judging that is) and some of us who organized the shower quietly took ourselves out of the mix and made sure that our designs didn’t win. I had already won the matching game, my sister had won the guessing game and A and J felt it wouldn’t look good if someone else in the family won another prize.
All the finished onesies were put on a clothesline to dry. I forgot to take a photograph of the finished pieces but my daughter kindly photographed each individual onesie from her home and sent them to me. By the way she photographed them after she washed them so it’s good to know that the marker didn’t fade in the wash.
Which one is your favourite?


….only if it’s a feeling of joy and accomplishment
Yesterday I attended a 6 hour workshop on dyeing fabric with indigo at Articulations in the Junction. It was a Christmas gift from my youngest daughter. It was a small class with 8 students ranging in age from their 20s to 60s. We even had one man in the class who came with his partner.
Our instructor, Jane Jacobs, was truly inspirational. She had a multitude of samples for us to look at and an infinite number of objects to experiment with. Everyone brought their own fabric and articles of clothing to play with. There were also white silk scarves and infinity scarves that you could buy for the purpose of dyeing.
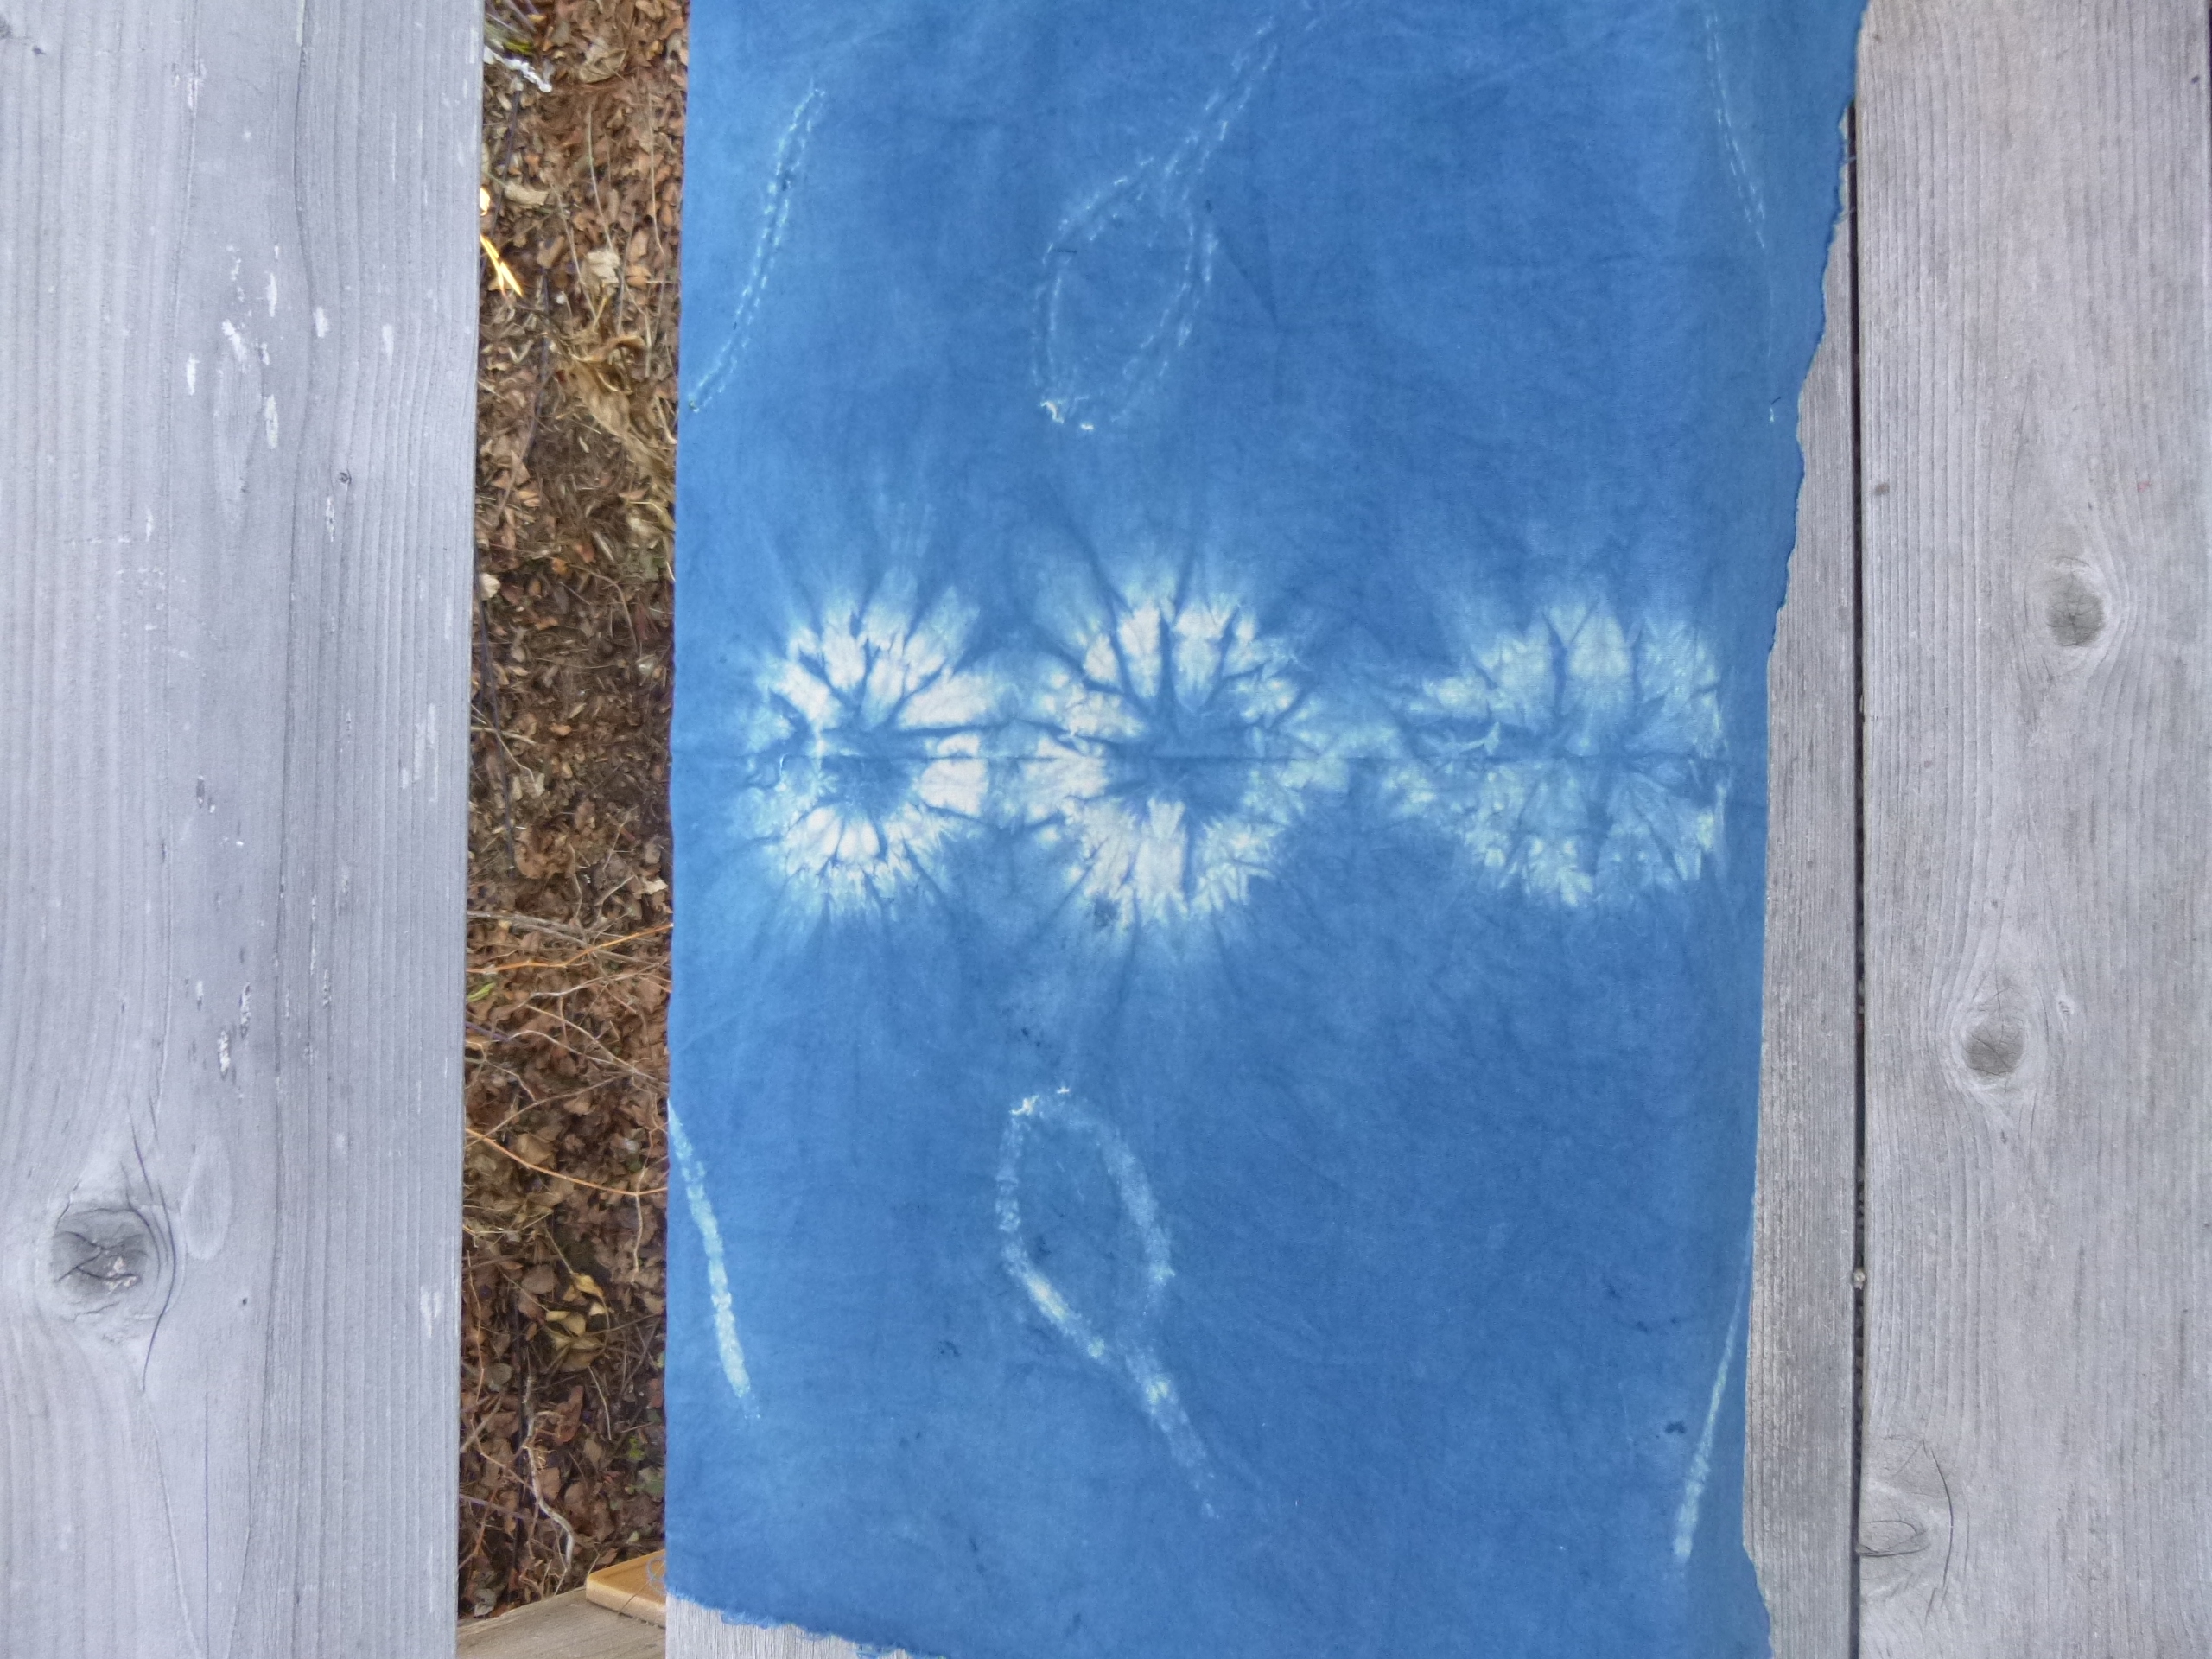
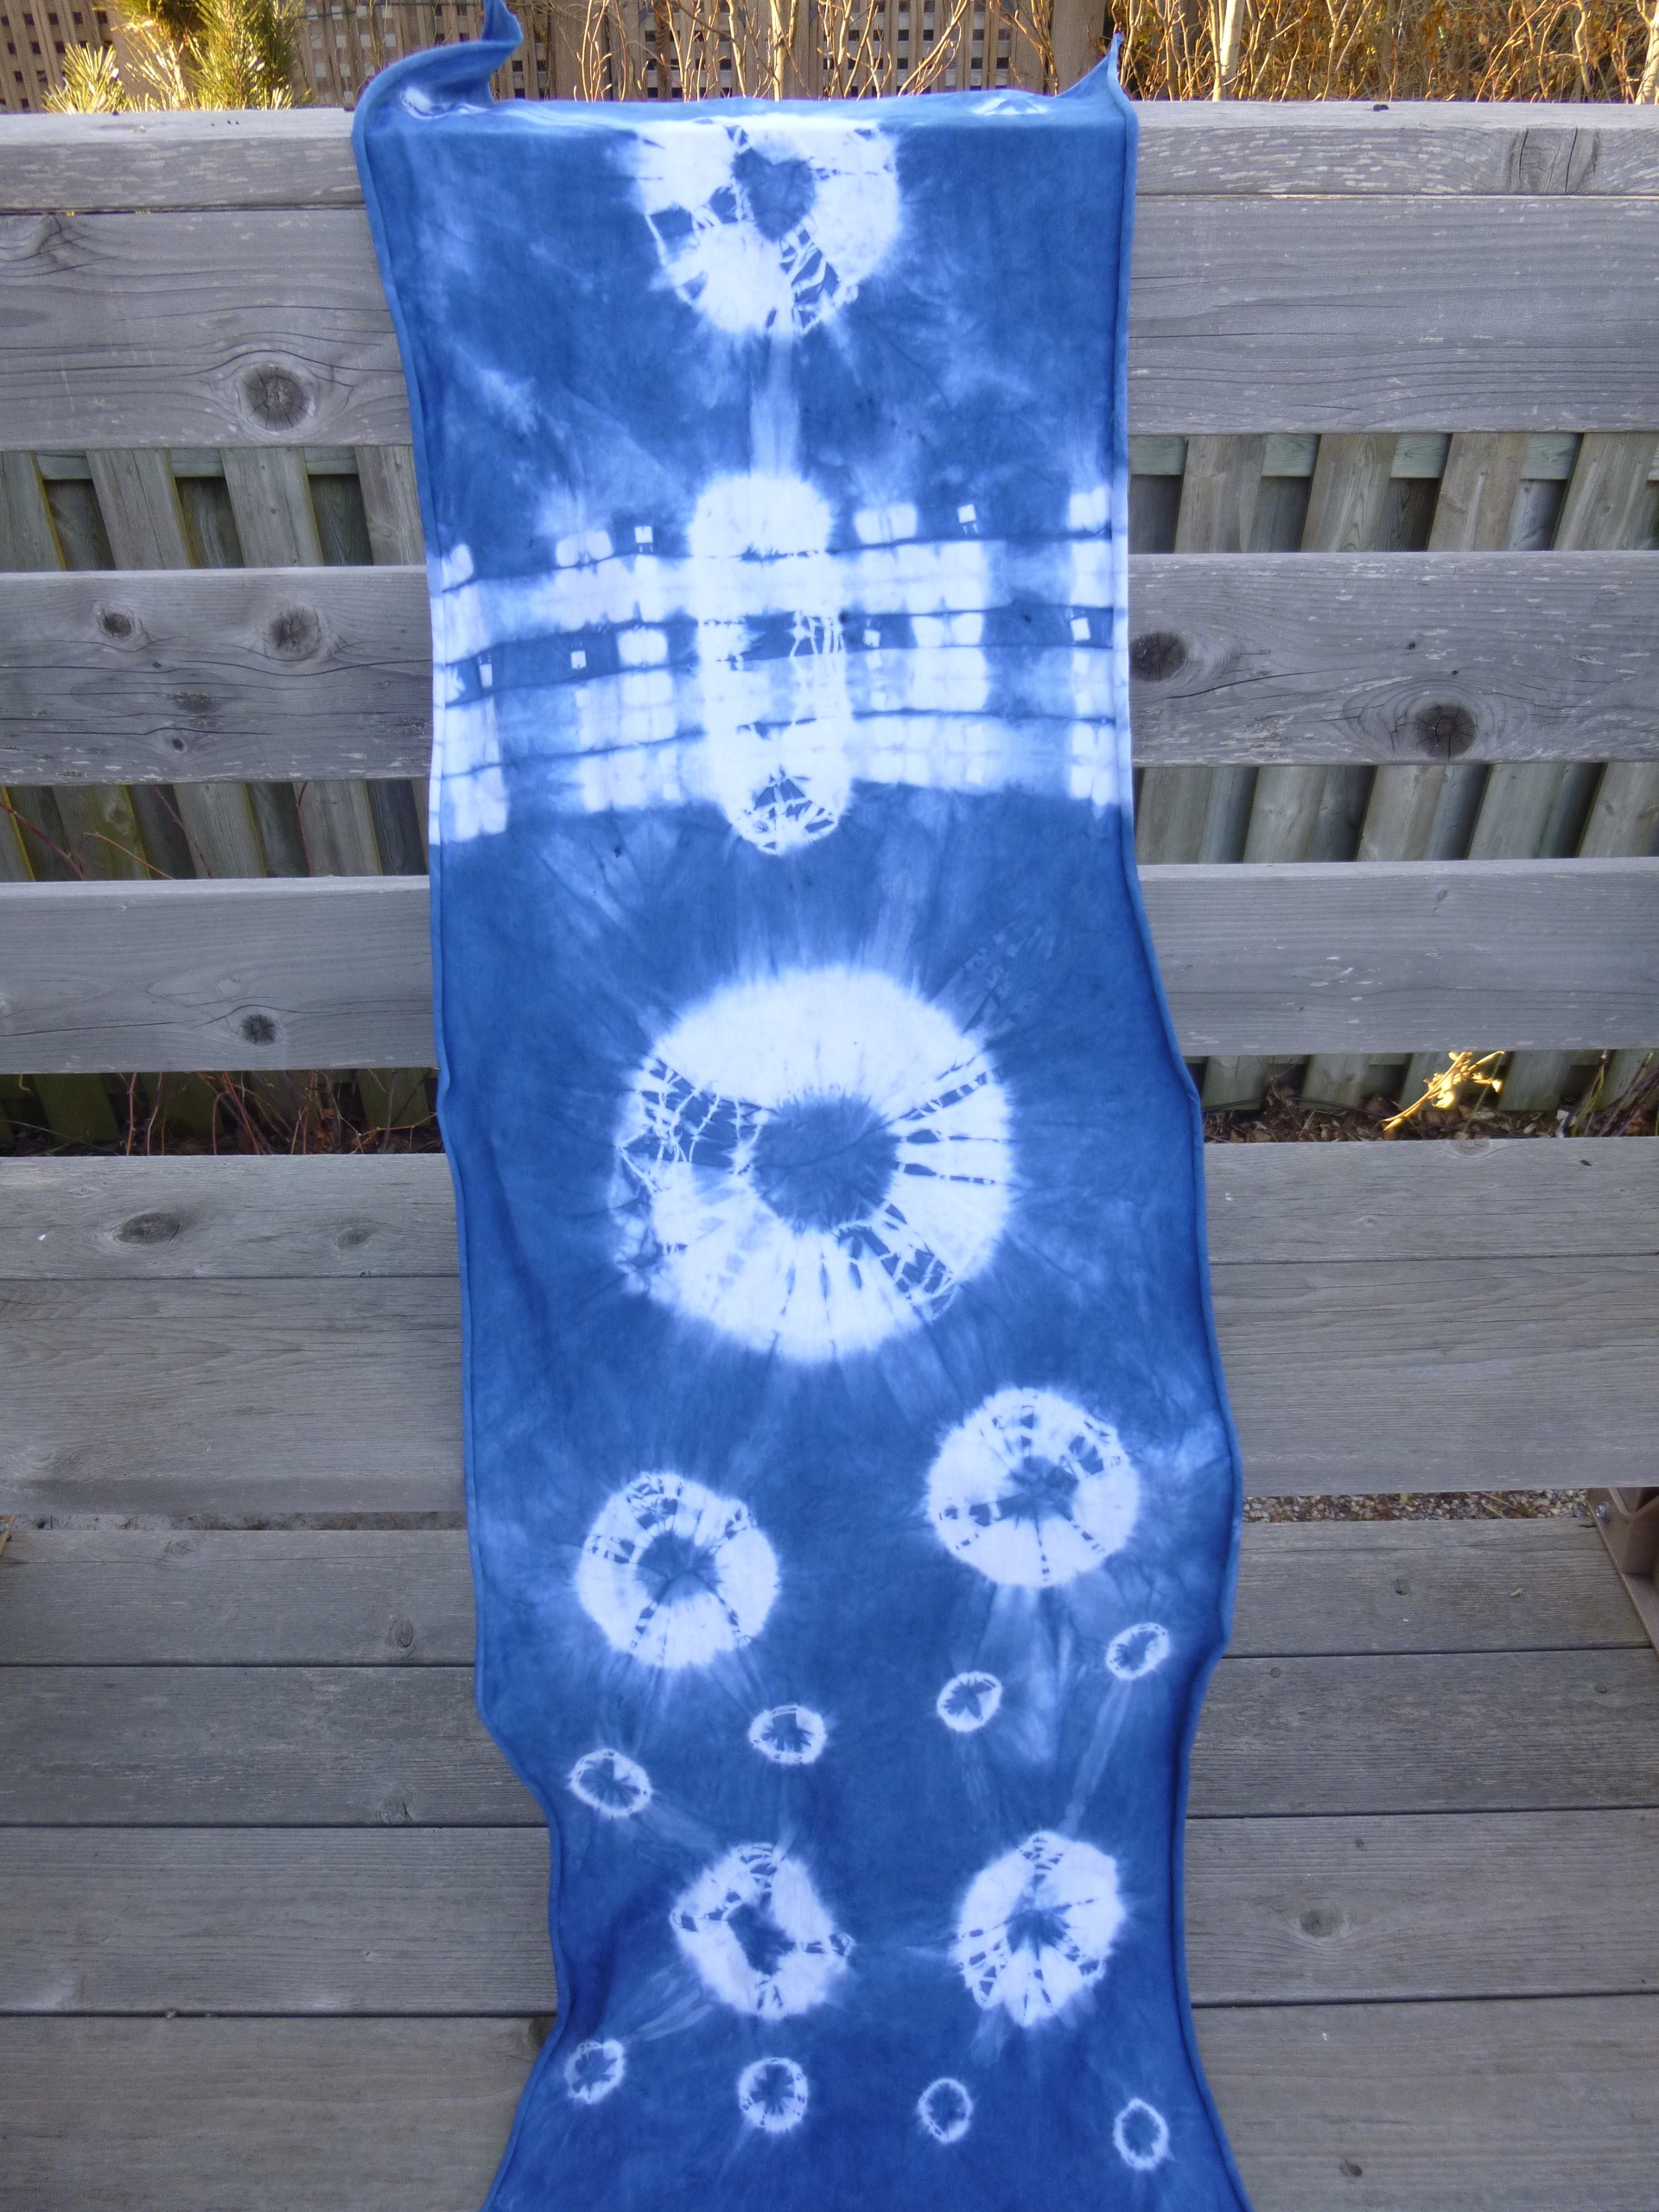
I experimented with a technique that involved stitching designs and pulling them tightly. I wish I had more time to make more of these but I think I may try more of these at home. The technique is called shibori and comes from Japan. The secret is to pull the thread really tightly. It will work with any kind of dye. I loved the indigo but it has a few more steps and requires more time to get it to the stage where it’s ready to use. Here is a website that demonstrates how to stitch on the fabric. Shibori from Japan.
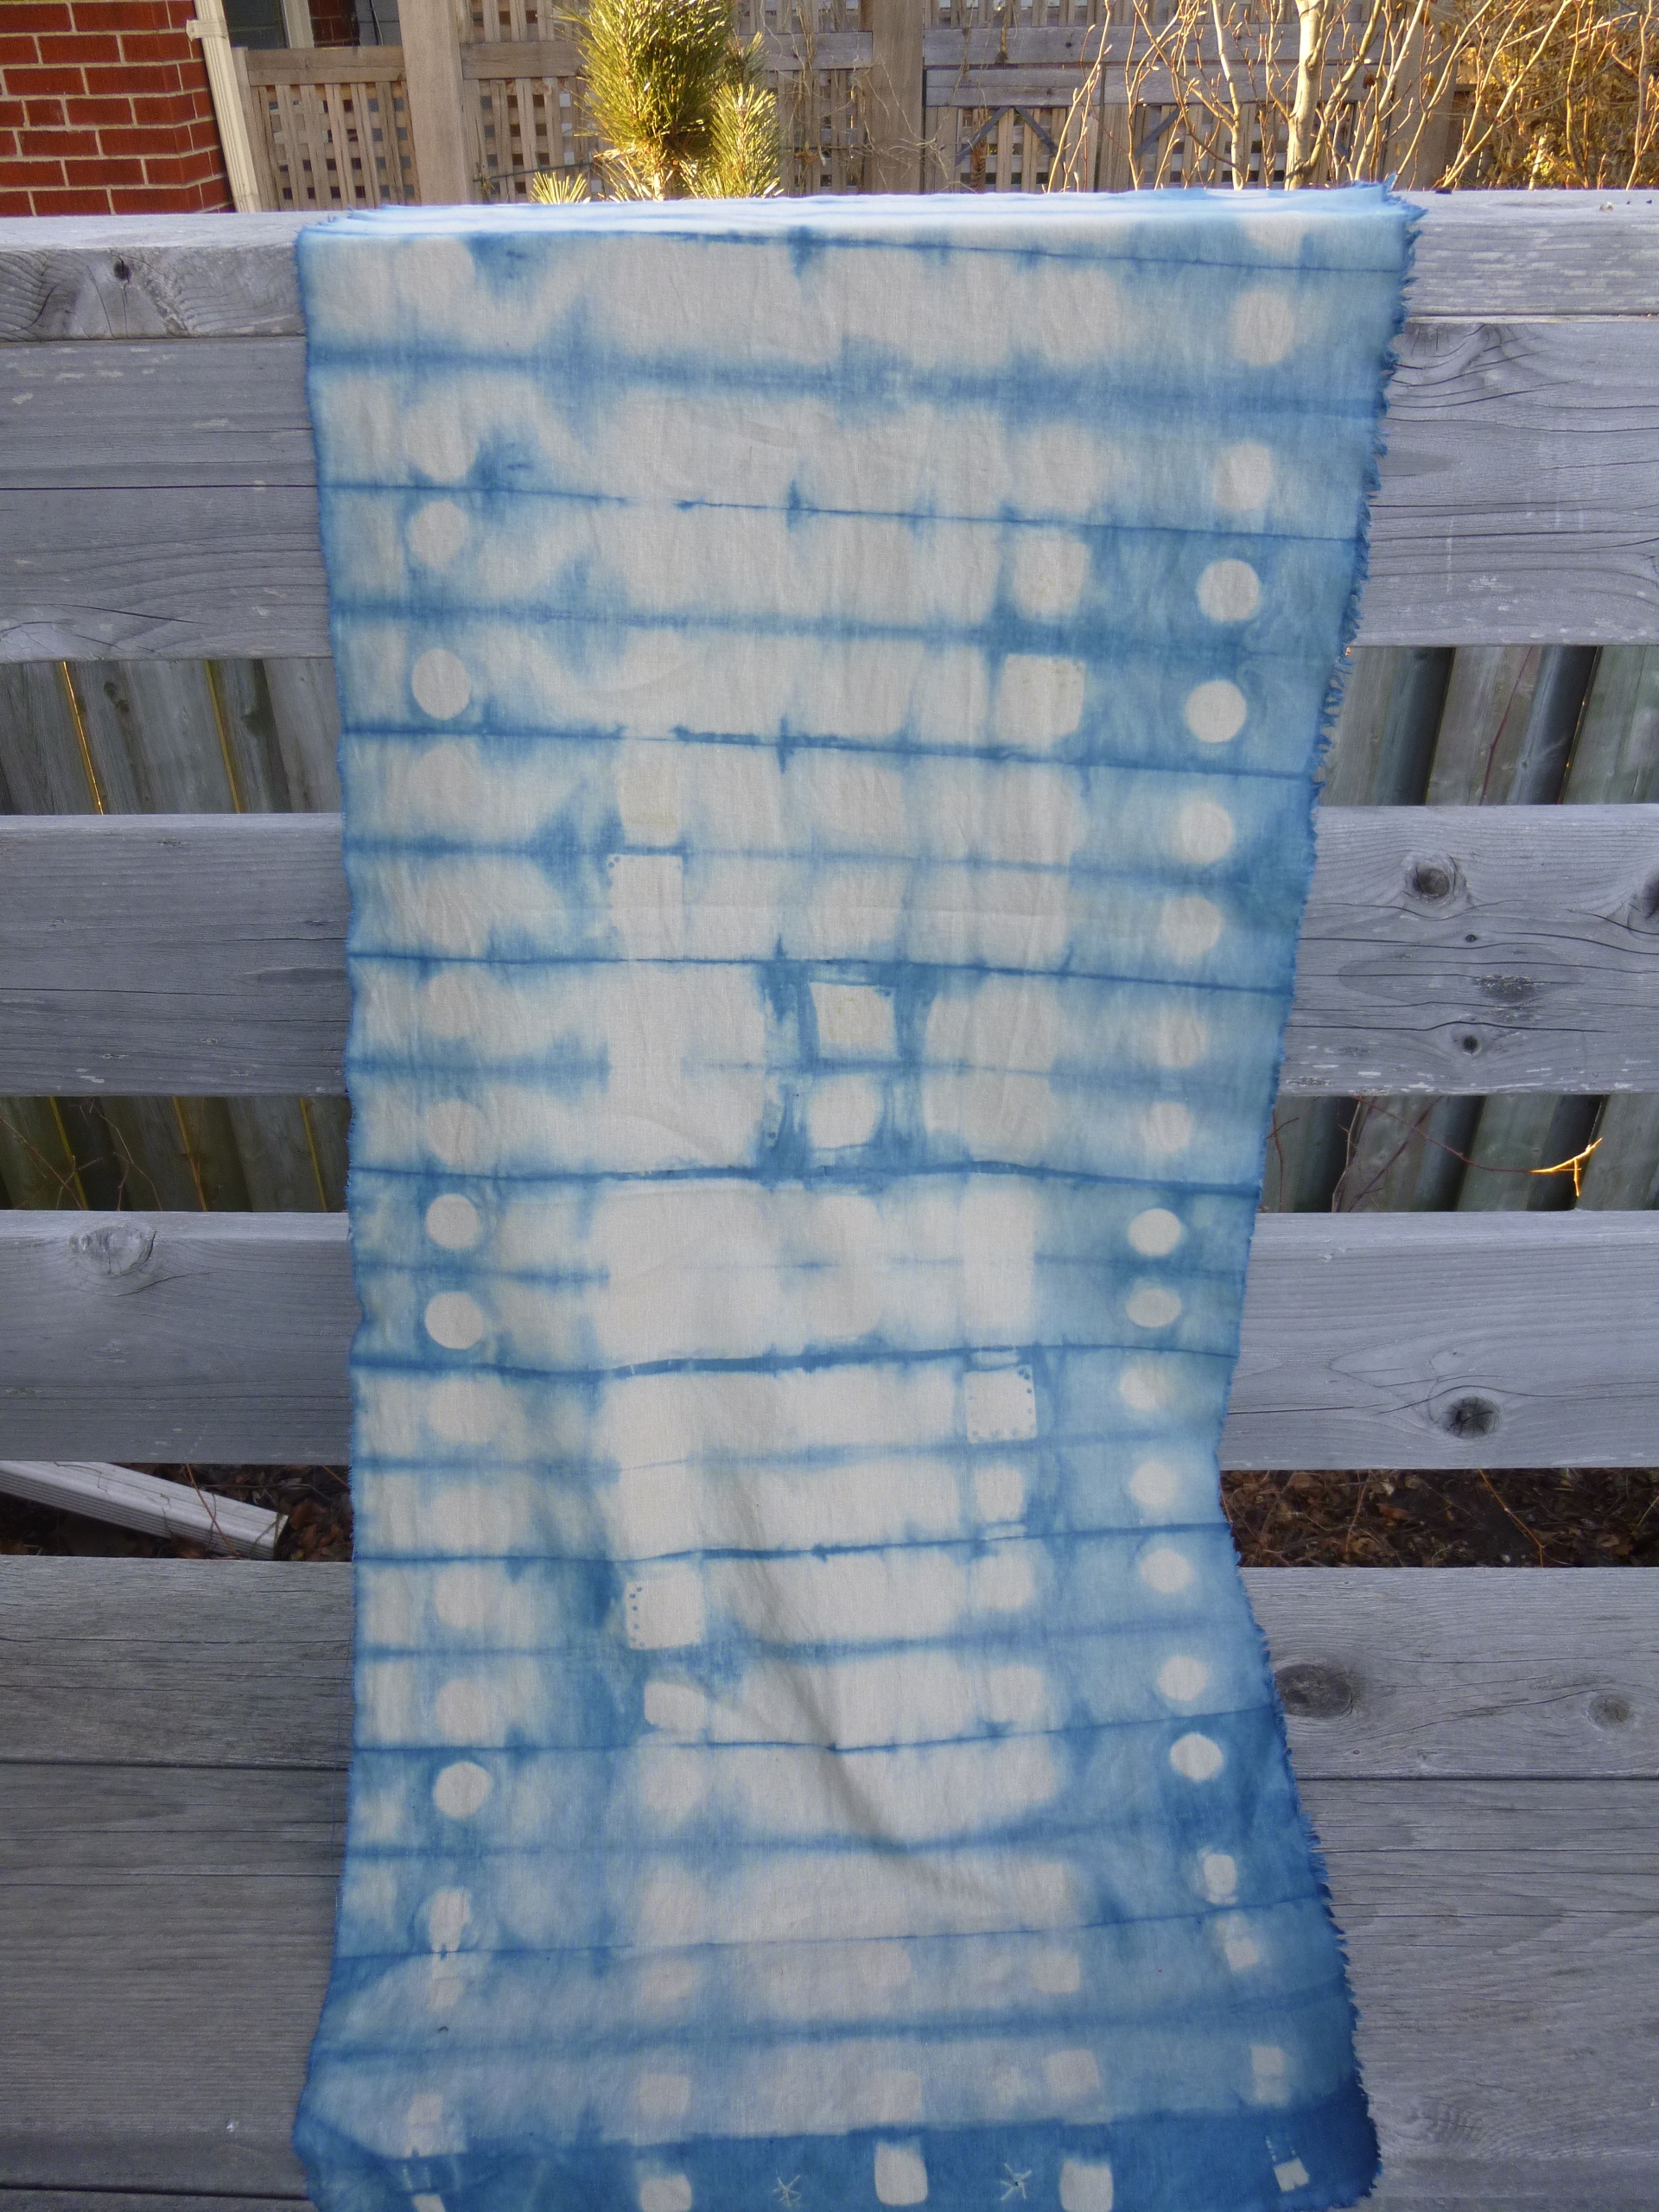
The dyeing techniques also included folding and clamping the fabric. I wrapped string around small stones that were buried into the fabric and I pulled fabric from the middle and put elastic bands around it. This created a real retro 60s look that was reminiscent of tie dye. I also clamped buttons and metal squares between folds of fabric. Some of the students wrapped their fabric around large plastic cylinders, then wrapped string around the fabric and kept pushing the wrapped fabric up the cylinder. That was hard work but the finished product was beautiful. If I go back for another class I will try that technique with silk.
I brought a variety of fabrics to play with. I had two 100% cotton samples, one in white and one in taupe. I had a piece of linen and rayon that was also a taupe but with a tinge of green in it and my last piece that I played with was a white 100% cotton knit.
We weren’t sure how the coloured fabrics would take the dye but another student brought a grey fabric and all of them turned out well. The contrast wasn’t as dramatic as the white but the patterns showed up nicely against the blue.
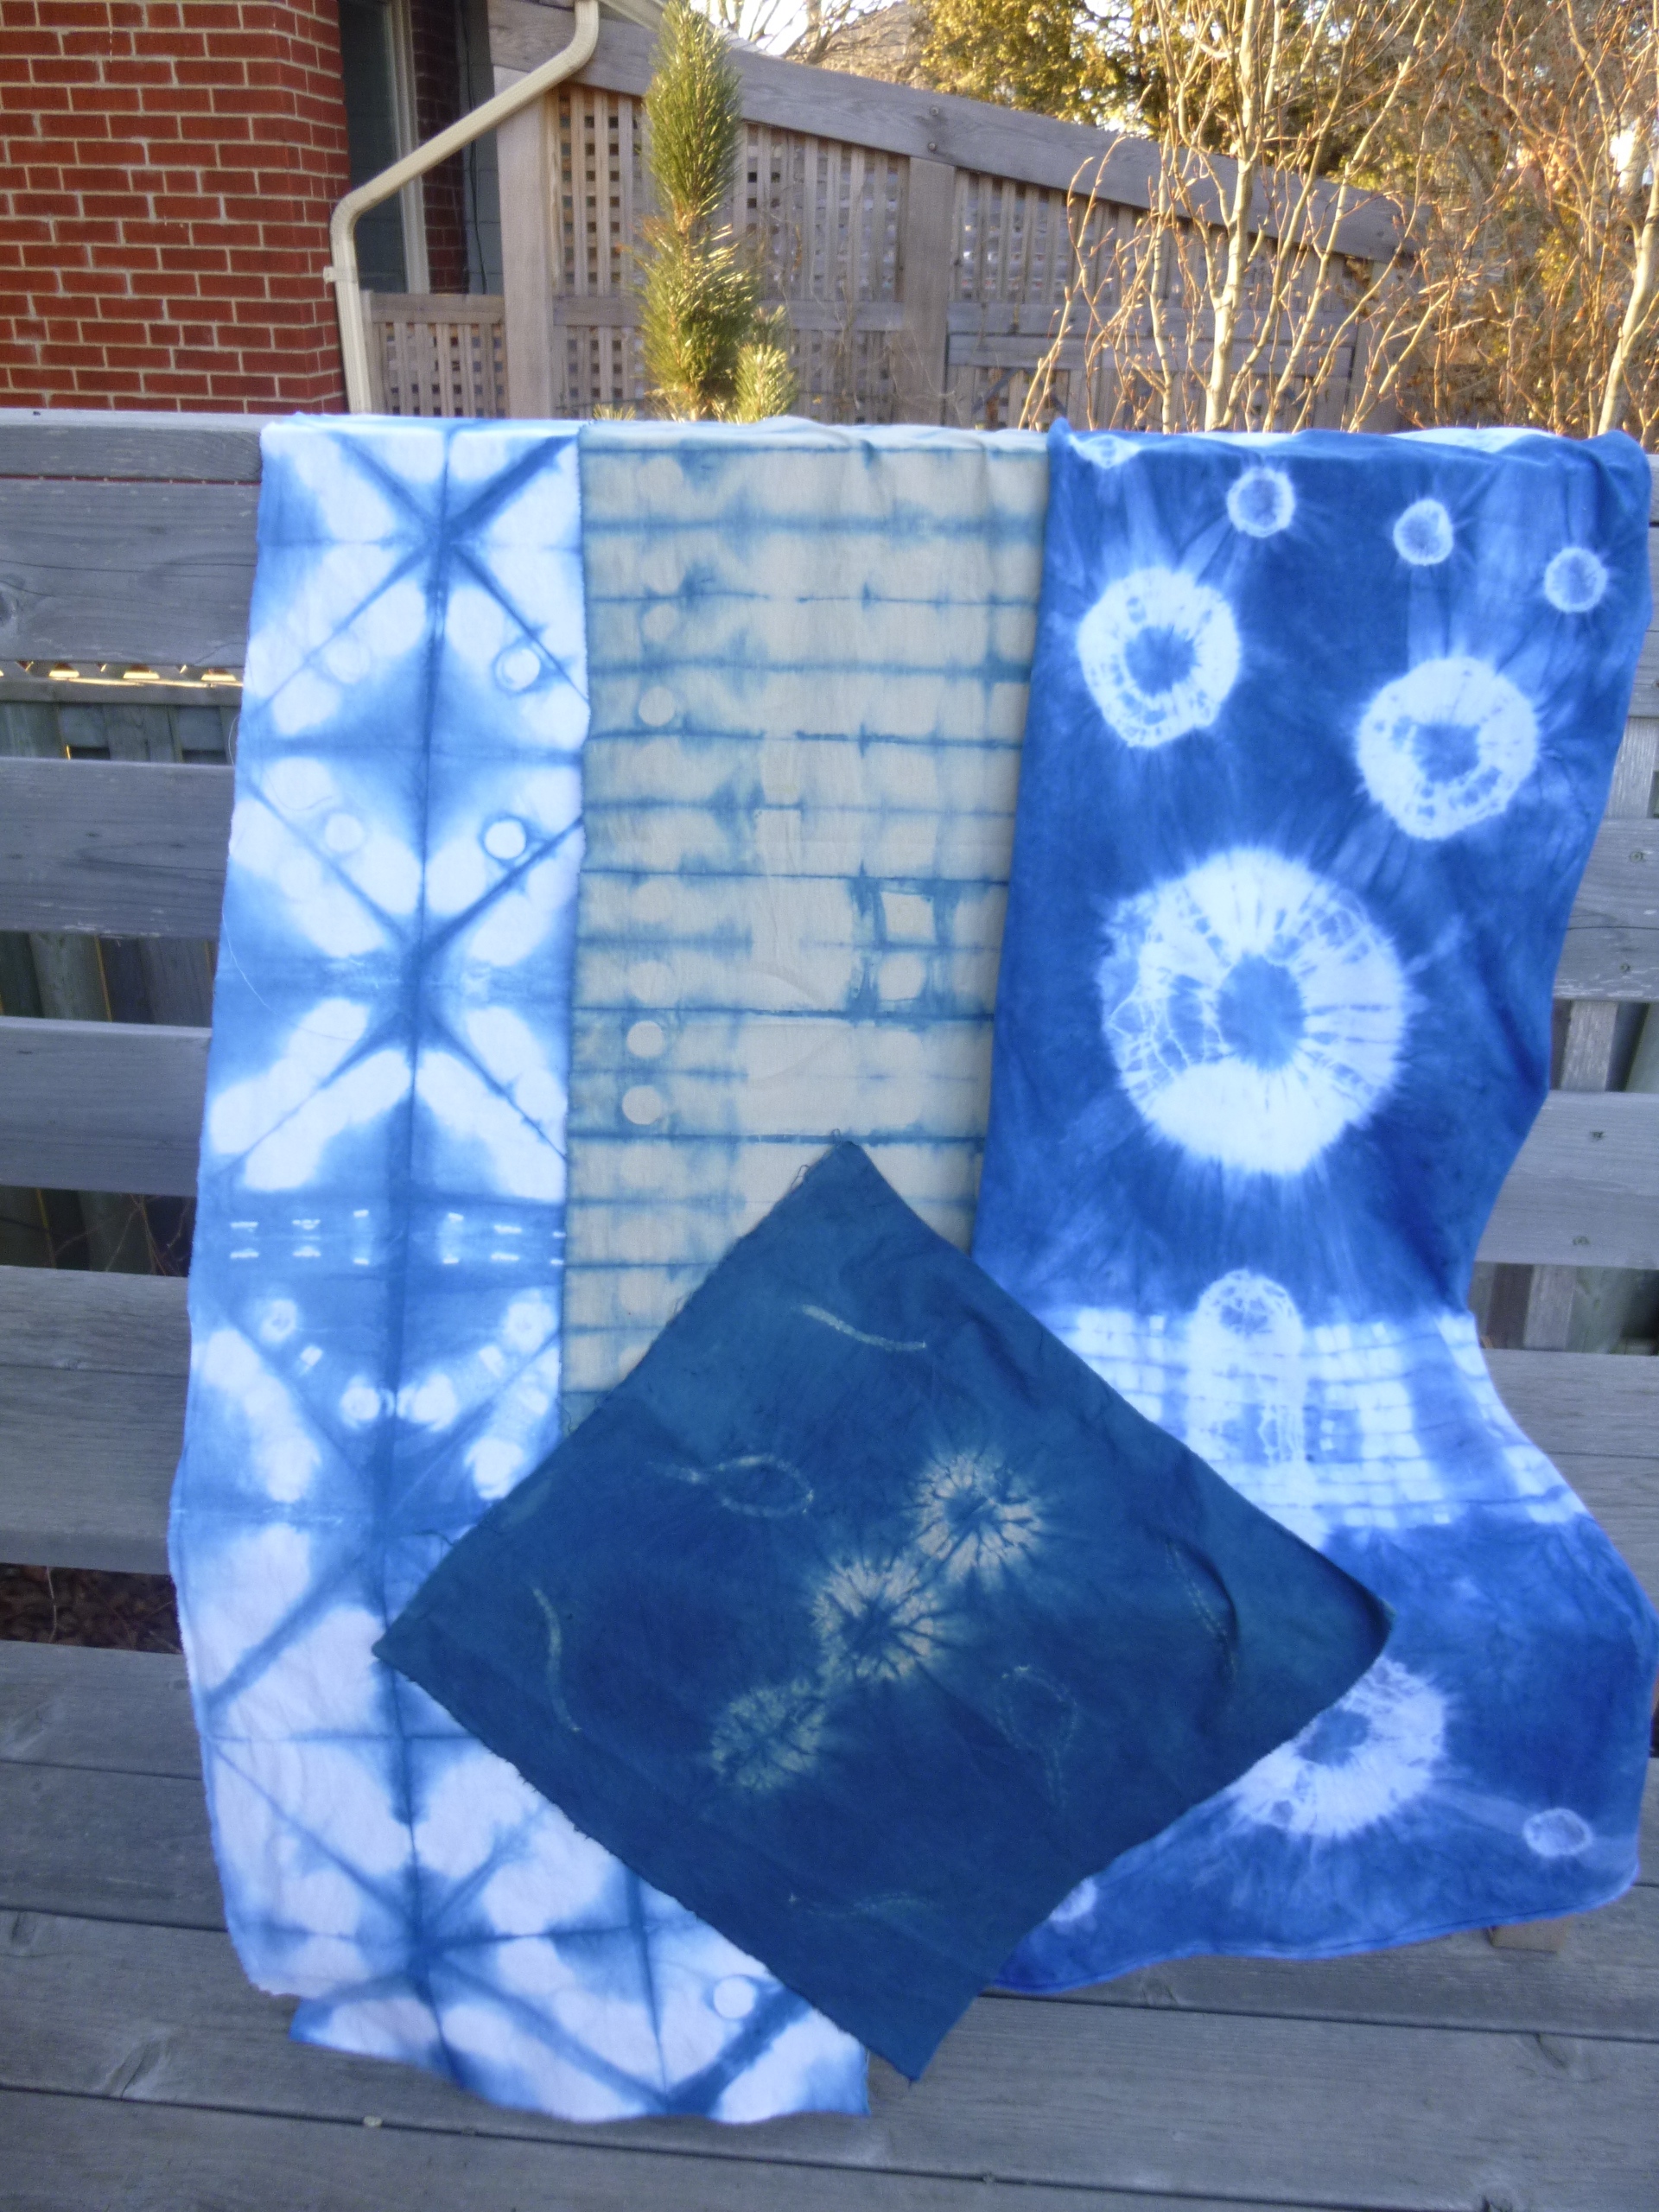
Now I have to decide what I’m going to do with my pieces of fabric. I’ve already decided to make one into a pillow, one will be a table runner and the third I will sew into an infinity scarf. I’m not sure about the fourth piece but I’m sure I’ll think of something.


The following photos are my creations after they dried.

…..homemade are always the best and then those that have been lovingly gifted by a special friend
As I decorated my tree this year, I discovered that I was more particular as to what went on the tree. One of the reasons for cutting back on the decorations had to do with the size of the tree. Every year for the last few years I’ve been down sizing when it comes to choosing my tree. I used to look for one that was tall and full but in my little house that really didn’t make much sense and as the family has grown to include significant others space has become an issue. This Christmas Eve we had 11 adults over and when it came time to open presents the living room was jam packed with bodies.

I digress, however, so back to the topic that I started with. Decorations. As a child I used to love the glass ornaments that my mother brought with us from Germany. They were brightly painted and very delicate and more than once I remember breaking one or two because I chose to play with them when they should have been left undisturbed on the tree. Some of them were in the shape of instruments and actually played a tuned when you blew into them. Oh how tempting for a six year old to remove them from the tree and try them out. Sadly all these beautiful ornaments have disappeared over the years.
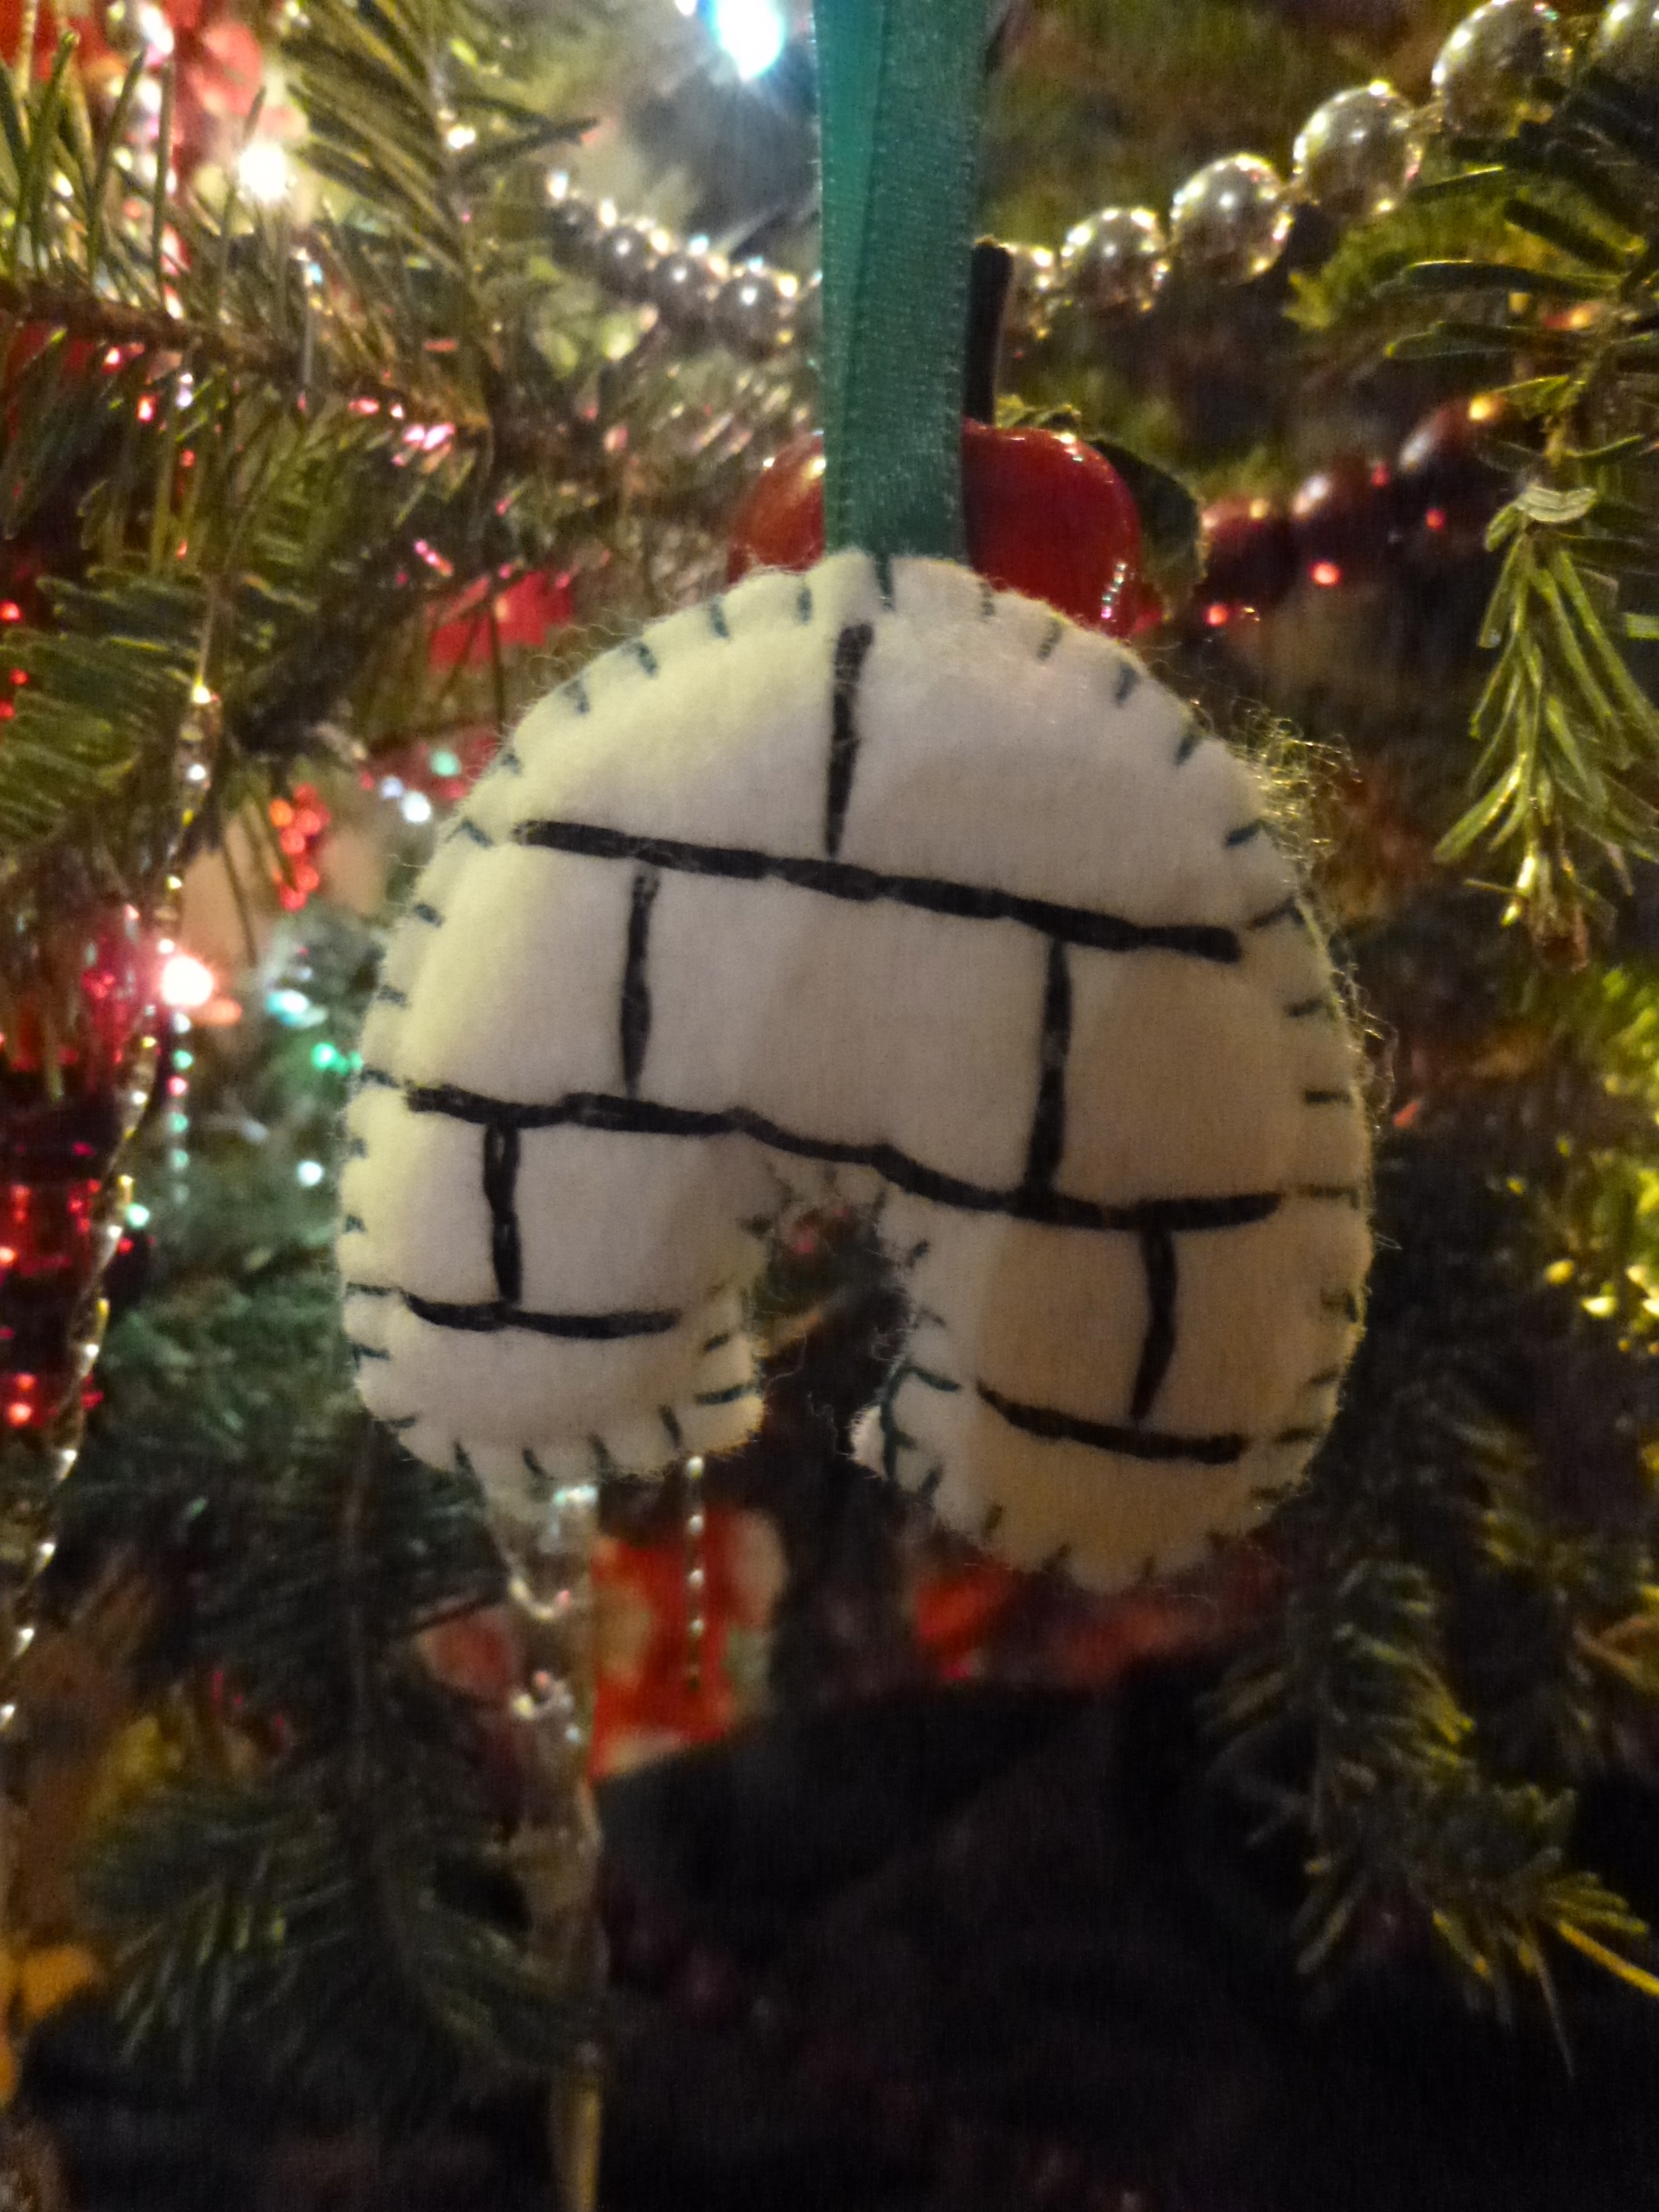
When I married I started to collect ornaments for my own tree. Over the years my friend AB gifted us unusual and beautiful ornaments to adorn our tree and in my crafty days I made numerous objects to hang on the tree. One of the simplest ornaments that I made was a walnut sprayed with gold paint and adorned with a red bow. I’ve had a box of these for over 20 years. When my oldest daughter left the nest she also started to make ornaments for the tree. Her choice of medium is felt and she has created some very unusual pieces, including a human heart (she’s a medical illustrator by profession). One of the first ornaments that she gave us was a cute felt squirrel because she knows how much my husband loves (NOT) those pesky little rodents.
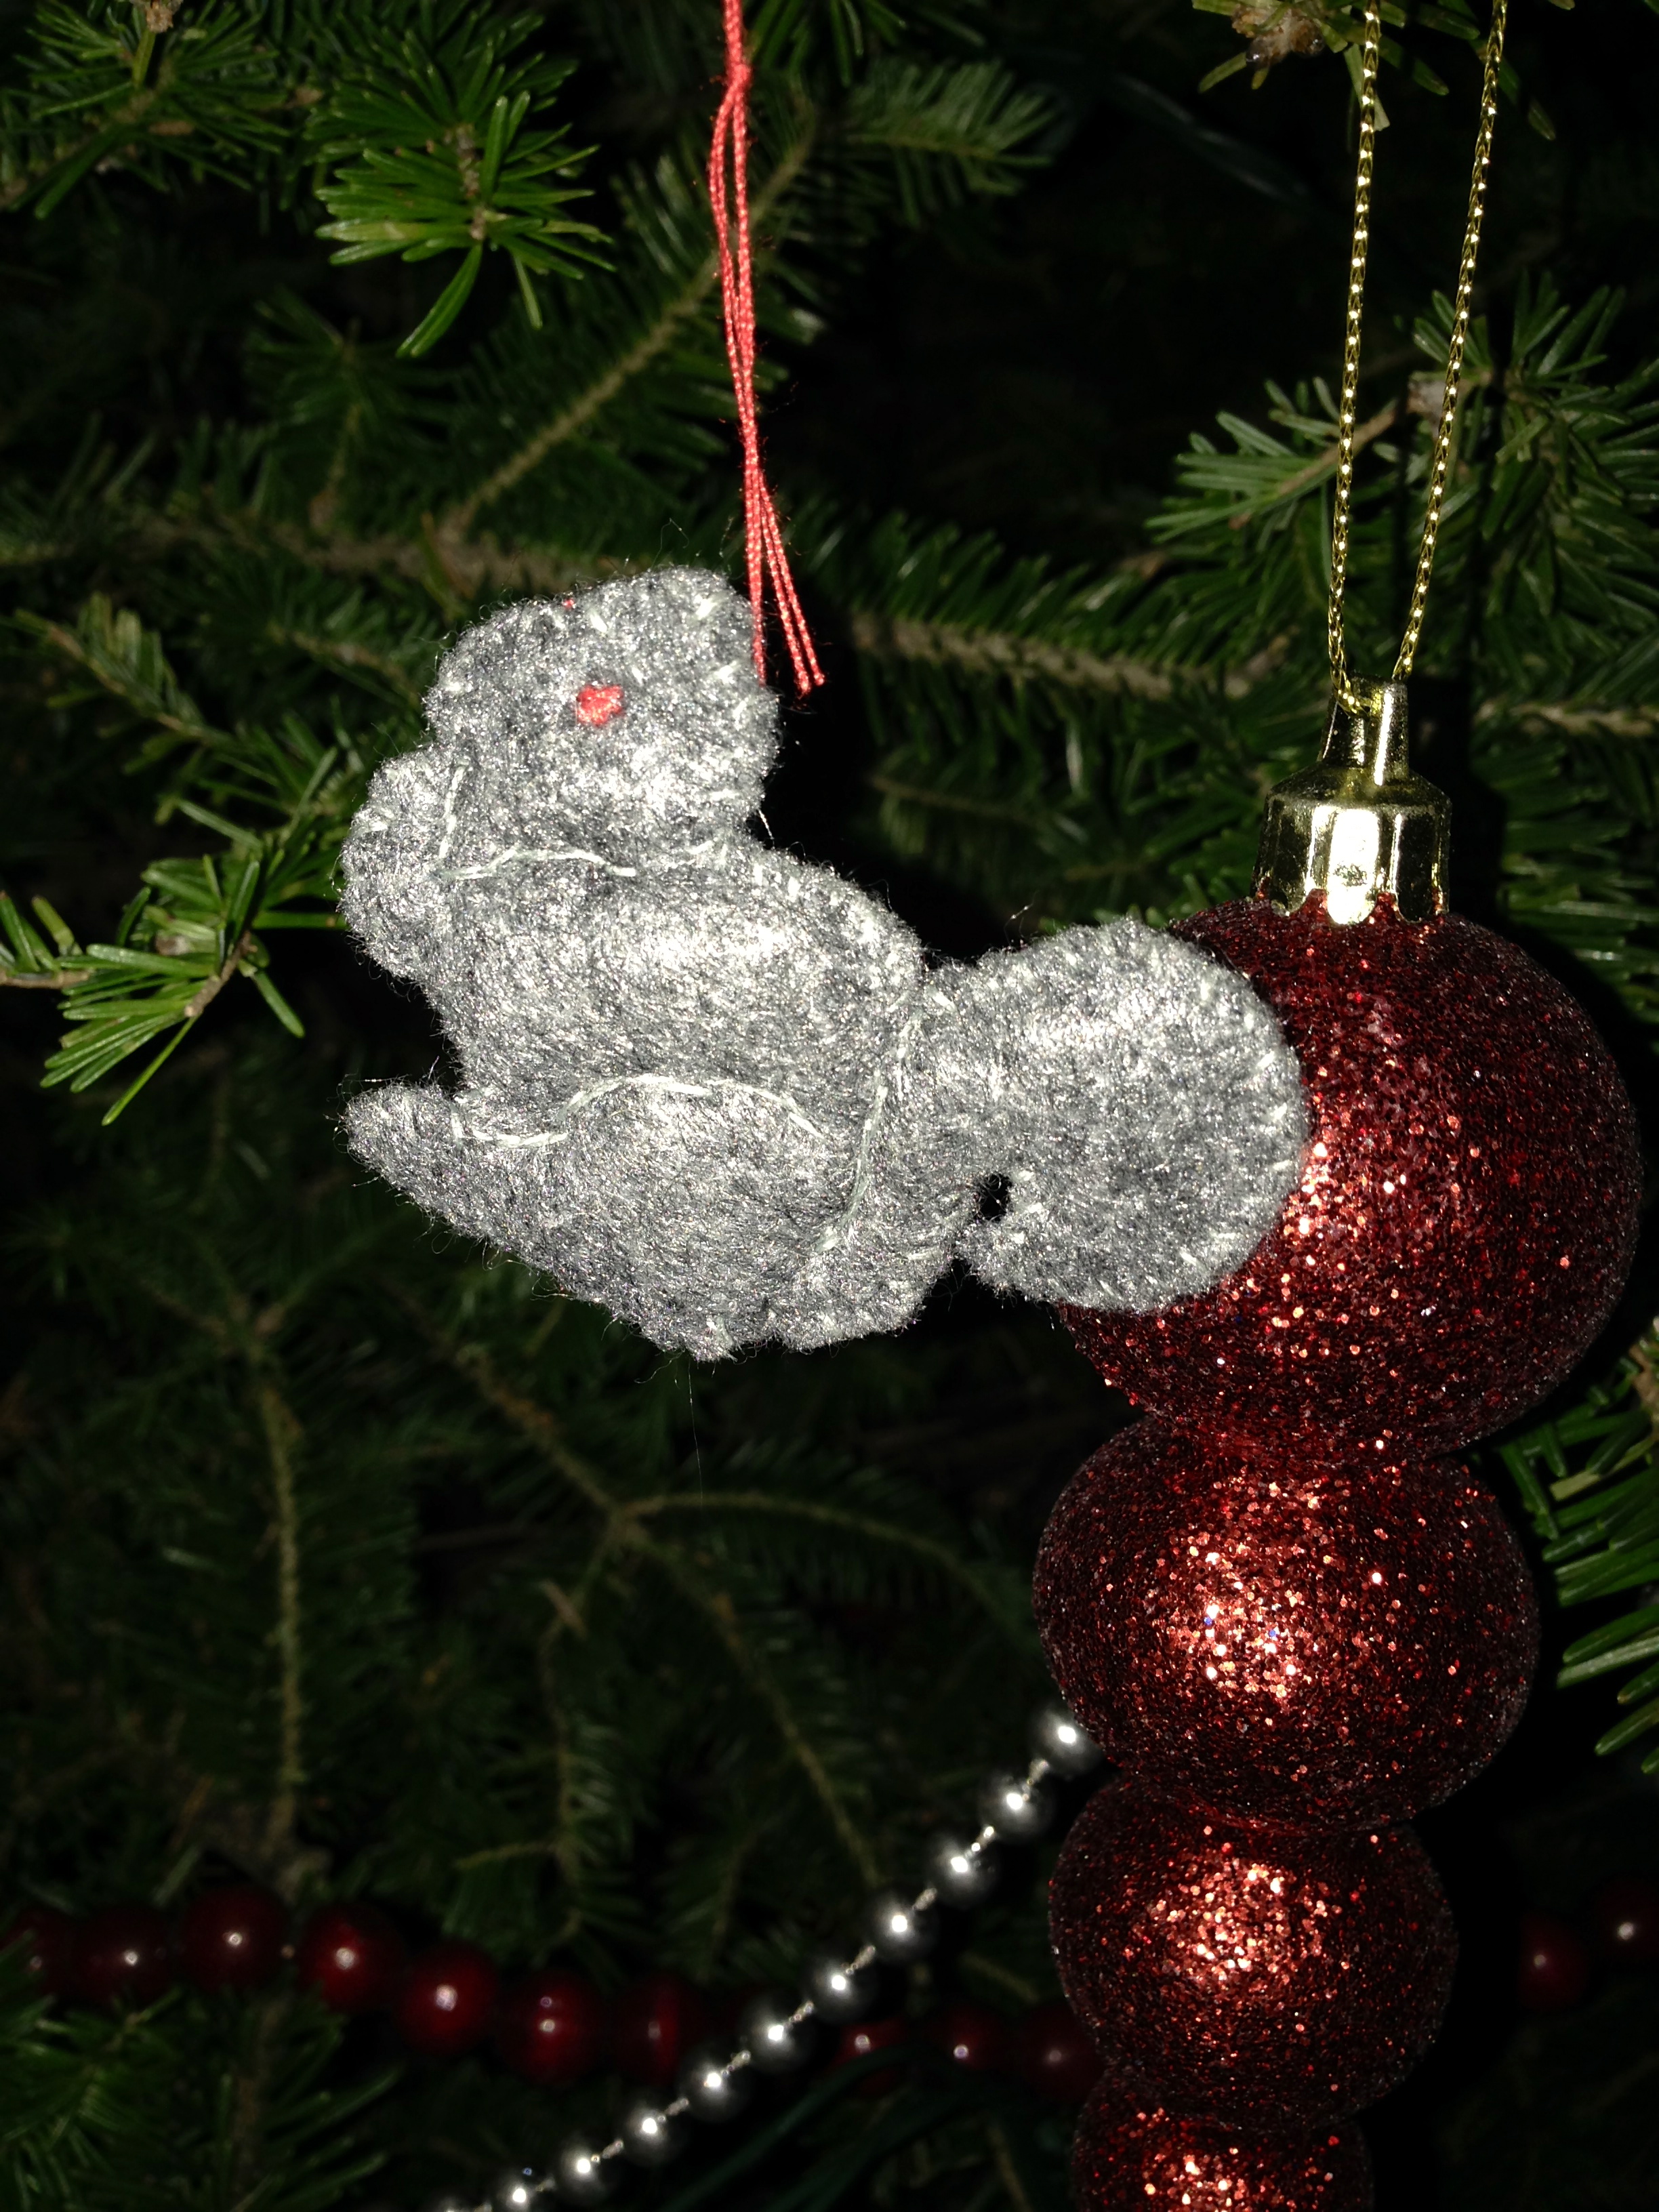
Over the years my collection has grown partly because of my friend, AB who I have known for over 35 years. She has made it a tradition to give me ornaments every year. I’ve received little fans, wooden angels, apples, and numerous other glittery and mostly red ornaments.
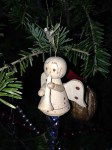


I’ve met some very talented people over the years. One of them is a neighbour who used to paint beautiful characters onto fabric and then sew around the painting and stuff them. They were small enough to be hung on a tree and I have saved and cherished her work for many years. Another neighbour and good friend has a sister who also used to sell her handiwork and one of her Santas has become one of my favourites.

As my collection grew I started to give away some of my ornaments to my children, especially ones that I made. It’s nice to know that they have good homes and maybe some day will be passed on to other generations. One can only hope.
Hope all of you had as happy a Christmas as I did. The celebrations continue at our house. Boxing Day with my father, a trip to Niagara Falls, and a birthday celebration for our twins (going on 32). New Year’s Eve will probably be quiet but you never know.
Cheers!
….using fabric crayons and cotton swatches
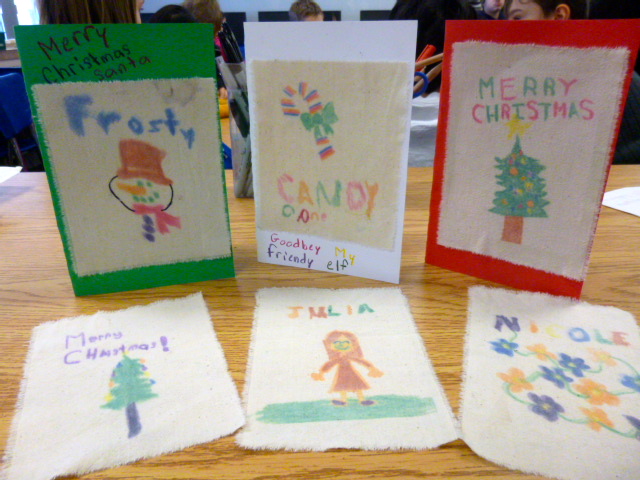
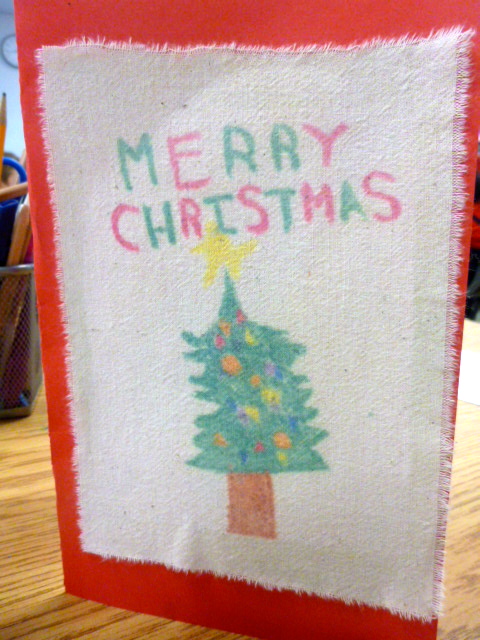
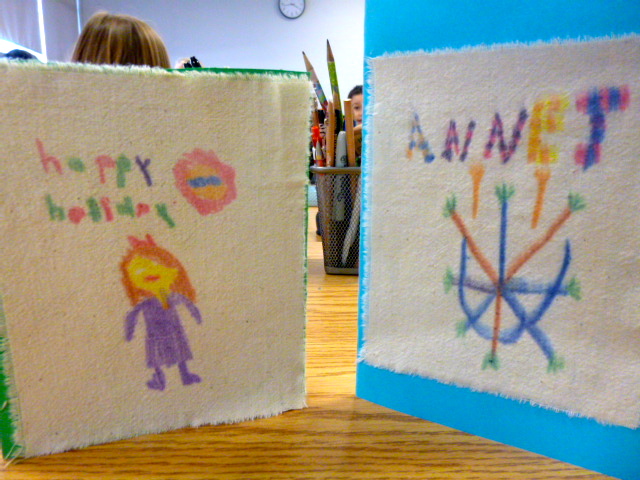
During the last week of school before the Christmas holidays I needed a quick and easy project for the boys and girls to work on when they finished their art projects. For years I had fabric crayons sitting in my cupboard with no plans on how to use them. Last year I experimented with them and loved how they worked.
I gave each child a piece of photocopy paper and instructed them to fold it into four rectangles. On each rectangle the students had free reign to create any design they wanted. Many chose Christmas symbols, winter scenes or their names (the mirror image). The only thing they needed to do was fill in their design with lots of fabric crayon and sometimes they could get two or three prints from the same picture. They loved it when I ironed their designs onto a piece of cotton fabric. It was like magic.
…. the only day we could get most of the family together was for Good Friday
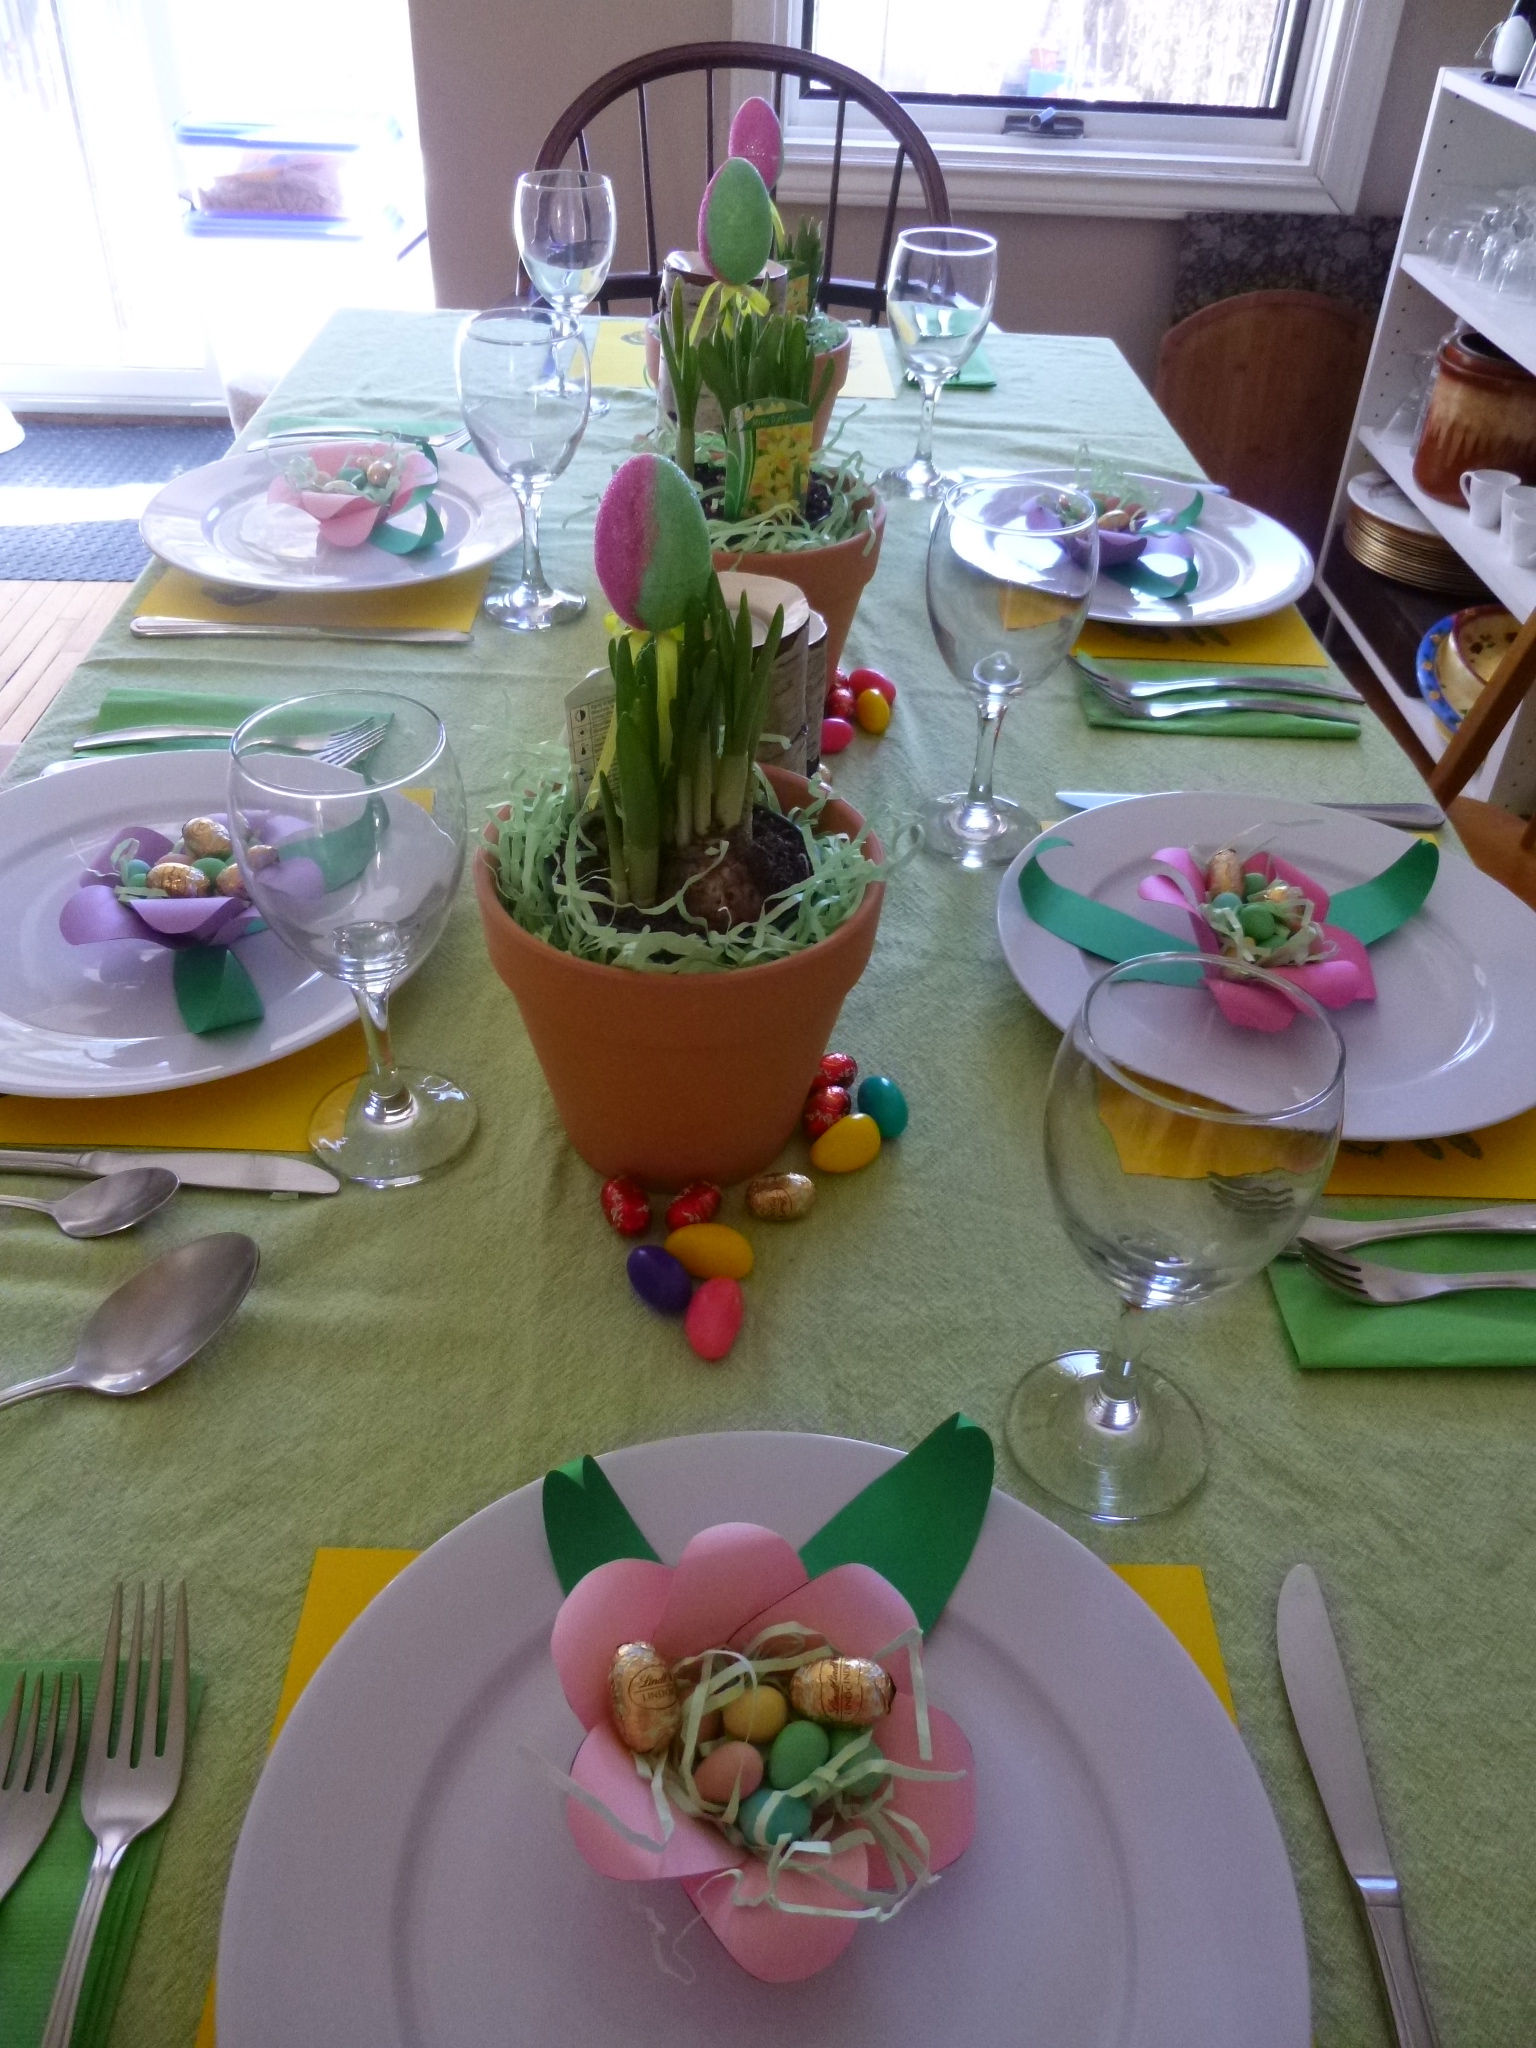
When your children grow up and leave the nest to begin their lives with their own partners getting together for the holidays can sometimes be difficult. Our children now have two families to consider when planning where their time will be spent for celebrations. This year Easter Sunday coincided with a special anniversary and a baby shower was being hosted on Saturday. Consequently the only day that suited everyone involved was Good Friday.
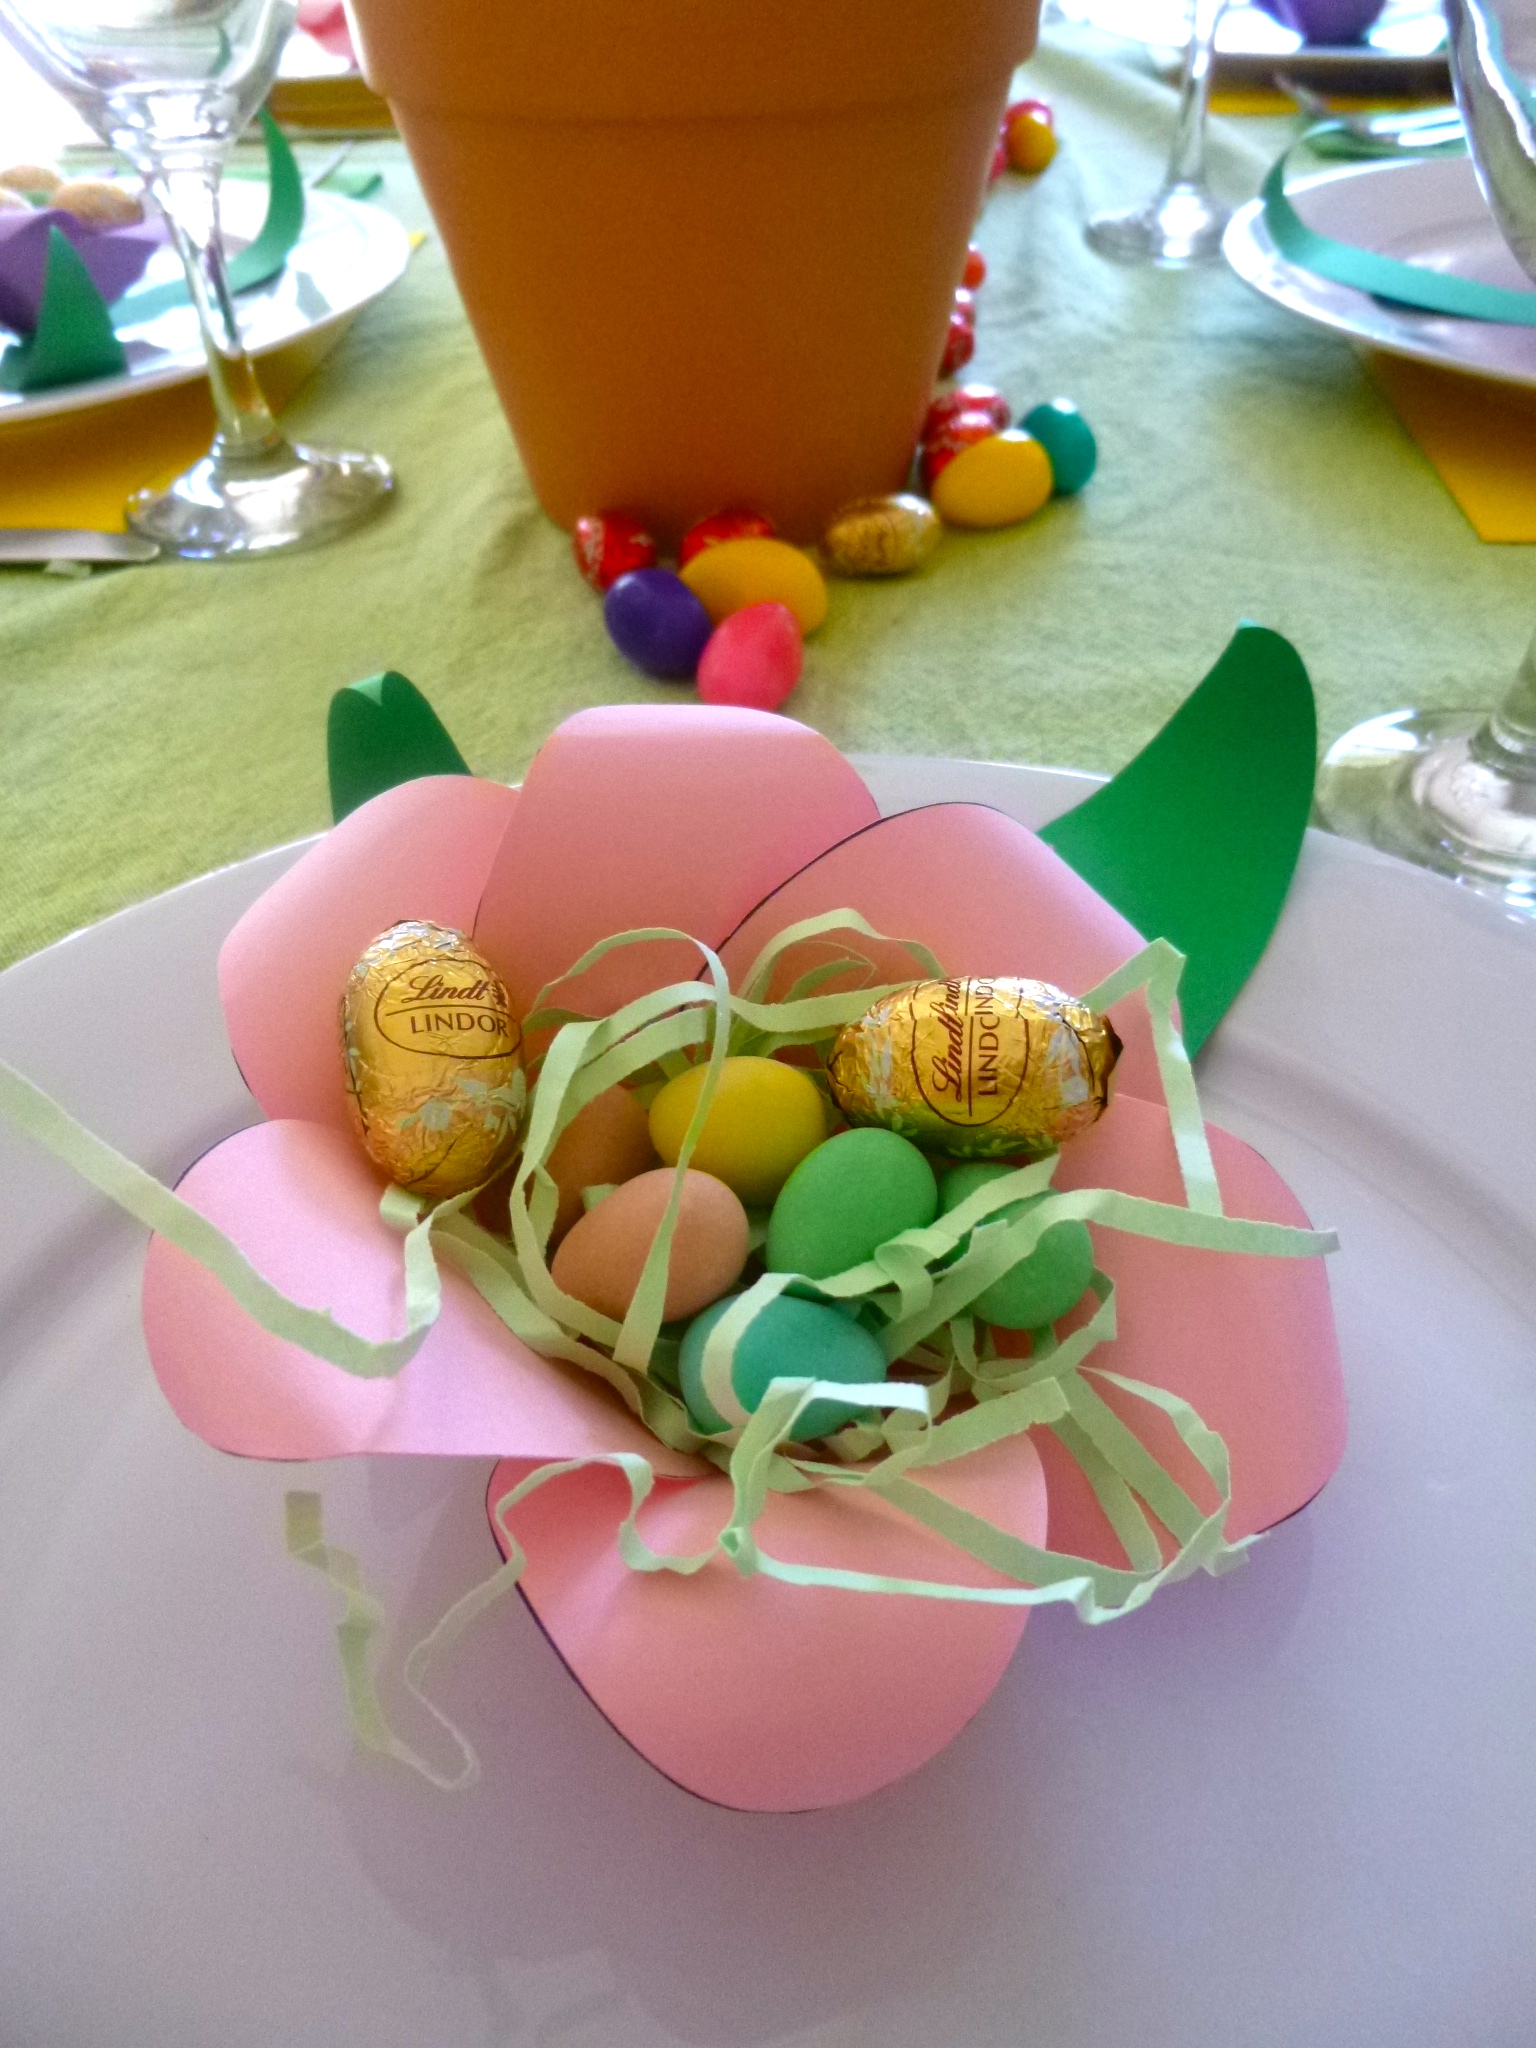
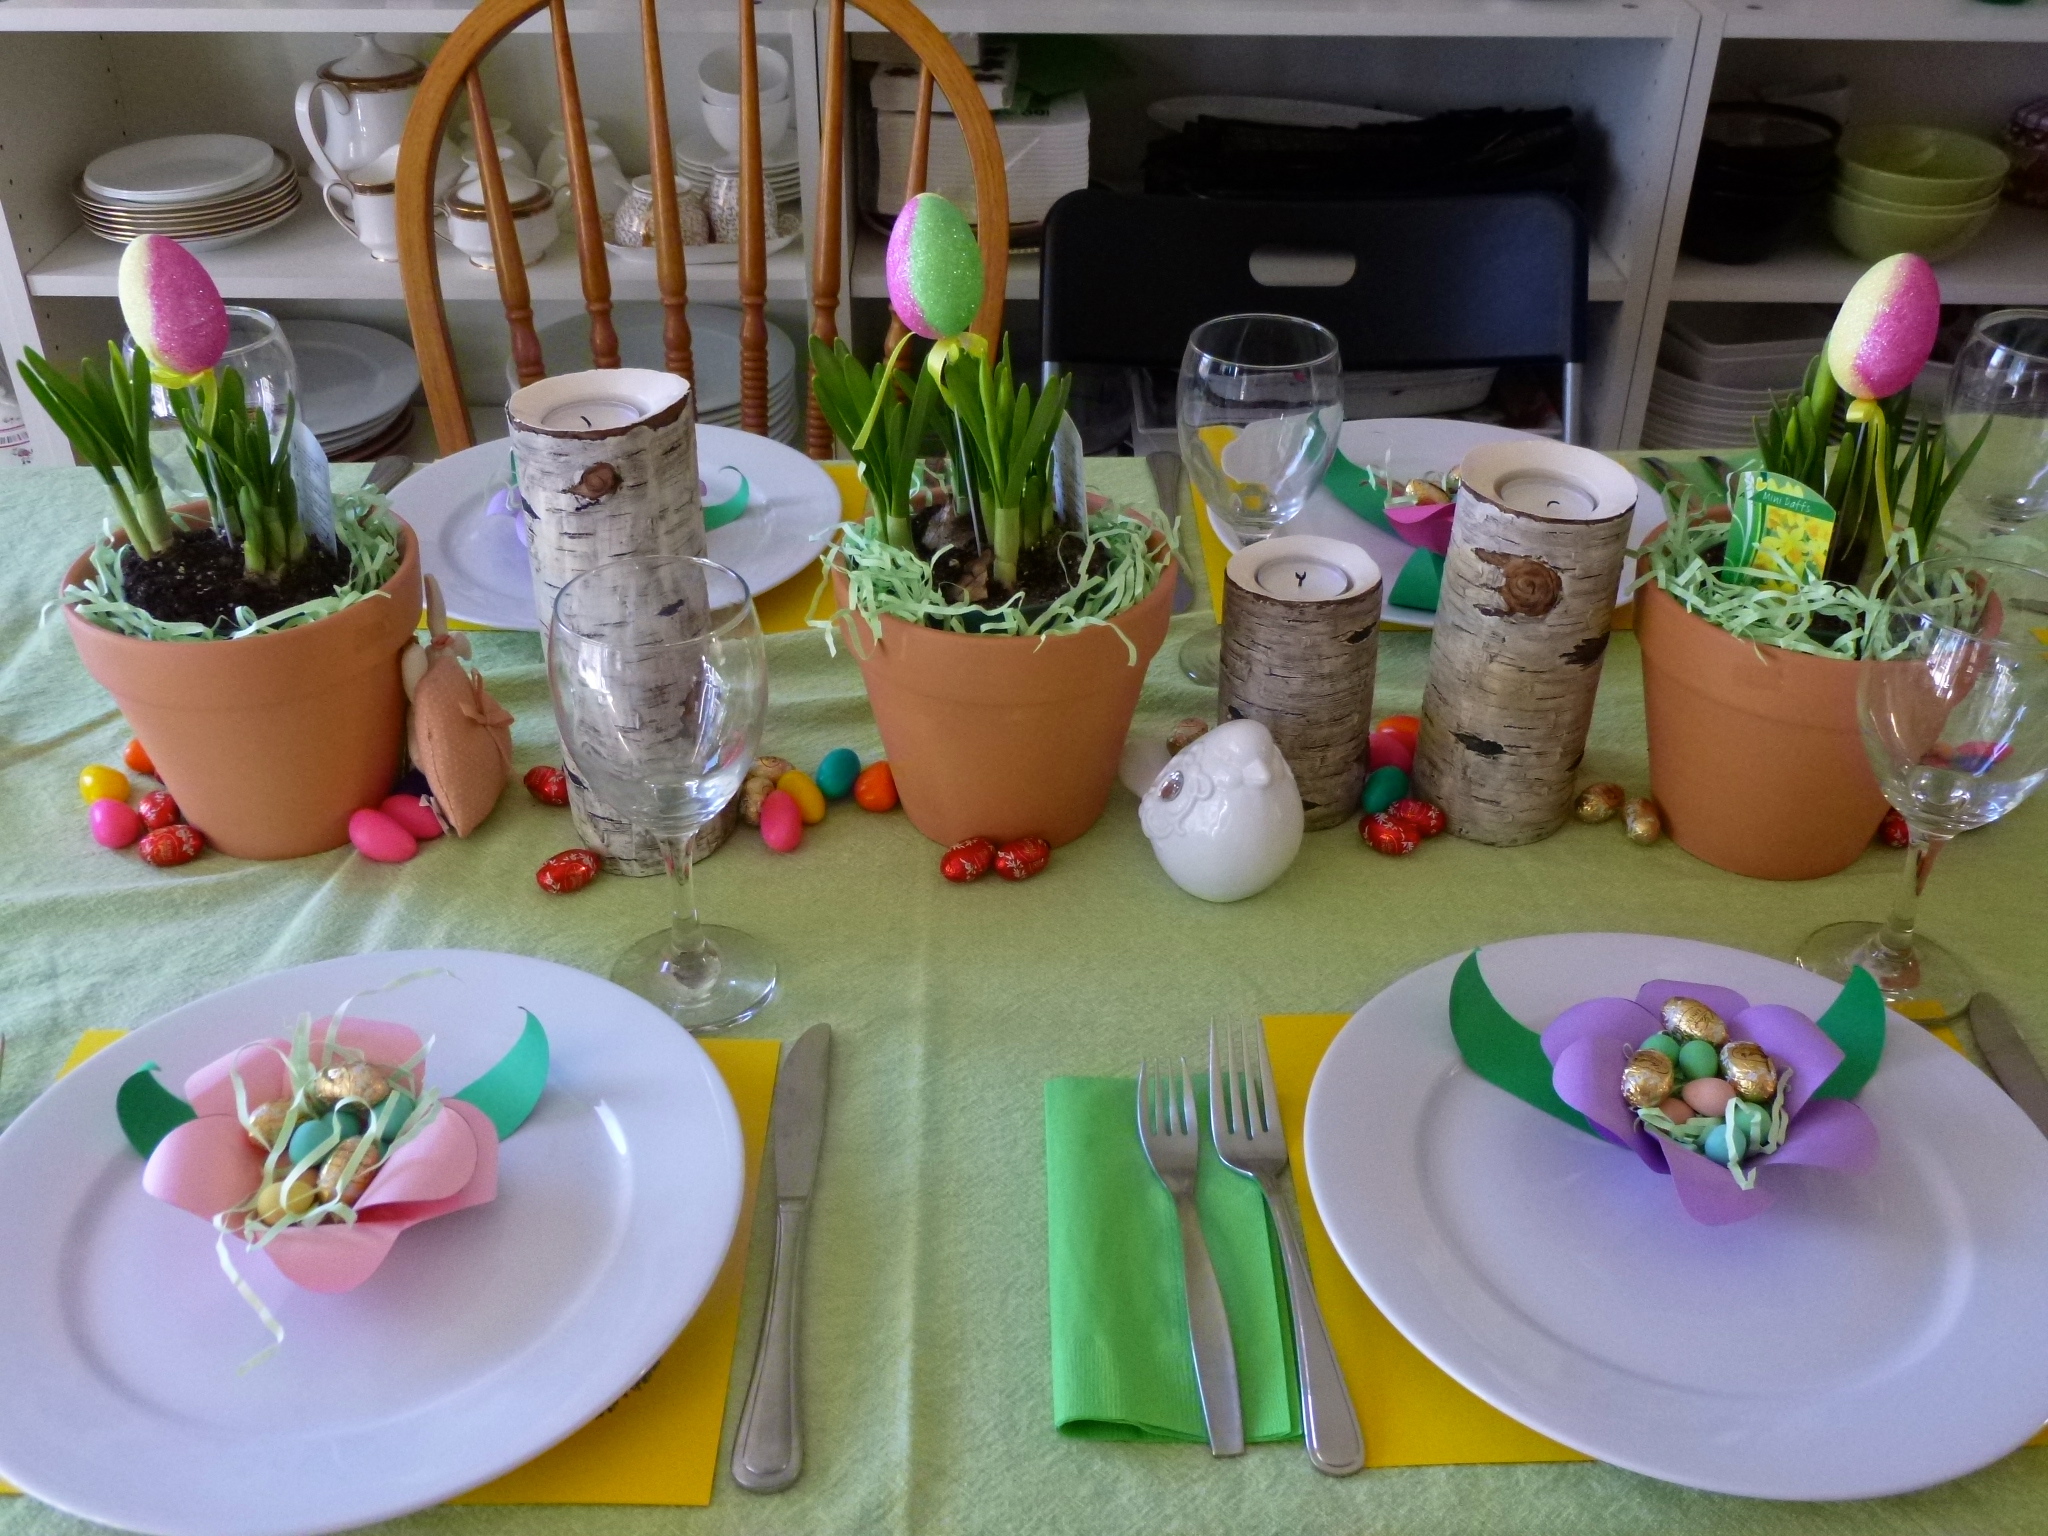
I’ve been down for the count all week with a viral respiratory infection and have spent much of my time searching for easy fun ways to decorate our table for our Easter lunch. I didn’t have to go far or search too long before I found inspiration in the form of paper tulip dishes that would greet each guest as they sat down to eat. The idea came from my daughter’s wedding blog over at Uschi and Kay
 For instructions go to:
For the other table decorations my inspiration came from Kate’s Creative Space. This woman’s creativity blows me away. I love her blog.

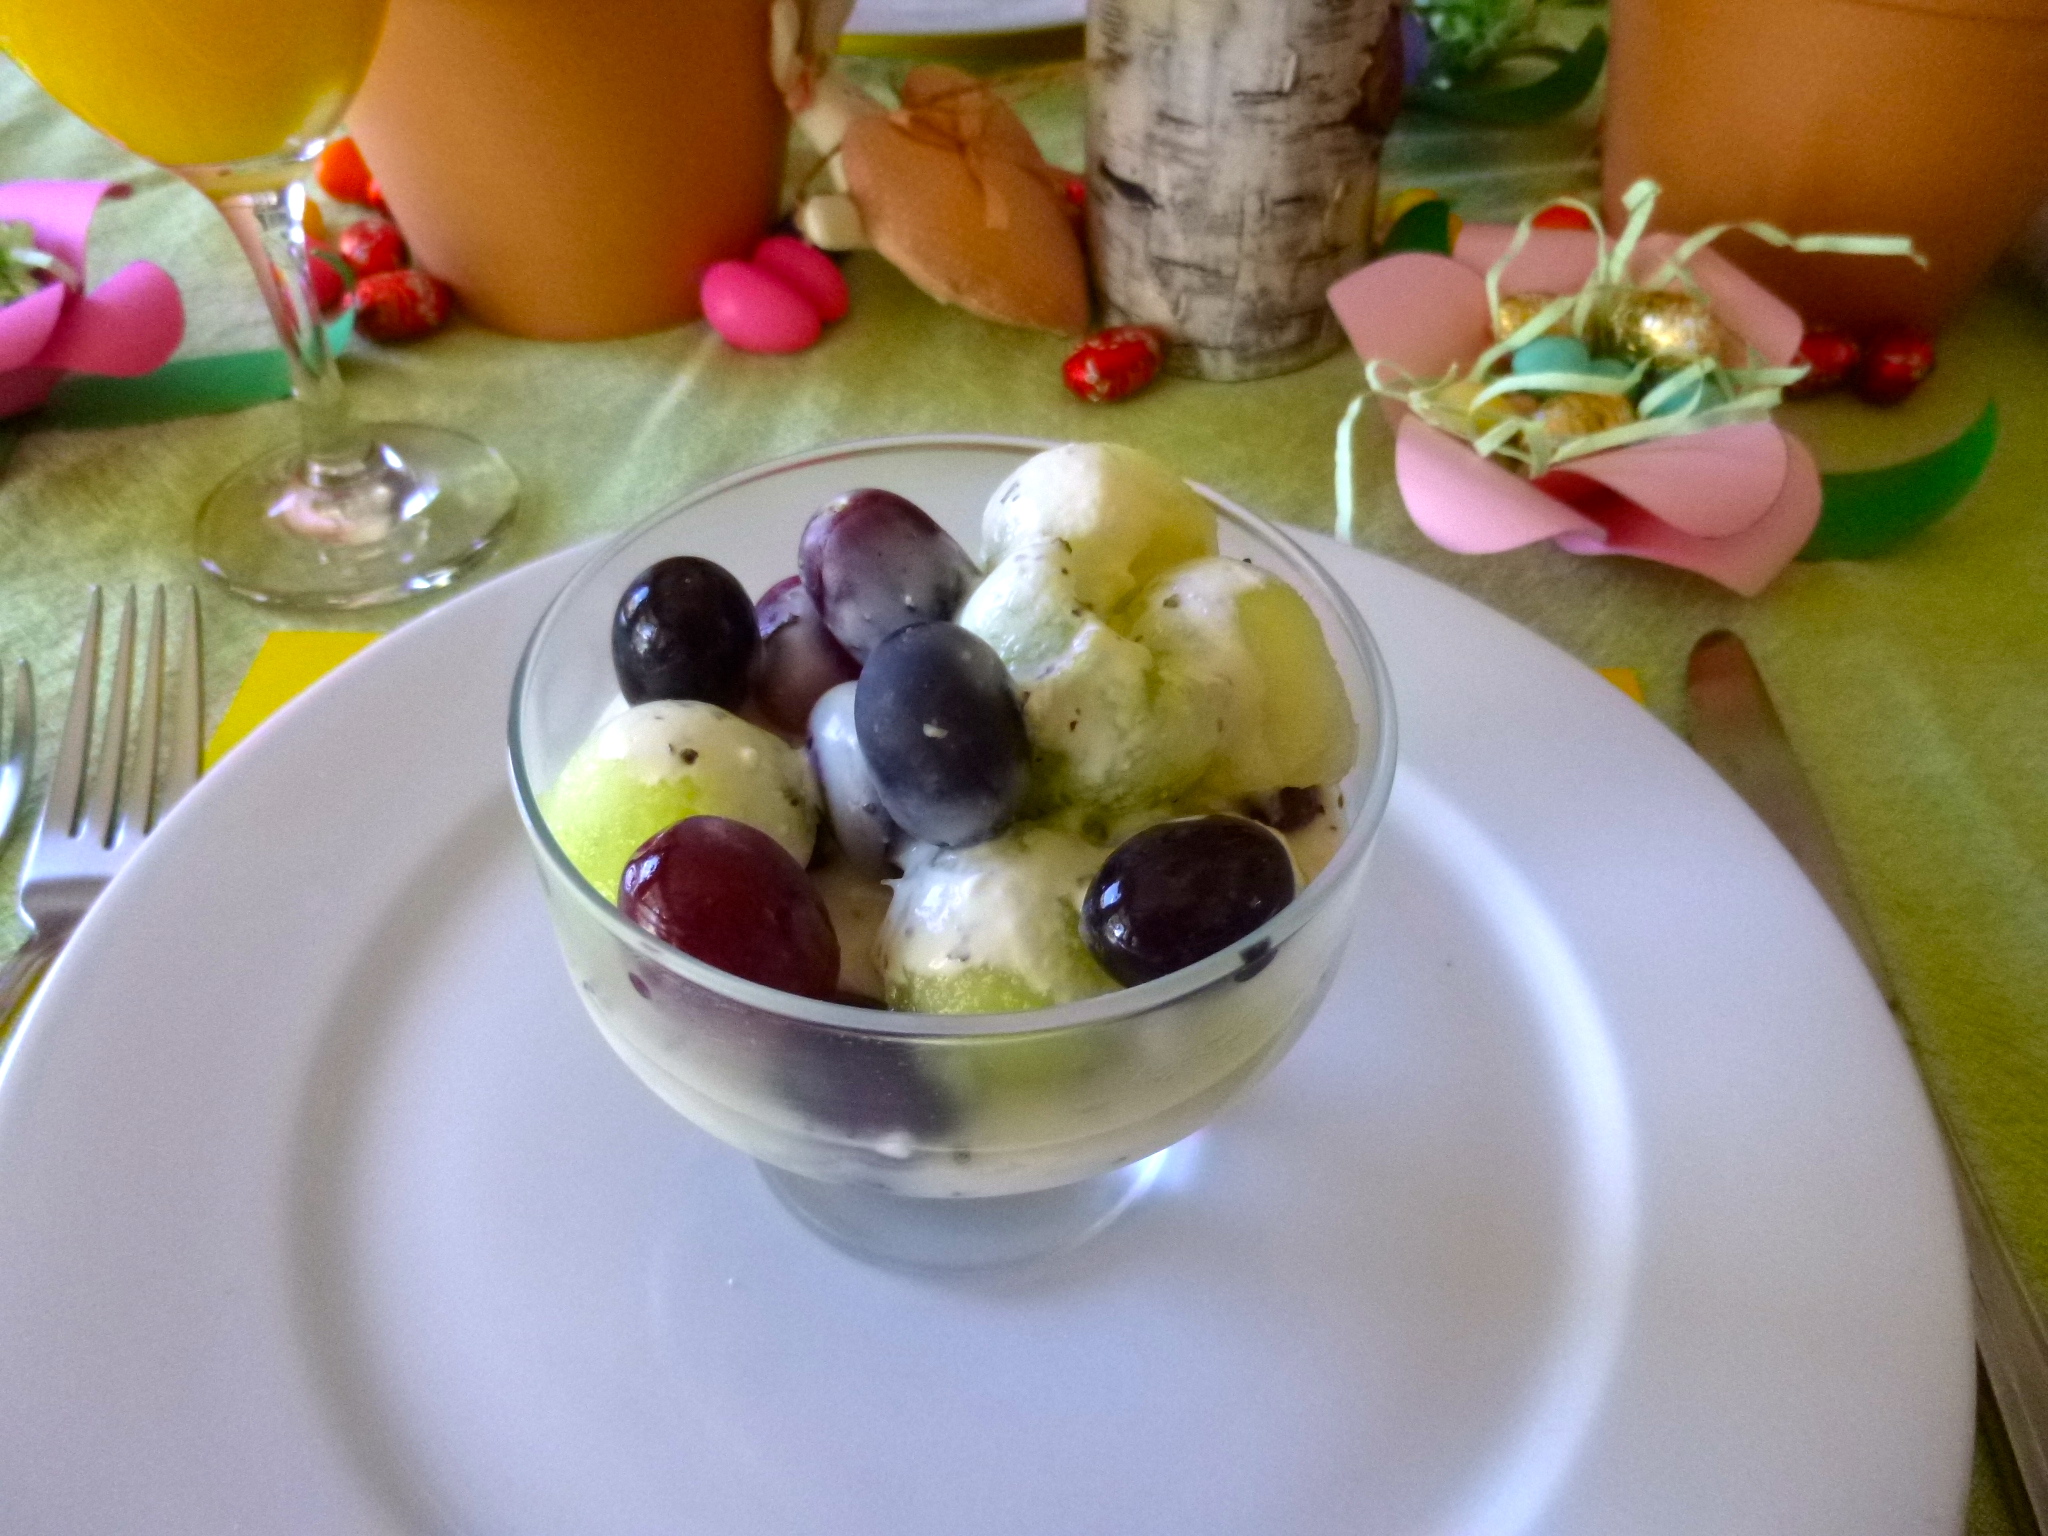
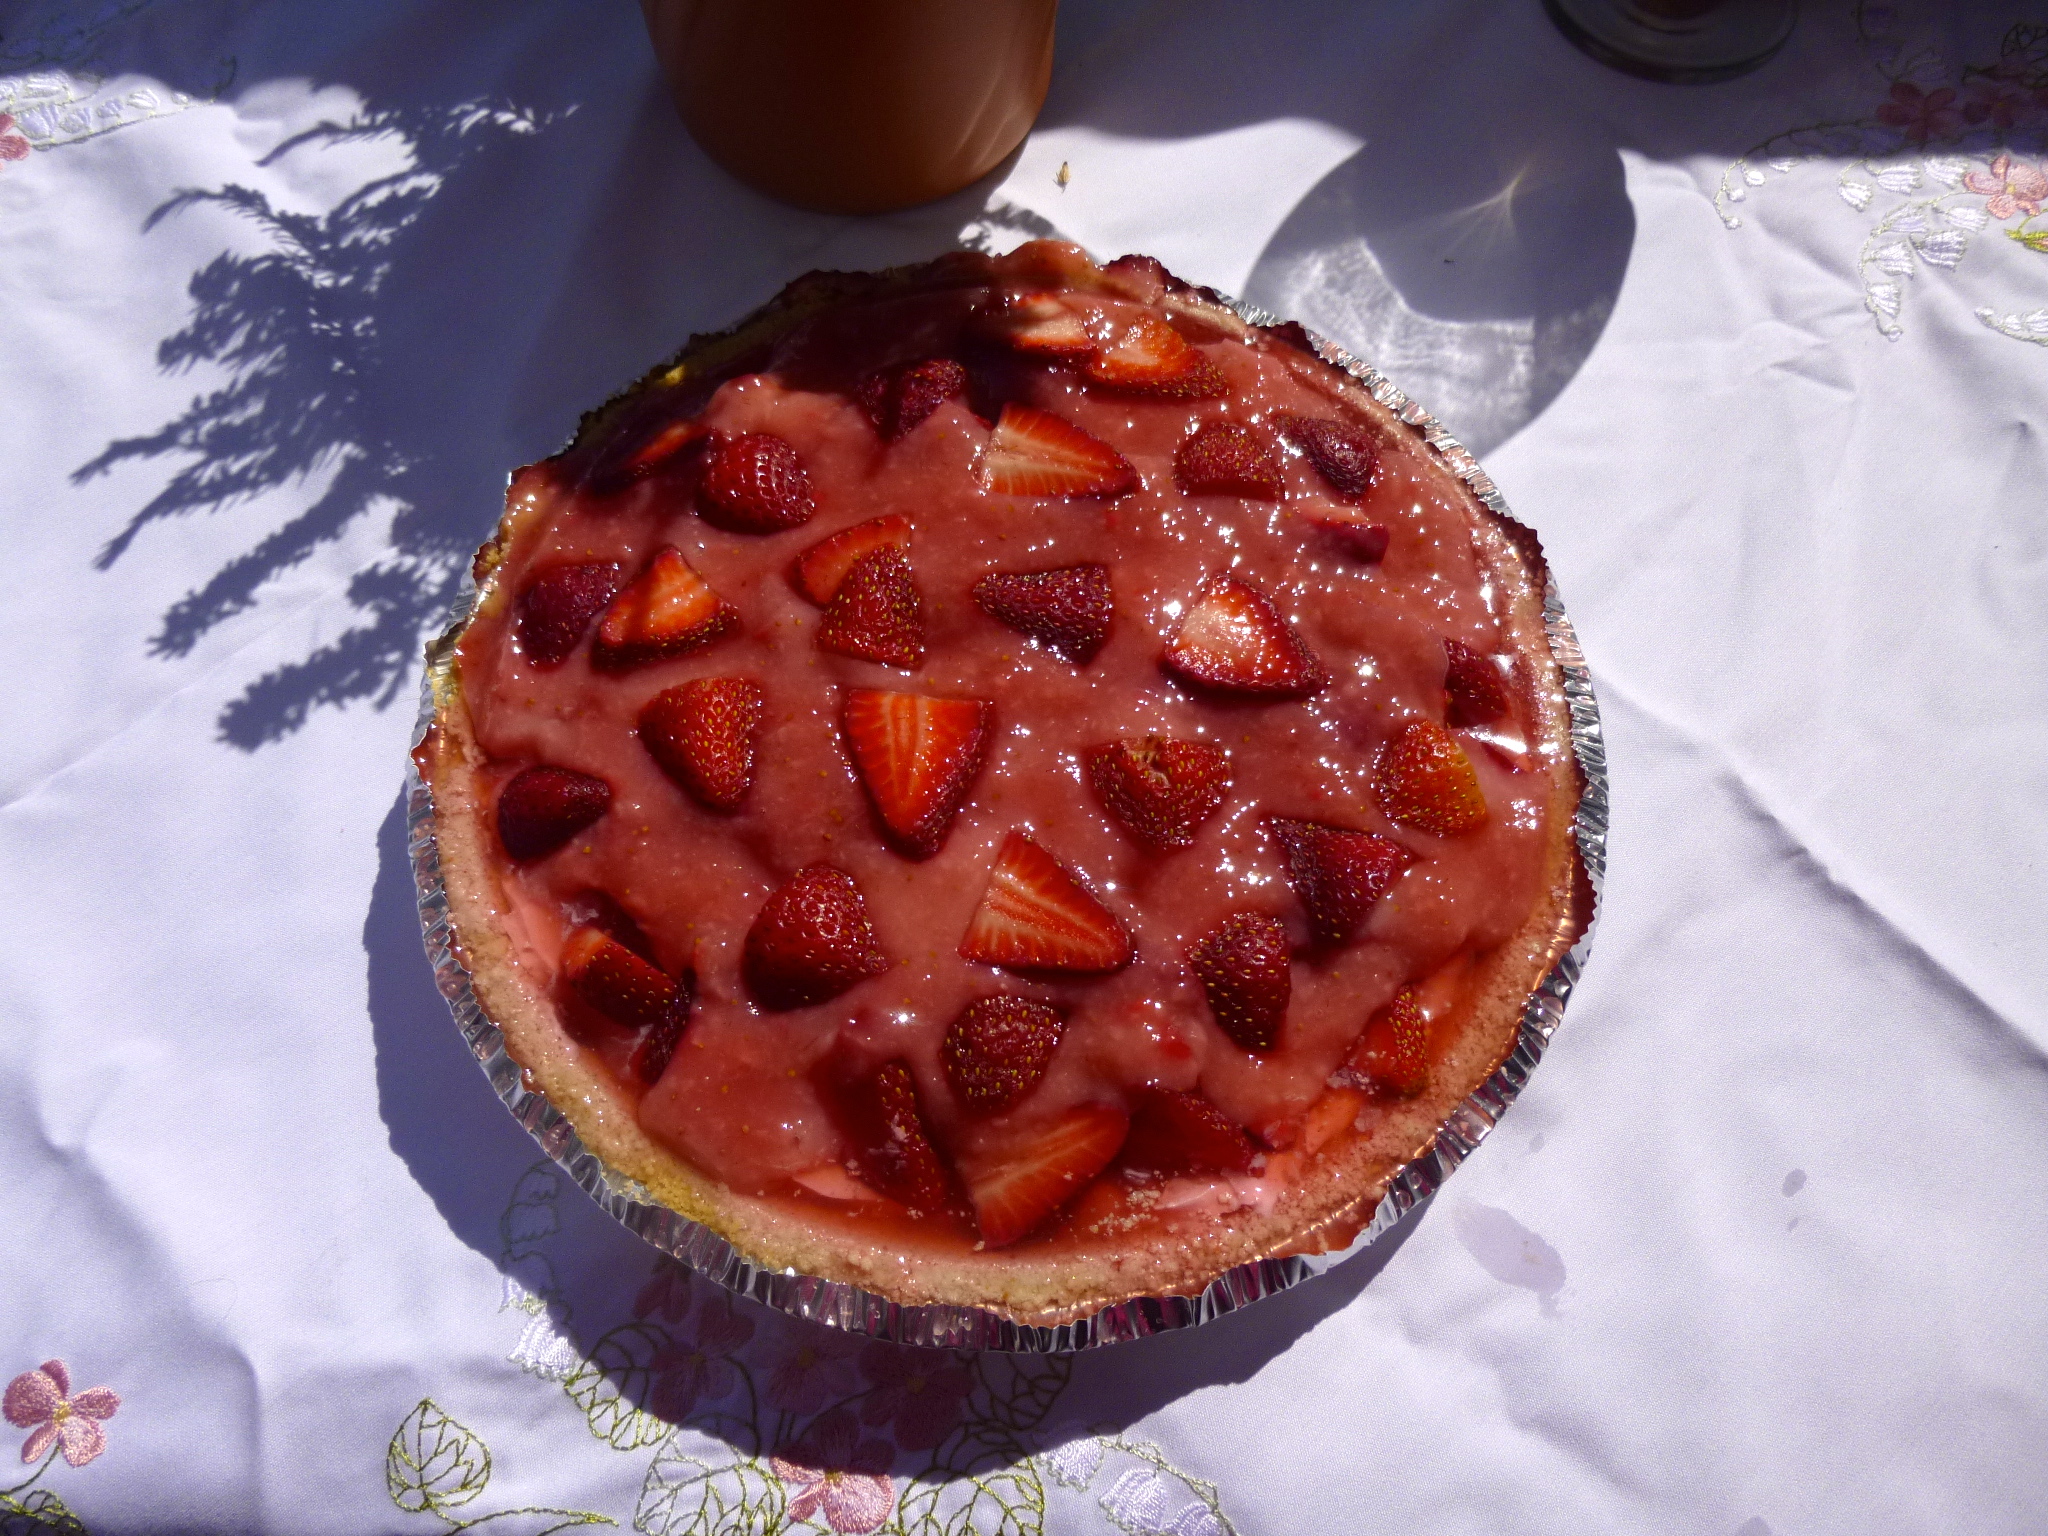
I don’t know if I’ve ever mentioned it before but my husband is a great cook and he planned, shopped and prepared the entire meal by himself. Last night he prepared the Ham, Peas and Rice Stuffed Phyllo Logs and Fresh Strawberry Pie. Today he continued prepping the Melon and Grape Salad with Basil Yogurt, baked the logs and prepared the Asparagus and Fresh Beans.


At the end of the day each of my daughters took home one of the mini daffodil plants, the paper tulip dish and a slew of chocolate and candy Easter Eggs. It was a lovely day. We had a few laughs, we talked to our son in Rotterdam via Skype, we sat on the deck and I didn’t cough too much. Happy, happy, happy!
