Paul Klee Inspired Art

….experimenting with Paul Klee’s style

The students in grades 1,2 and 3 that I teach art to were given a couple of quick assignments that could be finished in one or two periods. Seeing that we’re nearing the end of the school year this was important to me.

The first lesson I taught involved drawing a Klee style portrait. It didn’t have to be of a person. Many of the children chose to draw an animal. The technique that I used for this lesson came from Splat, Scrap and Glue Blobs and Deep Space Sparkle.

IMG_8621

This slideshow requires JavaScript.

A couple of weeks after introducing my students to Paul Klee, Carl Sonheim from  my on-line course Y is for Yellow also introduced us to Paul Klee but instead of portraits she focused on his grid paintings. Some of my classes needed a quick project that could be framed for Father’s Day so I took a chance and taught the children how to draw a grid and how to carefully use watercolours to fill in the spaces. I limited them to three colours of their choice and demonstrated how to control the water and the amount of colour to use. They learned how to mix the water with the paints and control and change the darkness and lightness of the colour. They also learned how to erase mistakes by adding more water and dabbing away the excess water.

I’m always impressed with students who actually listen and follow the directions. Very few children created ‘mud’ and those who did were able to fix it or when they started again created a much better product the second time around. One of the grade one classes framed their paintings with a frame from the dollar store and wrapped them up for Father’s Day. Children’s art always looks so nice when it’s framed. I would have loved any one of them as a gift.


Making Journals with Kids

….I’ve always wanted to try this technique of making an art journal from one sheet of watercolour paper

As many of you know I run a book club at my school that runs for about 5 months. The books that we read all come from the Forest of Reading program which feature Canadian authors. There are different books for different levels of readers. Each program is named after a tree. For example, the primary English picture books are called Blue Spruce and the books for the junior grades are named Silver Birch.

I usually start with over 100 readers from grades 3 to 5. Each student is given a passport and each time they finish reading a book they fill in the passport with a summary of the book. They then go to the expert reader (a teacher or grade 5 student) and are questioned about that particular book. Each time they answer the questions successfully they receive a credit or two, depending on the length and difficulty of the book. This year they were given the goal of obtaining a minimum of 12 credits in order to participate in the year end celebration.

It is a very doable goal, but some students became frustrated when the book they wanted to read had been checked out. There were 120 copies of the English books and 60 copies of the French books. In the end 34 students reached the goal and one student managed to read every single book. There were exactly 50 titles to choose from. This was a record for the book club.

For our celebration we organized two activities for the students. The first activity was a drama workshop that featured one of the Silver Birch books. It was run by our dynamic drama teacher.

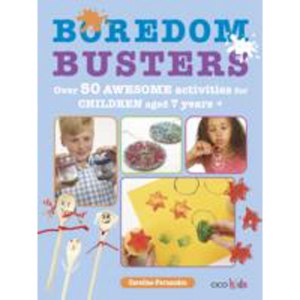
After that we were fortunate enough to book an author who had written one of this years non-fiction entries. Caroline Fernandez wrote Boredom Busters and talked to the children about the steps one has to go through to publish a book. The fact that amazed all of us was that for an $18.00 book the author received only 87 cents. Her presentation was very interesting and she loved the the fact that some of the students in the room had made some of the crafts from her book. 9781782491057_z

At lunch we invited the expert readers to come and join us for lunch. We ordered pizza and had juice and popsicles.

After lunch I taught the students how to make an art journal using one sheet of watercolour paper. The trickiest part was folding the paper so two of my colleagues who helped me with organizing the day pre-folded the paper. We only made the first two folds because the size of the paper was a little too large for small hands to manage but the students made the remaining folds. Then the paper was cut in three places and the folding began.

Each student was given two pieces of cardboard that they could decorate any way they wanted. I provided them with scrapbook paper, stickers, stamps, collage papers, letters, and markers and pencils. Once the covers were decorated the end papers of the folded journal were glued to the covers. Each student was also given one or two colourful elastics to hold their journals shut.

The students had a wonderful time making their personal journals and some of them started to draw and paint in them as soon as they were finished. Here are a few of the finished projects. If you would like to try making one of these journals watch the video following the picture gallery.

Here is video for making the journals:

Making a simple journal


A New Art Form for Me

….acrylic still life

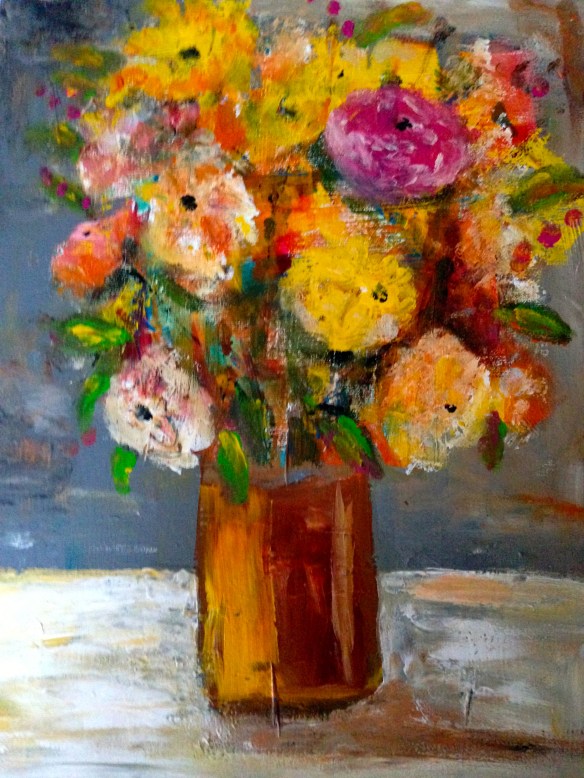
I’ve done still life in watercolour and pencil crayon and I’ve played with acrylics mixed with glazes. In the last two weeks I’ve been checking out Bob Burridge’s youtube channel and decided to try his technique of laying down lots of colour and then painting in the negative space to create a vase of flowers. Here’s one example of how I started. It is actually the second piece that I painted.

It’s hard to imagine that the finished piece came from the first painting but it did.

I had so many positive comments on my first piece using this technique that I decided to donate it to our school’s silent auction. Here’s what it looks like. I have since framed it.

IMG_8136

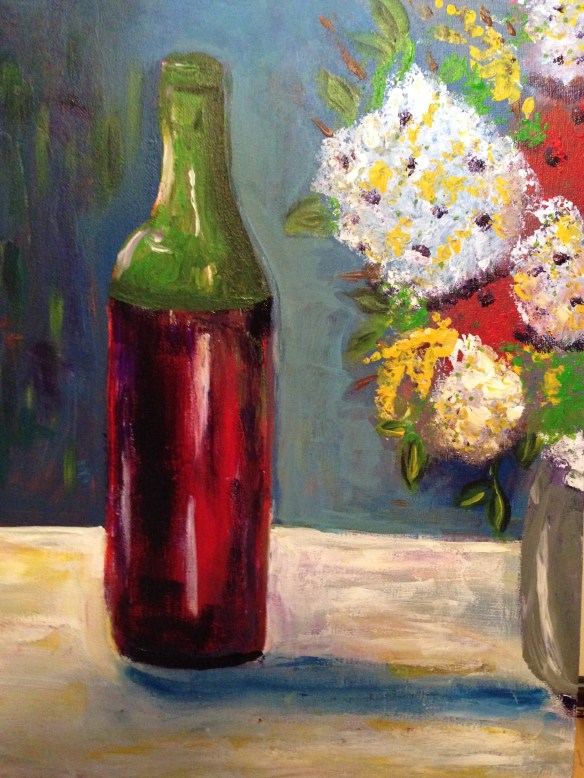
I went on to painting a wine bottle using a slightly different technique but the application of light and dark and adding a shadow are the same.

IMG_8293

Finally I painted a pear using a very simple circle/triangle technique to create the pear and then adding dark and light to the background and a shadow to create depth.

IMG_8295

If you’re interested in the technique I used for the flowers check out Bob’s video.

Bob Burridge


The 50 Mile Coat

…last weekend I attended the closing day of the EHS Inspires show at the Neilson Park Creative Centre  where the 50 mile coat had been completed and was on display

A good friend of mine is a member of the Etobicoke Handweavers and Spinners Guild. They recently undertook an enormous project that took 800 hours to complete. They designed and hand made a coat that used materials that were accessed within a 50 mile radius of the the studio where the materials where assembled and put together.

It started with the shearing of the wool from sheep in Pelham. The wool was then cleaned and carded and spun by hand into yarn. I don’t remember the numbers but there were several spinning wheels at the centre where members took turns spinning the wool into yarn. Neilson Park is in the middle of a naturalized park area and ladies of the guild collected plant materials to make natural dyes. One of the plants they used were marigolds. The yarn was dyed and then the loom was set up with the warping threads.

Once enough cloth was woven for the coat, the pattern (designed and made by one of the members) was pinned to the fabric and cut out. The entire coat was hand sewn with thread that was also handmade. The buttons were made from wood that came from another members property and carved into beautiful shapes. My friend made the felted colour for the coat.

I’m sure I haven’t done justice to the long process that was involved in making this coat and I’ve probably missed some steps. Now that the coat is done it is going on tour. I’m not sure where it will end up but it certainly should be in a museum somewhere so that many more people can enjoy it.

The show also featured many other beautiful works of art made by the members of the guild. All the felted pieces featured here were made by my friend ML and the one piece at the top of the gallery of photos she describes as ‘a memory of the colour and textures of the Aran Islands on the west coast of Ireland’.

Georgia O’Keefe Inspired Art

….a great lesson for symmetry and using oil pastels

My grade 1, 2 and 3 classes were given a quick introduction to Georgia O’Keefe’s flower paintings. I had some beautiful calendar pages that featured some of her florals. I pointed out how she blended colours and how the whole page was filled with her flower image. Most of the classes had studied symmetry in their math classes so I showed them an example of symmetry in nature and one that was man-made.

For this lesson I wanted them to try and create a flower that had at least two lines of symmetry. I showed them how to divide their paper into equal quarters and then I started the flower from the middle. I demonstrated how to blend colours and over lay colours using oil pastels.

Most of the students got the concept and many loved adding more and more colour. When a student didn’t like their colour choices I showed them how to add white or peach to lighten or soften their picture. They were so open to trying this technique and most came back with a completely different picture and much happier with their project.

The first slideshow is work from my two grade one classes and the second one features larger samples from my grade two class.

This slideshow requires JavaScript.

This slideshow requires JavaScript.

Share Your World 2016 – Week 19

….thank you Cee  for some very unusual questions this week

You win a pet monkey but this isn’t just any old monkey. It can do one trick for you whenever you want from getting a pop out of the fridge to washing your hair. What would be the trick?

When I saw this question I couldn’t help but think about the Ikea monkey and all the grief the owner went through for owning a monkey. Washing my hair? Never! I’ll think I’ll pass on this question. I could never own a monkey regardless of the talent it may have.
What caring thing are you going to do for yourself today?

Today I went to see a chiropractor. In the last two weeks I’ve had chronic pain in my upper thigh and the side of my hip. It all started on the day that I walked 18 000 steps. I thought it would go away on it’s own but the pain persisted. I discovered that I have bursitis in my hip as a direct result of that long walk. I was tugged at, pushed and pulled. It hurt! The good news is that it felt better when I was done. My homework is to do some exercises, apply ice and not start any new exercise program. No running or long walks. With a few more visits my hip should be ‘all cleaned up’ before I go to Italy in July.
What color do you feel most comfortable wearing?

Believe it or not I love wearing bright colours like royal blue and red. I also like white, peach and periwinkle.
Complete this sentence: When I travel I love to….

….check out quaint little shops, markets and art galleries. I love outdoor cafes and restaurants that the locals eat at.
Bonus question: What are you grateful for from last week, and what are you looking forward to in the week coming up?

I’m grateful for a wonderful Mother’s Day weekend. I drove to the finish line for the Sporting Life 10k Run that my oldest daughter, her partner and her brother-in-law participated in. All three finished in great times.

We then drove to Hamilton where we met up with my husband and our youngest daughter and her little family. We had a great time playing with the baby and enjoyed a wonderful meal together.

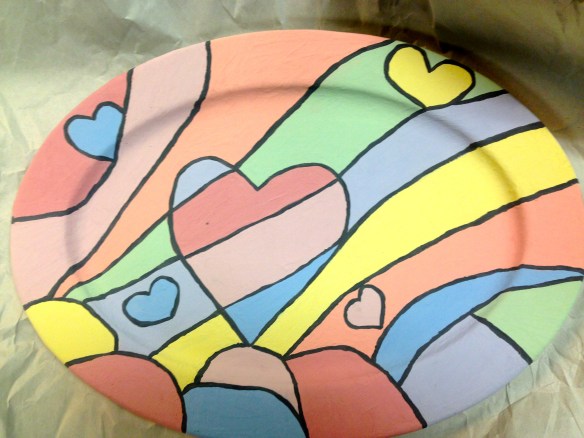
It’s been a great week at school. The children did really well at the West Conference track and field meet and many of them are moving on to the city finals. All the plans for our Forest of Reading book club celebration are now in place and the silent auction contributions from the classes have been completed by the students and are ready to be fired. Here is the platter that my grade 3 class designed and painted. I did the black lines. I can’t wait to see what it looks like after it’s been fired. IMG_8139
The other thing that I’m grateful for was the amazing lunch that the parents put on for the staff for ‘Teacher Appreciation Day’. They really go all out. They used the library and came in the night before to set it up and decorate it. The food was over the top and there was so much left over that we had a second meal the next day. I also appreciated the fact that there were lots of things  that I could eat and still stay on my ‘diet’.

I’m looking forward to a great day on Friday when the students who earned their 12 reading credits come to our Forest of Reading Celebration. We have an author coming to talk to the students, a drama workshop and a hands on journal making workshop plus a pizza lunch for the successful students and the staff who participated as expert readers.

I’m also looking forward to creating more paintings. I’ll write more about that in another post in the next few days.

Cheers!
 

Starting With a Child’s Piece of Art

….an assignment from one of my many on-line classes

One of the classes that I’ve taken this year is from Sketch Book Skool.  We had 6 different instructors who all assigned different sketching and painting projects. One that especially intrigued me involved getting a young child to draw in my sketch book and then work a drawing around the child’s original piece.

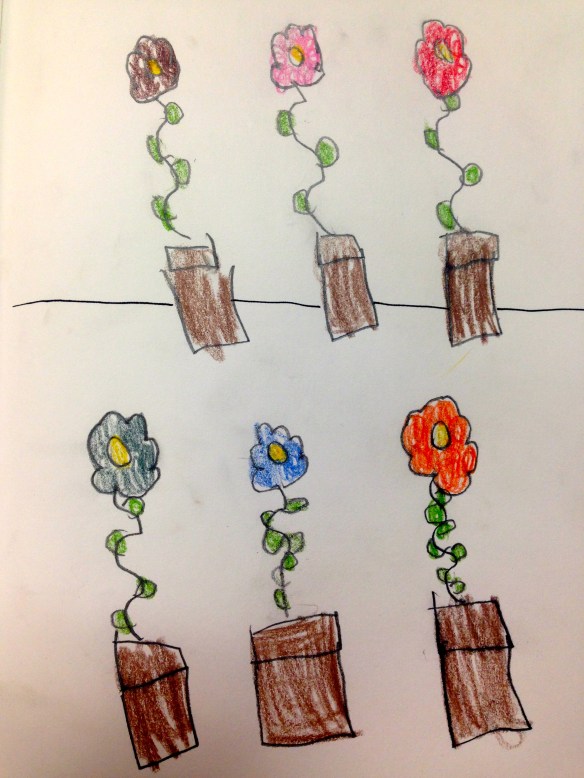
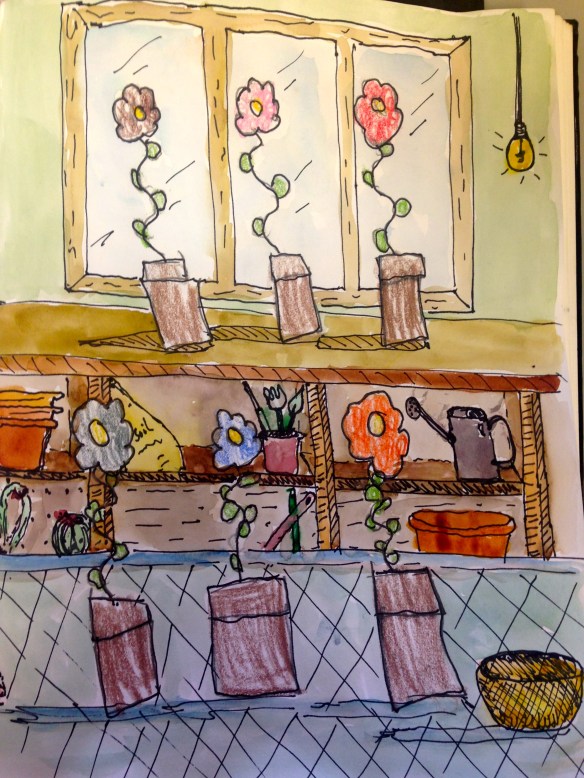
At school I have a couple of students who like to come to the library after school and help me put books away. When I was given this assignment I asked J in grade one if he would like to draw in my book and then allow me to draw around his work and create a new piece. He was more than happy to do that and he took my book and very carefully and thoughtfully began drawing his picture. I thought he might draw the typical house and tree with him and his family standing in front but to my surprise he drew six flower pots with a flower in each.

Here is J’s work and then what I created from it. I used watercolour and ink around the pencil crayon drawings.

IMG_8016IMG_8017