My Kitchen Reno

it started June 29th with an email to Bax Kitchens

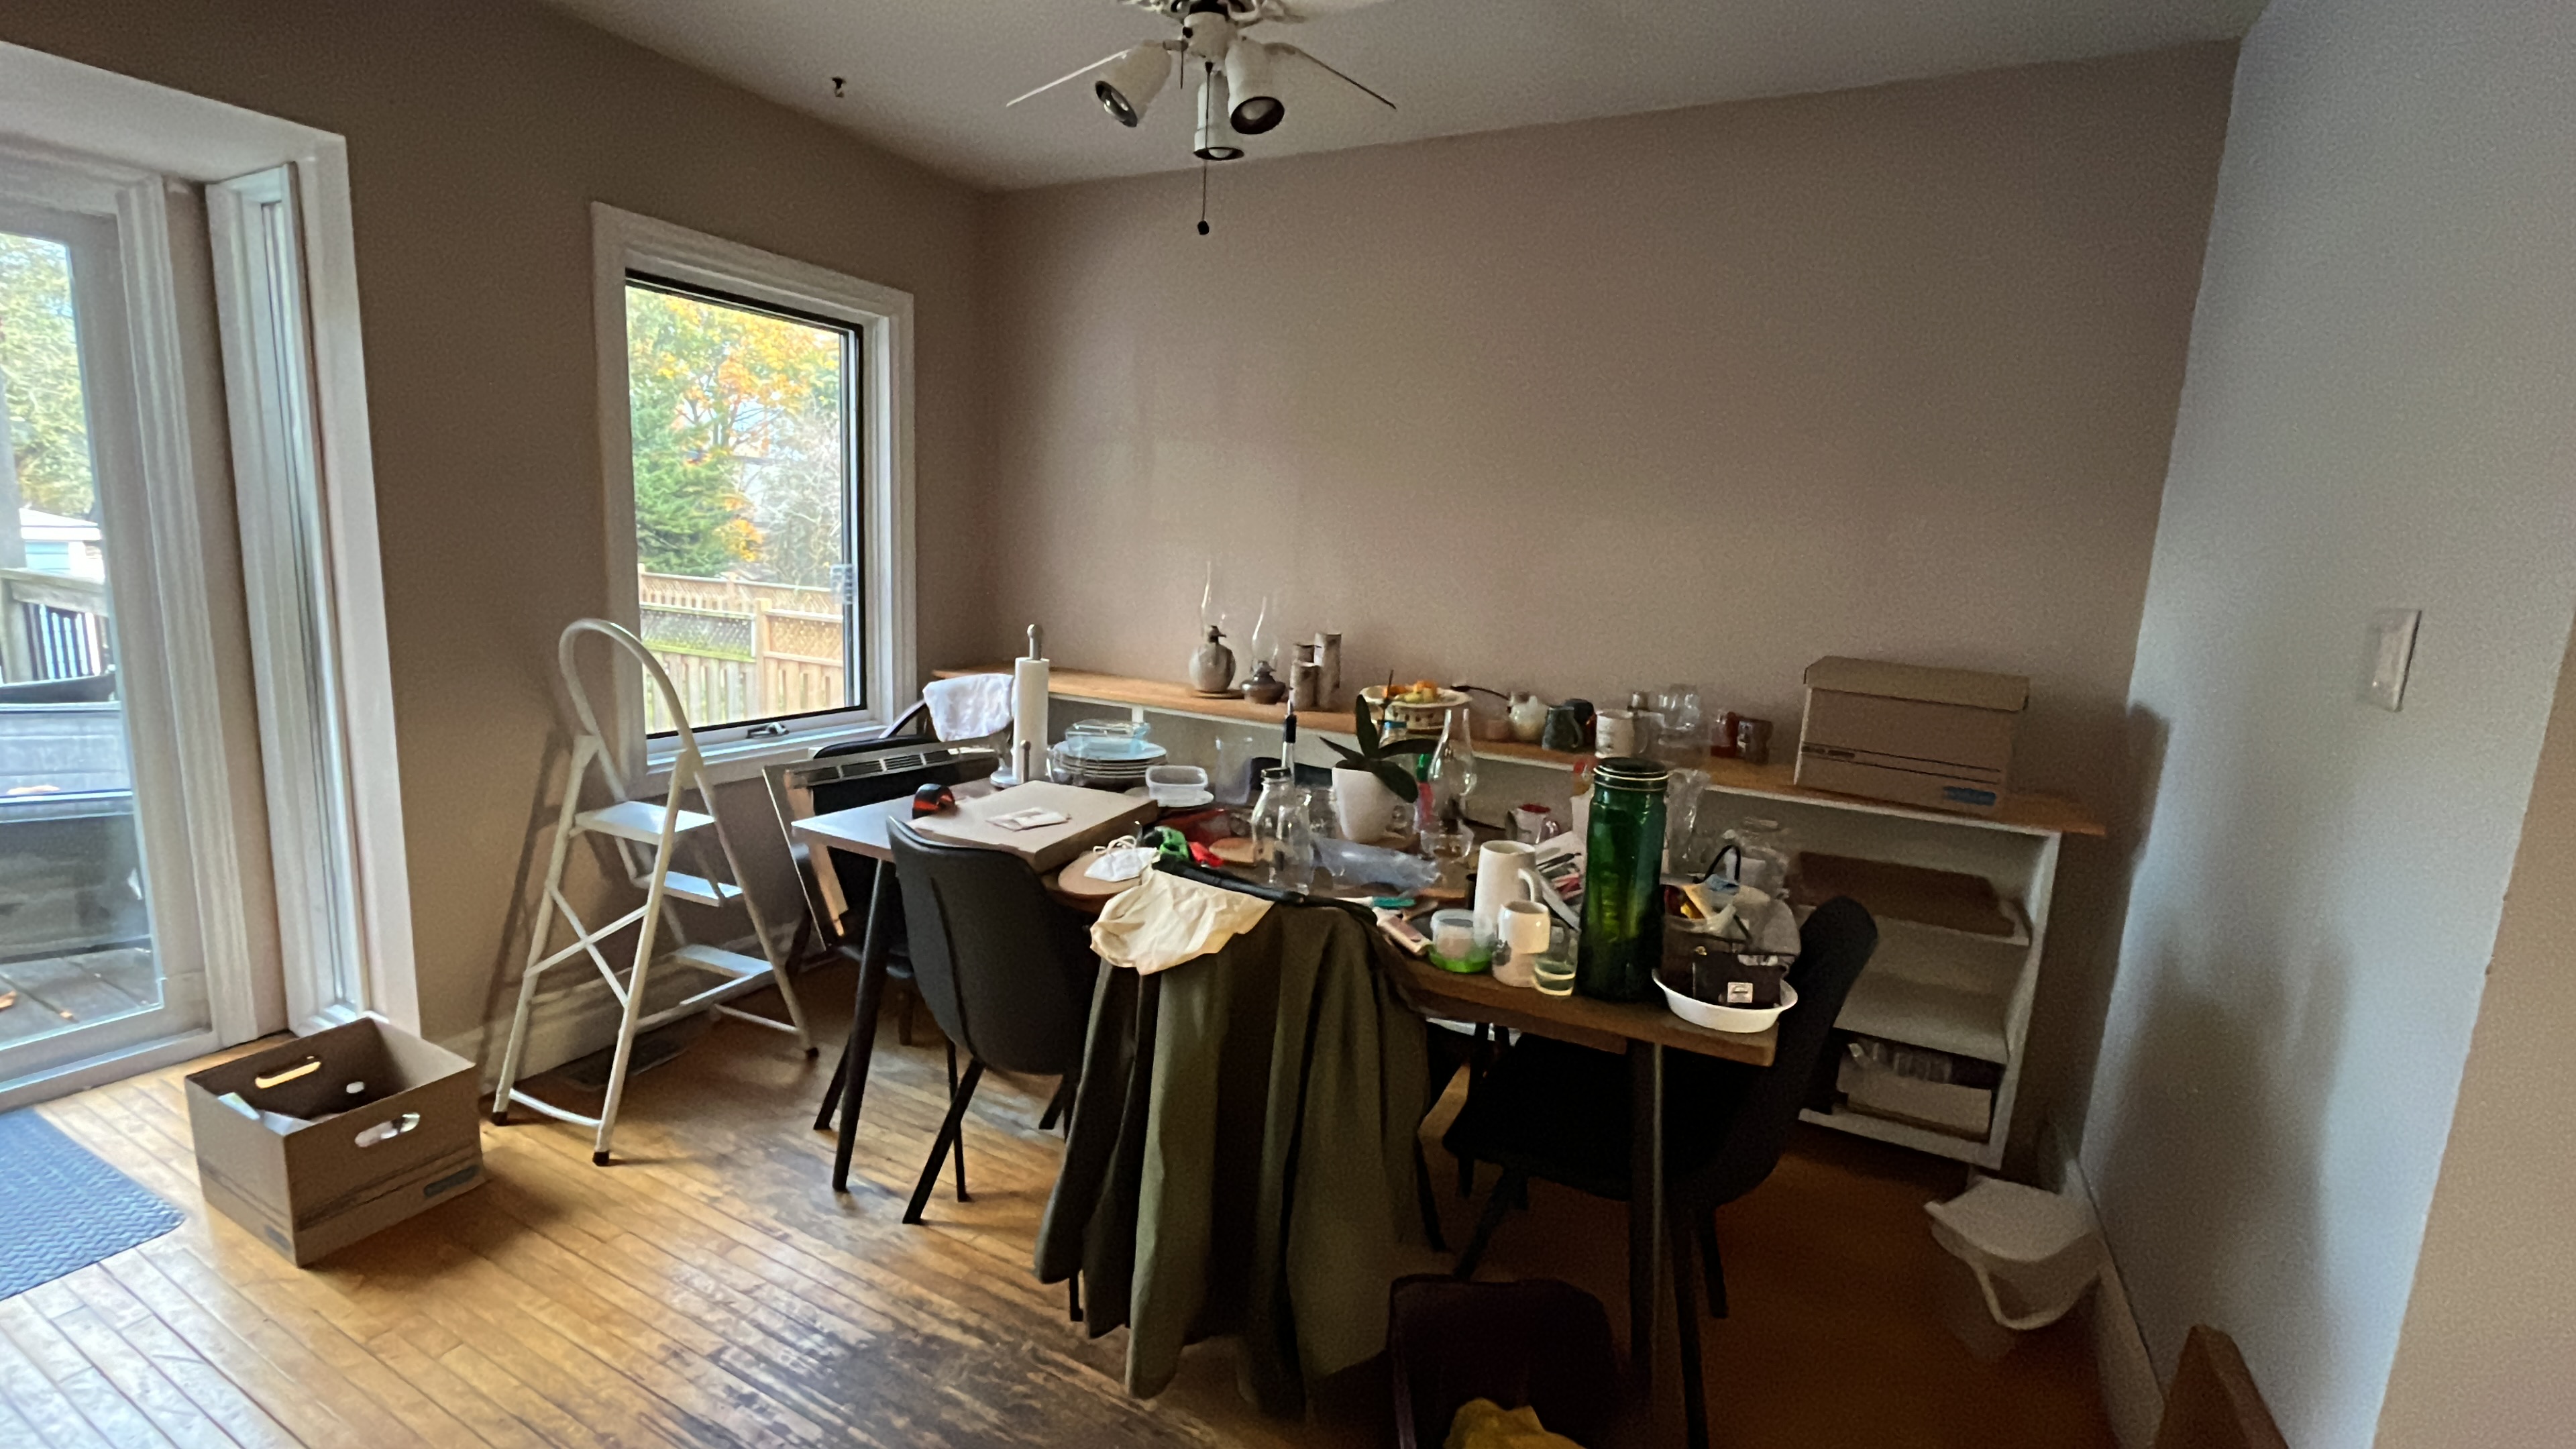
I was somewhat surprised that the first email took place over five months ago. The planning for this new kitchen really started in earnest in August. I decided to contract all the jobs that needed to be done by myself with the help of my husband. This included an electrician, painter, a new floor, appliances, demolition and of course the new cabinets and countertops.

Originally we only wanted a new island but the job kept growing. The first thing we did was buy some new appliances….a refrigerator (counter depth), and a wall oven and microwave. We also needed a new dryer because ours decide to give up the ghost at the same time. The dryer was delivered right away and the rest were put on hold until we needed them.

The kitchen designer visited the house and we made two trips to the showroom. When all the plans were finalized and we were given a rough estimation as to when the cabinets would be ready, we started to organize our workers. The first job was demolition. We hired a couple of young guys who had done some work for me at the cottage.

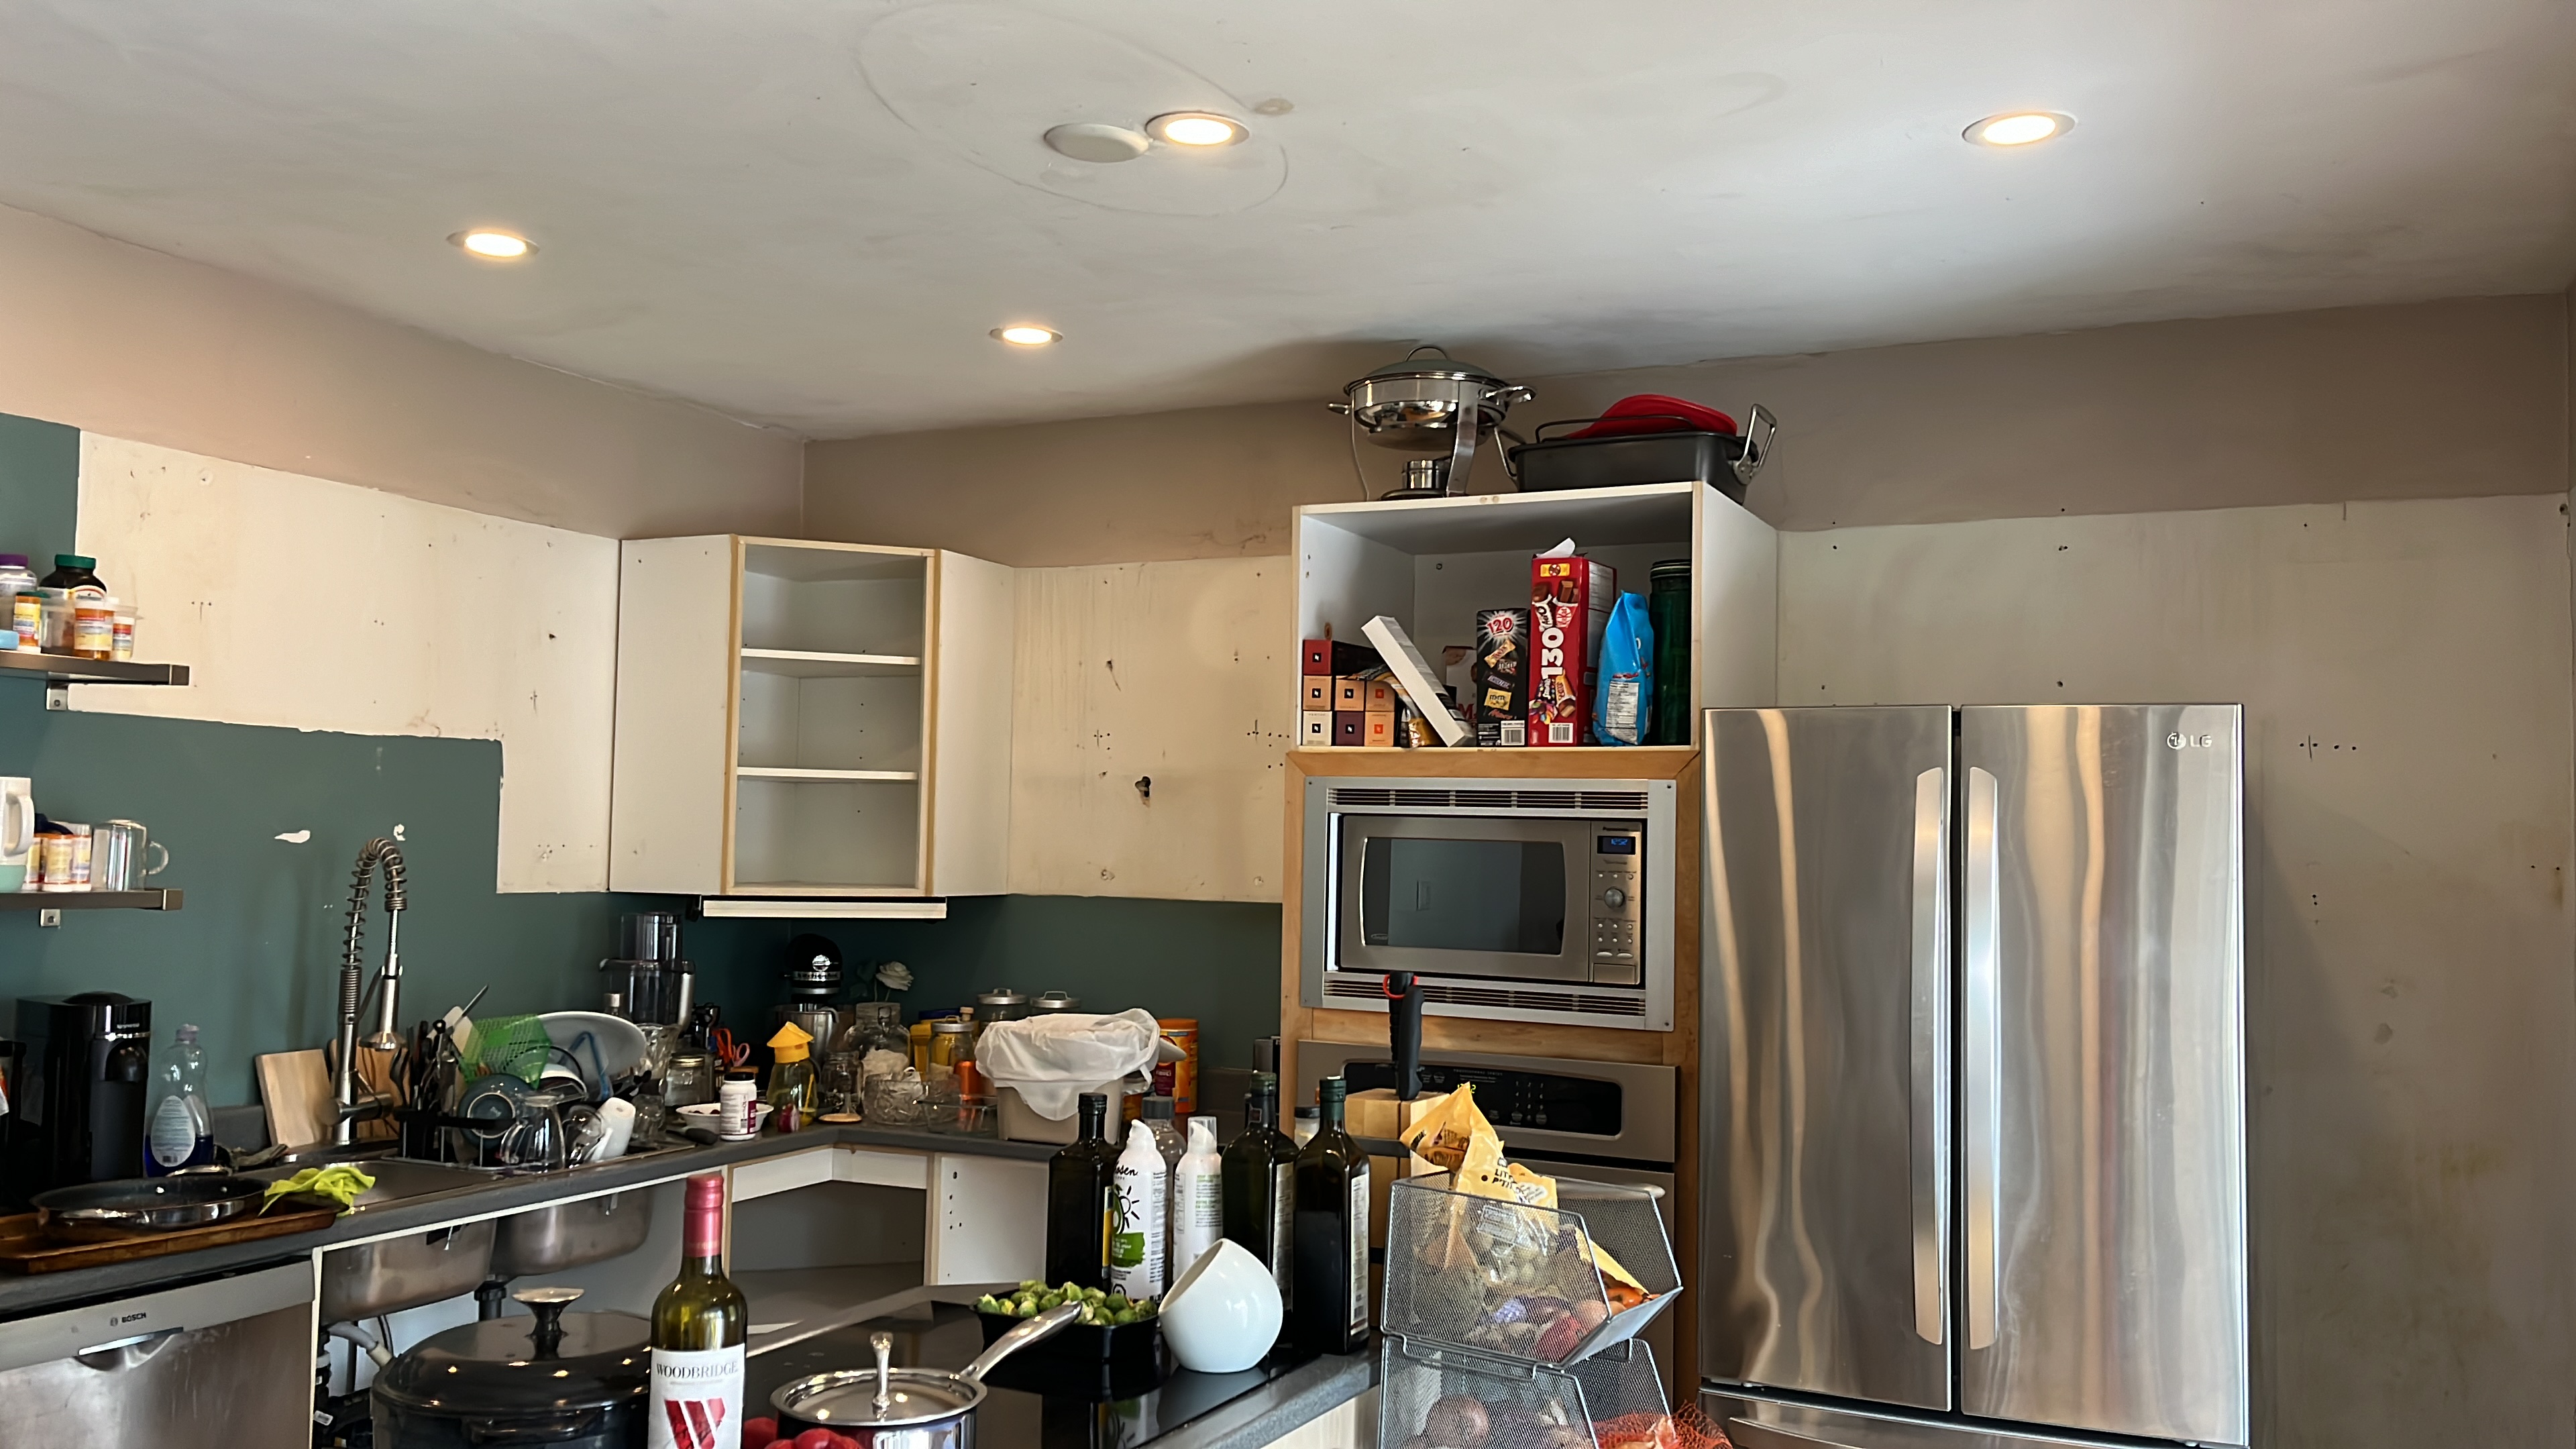
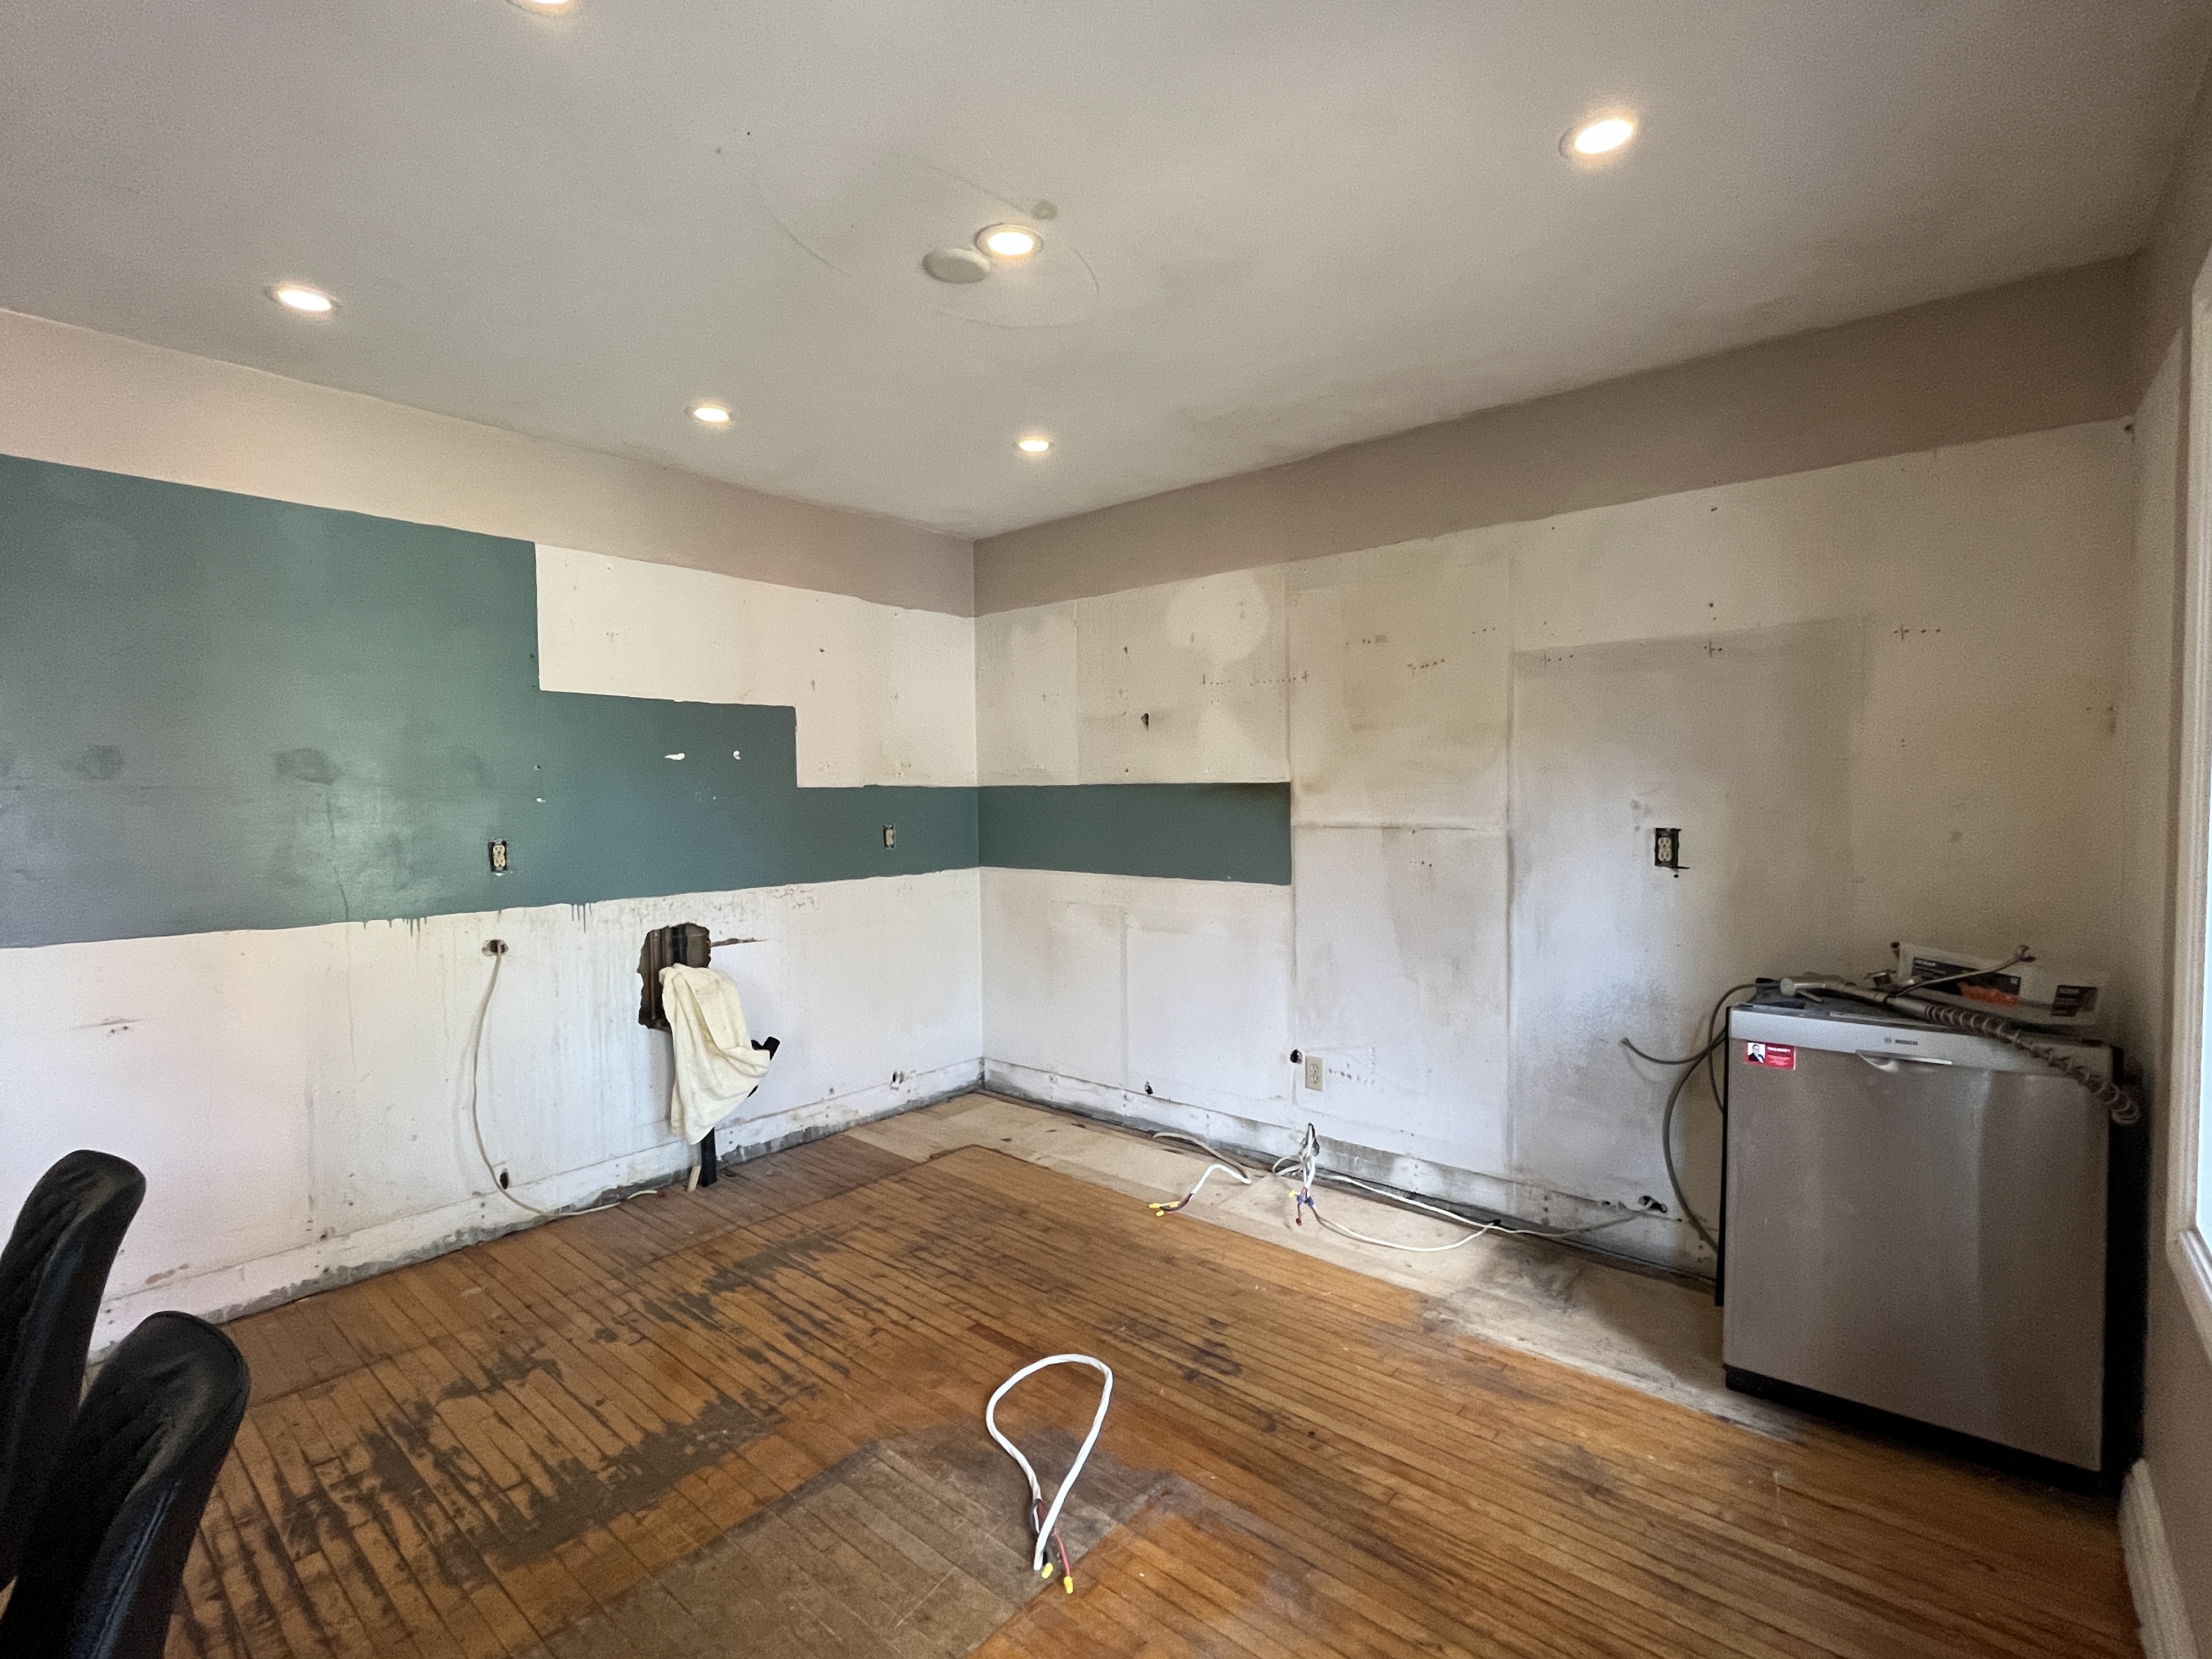
After Hallowe’en they came over with their truck and trailer and started pulling out the old cabinets, counters and appliances. My neighbour purchased my 5 year old fridge. The wall oven and microwave went to the dump. All the cabinets were loaded into the trailer and the boys drove them directly to the waste station. After six hours and two truck loads of construction waste, the demolition was complete.
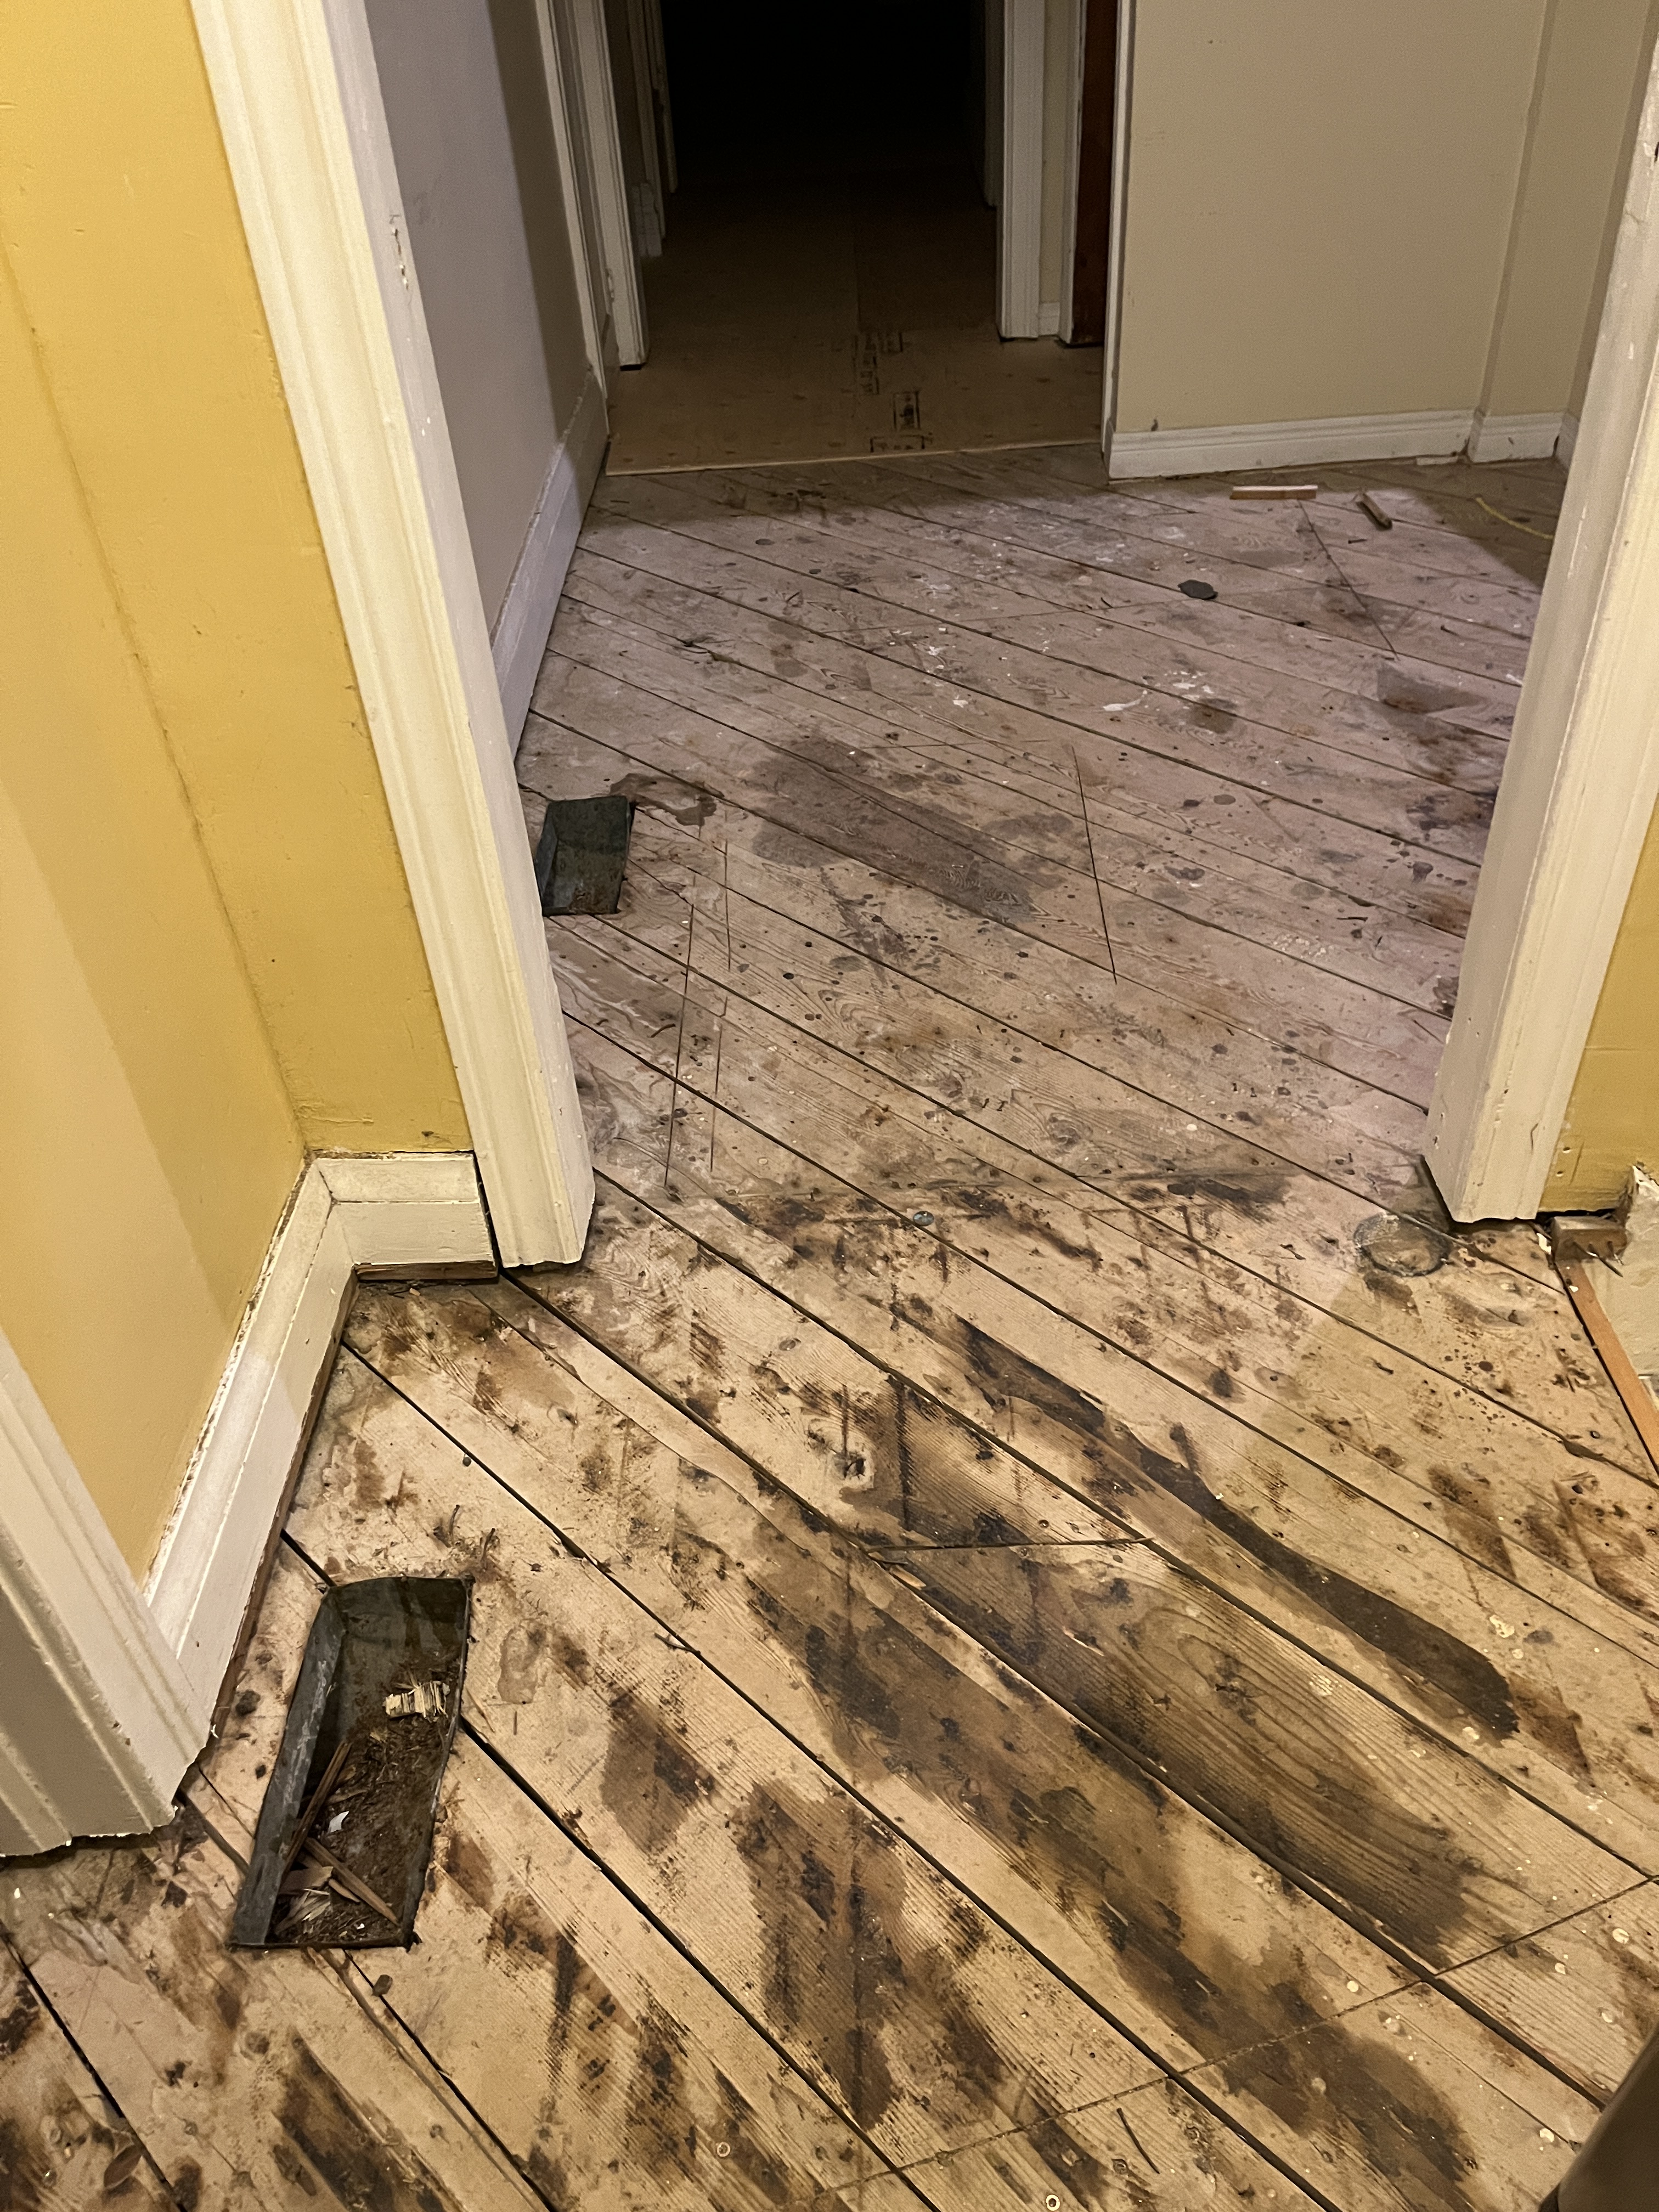
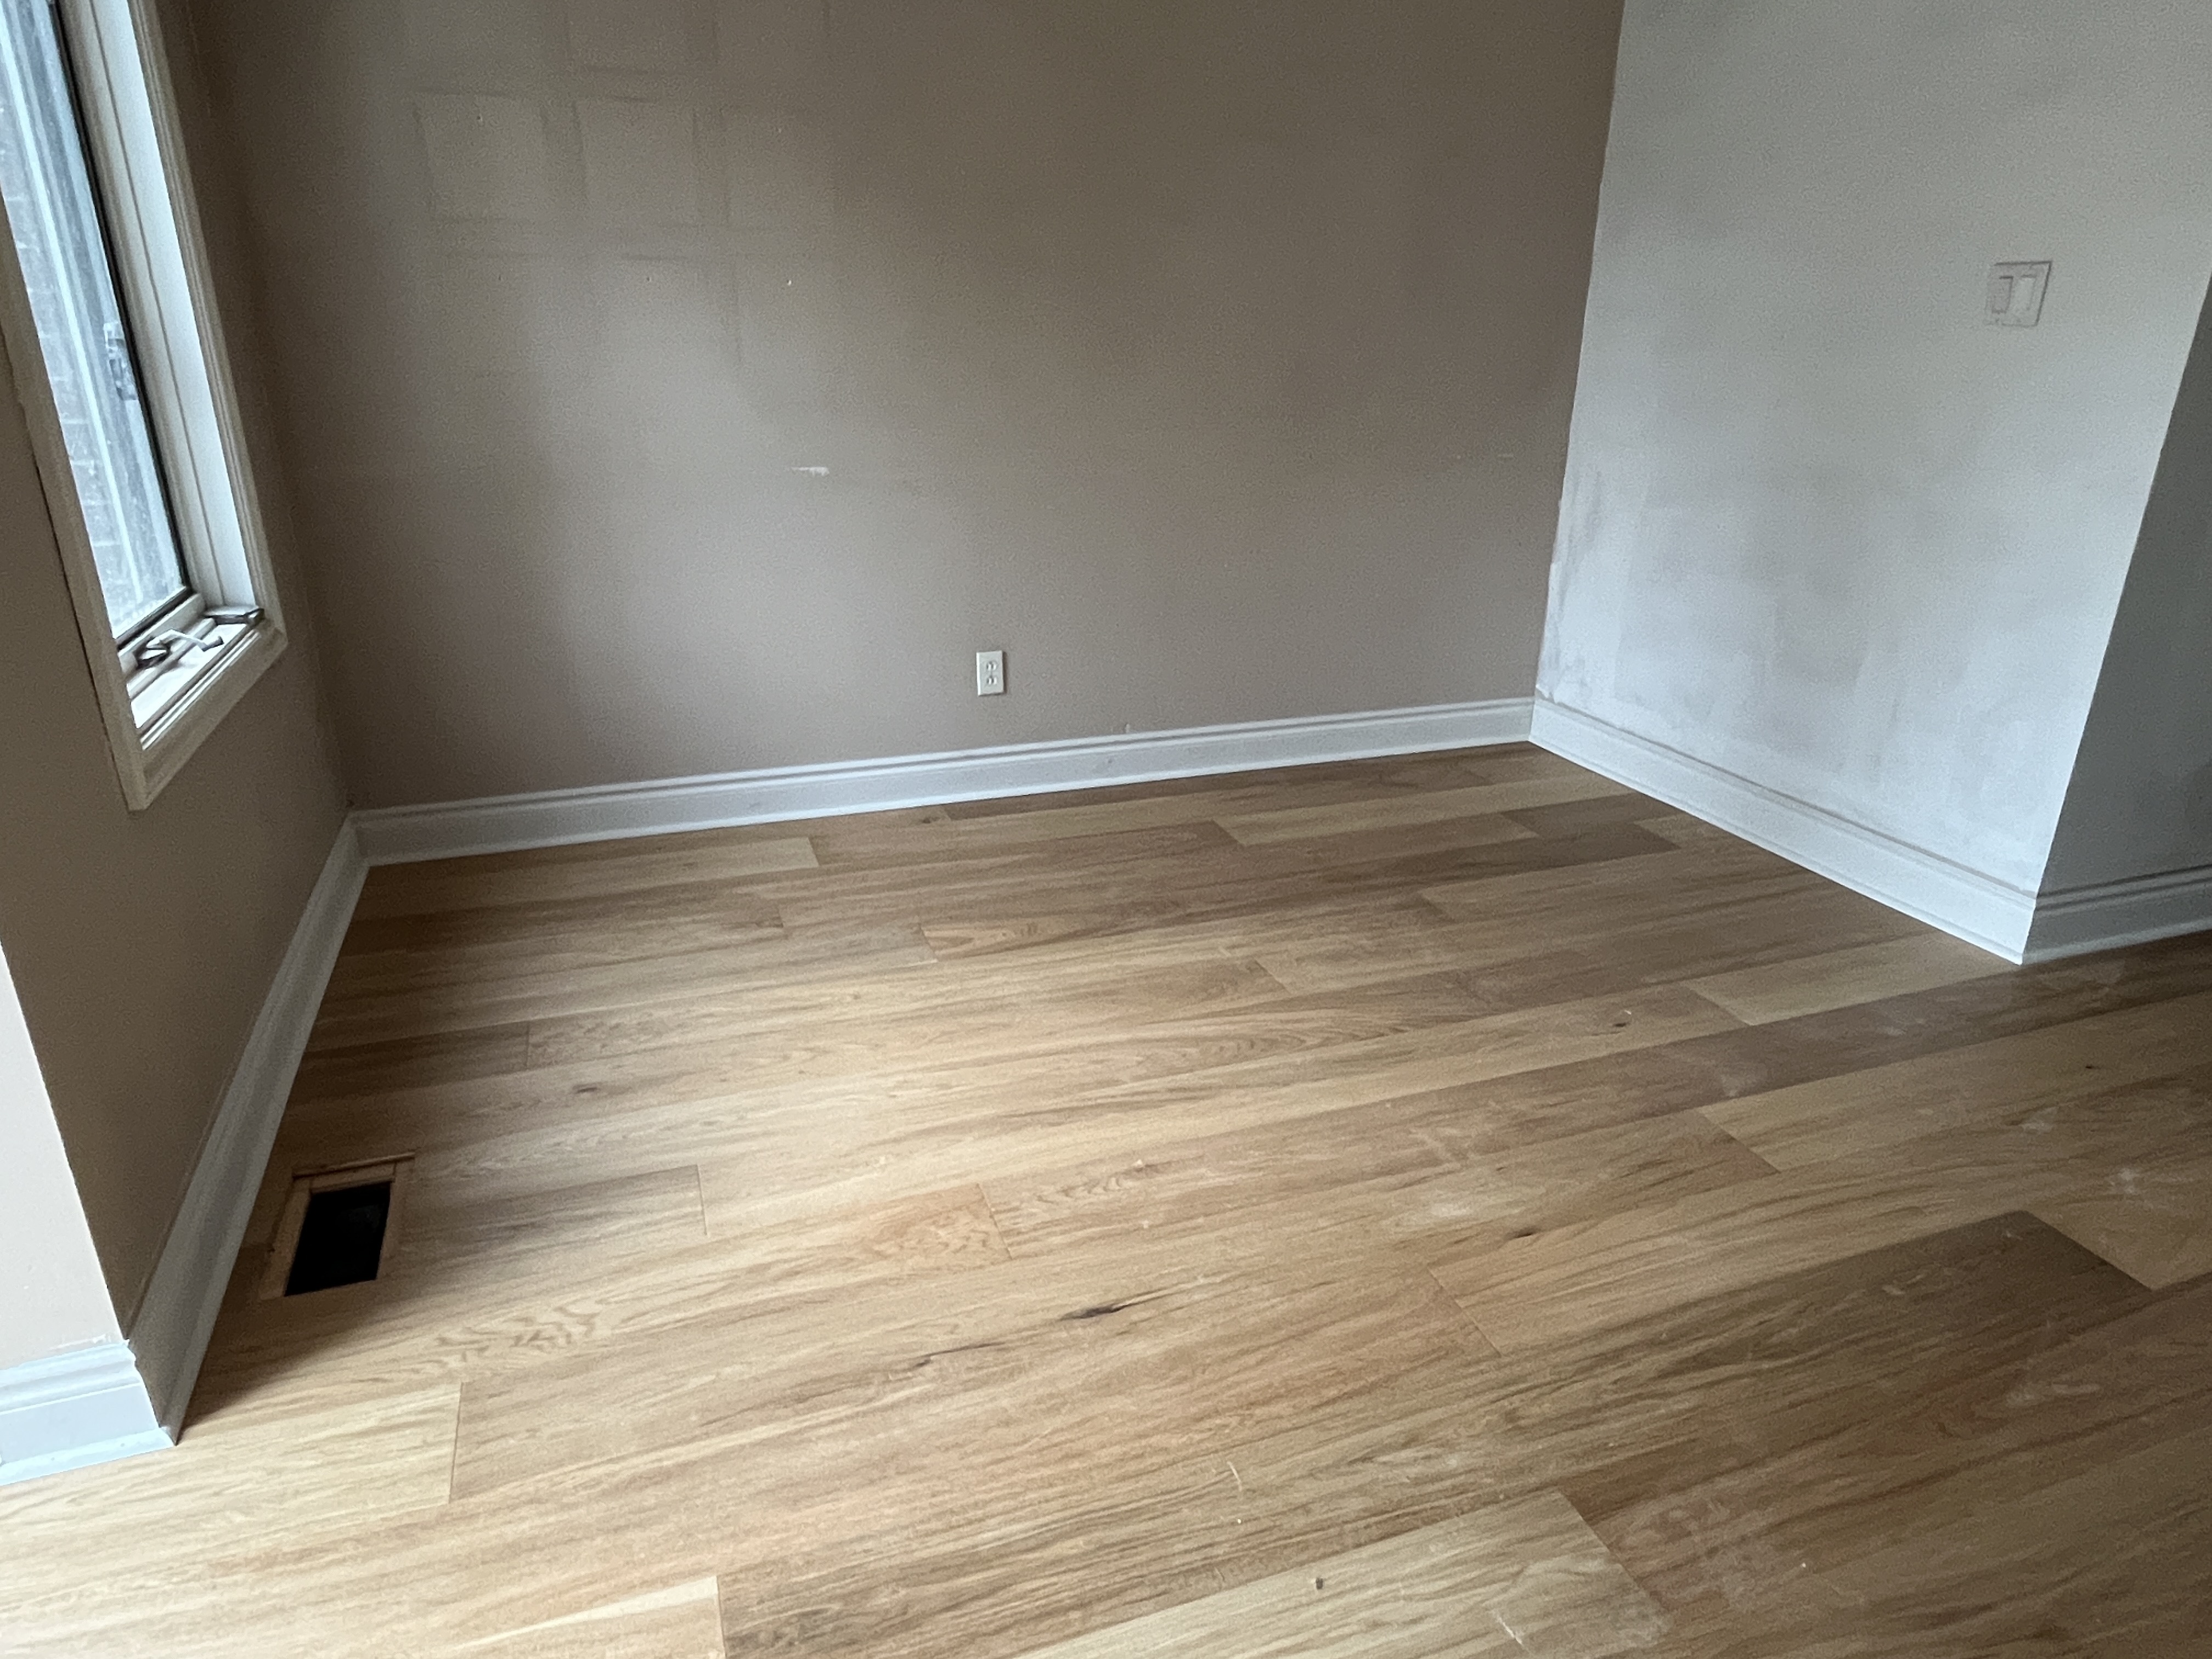
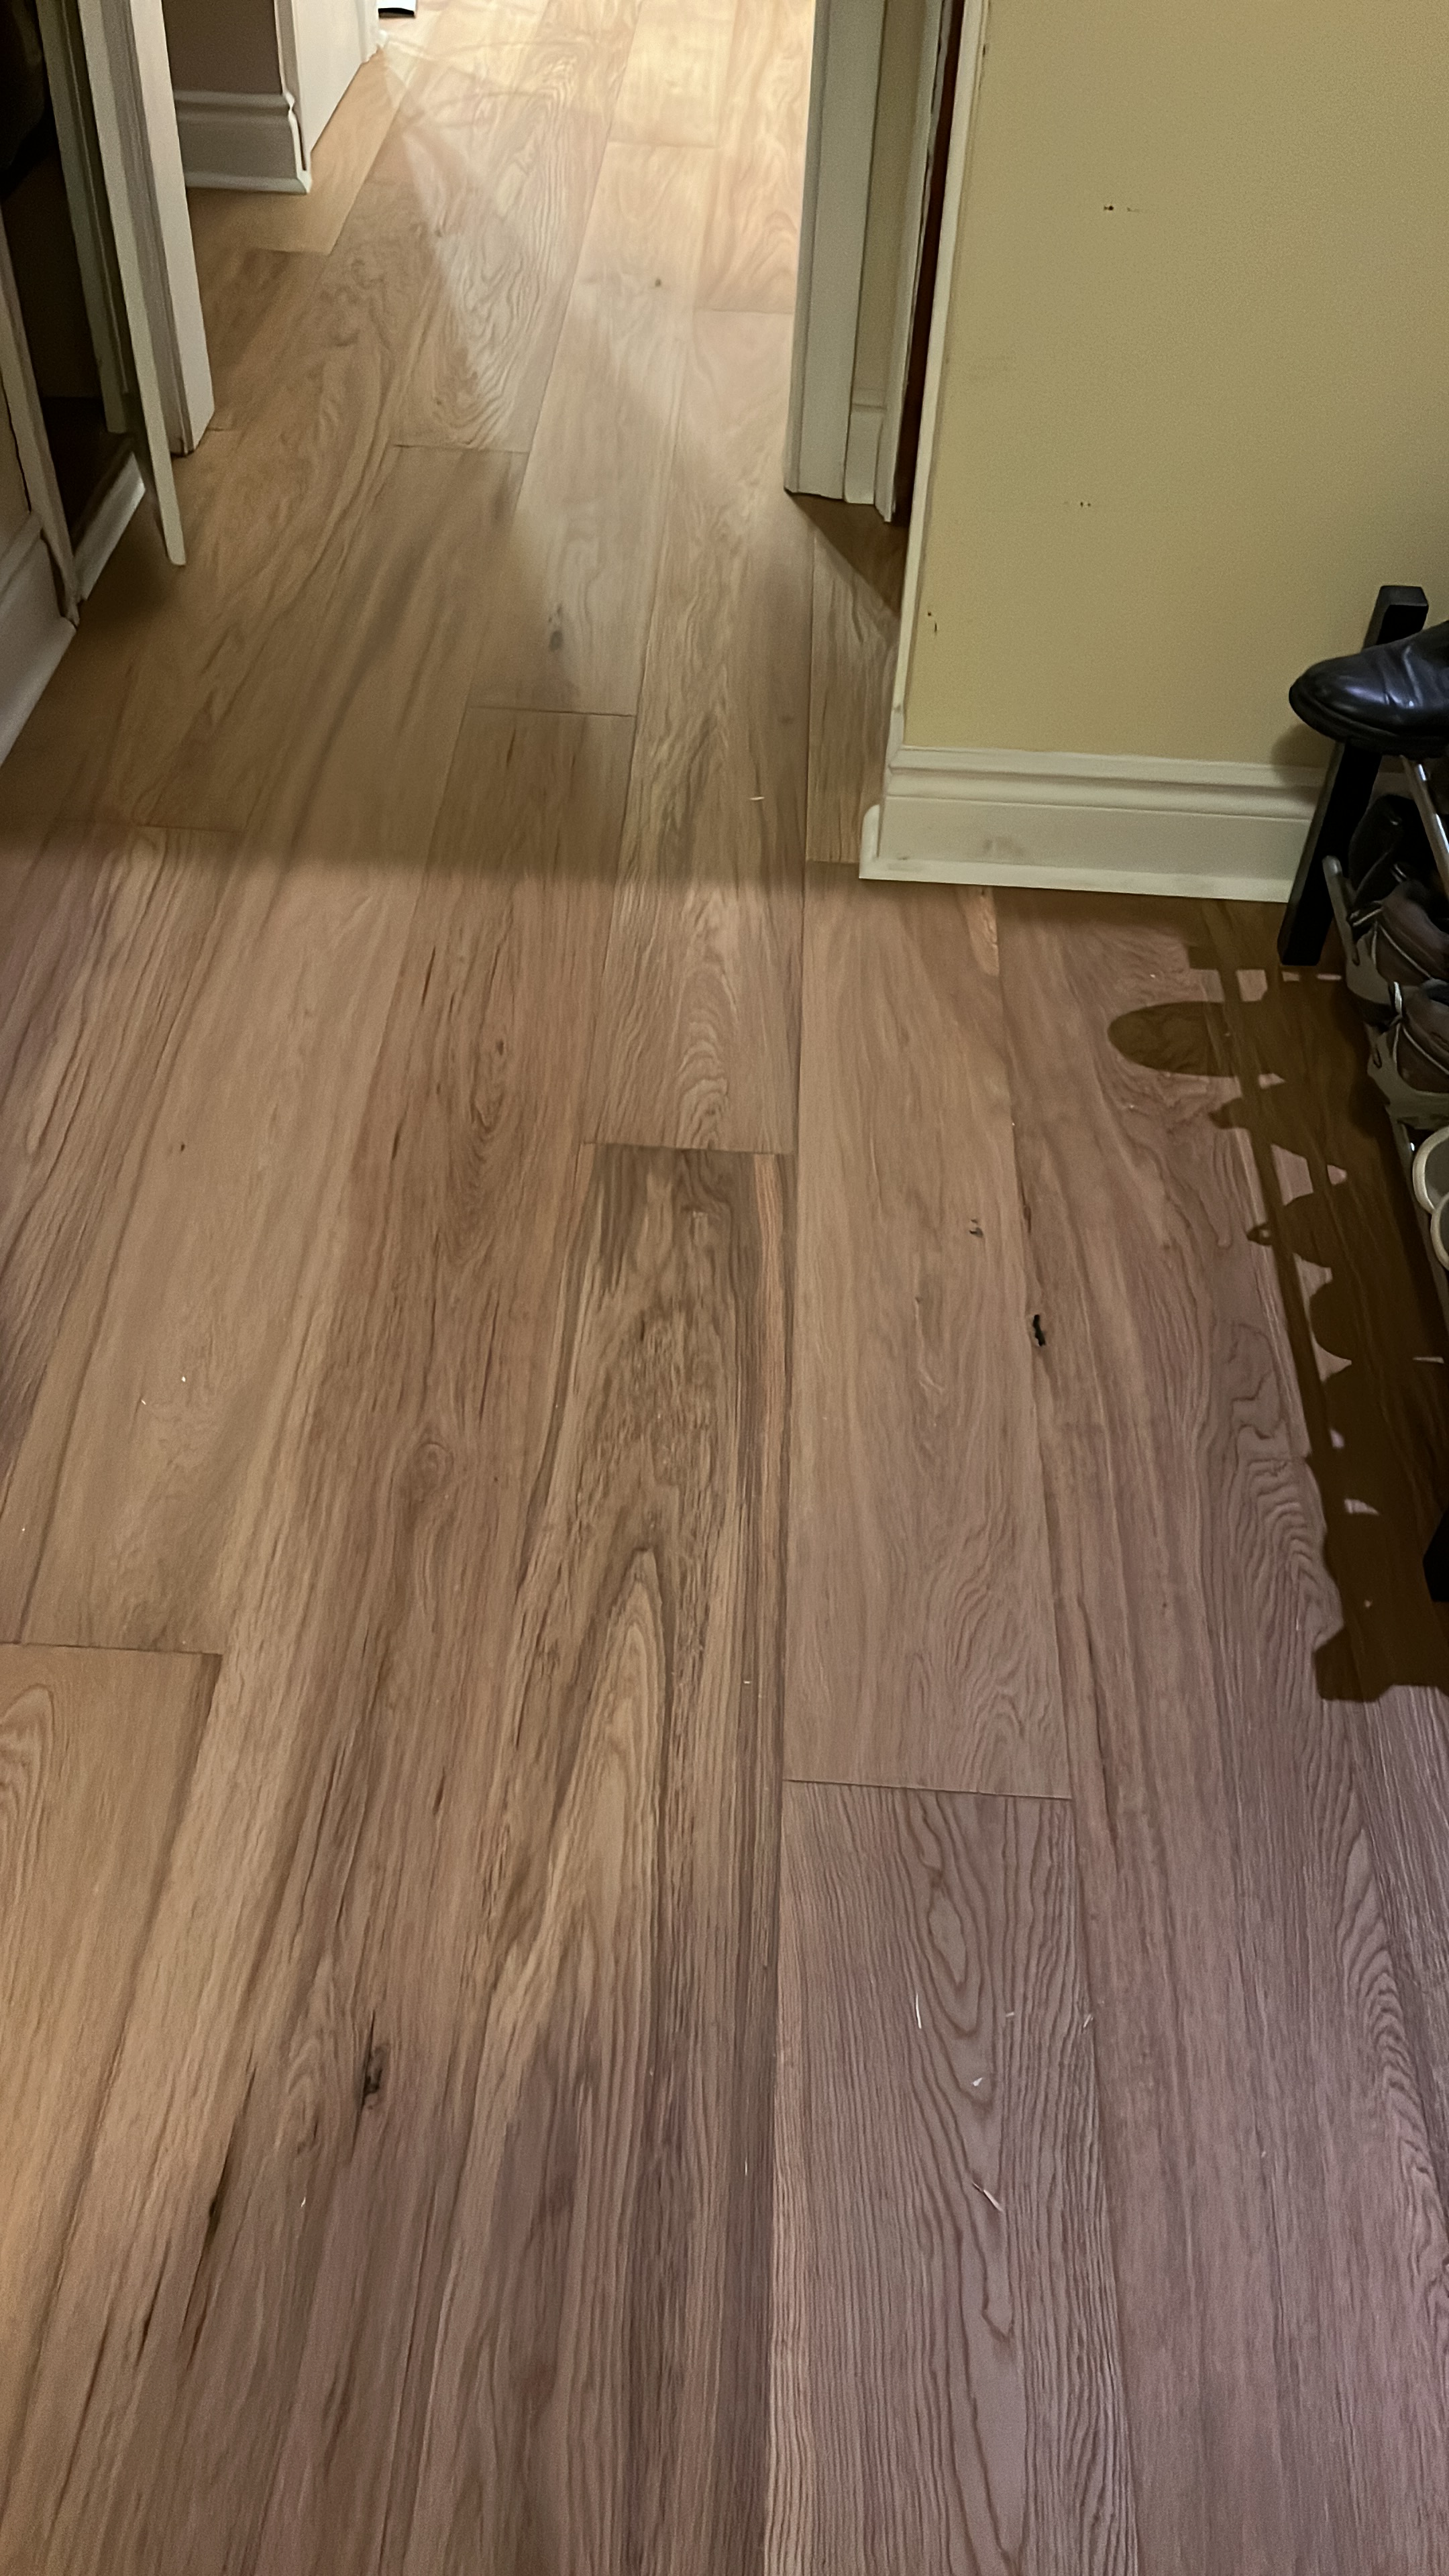
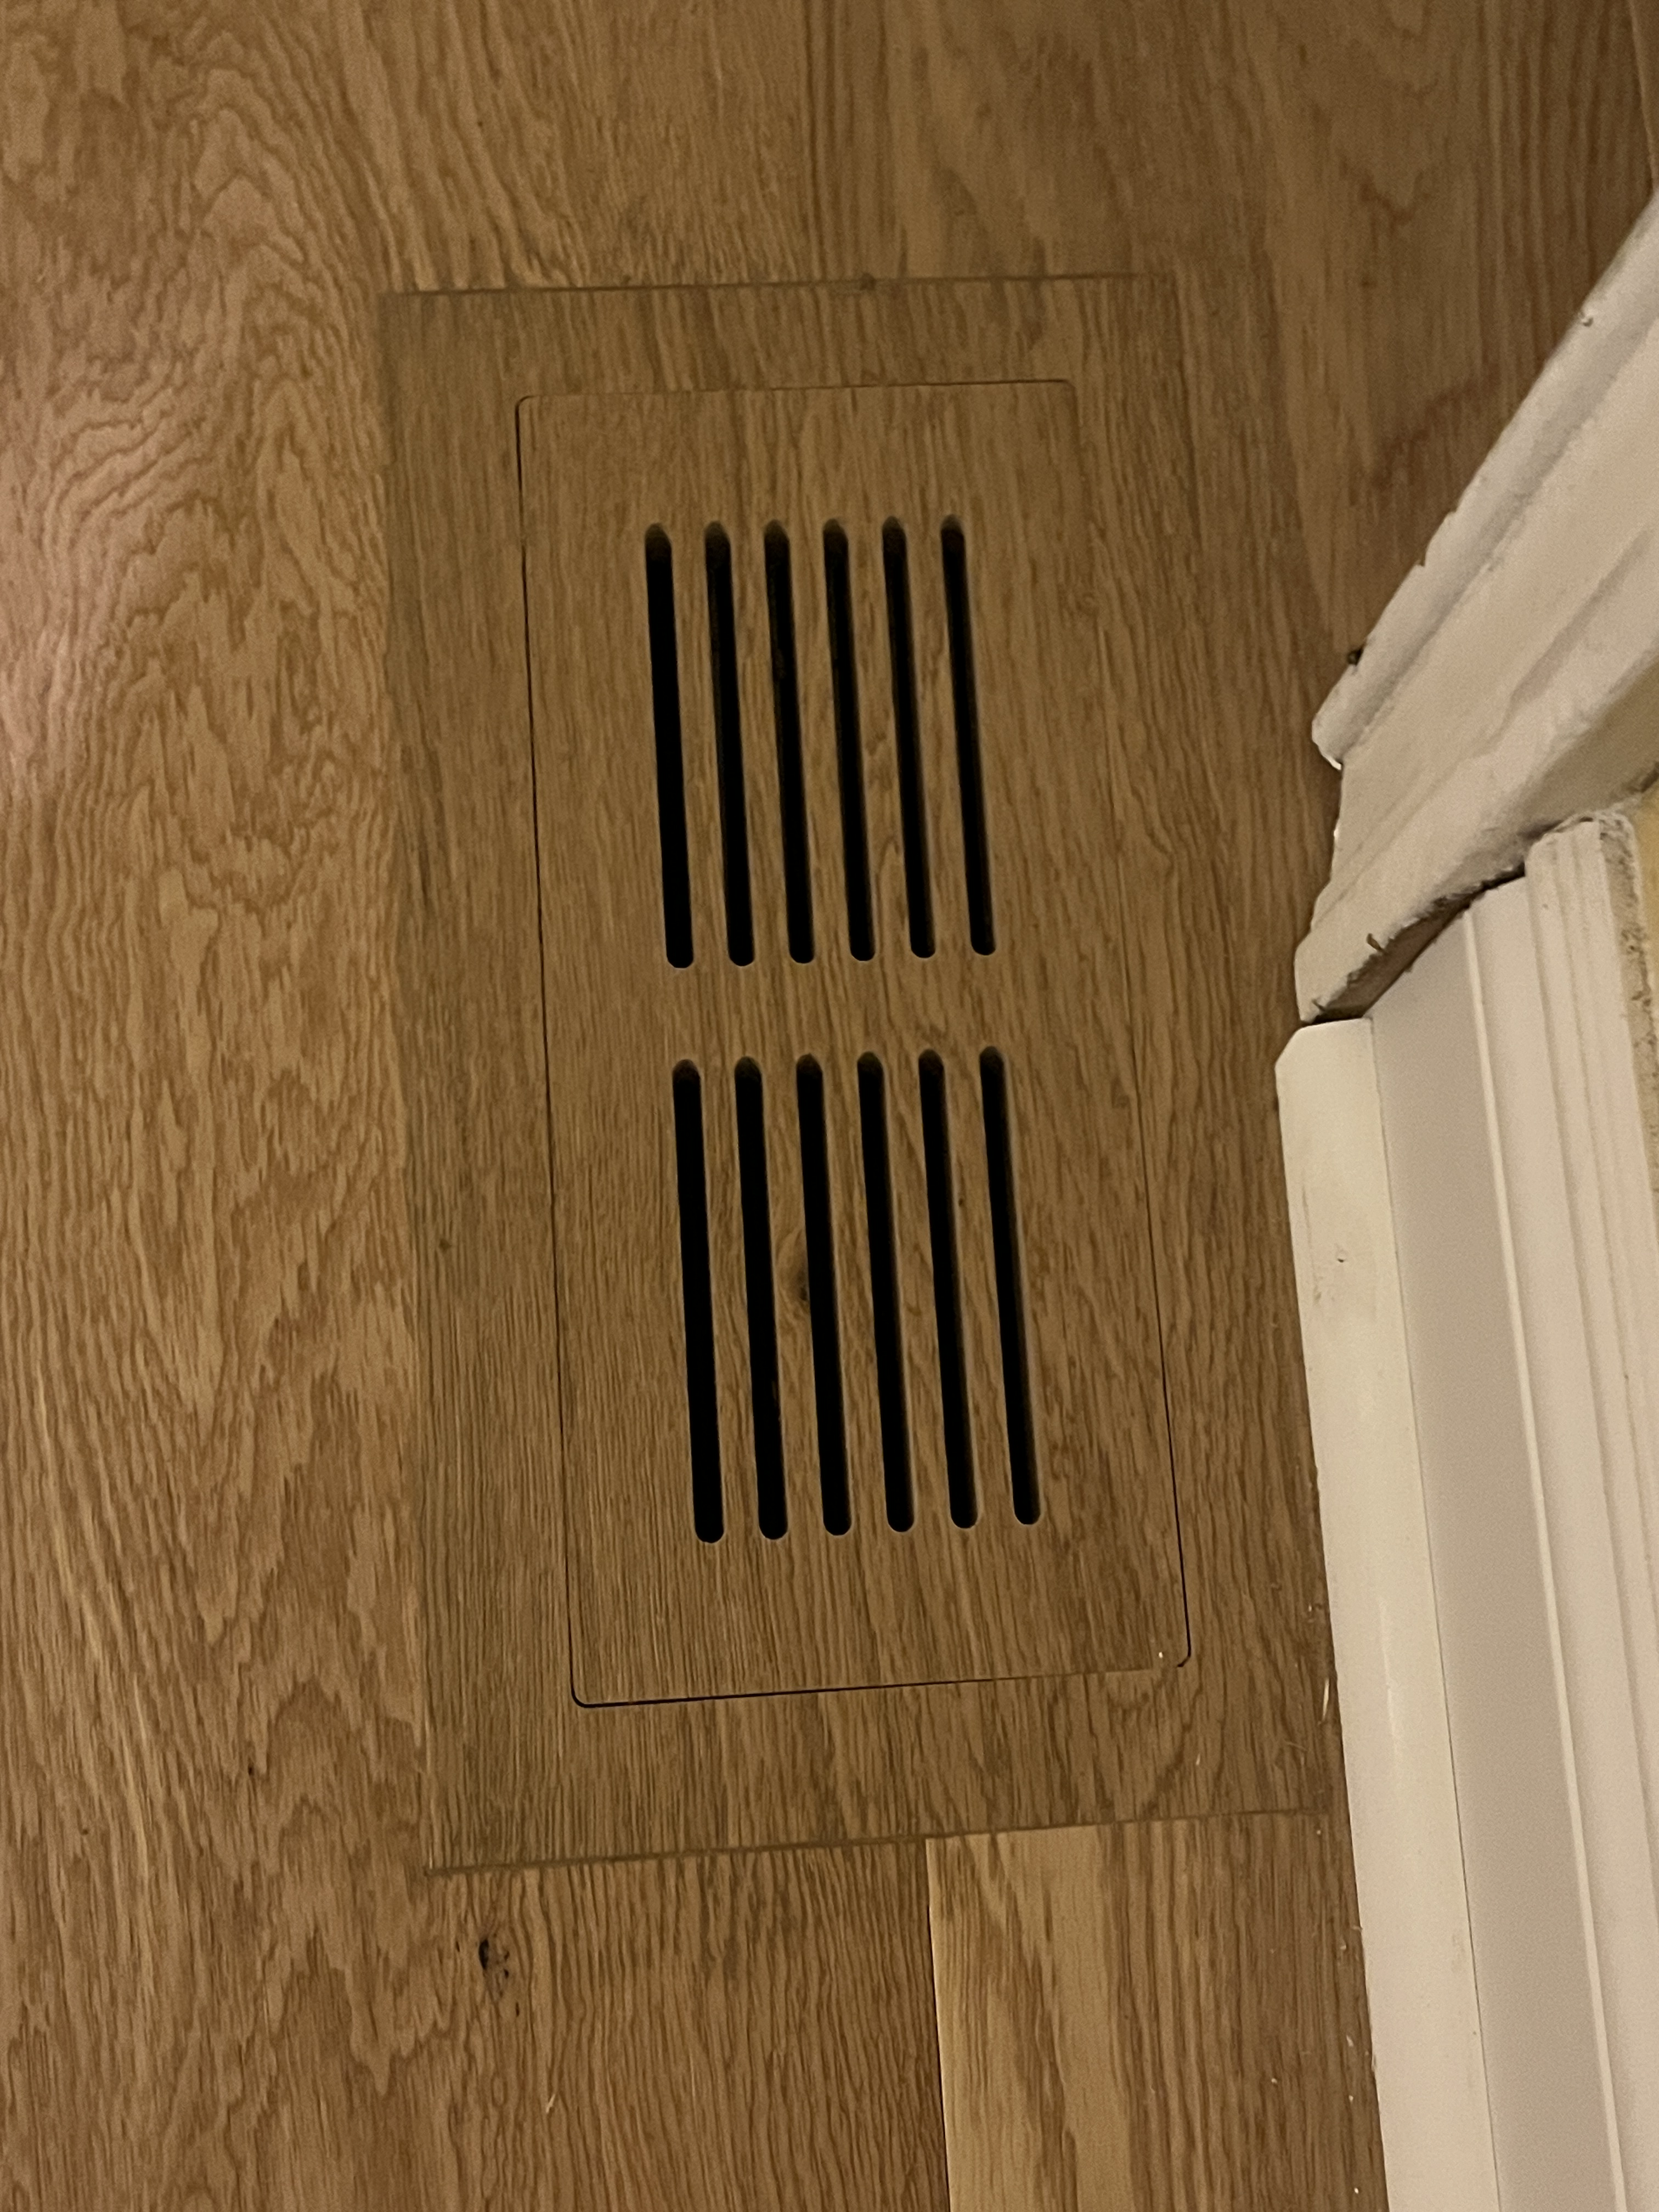
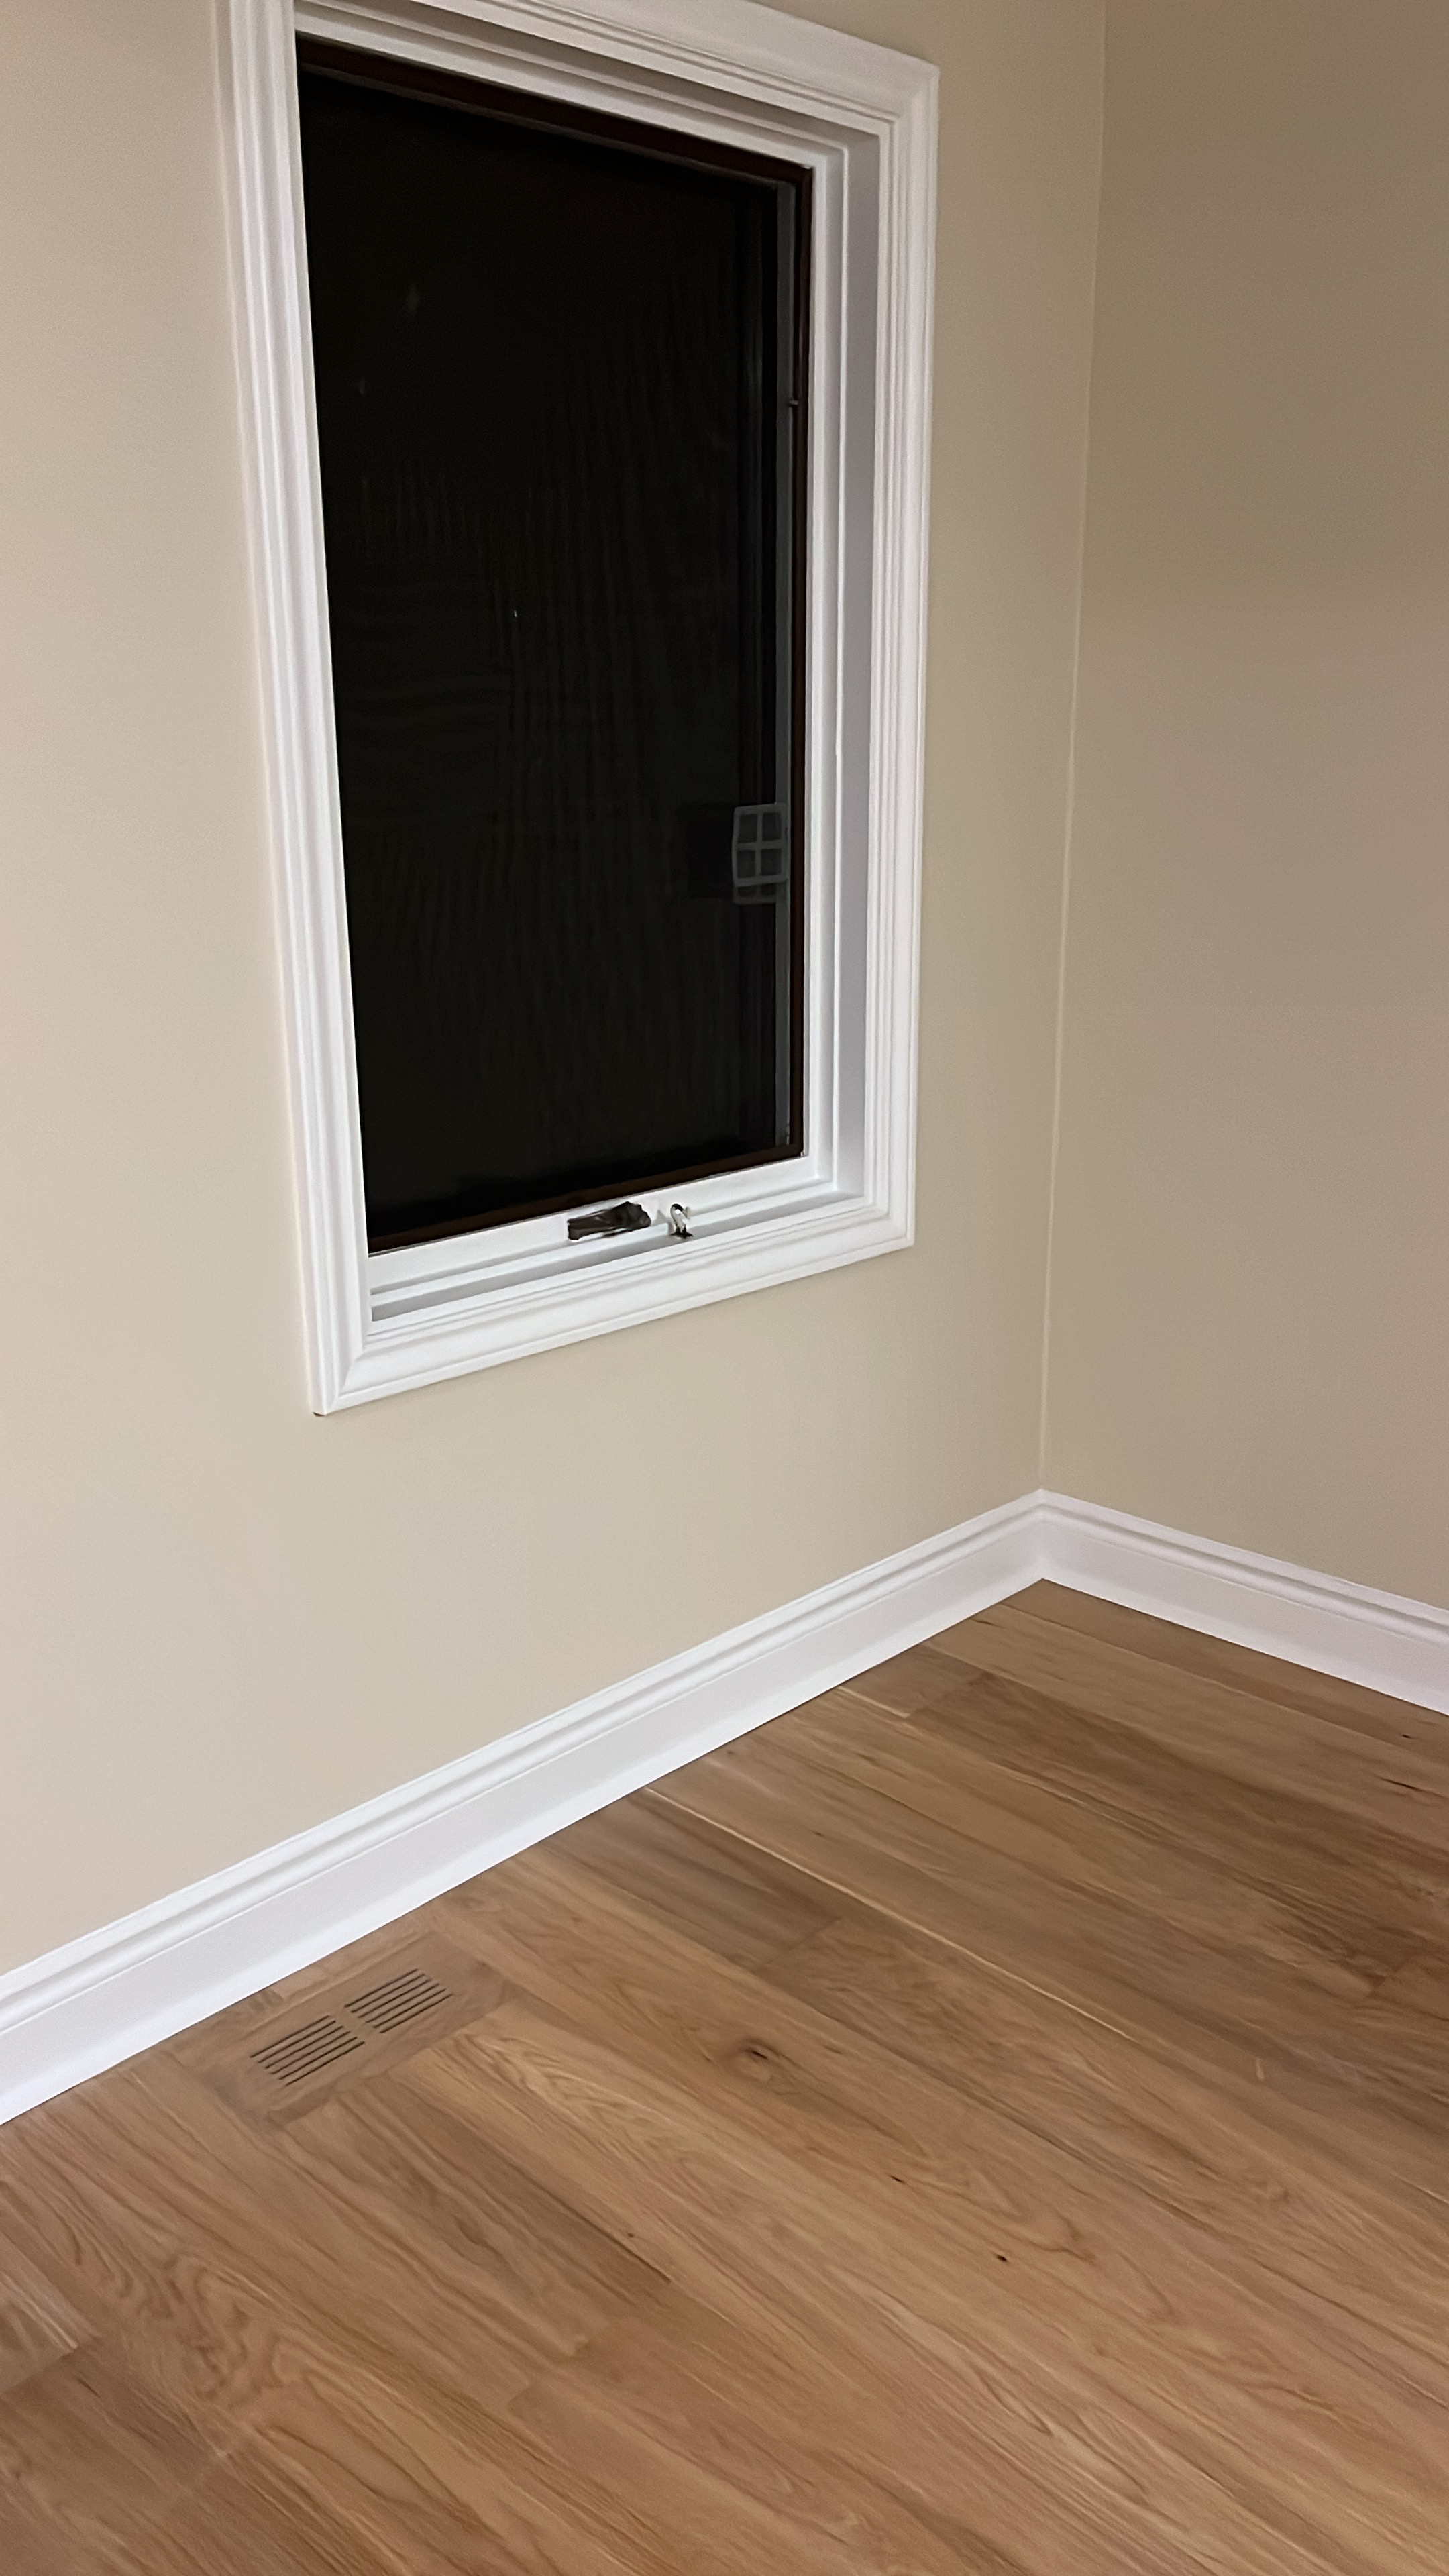
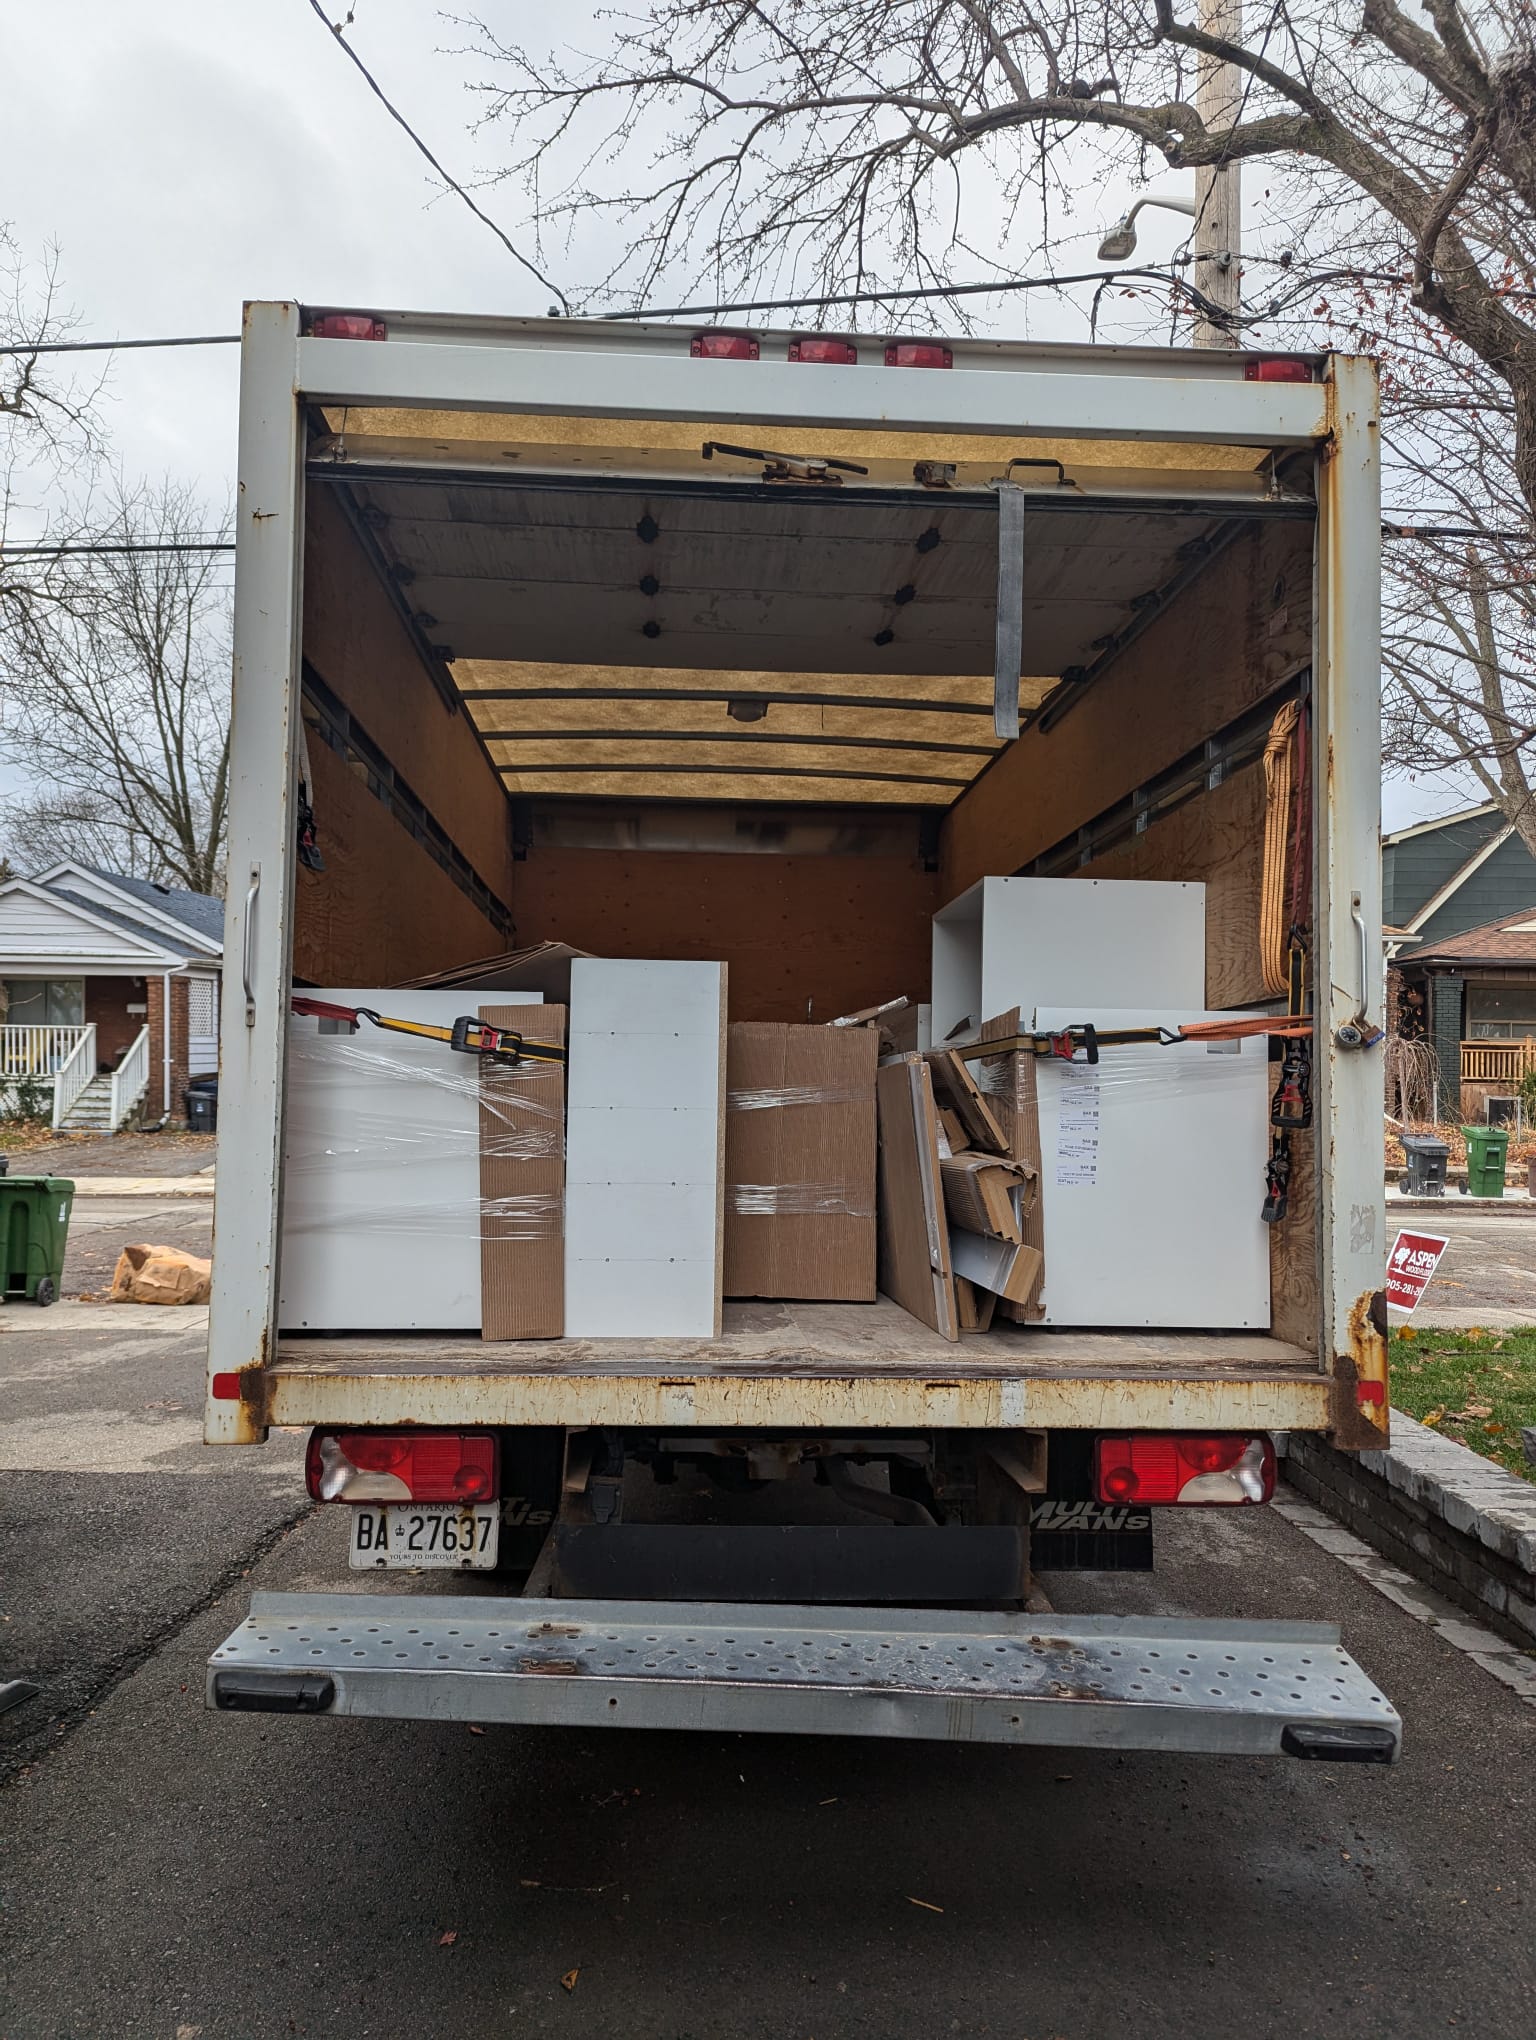
November 4 – 5Flooring

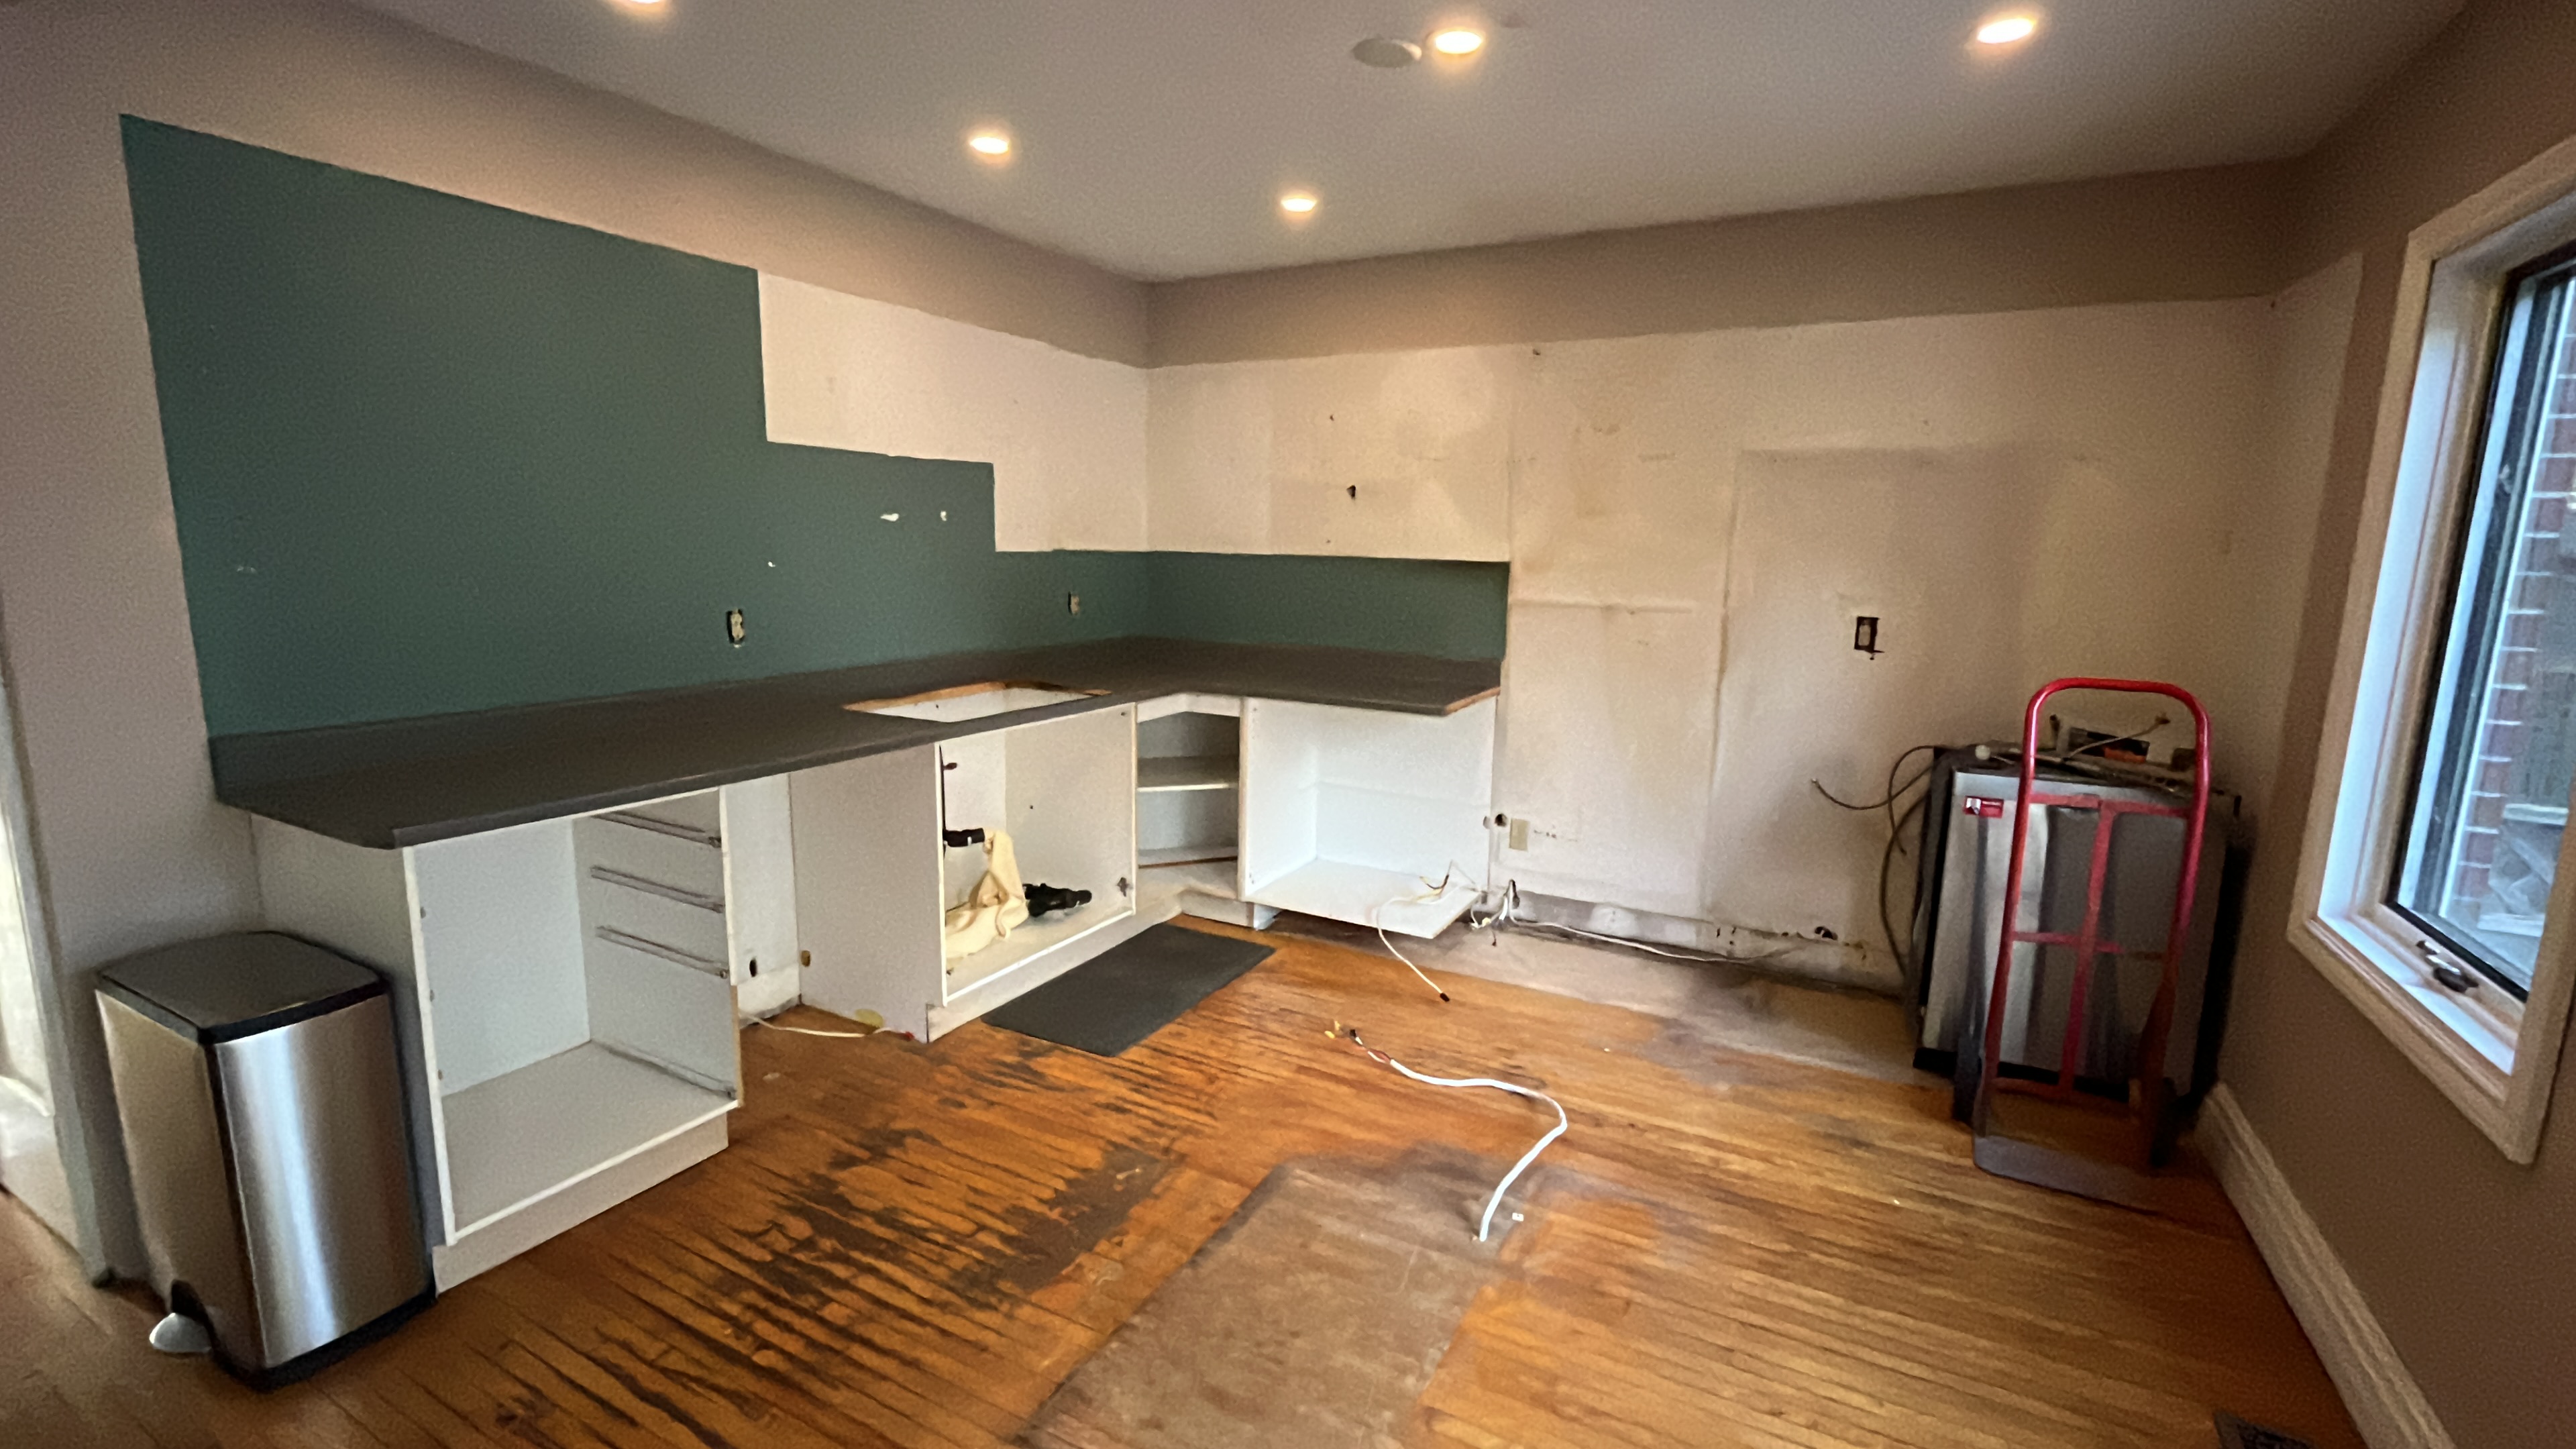
The next job was ripping up the old flooring and putting down the new. We decided to have the same flooring from the front door all the way to the kitchen at the back of the house. The first day was ripping up the old flooring and nailing down new plywood. The second day the crew from Aspen Flooring put down the new floor.

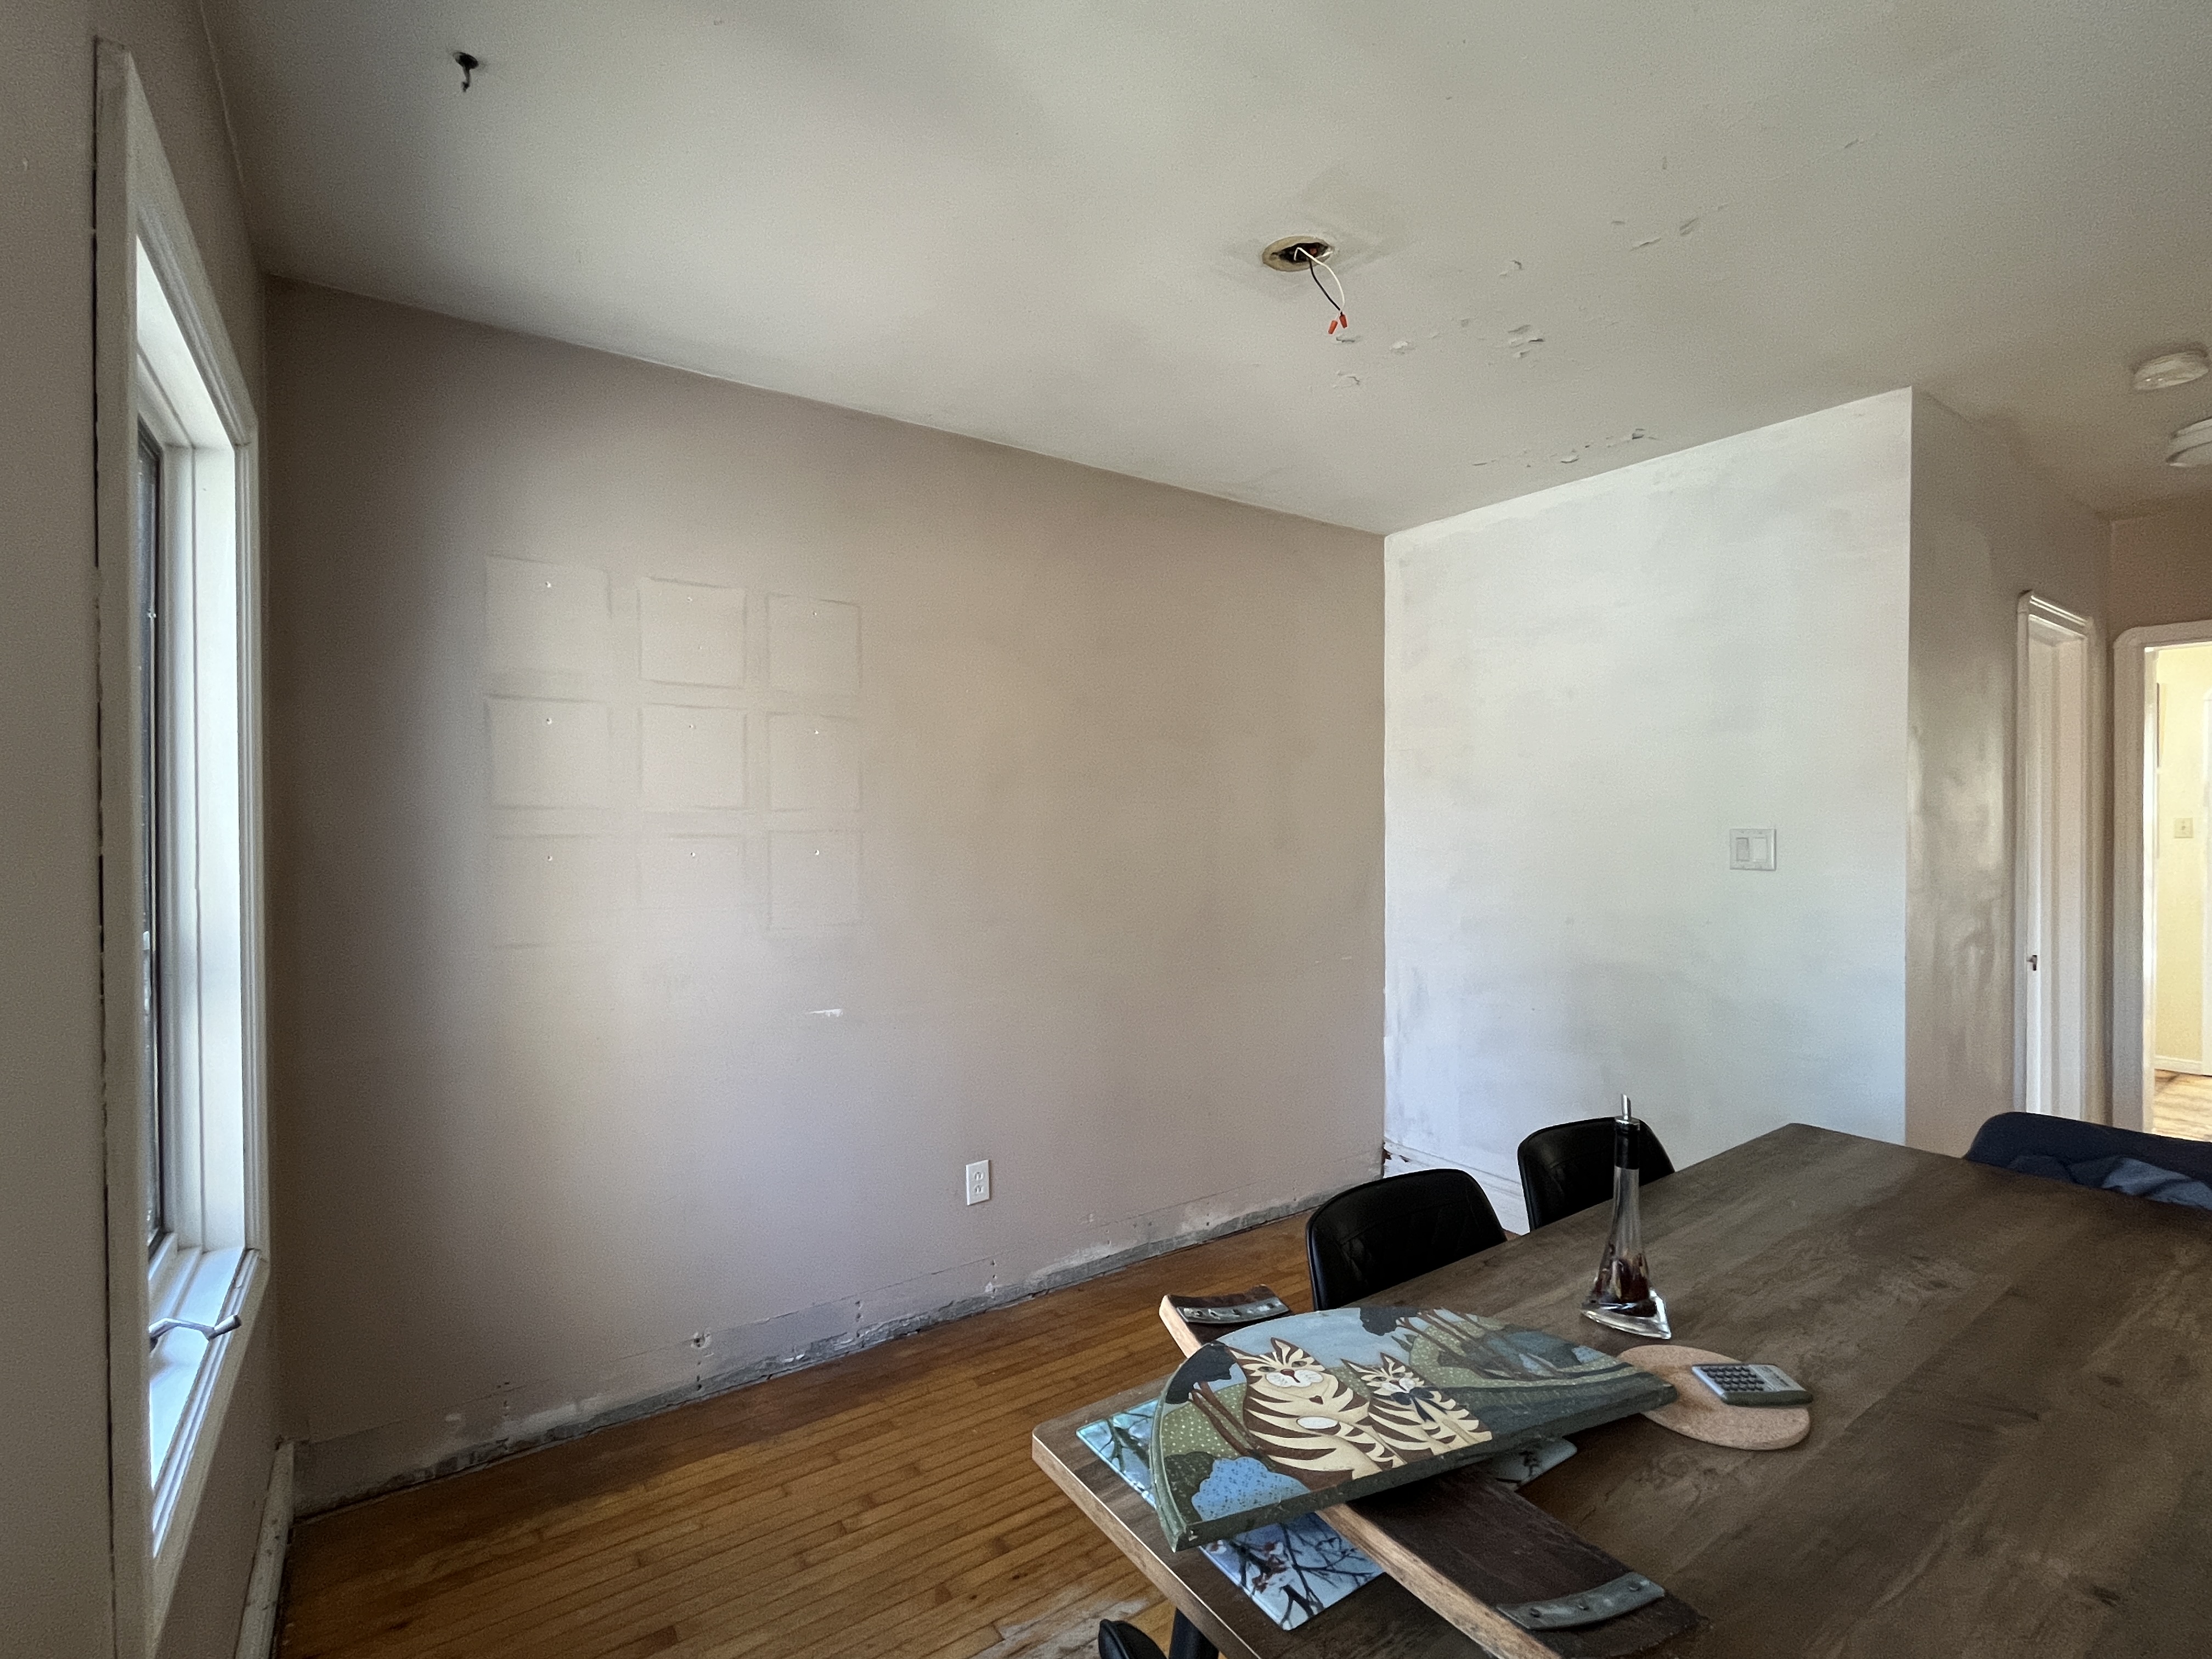
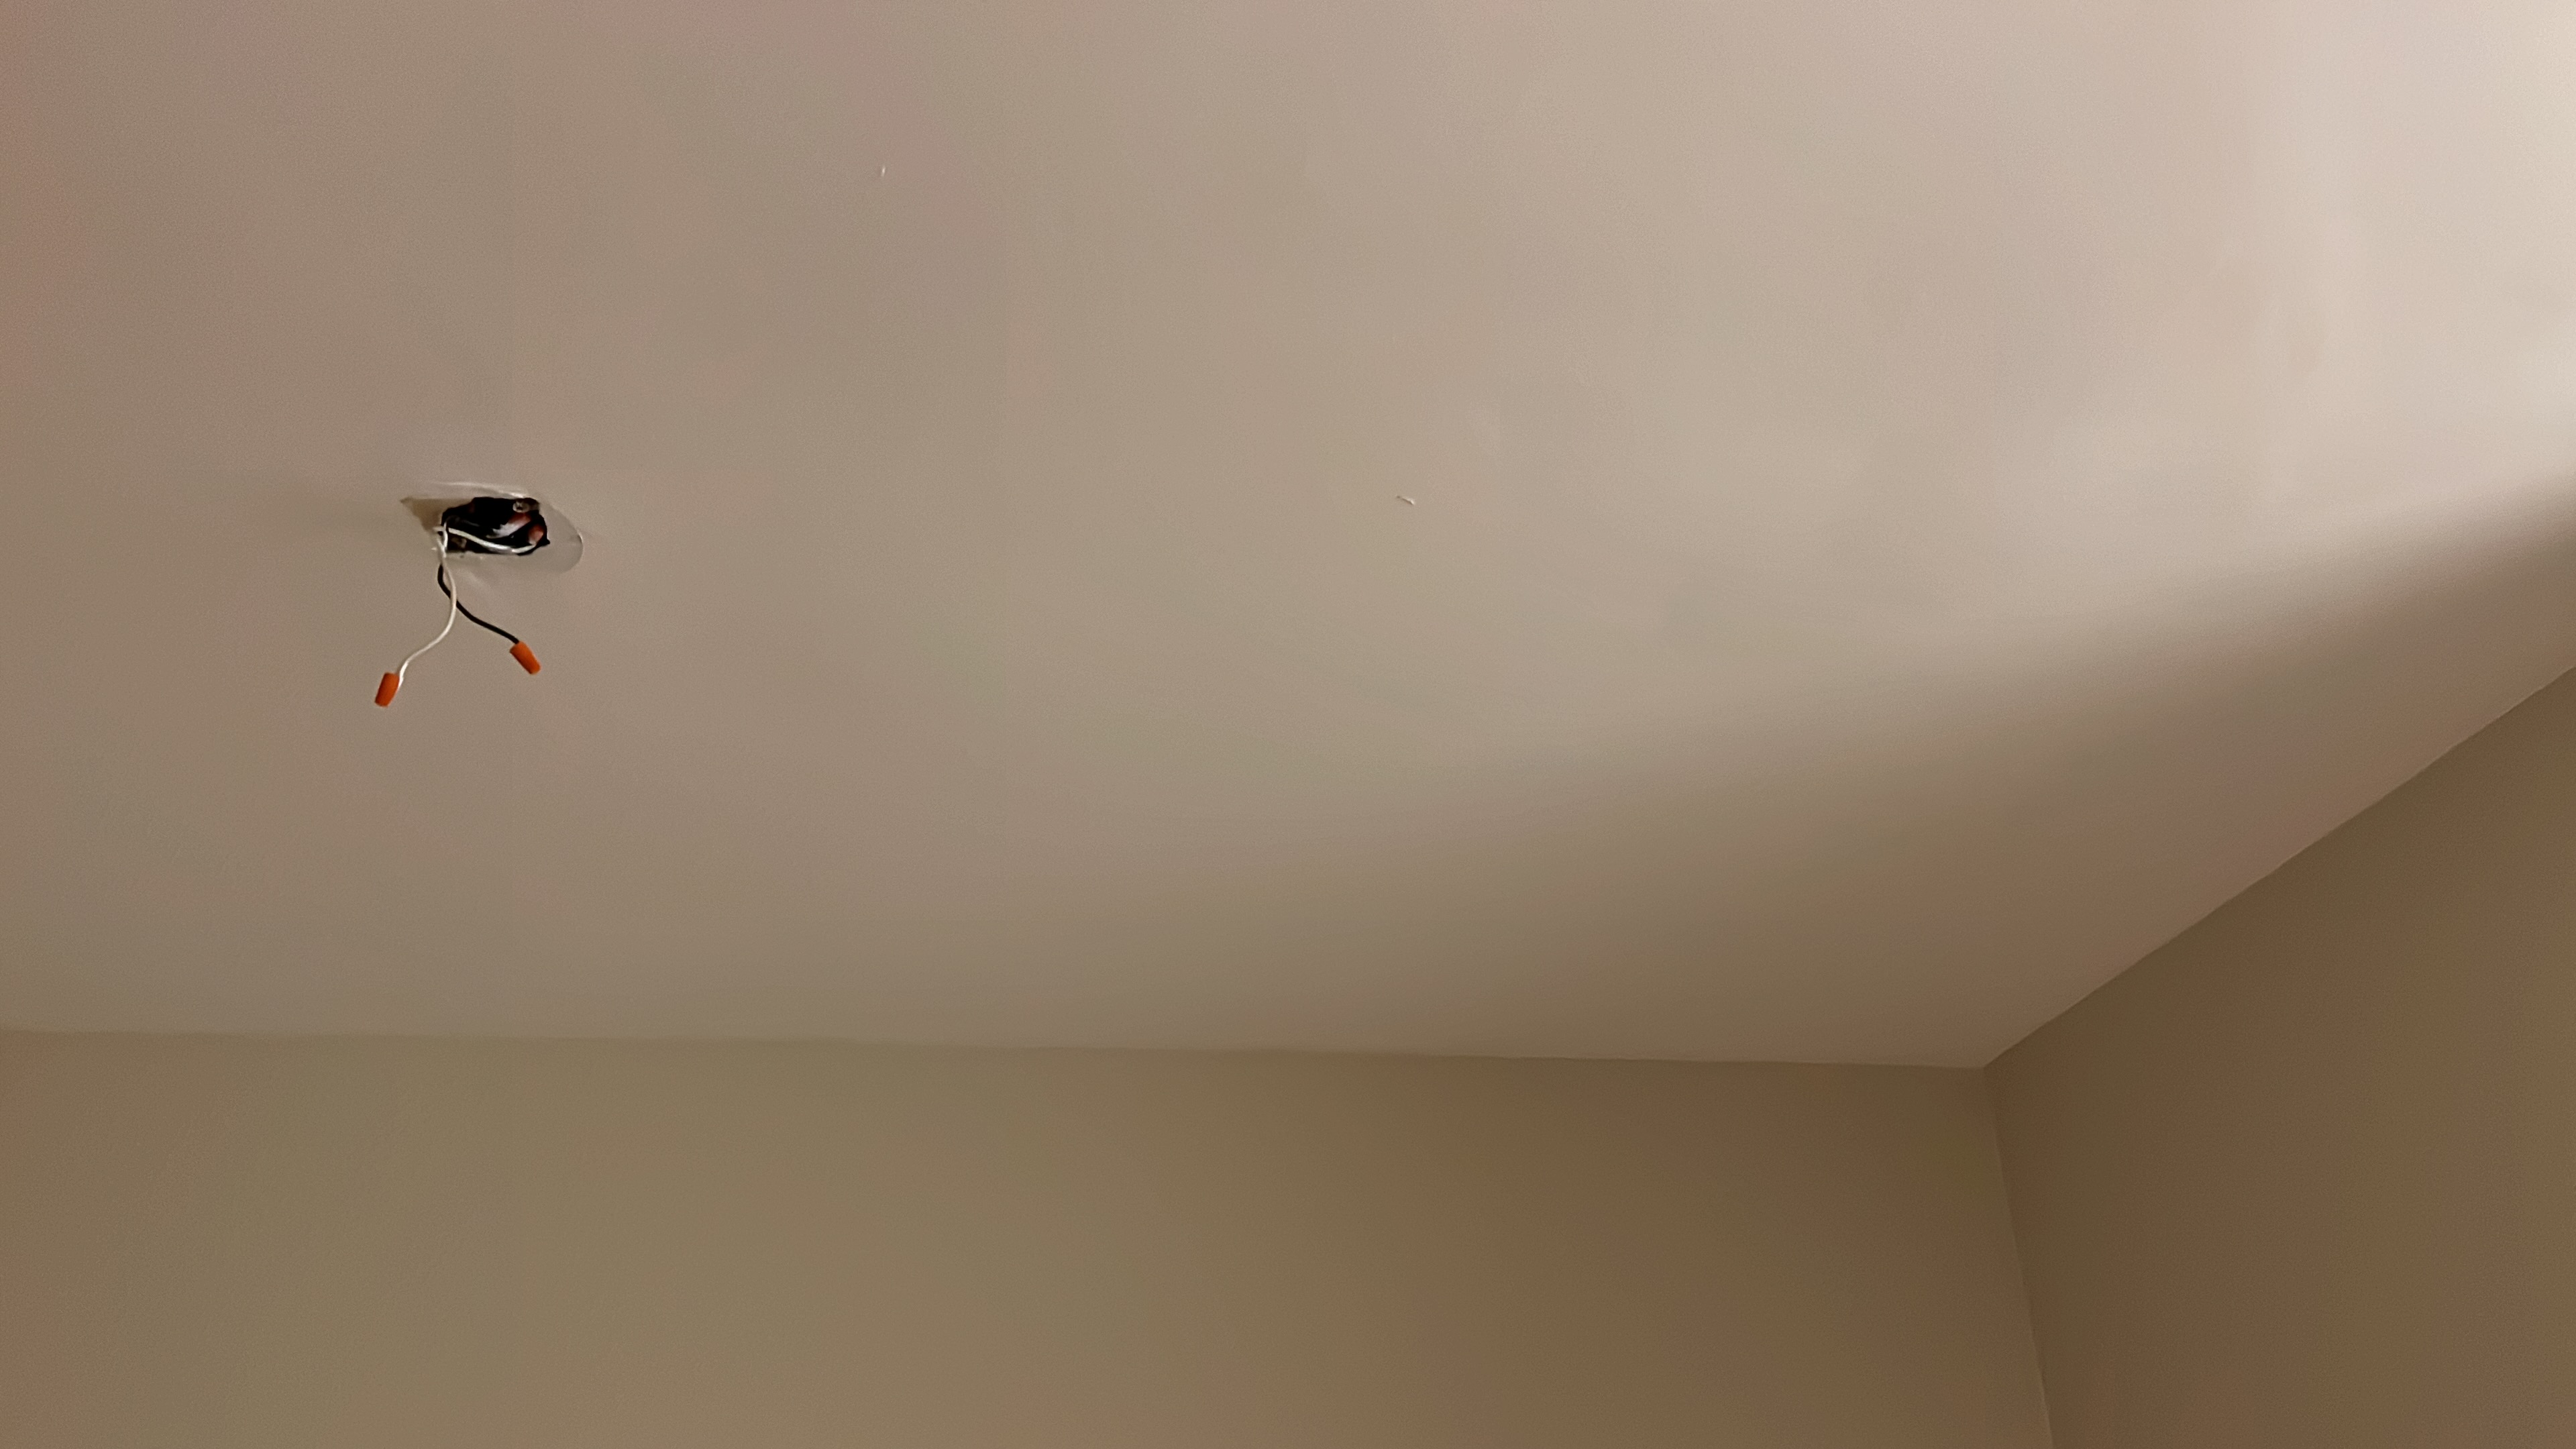
Painting – November 18 – 20

Once the dust settled it was time to paint the Kitchen/Dining area and hallway. Cathy from 2Girls and a Brush did a great job. The first day was mostly repair work on the ceiling and holes and cracks on the walls. On day two coats of paint had been applied to the wall and on Day 3 all the trim and windows were painted.

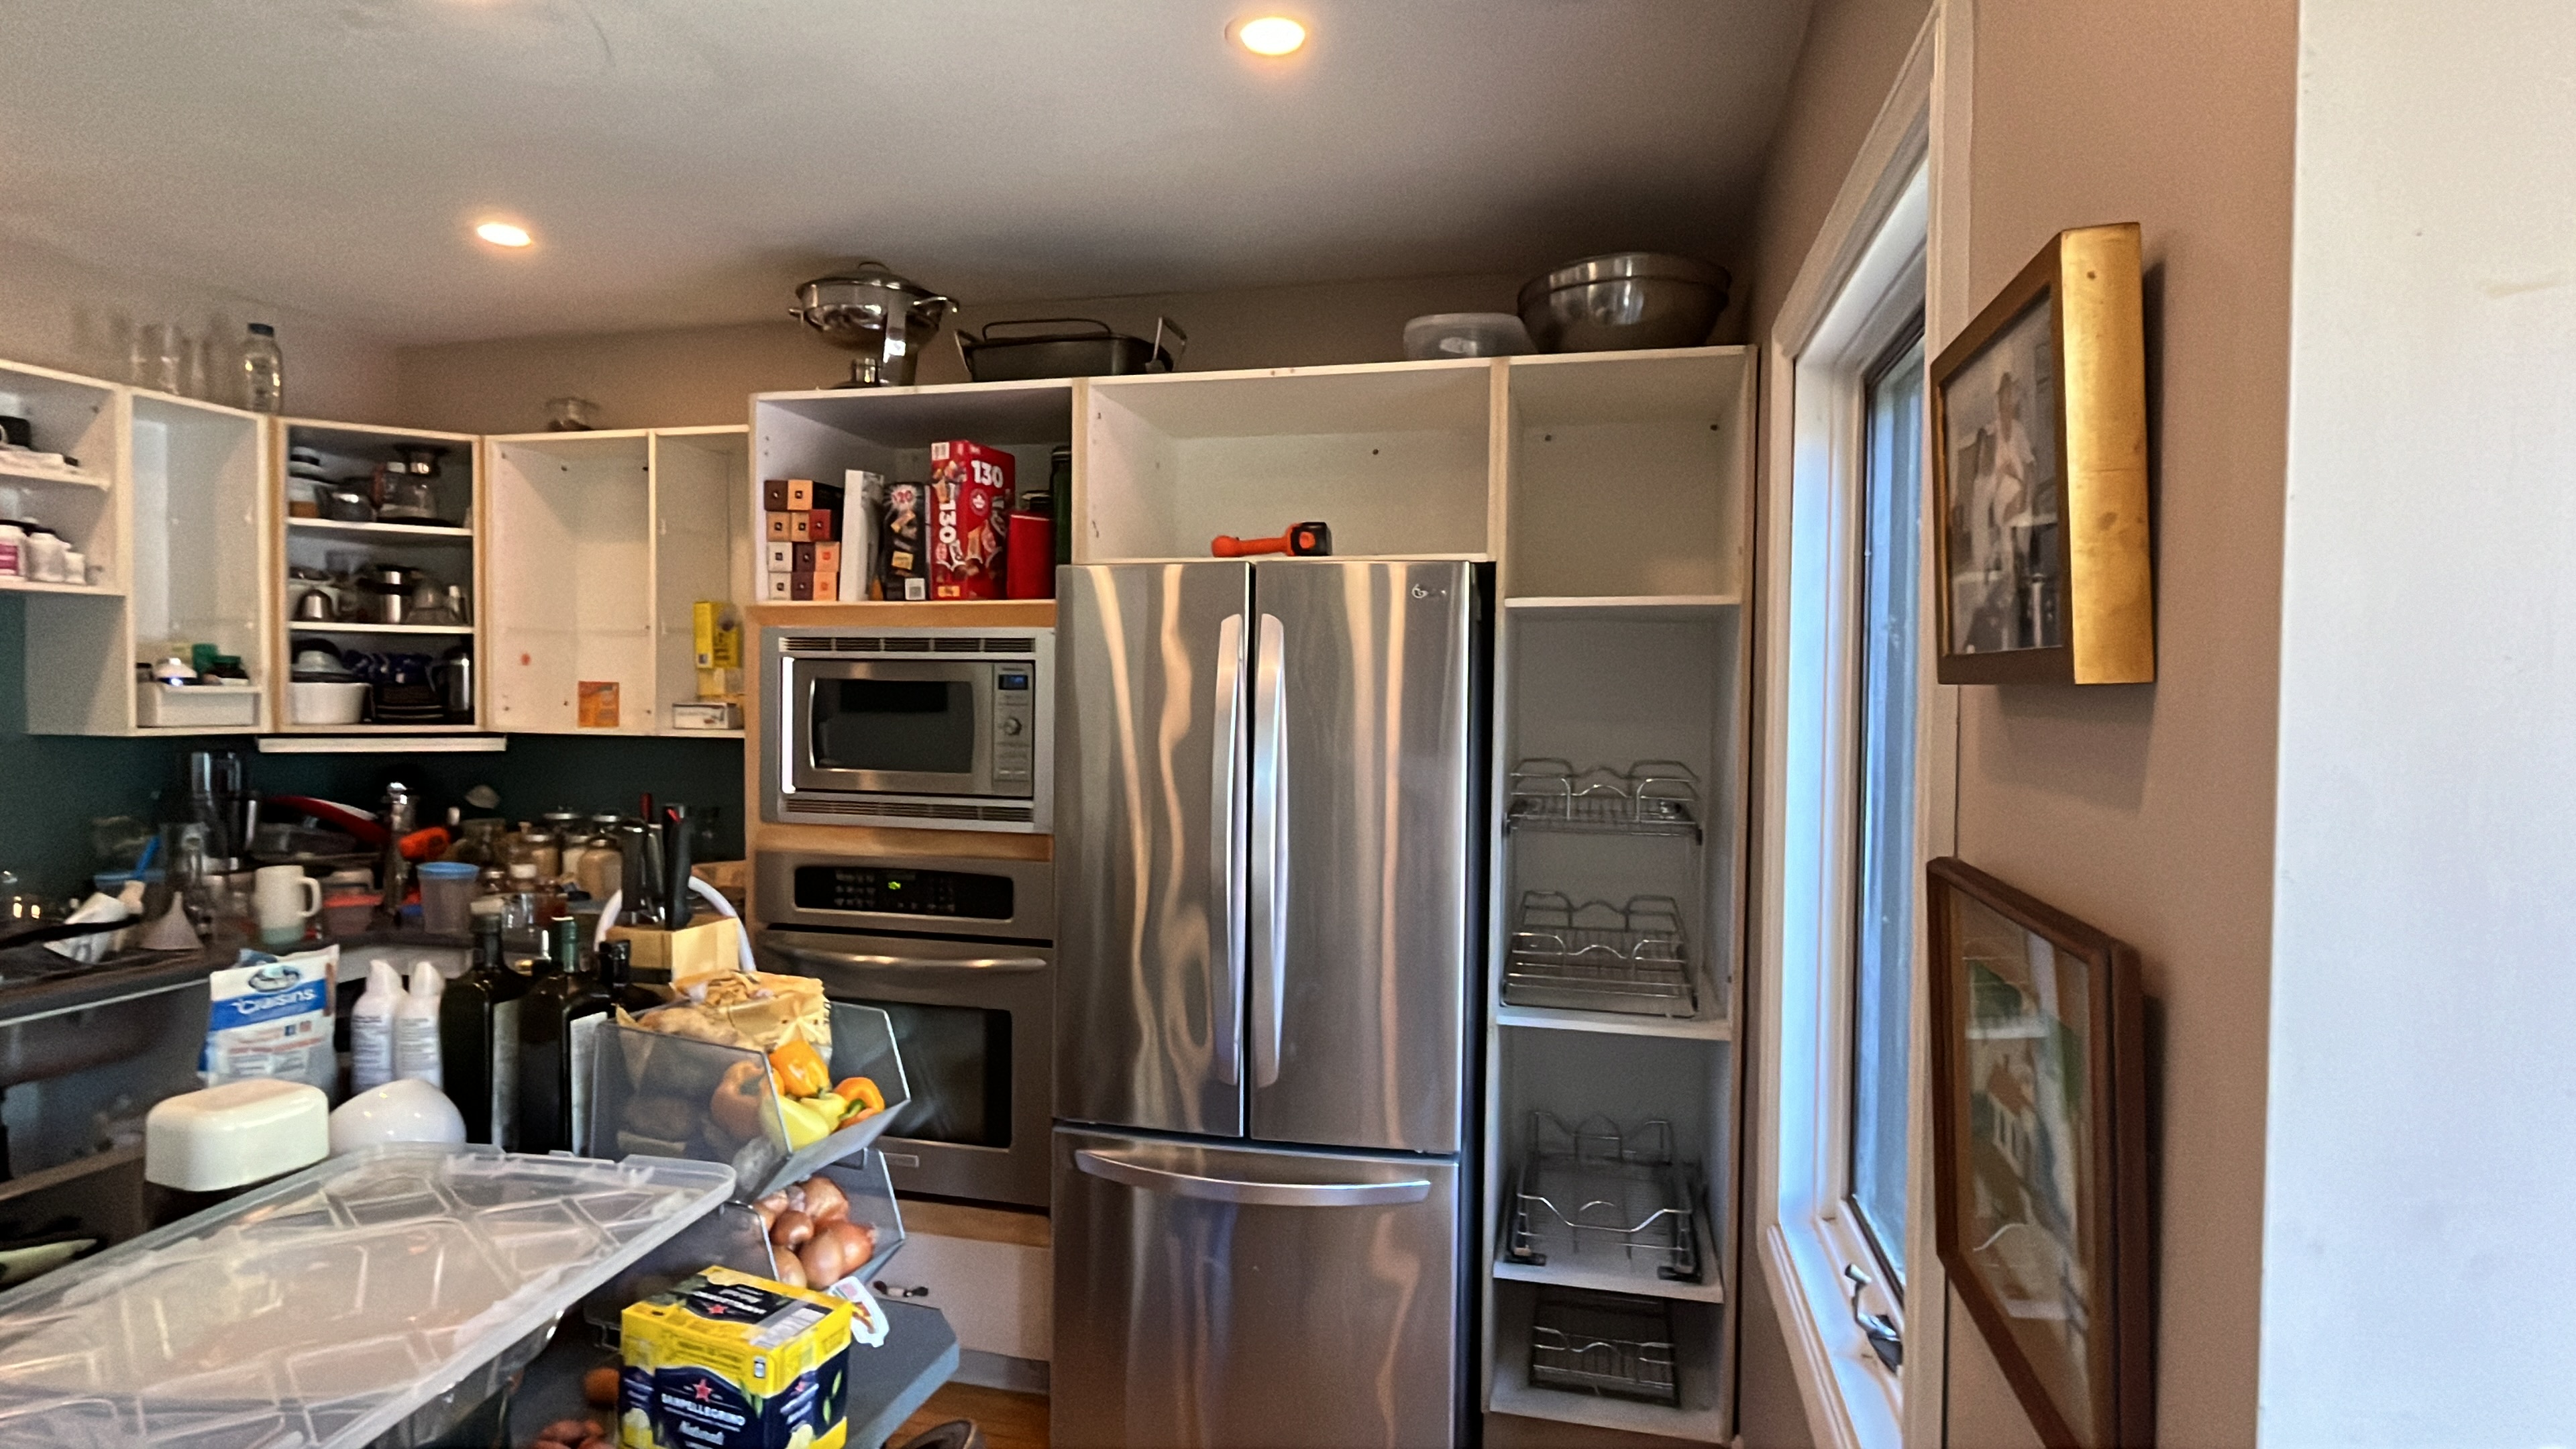
November 26 – Big Day….the new cabinets have arrived

….to be continued

Advent Calendar #2

….another calendar for my other two girls

When I saw the jewellery organizer with pockets I knew I wanted it for another advent calendar. The only problem with this piece is that the pockets are a little on the small side and and there are only 21 of them.  On the plus side there are more hangers on the back of it and it can be used after the advent season is over. If the girls don’t need a jewellery organizer they can put it in their bathroom and put small toiletries and make-up in the pockets.

I would highly recommend gathering items for this kind of organizer well in advance. I’m debating whether to wrap each individual item or just place them in the pockets as is.  My fear is that the wrapping paper might make some of the items too large for the small pockets. Part of the fun of these types of advent calendars is unwrapping a new item each day. Maybe I’ll wrap some and leave the rest unwrapped.

Here is what it looks like before it is filled and after it’s filled. I’m already 3 days late giving this to my daughter and her wife so I’ll have to decide tonight  how to present it. I’m hoping to drop it off tomorrow. IMG_0204IMG_0205


Onesies Art

….at the baby shower guests were invited to decorate white onesies with personal messages and art

Our daughter, A, has never been too excited about party games but for her sister’s baby shower she acquiesced and found a fun activity for people to participate in. Actually she found three activities but I’d like to share the onesie project with you.

We weren’t sure if people would gravitate toward this task because it did require some thought and creativity. Surprise, surprise….people loved it. First of all A went out and purchased about a dozen plain white onesies in a variety of sizes. She was able to get them for about $3.00 a piece. You also need fabric markers and cardboard for this project.

A and J cut up cardboard to fit inside each onesie so that the marker would not bleed through to the back. In the backyard a work table was set up and people went outside throughout the afternoon and created their masterpieces. When they were all done, G, the mother to be, judged them all and picked her favourite. The winner went home with a bottle of wine. It wasn’t an easy task (the judging that is) and some of us who organized the shower quietly took ourselves out of the mix and made sure that our designs didn’t win. I had already won the matching game, my sister had won the guessing game and A and J felt it wouldn’t look good if someone else in the family won another prize.

All the finished onesies were put on a clothesline to dry. I forgot to take a photograph of the finished pieces but my daughter kindly photographed each individual onesie from her home and sent them to me. By the way she photographed them after she washed them so it’s good to know that the marker didn’t fade in the wash.

Which one is your favourite?

Celebrating Easter With a Beautiful Table, Great Food and Family

…. the only day we could get most of the family together was for Good Friday

When your children grow up and leave the nest to begin their lives with their own partners getting together for the holidays can sometimes be difficult. Our children now have two families to consider when planning where their time will be spent for celebrations. This year Easter Sunday coincided with a special anniversary and a baby shower was being hosted on Saturday. Consequently the only day that suited everyone involved was Good Friday.

I’ve been down for the count all week with a viral respiratory infection and have spent much of my time searching for easy fun ways to decorate our table for our Easter lunch. I didn’t have to go far or search too long before I found inspiration in the form of paper tulip dishes that would greet each guest as they sat down to eat. The idea came from my daughter’s wedding blog over at Uschi and Kay

P1000789 P1000793 For instructions go to:

DIY Paper Tulip Dish

For the other table decorations my inspiration came from Kate’s Creative Space. This woman’s creativity blows me away. I love her blog.

P1000790 P1000792 P1000798

I don’t know if I’ve ever mentioned it before but my husband is a great cook and he planned, shopped and prepared the entire meal by himself. Last night he prepared the Ham, Peas and Rice Stuffed Phyllo Logs and Fresh Strawberry Pie. Today he continued prepping the Melon and Grape Salad with Basil Yogurt, baked the logs and prepared the Asparagus and Fresh Beans.

P1000804 P1000807 P1000808 P1000810


At the end of the day each of my daughters took home one of the mini daffodil plants, the paper tulip dish and a slew of chocolate and candy Easter Eggs. It was a lovely day. We had a few laughs, we talked to our son in Rotterdam via Skype, we sat on the deck and I didn’t cough too much. Happy, happy, happy!