365 Days of Art – Day 58

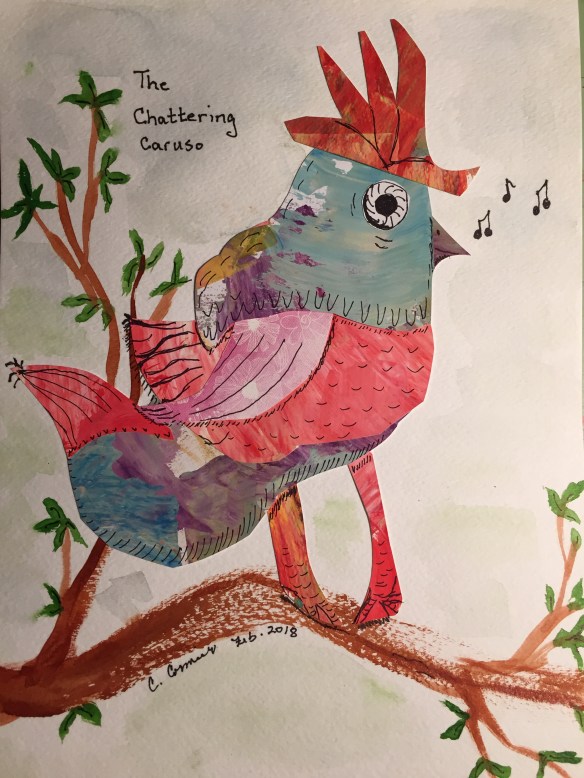
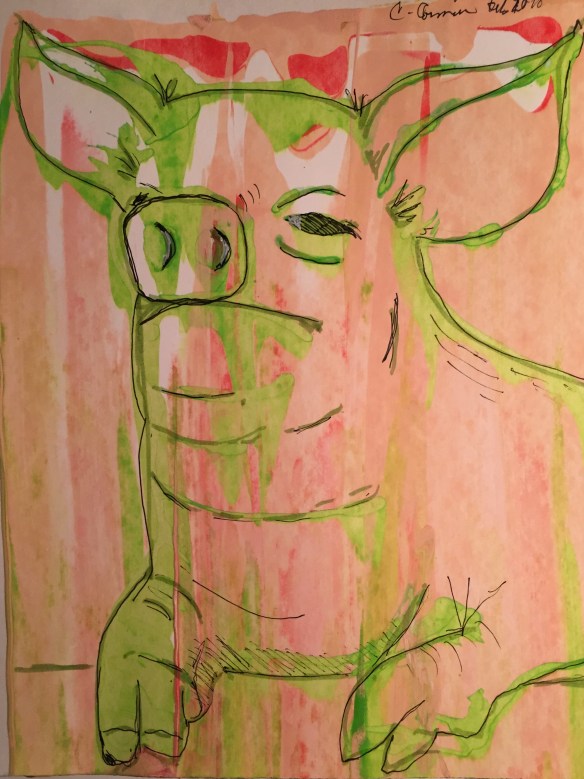
…..planning on creating a Dr. Seuss like character

For one of my year long assignments with Carla Sonheim I’m suppose to come up with my own Dr. Seuss like character. I decided to study some of Dr. Seuss’ illustrations and see what common characteristics they have. One is the u shape inside the large oval eyes that he uses for most of his characters. The mouth line is just a simple curve ending with a curved cheek line. Here are two practice drawings that I copied from his book What Pet Should I Get?

fullsizeoutput_6d3d
fullsizeoutput_6d3f

365 Days of Art – Day 57

Complicated Colour Fields – Part 2

A couple of weeks ago I showed you a project that I started with Carla Sonheim called Complicated Colour Fields – Part 1. You can see what I made here.

The following week I had to cover the entire piece with different bands of acrylic colour and then sand away some of the paint, once it dried, to bring back some of the designs from below. I did that but very little of the original patterns showed through. I decided to share it with you because this is called 365 Days of Art, not 365 Days of Great Art. Some days you won’t get what you hoped for and sometimes it’s more than you hoped for.

For me these two pieces were a bit of a disappointment but I can see using them either has a backdrop for another art project or cut up or torn up for a collage piece. Do you have any suggestions for me?

fullsizeoutput_6d0a
fullsizeoutput_6d09

365 Days of Art – Day 56

….getting papers ready for my Inspired by Lives and Letters class

Lendon Noe has encouraged us to make some art papers using inks, watercolour paper and tissue to use in future projects. I mixed up my walnut crystals to make walnut coloured ink and I experimented with purple and red ink.

fullsizeoutput_6d07fullsizeoutput_6d08

The next step is to cut up these papers into squares and rectangles.

On the white tissue paper I used three different techniques. One was crumpling up the paper and dipping it into ink. Using red ink gives it the appearance of blood (not sure if that was a wise choice). The second technique involved folding the paper multiple times until it couldn’t be folded anymore and then dipping the edges into ink. The last method involved folding the paper like a fan and then running a water soluble ink pen down over the folds. All these techniques involved spraying the paper with some water. Not too much or the paper falls apart.

IMG_1192

365 Days of Art – Complicated Colour Fields Part 1

…..day 55

A week ago today Carla Sonheim asked us to create two colour fields of art using a variety of markers, pens, pencils, stickers, tape and stamps. This is the first part of a two part art lesson. Part 2 is already in my inbox so I thought I’d better get busy and do part 1. No idea where this going but it was fun doing it.

IMG_1195IMG_1196

365 Days of Art – Caruso Sings

….day 50

I’m a little behind but I’m sure I’ll make it up in the next couple of days. I’m enamoured with Collage Characters. My latest creation is another bird that I have named Chattering Caruso. Caruso lives in the trees and loves to sing all day long.

IMG_0823

365 Days of Art – Ramblin Rosie

…..day 49

I was inspired to do another collage character today. My granddaughter seemed to really like my first one so I decided to try my hand at another one. This time a dog came forward when I started to lay out my random pieces of paper. Then I decided that the dog could be running so I made the ears fly back and the leash would also be sans owner and flying in the wind as well. Here is the process that I went through before committing to my final picture.

For my final draft I added a tongue and some line detail around the eyes.

P1050838

365 Days of Art – Collage Character

…..day 48

In Carla Sonheim’s class today we were instructed to take some of our art papers and with our eyes closed cut out random shapes. Then we were to create a character of our choice. We weren’t suppose to have a character in mind when doing the cutting. Instead the character would appear as we tried to arrange some to the shapes.

Gluing the pieces down was the last step in the process. As we created a character Carla recommended taking a photograph of each version and move the pieces around until you came up with a character you liked.

I found one piece of paper that looked like bird legs running so I build my character around that. Here is the process that I went through before gluing my final character in place.


On my final piece I grounded my little roadrunner with a strip of ground and put a cloud over her head. To me she looked like she was running off to a party.

IMG_0808


365 Days of Art – Pigs Three Ways

….day 41

I love art work with pigs. I don’t know why but I’m drawn to pigs. I enjoyed the blind contour drawings of the cows so much that I decided to do some with pigs. Rather than show you all my weird blind contours I’ll show you the rough copy of a pig I did for scraping technique with acrylics.

IMG_0755

I found that the scraping technique this time around lost a lot of the detail of the pigs.

With the middle one I went back over some of the lines with a light green marker. I then decided to take a chance with a black micron pen I added some more detail to all three pieces. Should I have left them as they were? What do you think? I know how I feel about it but I wouldn’t mind your input.

IMG_0759fullsizeoutput_6c7fIMG_0762

365 Days of Art – Cows Done Blindly

…..day 40

In Carla Sonheim’s year-long class we were assigned to draw an object of our choice. The hook is that it had to be a blind contour drawing. No peaking at all. I did that with the first three and for number four I peaked a couple of times.

Then without looking at the drawings or the photo the drawings were taken from we had to draw the objects again on a larger piece of watercolour paper using ink with a dropper or liquid acrylic poured from the bottle (with a small opening). Before the ink or paint dried we were then suppose to lay two more colours of paint across the top of the paper and then scrape it down the page with a credit card.

The first attempt I did on a cold press watercolour paper and I almost lost the image completely. I switched to a smooth hot press paper and the image under the paint was stronger. The black ink on the second painting was overpowering and I much preferred how the red and purple inks turned out. Do you have a favourite?

IMG_0740IMG_0741IMG_0742IMG_0743

365 Days of Art – Text Pages

…..day 33

Today’s class with Carla Sonheim was to create art papers using text. I enjoyed this process. I used watercolour paper and a variety of pens and ink to create these papers. I found a couple of poems in my Roald Dahl Treasury and I copied them onto some of the sheets. The idea is to fill the paper with words and try not to leave too much white space. I plan to use some of these in my next collage assignment.

fullsizeoutput_6c6afullsizeoutput_6c69fullsizeoutput_6c68