….I don’t often make dessert but this recipe for cheesecake made in a slow cooker intrigued me
The original recipe comes from Chef Ricardo’s cookbook, Ricardo: Slow Cooker and was reprinted in the Life section of Saturday’s paper. I was drawn to the recipe for two reasons: 1. It is prepared in a slow cooker and 2. it is prepared in individual ramekins or small canning jars.
Since we were having the family over for Sunday lunch and Game Day, I decided to make the salad and dessert portions of the meal. The menu consisted of Orange, Avocado and Red Onion Salad, which I posted here, cornmeal and jalapeño muffins, beef enchiladas, Mexican rice and cheesecake in a jar.
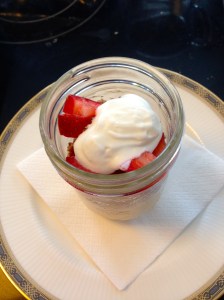
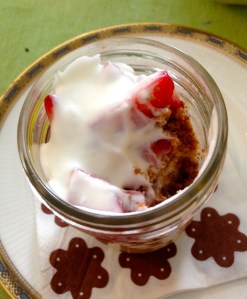
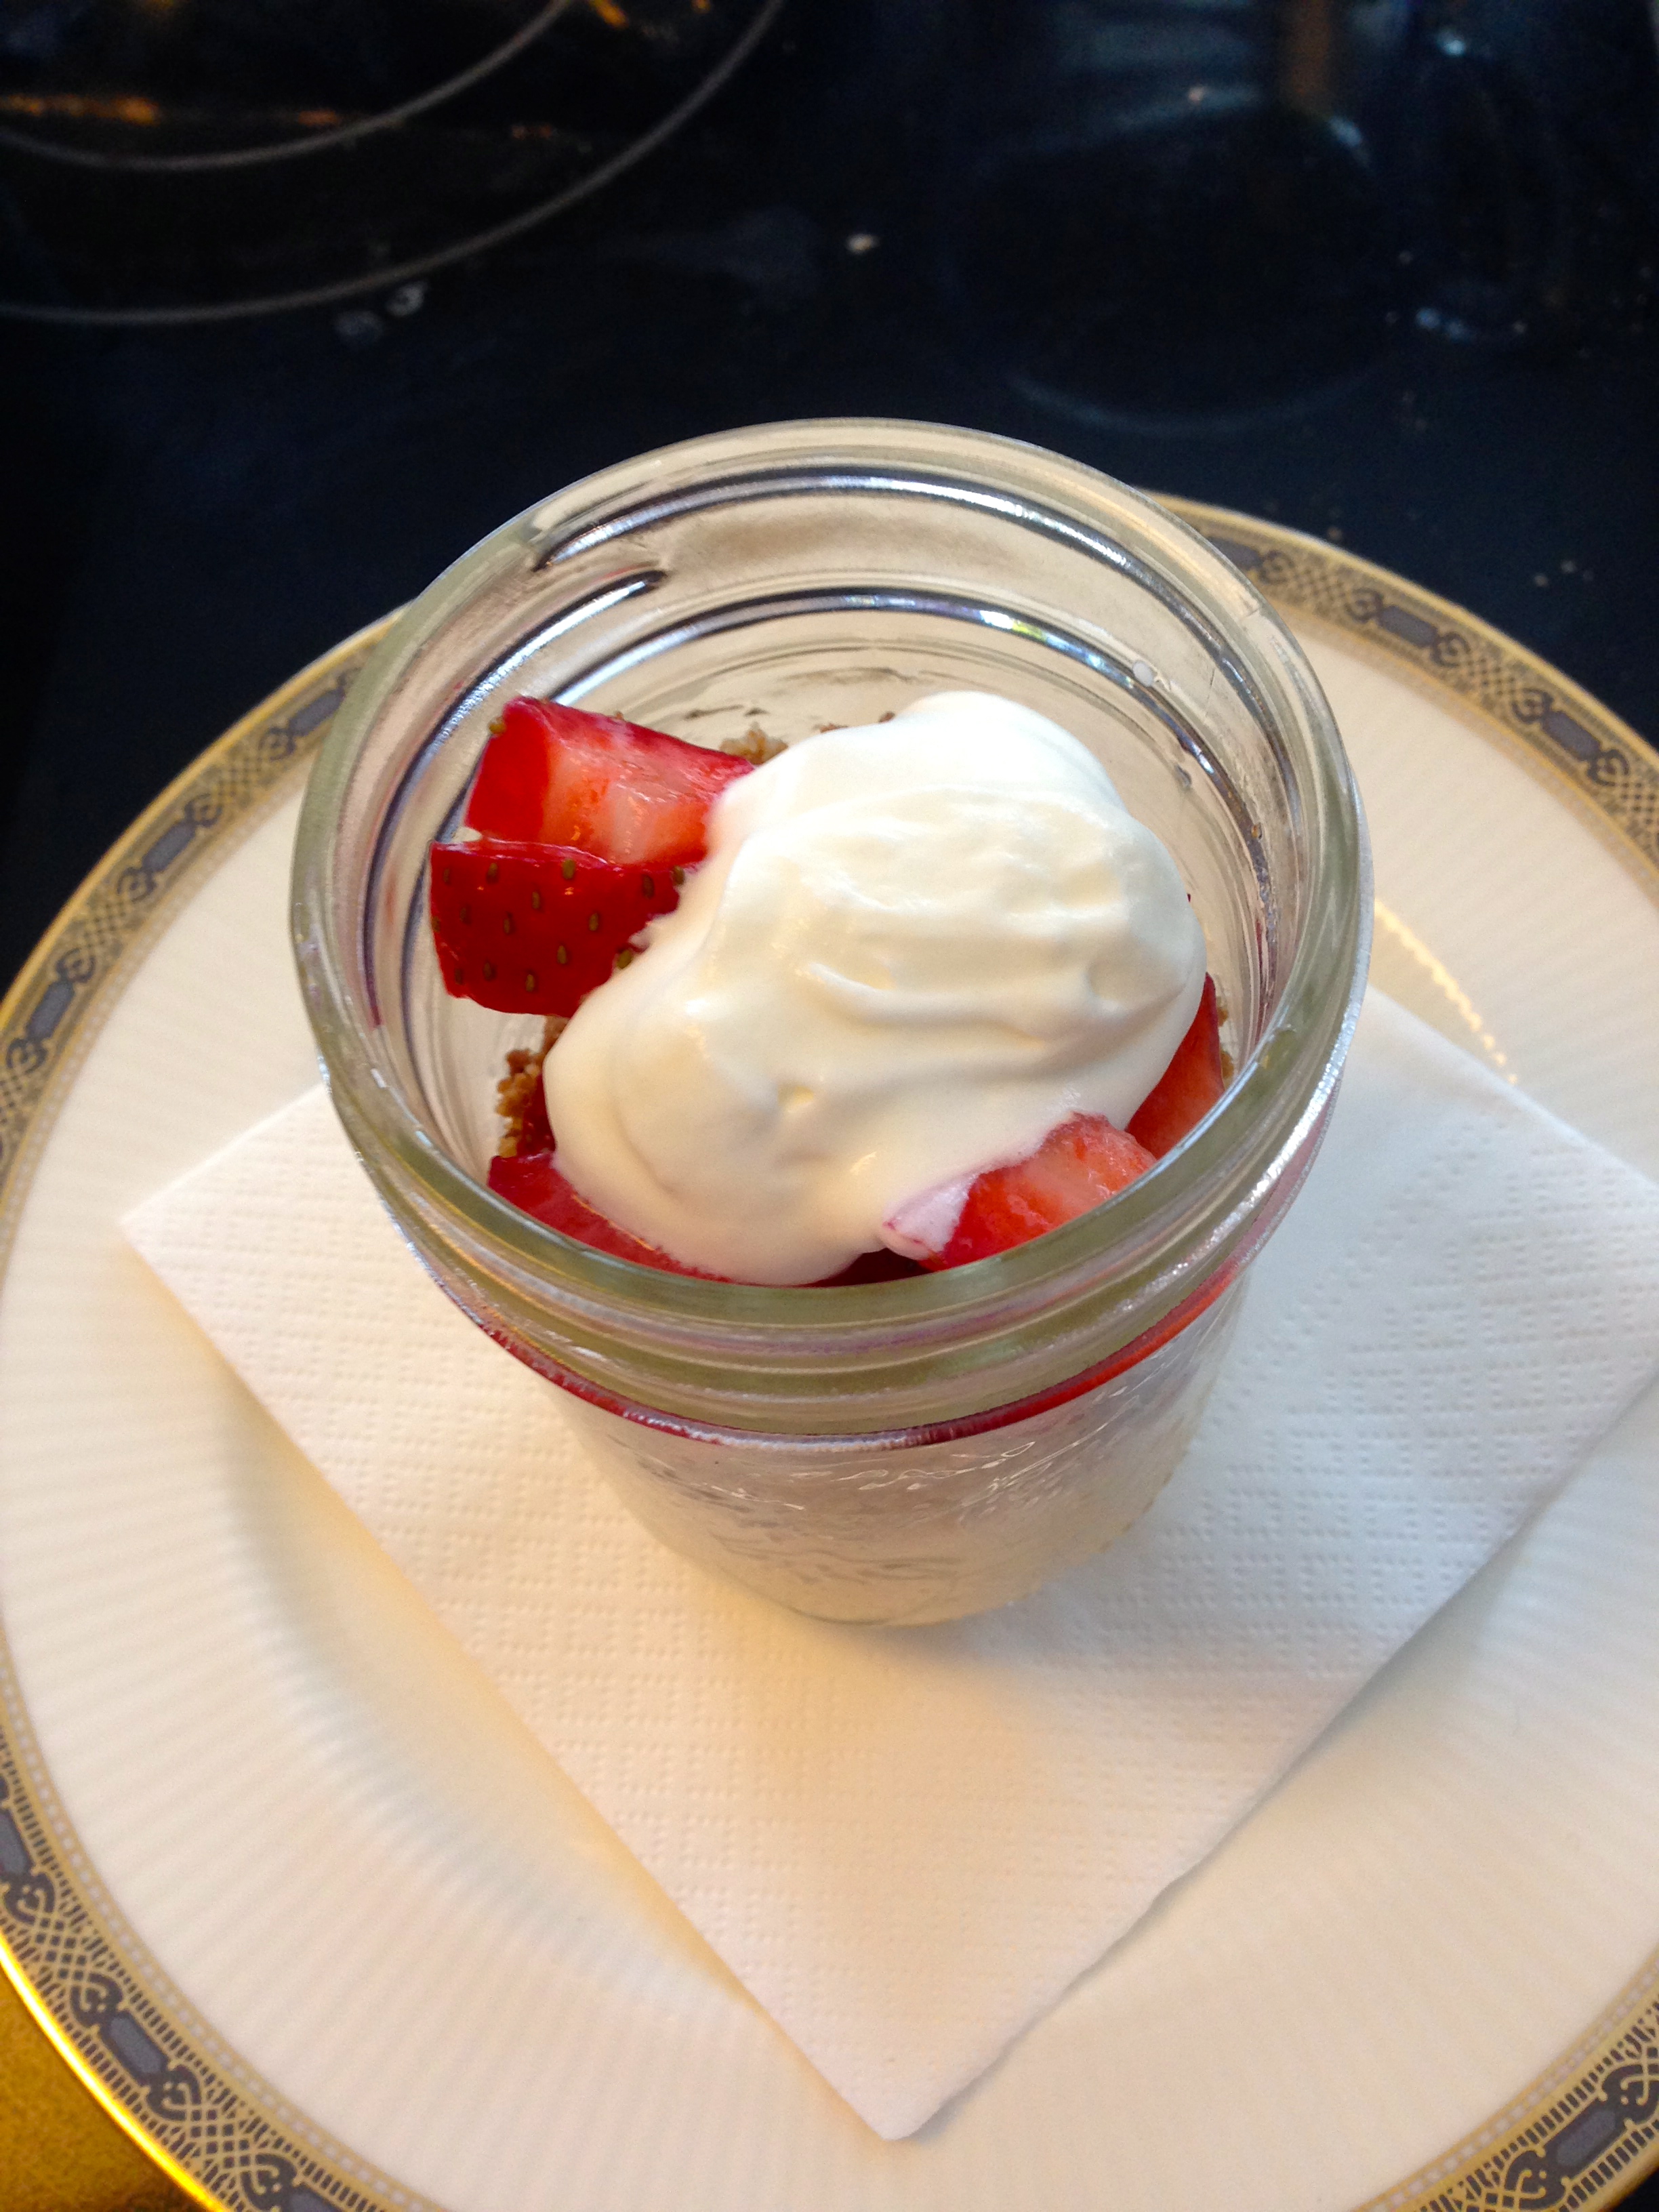
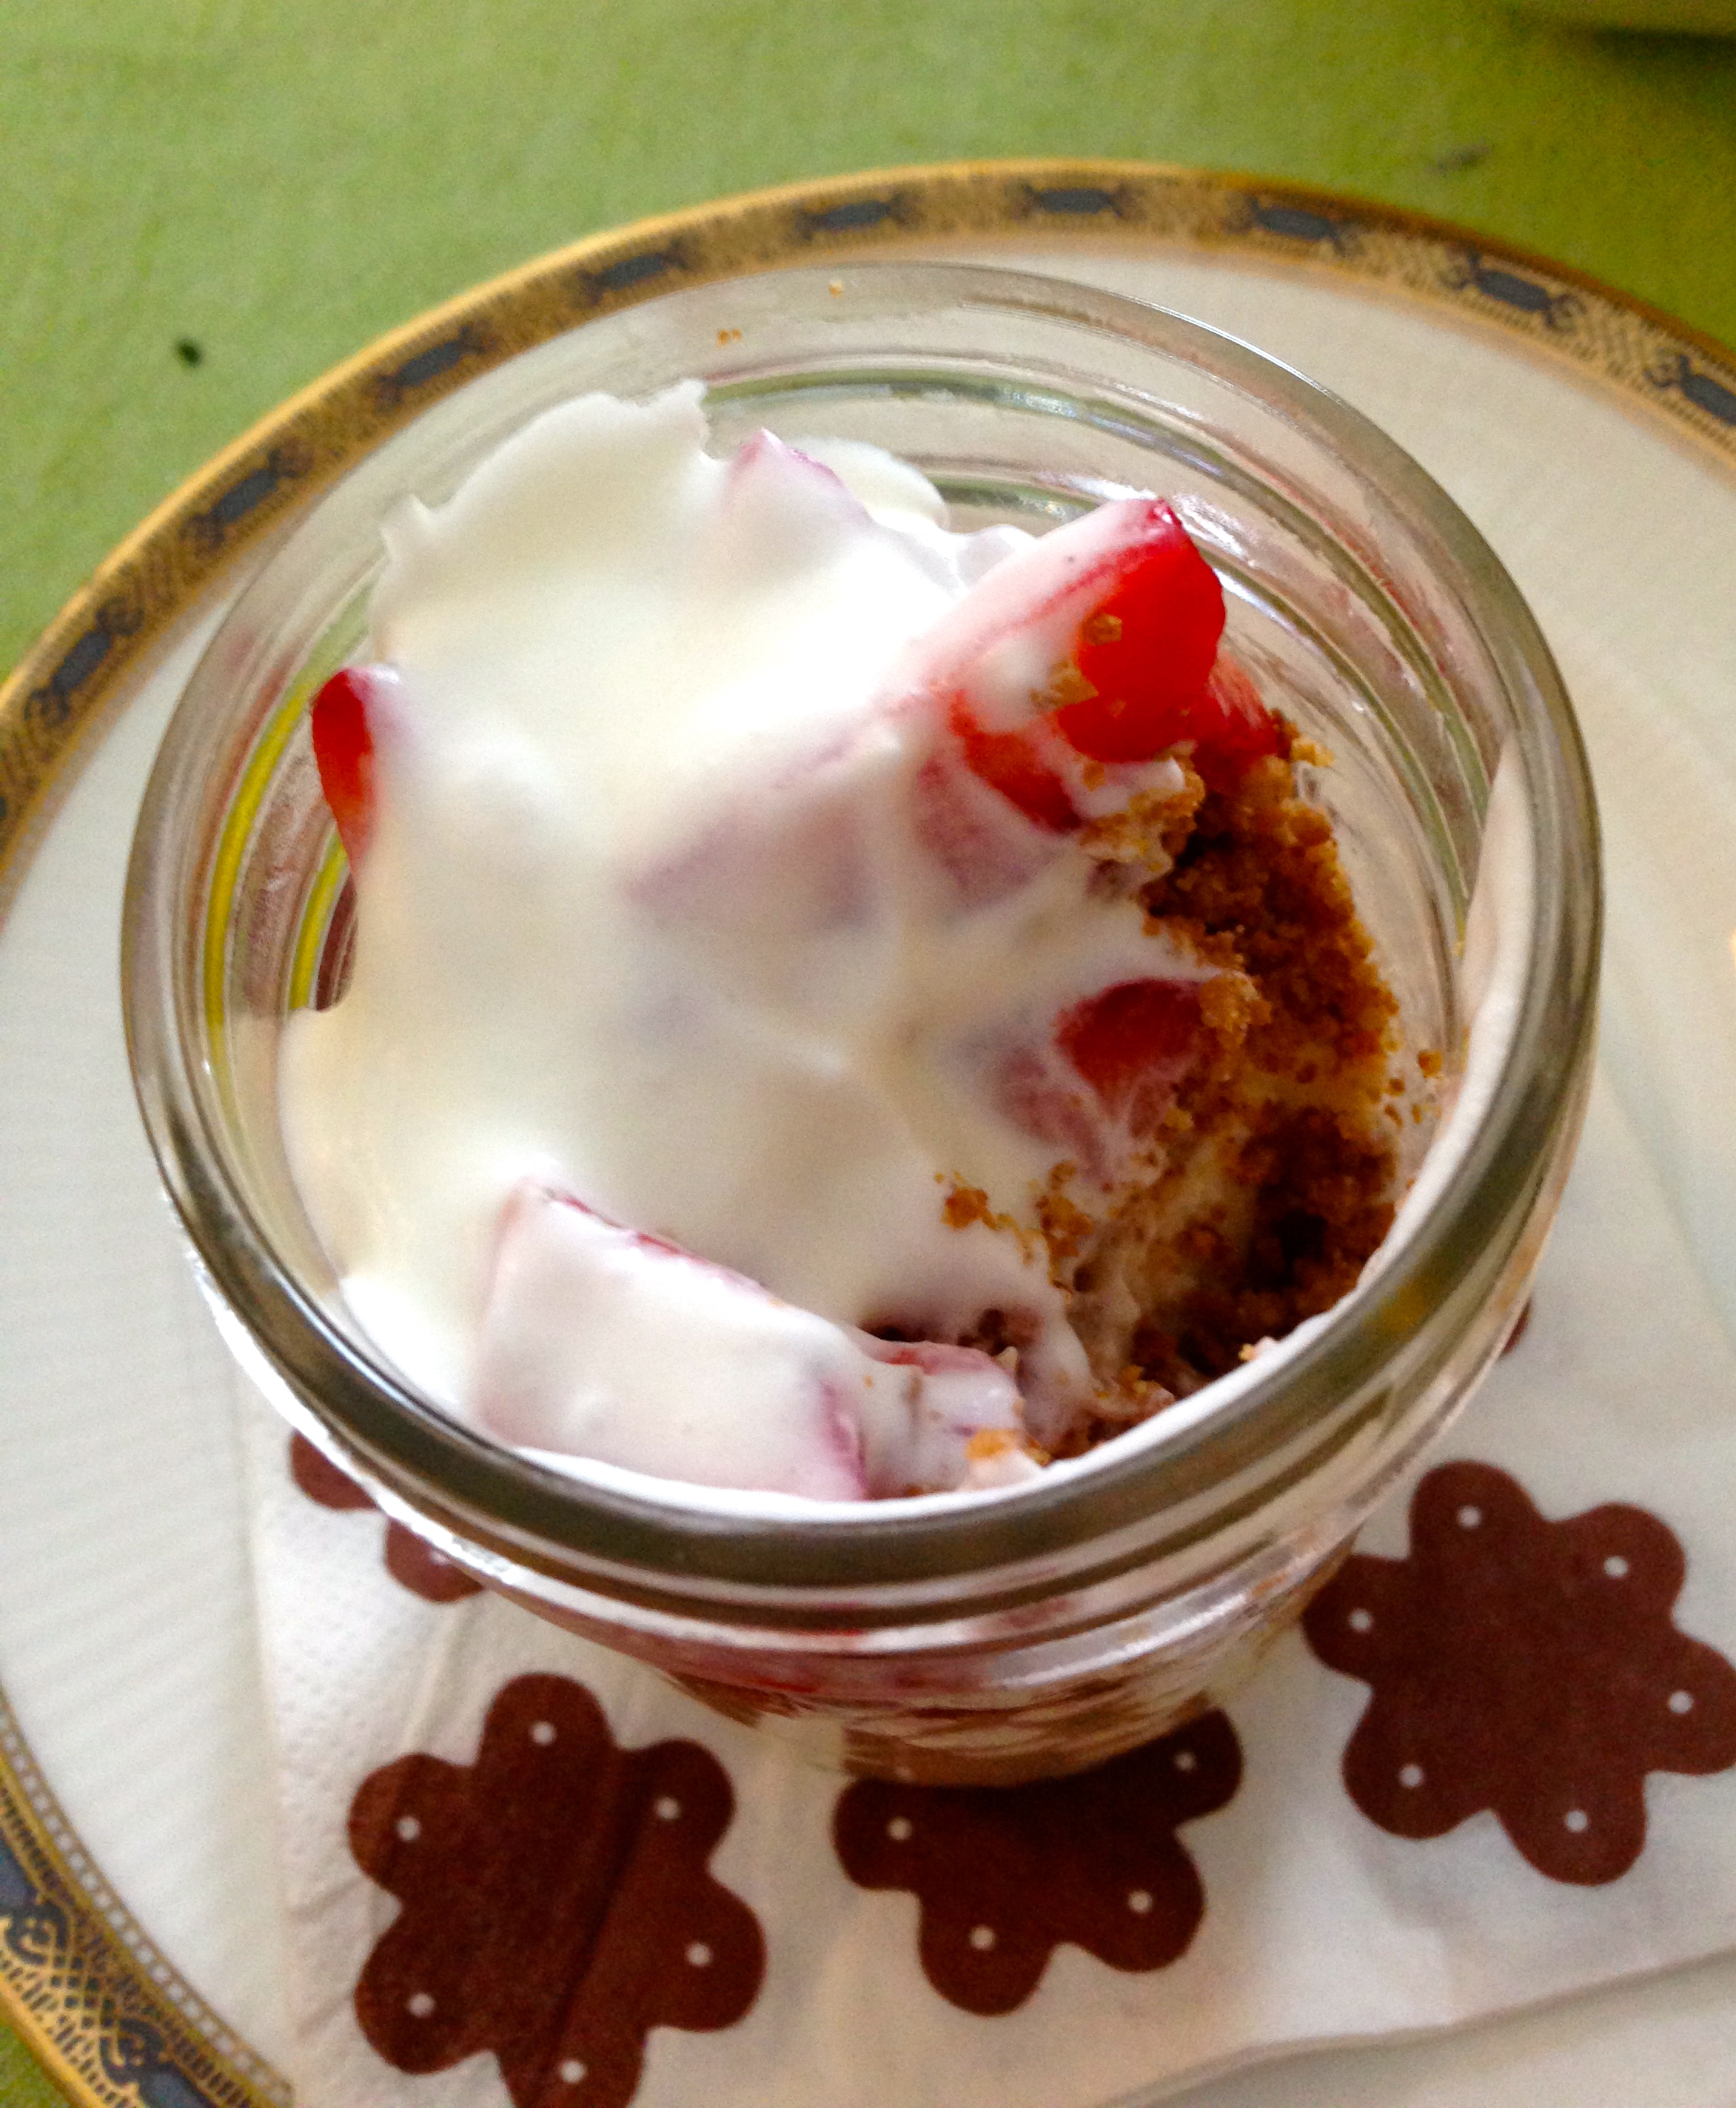
Cheesecake with Strawberries and Graham Cracker Crumble in a Jar
Serves 4
1 pkg. (250g or 8 oz.) cream cheese, softened
75 mL (1/3 cup) sugar
1 egg
60 mL (1/4 cup) 35% cream
5 mL (1 tsp.) vanilla extract
Crumble
125 mL (1/2 cup) graham cracker crumbs
60 mL (1/4 cup) all-purpose flour
30 mL (2 tbsp) brown sugar
60 mL (1/4 cup) unsalted butter, softened
Fruit Topping
250 mL (1 cup) diced strawberries or favourite fruit
15 mL (1 tbsp.) sugar or sweetener
Whipped Cream (optional)
Directions:
1. Place a clean cloth in the bottom of the slow cooker. I forgot and two of the jars broke as soon as I added the hot water.
2. In a food processor combine all the ingredients for the cheesecake (not the crumble or fruit) and puree until smooth.
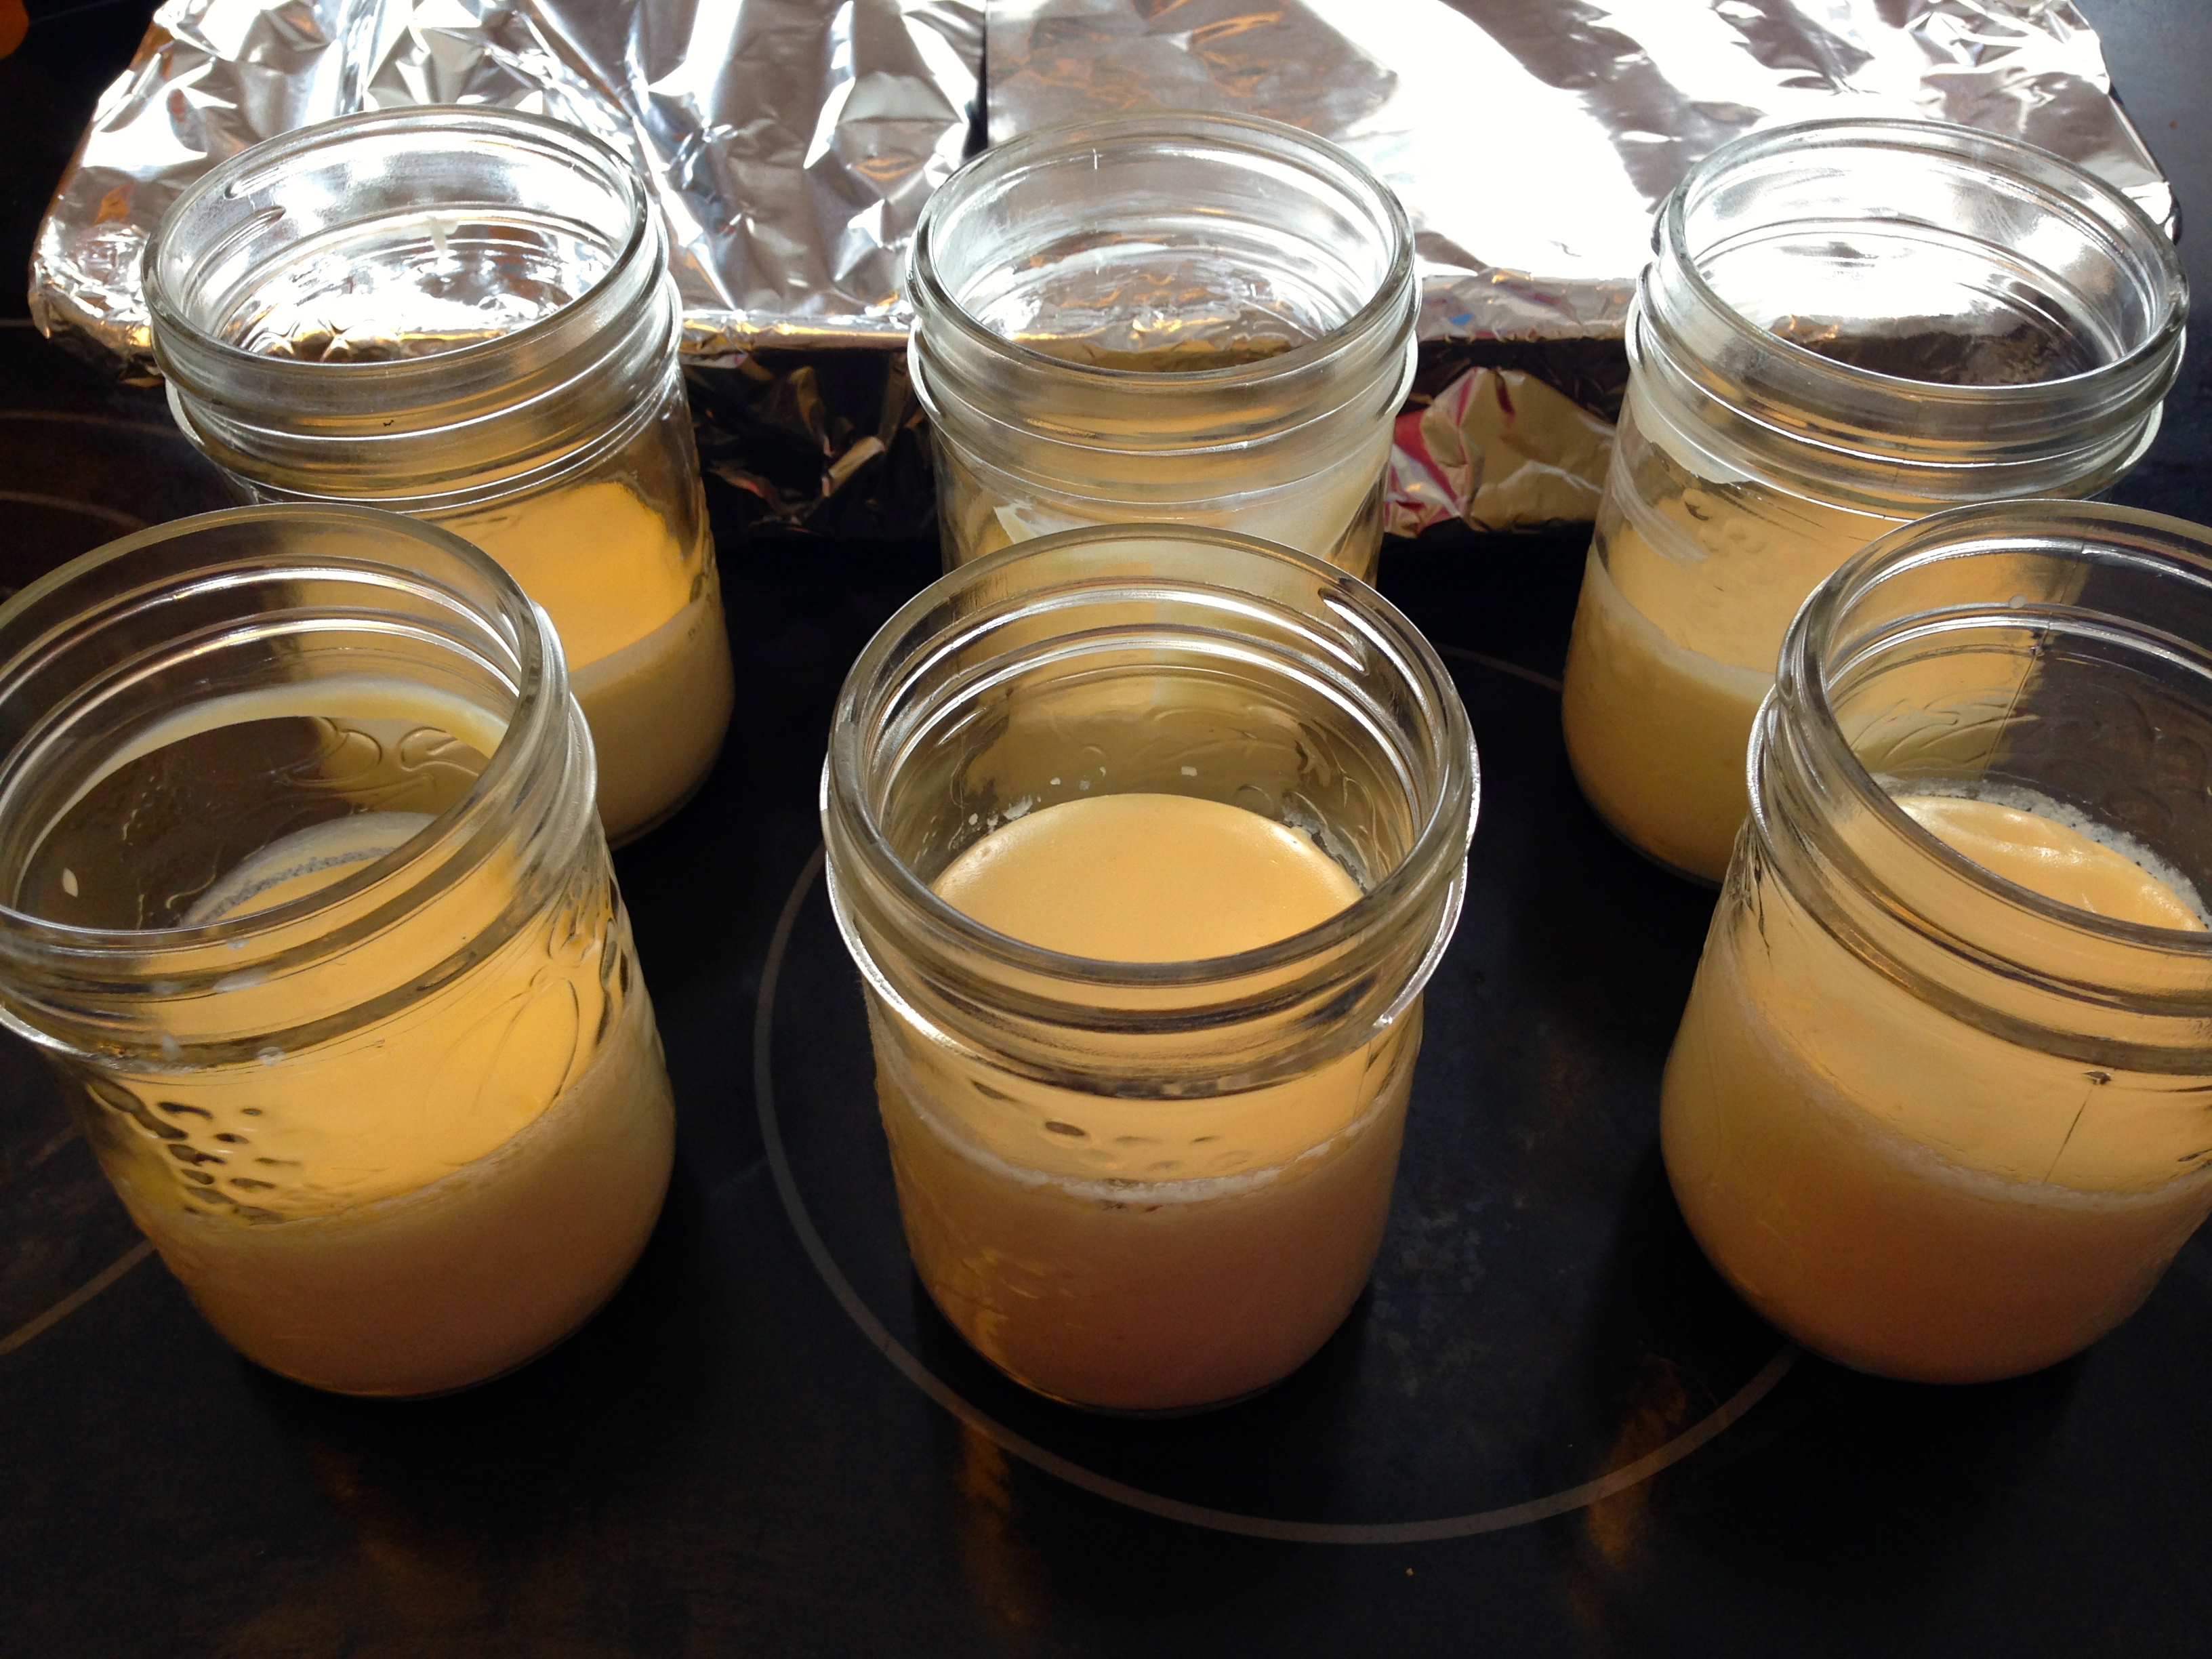
3. Pour into clean ramekins or small canning jars and place in the slow cooker. Carefully pour hot water (not boiling) around the jars until the water reaches the half way mark on the jars.
4. Cover and cook on low heat for 90 minutes until firm and slightly puffed. Remove from the slow cooker and let cool. 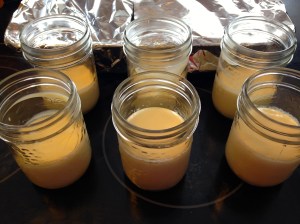 Refrigerate for 3 to 4 hours until completely chilled.
5. Crumble:
Preheat the oven to 350 degrees F. Line a baking sheet with parchment paper.
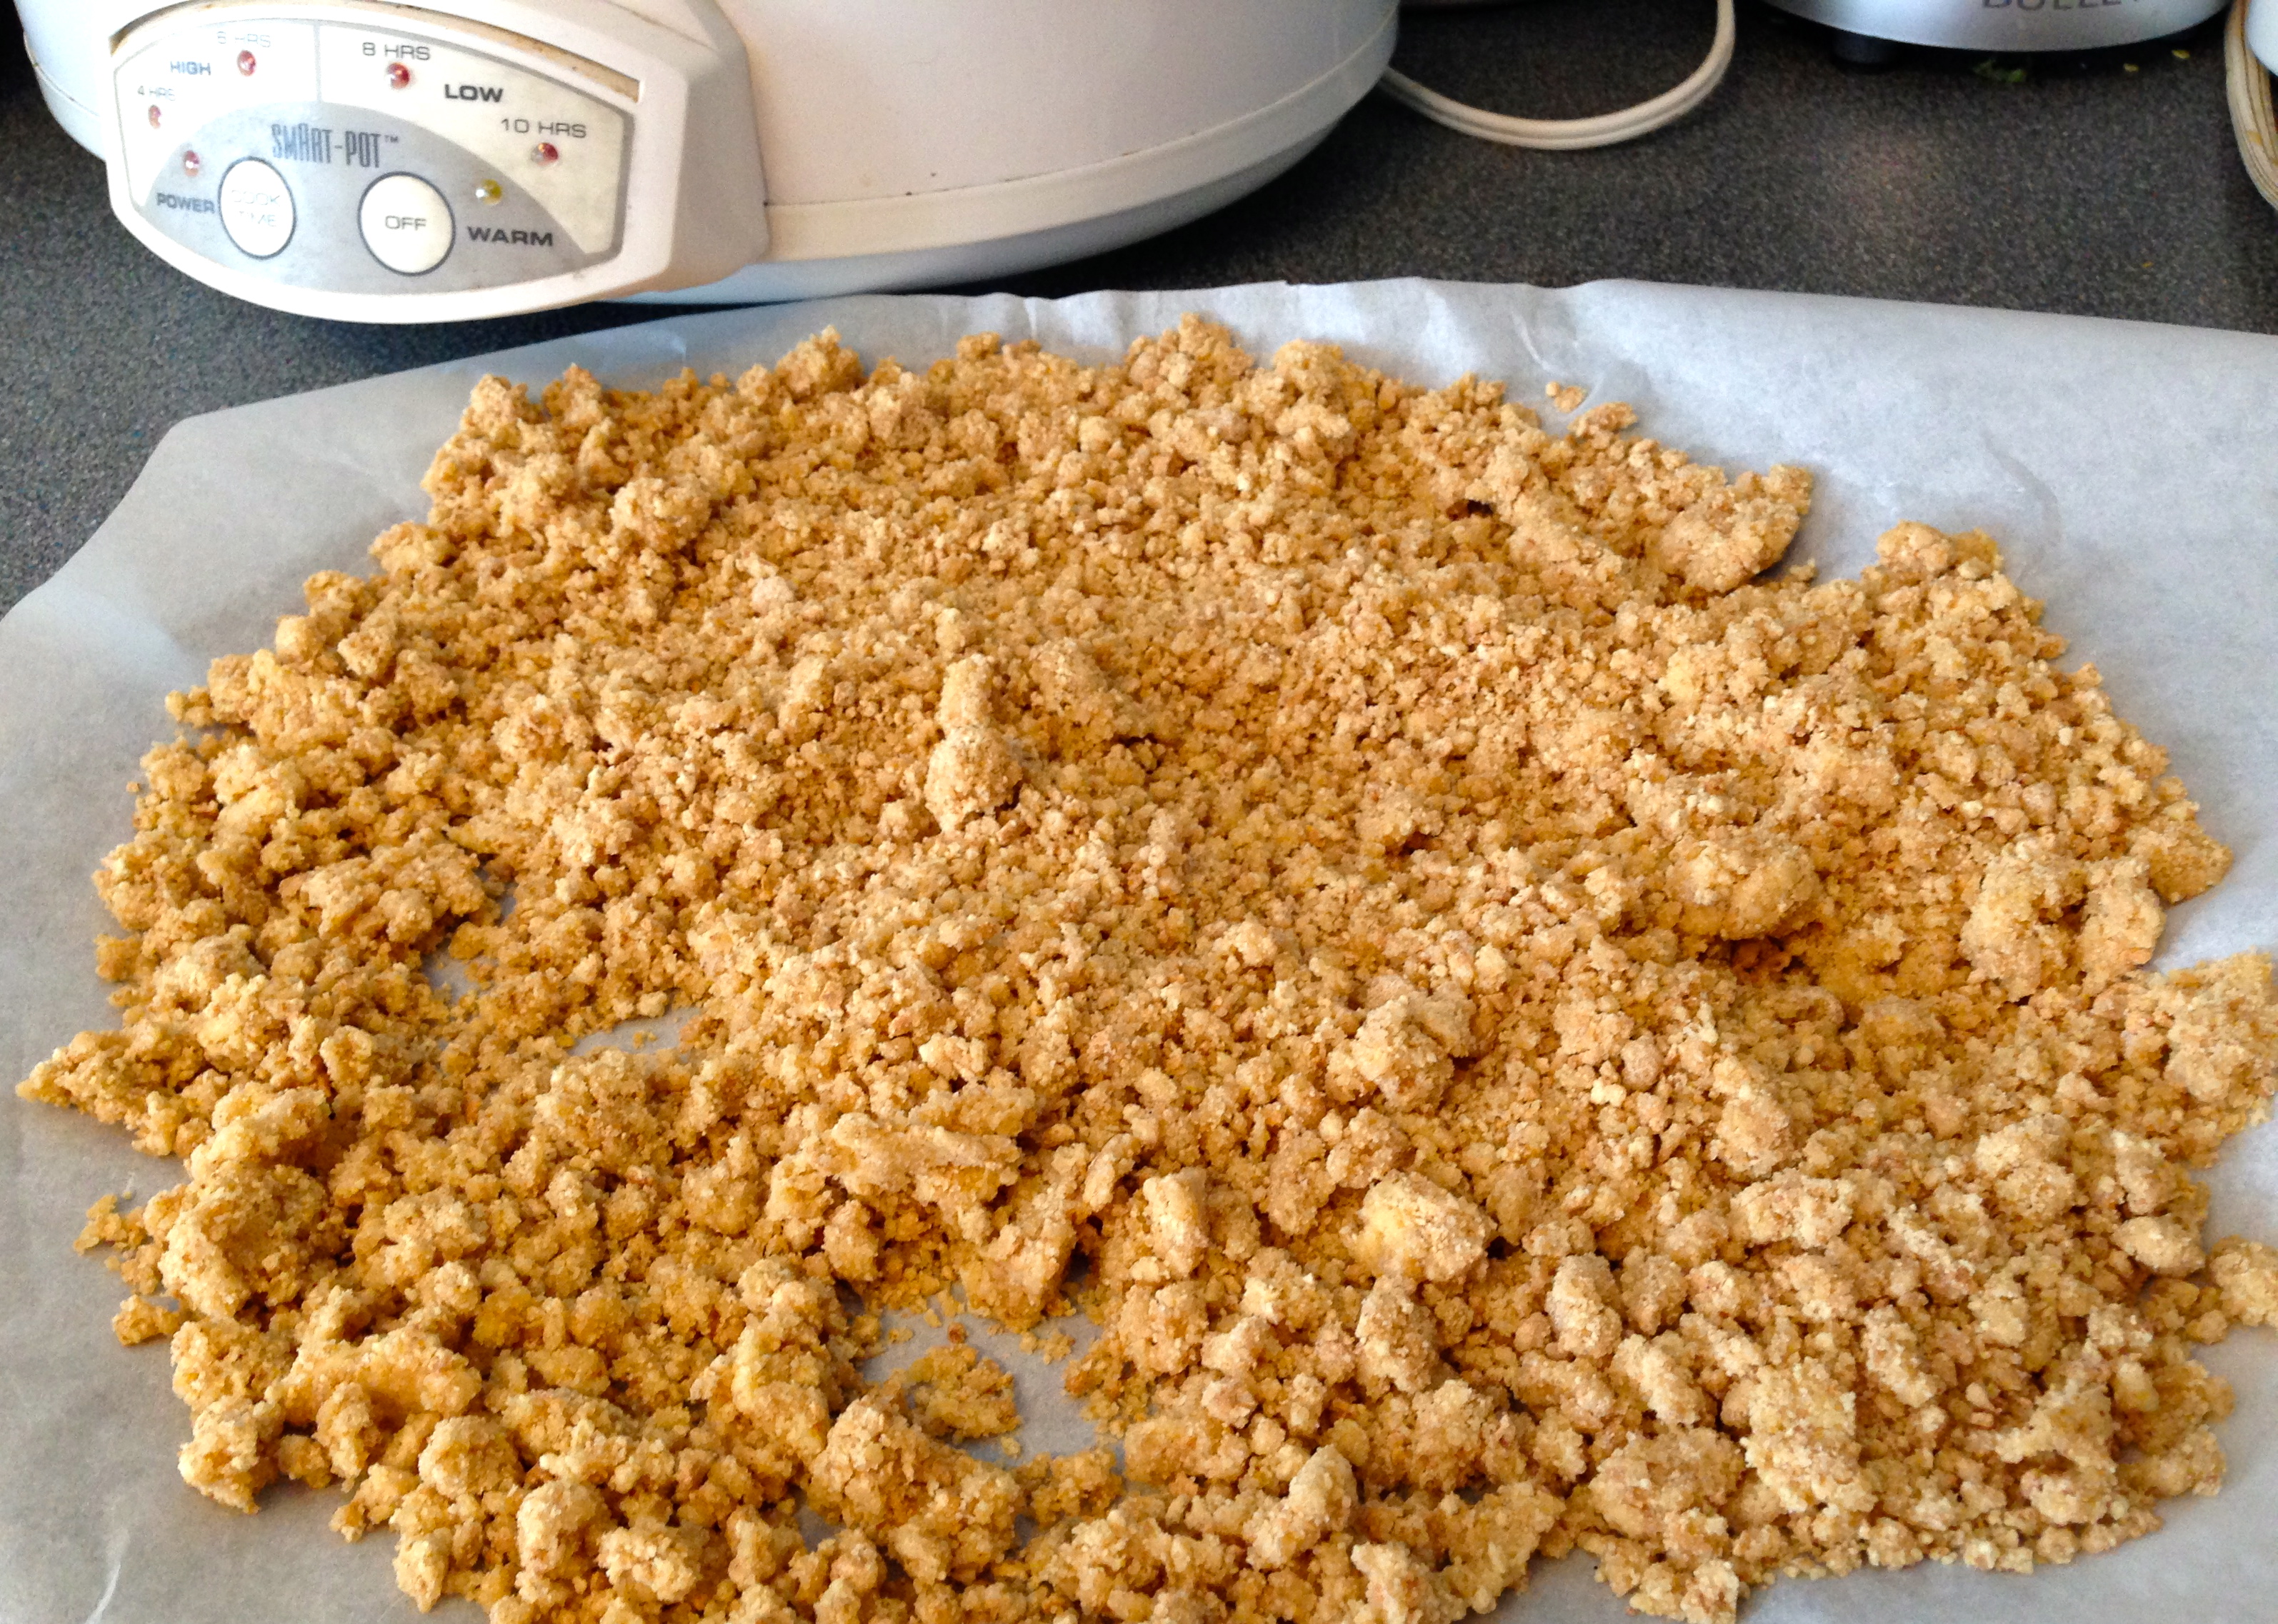
6. In a bowl combine the dry ingredients and add the butter. Using your hands mix the mixture until crumbly. Drop onto the baking sheet. Bake, stirring twice during the baking process for about 15 minutes or until golden in colour. Let cool. 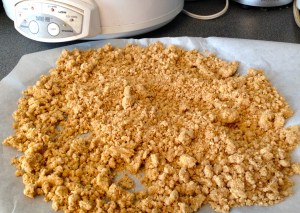
Strawberries:
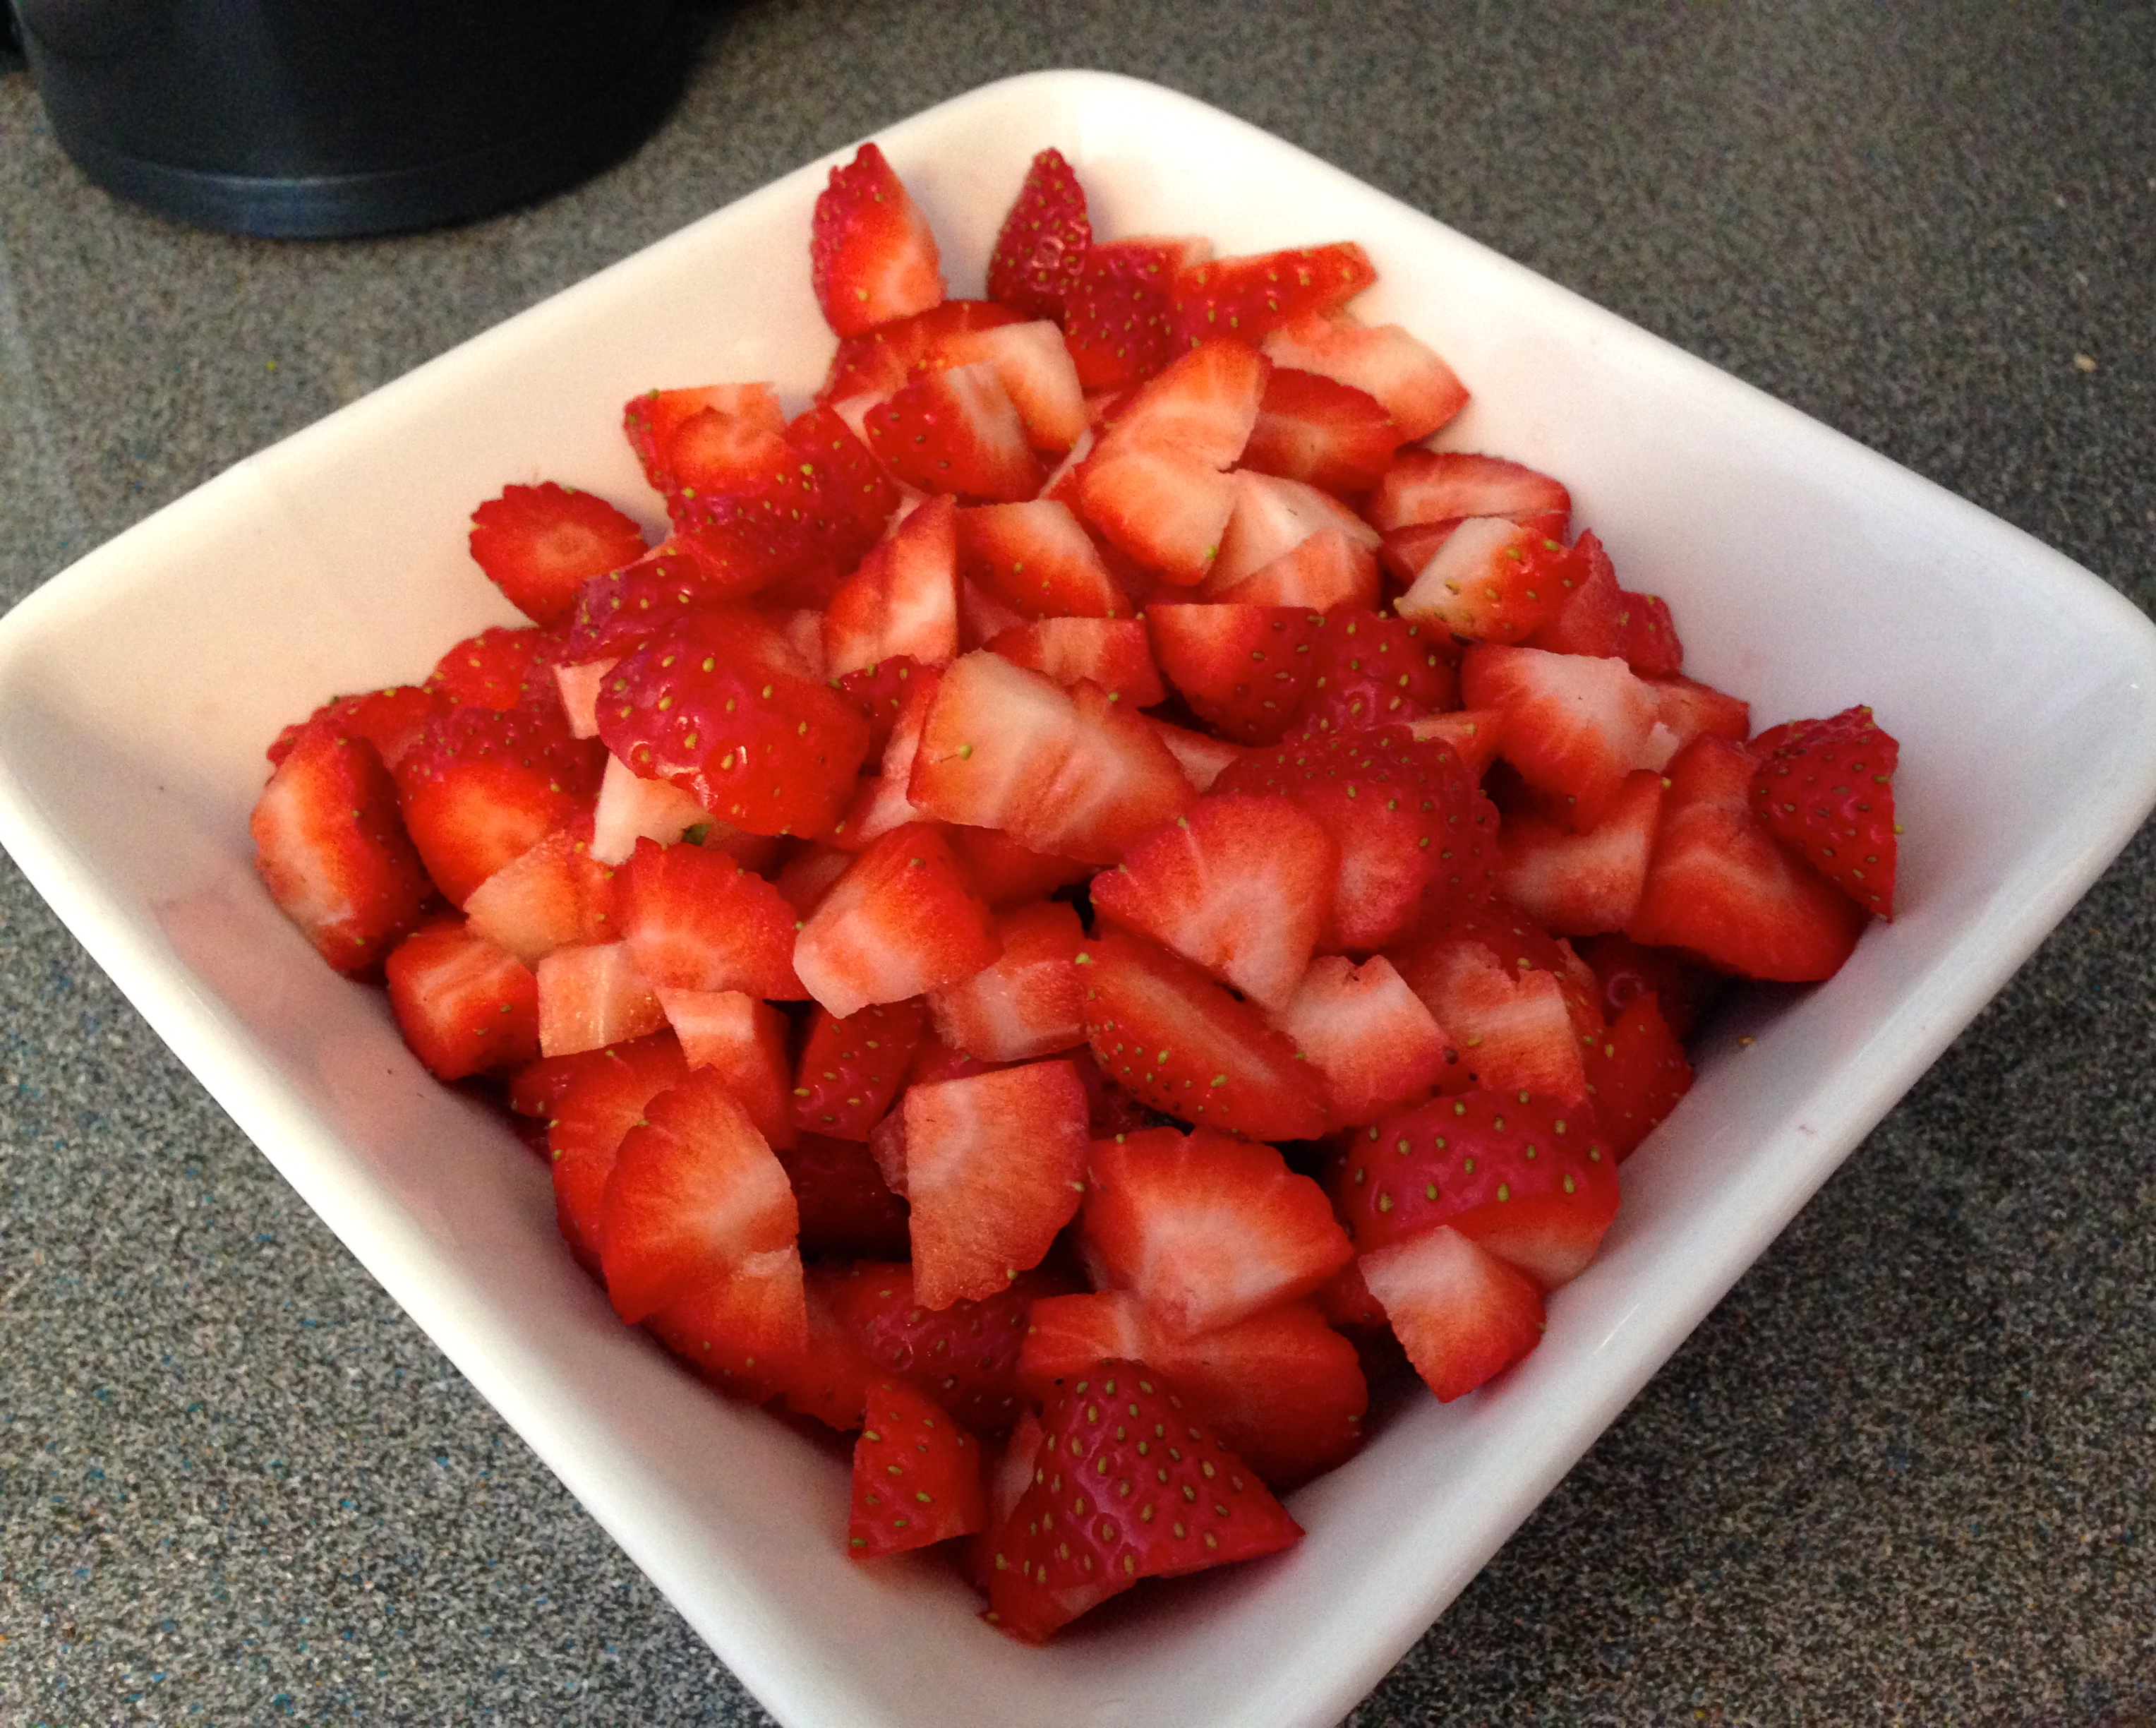
Wash the strawberries and dice. Toss with the sugar or sweetener of your choice. Set aside to macerate. 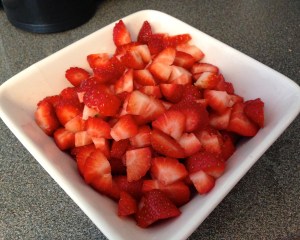
When ready to serve, garnish each ramekin or jar with the graham cracker crumble, strawberries and a dollop of whipped cream.
Enjoy!