Burning the Midnight Oil on the Weekend Preparing for the Winter Olympics

….my weekend wasn’t all fun and games with the family

Of course when I say ‘the Winter Olympics’ I’m referring to our fun day at school where we organized a variety of winter games for the boys and girls to participate in. Last week a group of us quickly assembled a committee to plan for a Winter Olympic extravaganza that involved the entire school, from JKs to grade 5s. Not knowing how much longer the snow would stay on the ground and knowing that the temperatures wouldn’t be in the polar vortex zone we decided to host the games on the Tuesday right after the Family Day weekend.

The committee came up with 12 different sporting events, from the ‘Biathlon to Luge to Hockey, that teams could compete in. The sign up sheet went up in the staffroom and all the staff signed up for an event. Two teachers volunteered to make hot chocolate for 420 children and two of the kindergarten teachers wanted to make the Olympic banner with the Olympic Rings.P1040105 My colleague next to the library worked with me and her class to make 22 different flags from some of the countries that actually participate in the Winter Olympics. After making the paper flags we decided that we needed to laminate them so that they wouldn’t be destroyed when they were taken outside. That job was done mostly during our prep time and after school and G took some home to finish off the remaining ones after we ran out of the Mack Tack that we were using.P1040094 P1040102

I volunteered to make the 60 medals on the weekend and I had started to make paper dowels for the flags but I hadn’t made nearly enough before I left for the weekend. I also wanted to make an Olympic torch but I wasn’t quite sure how I would tackle that because of course I wanted it to look like the one that was used in Sochi.

Over the weekend I spent some of my time shopping for ribbon for the medals and silver spray paint. A parent at school donated enough CDs for 60 medals and a can of gold and bronze spray paint.photo-15

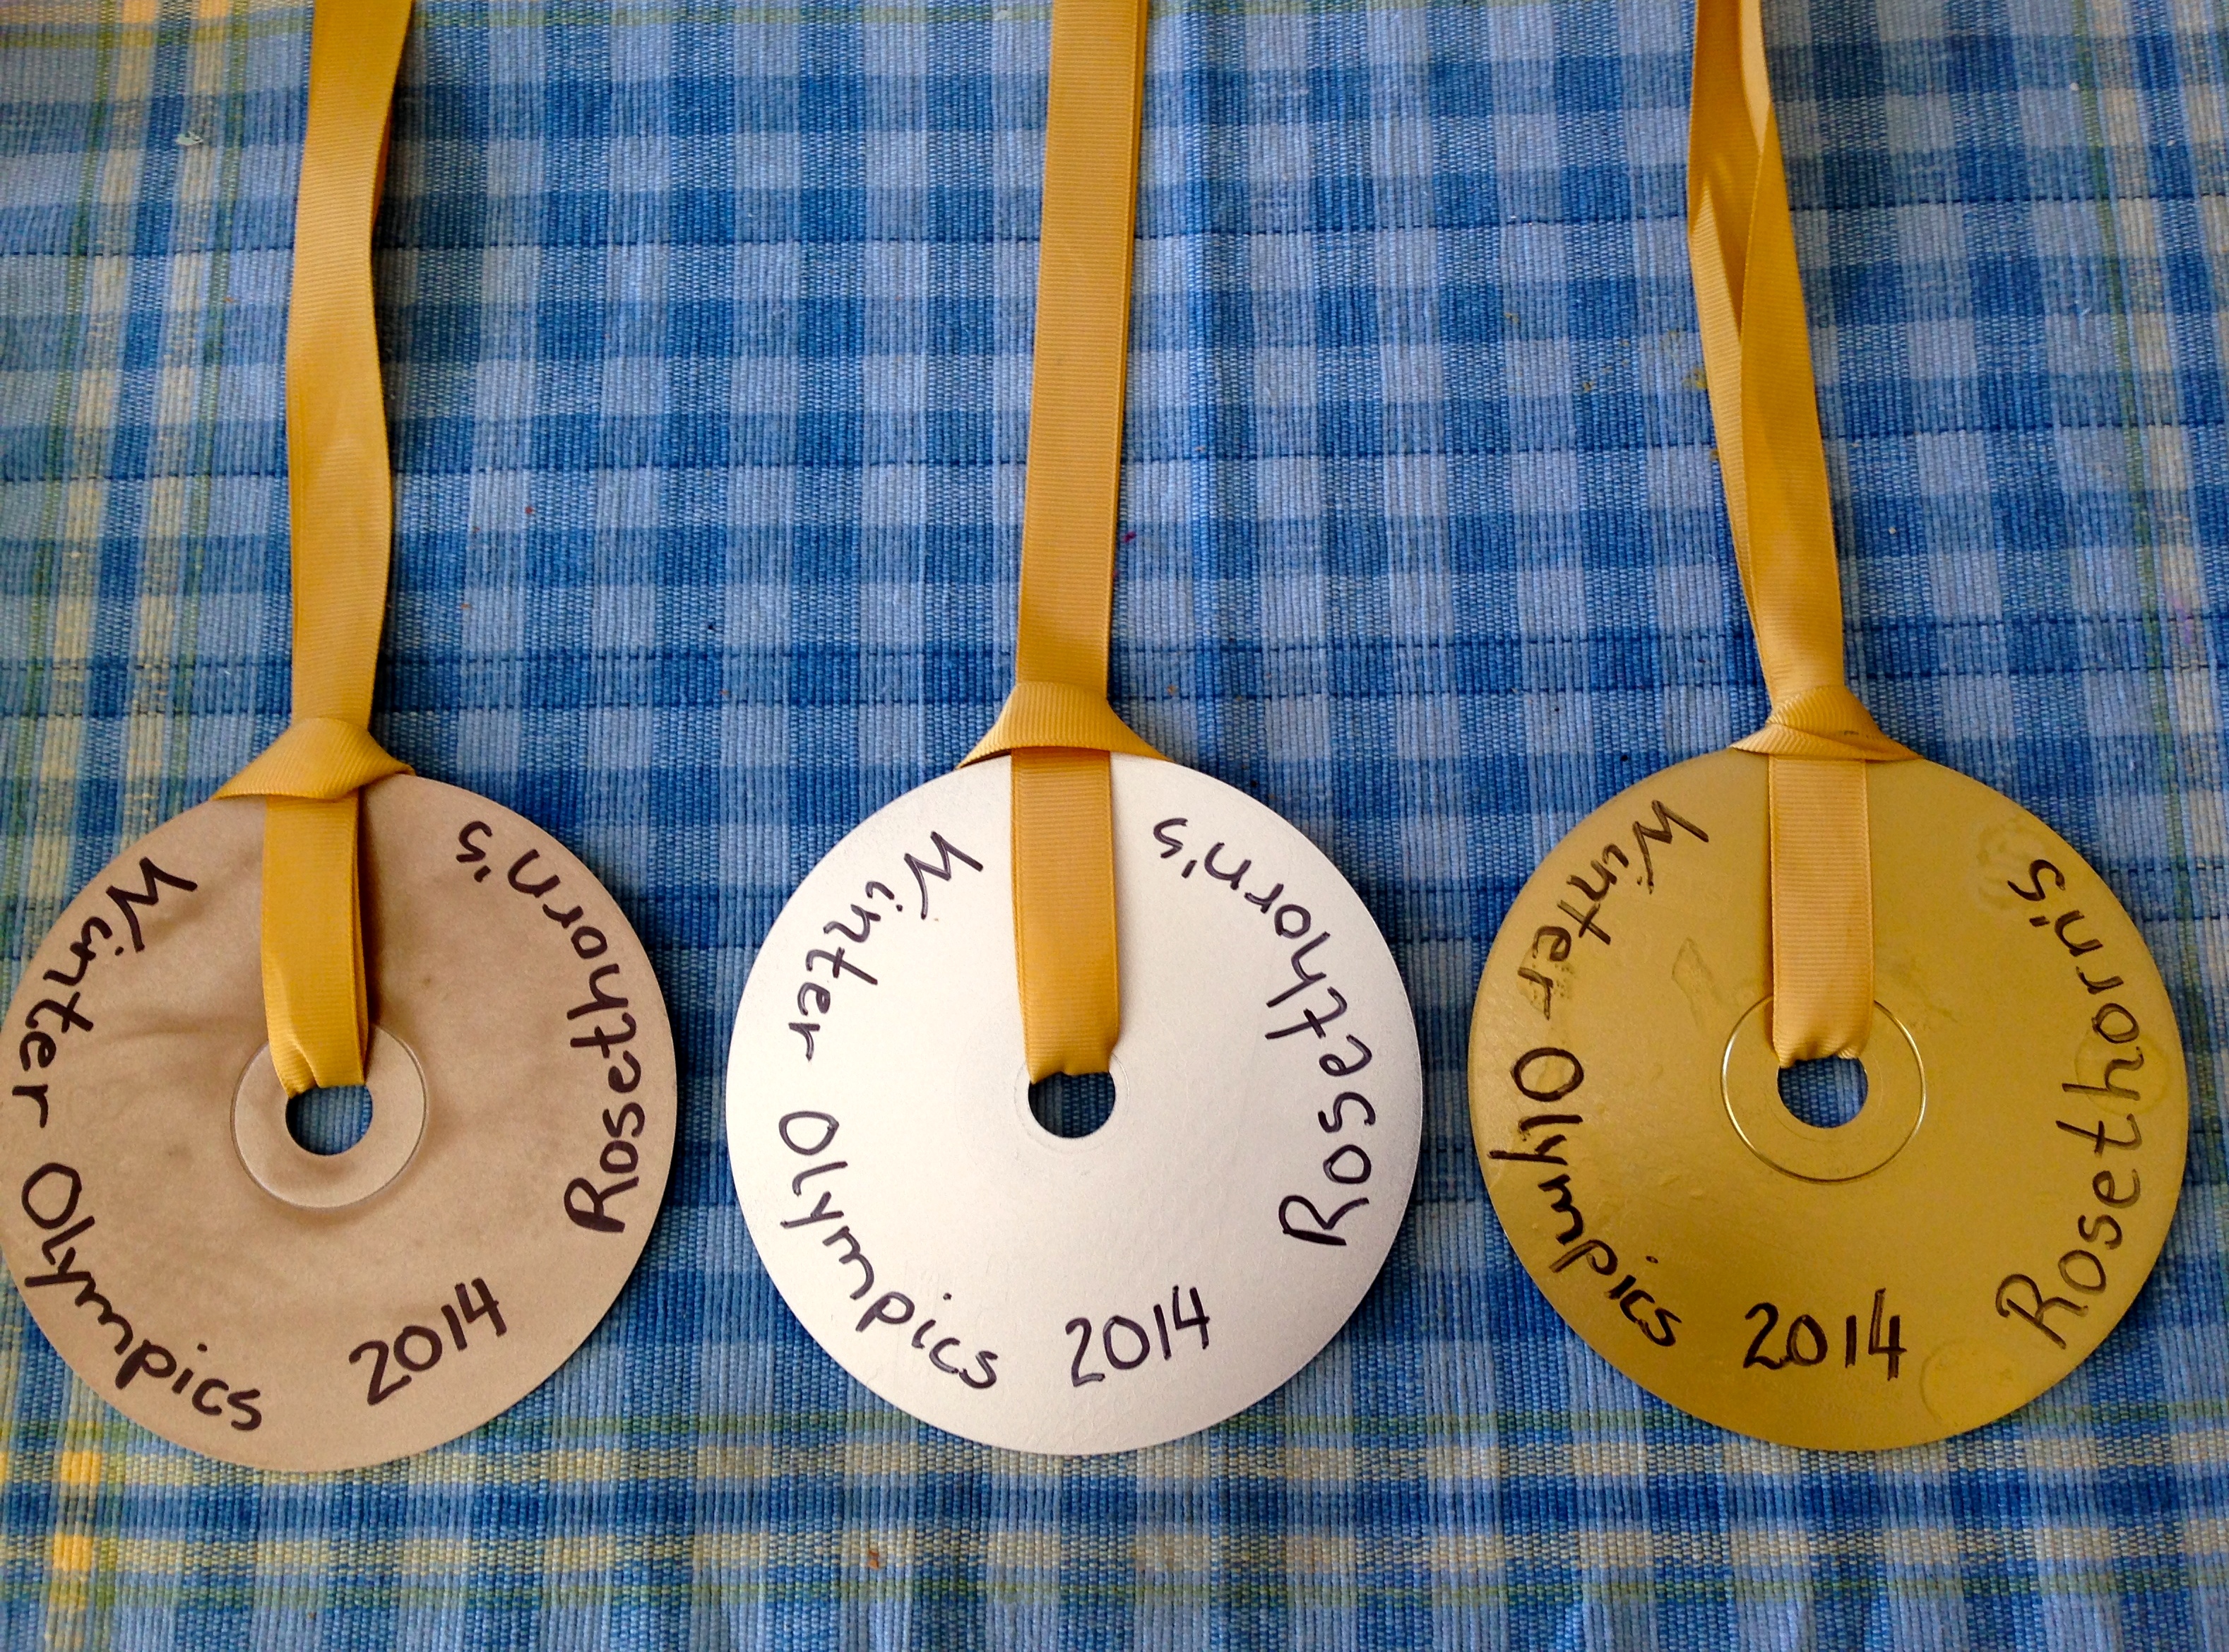
After spray painting the CDs gold, silver and bronze I wrote on each of them, Rosethorn’s Winter Olympics 2014 and then I attached a ribbon big enough to fit over a child’s head. I debated whether to hot glue the ribbon at the ends or sew the ends together. On Monday night I opted for a quicker method and I taped the ends together.

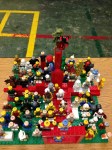
Once the medals were finished I made 36 paper dowels to attach to the flags so that the children could carry them high in the air and then I taped them to the back of each flag. This is what my dining room table looked like Monday night.photo 1-32 photo 2-33

One night over the weekend I was up till 3:00 in the morning working on the medals and on Monday I was up till 1:30. Before I went to bed the night before school I decided at the last minute that I really needed to make the Olympic torch as well. I quickly traced out the shape of the torch that they used in Sochi and then transferred the design onto 3 pieces of cardboard that I glued together and spray painted white. In the morning I added the red trim and glued some tissue paper at the top to represent the flames. When we did the closing ceremony I chose a little boy in kindergarten to carry the torch into the gym. He was the perfect choice.P1040138

To be continued……….

Fantasy Collages

….grade 5s created these wonderful works of art, inspired by Dali

The assignment was to paint a simple watercolour landscape with a foreground, background and horizon line and then have fun cutting out pictures from magazines and newspapers and create a fantasy piece of art. The goal was to create a piece that told a story and hopefully some writing will accompany each piece of art in the near future.

ImageImageImageImageImageImage

100 Day Museum

….every year the boys and girls in grade one create projects that represent the number 100 and on the 100th day of the school year they are all put on display in the gym

Here is a selection of some of the projects that the grade ones with the help of their parents presented to the school community today.

Scratch Art

….brown craft paper, oil pastels, and black acrylic paint

Last week I discovered that I was running out of some basic materials, like glue sticks and my supply order that I made weeks before the holidays still hadn’t arrived. After rummaging through the supply cupboard I found enough brown paper for two classes. I had plenty of oil pastels and 2 jars of black acrylic paint.

Some of the students were still finishing their Hundertwasser style landscapes using chalk pastel, so it was interesting for them to experience a new medium, oil pastels. Everyone was busy, either finishing projects or starting a new one. I set up one table for painting to limit the mess and thank goodness for my new drying rack.

Scratch Art from Scratch

I’ve never attempted to do scratch art projects because I’ve only ever seen them done using pre-made scratch boards. As I was going through one of my many art book for children I discovered a simple way to make our own black scratch papers. I have to say that making our own papers was very satisfying and gave the children some experience using oil pastels. I loved using the brown paper and the students were encouraged to leave some of the brown edges exposed.

IMG_0203 IMG_0204 IMG_0205

Students are encouraged to lay down a thick layer of pastels. No background paper should show through. Once we were satisfied with the amount of pastel on the paper we painted a thick layer of black acrylic paint. Before you do this make sure that each student has written their name on the back of their paper or you will have quite a time trying to determine who belongs to the blackened sheets when they come back a week later.

As soon as students finished painting over the the pastels they placed their papers on the drying rack. (This is not a one day project). In the remaining time students can start sketching on copy paper a rough copy of what they would like to draw. I have numerous drawing books available for them to look through and be inspired.

In the following class each student was given a paper clip that I bent open and that was their scratching tool. It works fairly well, especially if you hold it like a pencil and gently rub away the black paint. The assignment was to draw some animals but some of them chose to create a landscape or they did a combination of both. I mounted the finished pieces on two pieces of different coloured construction paper so that it looked like it was matted. Again I think that the grade 2/3 class did a great job.

IMG_0230IMG_0232 IMG_0233 IMG_0234 IMG_0235

Tissue Collage Landscape

….I introduced four different art projects this week

I had to think quickly this week as to what I was going to teach in art. I ordered some supplies before Christmas and they hadn’t come in yet so I scrambled to find a project(s) that required the materials I had on hand. Of all the projects that I assigned I think the one I introduced to my grade 3 class is my favourite so far.

We talked about landscapes and reviewed the components: foreground, background and horizon line. I demonstrated how to tear the tissue and overlap the colours to give the picture more depth. I then explained that once the tissue layer was complete we were going to cut out shapes from construction paper, magazines and art papers that we had created last year to create a foreground of flowers.

In the first class most of the students only finished gluing down the tissue paper. In the next class they will cut out their shapes from different materials, glue them into place and then using a fine tip black marker they will add detail to their cut outs and add some line drawings behind their collaged flowers.

I had lots of art books and posters to demonstrate the technique and show a variety of flowers that they could draw. I didn’t want everyone to gravitate to the blue tissue for their sky so I read them Peter Reynolds new book Sky Colour. It’s a wonderful book that every teacher who teaches art should have in their library.  
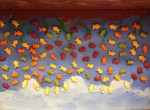
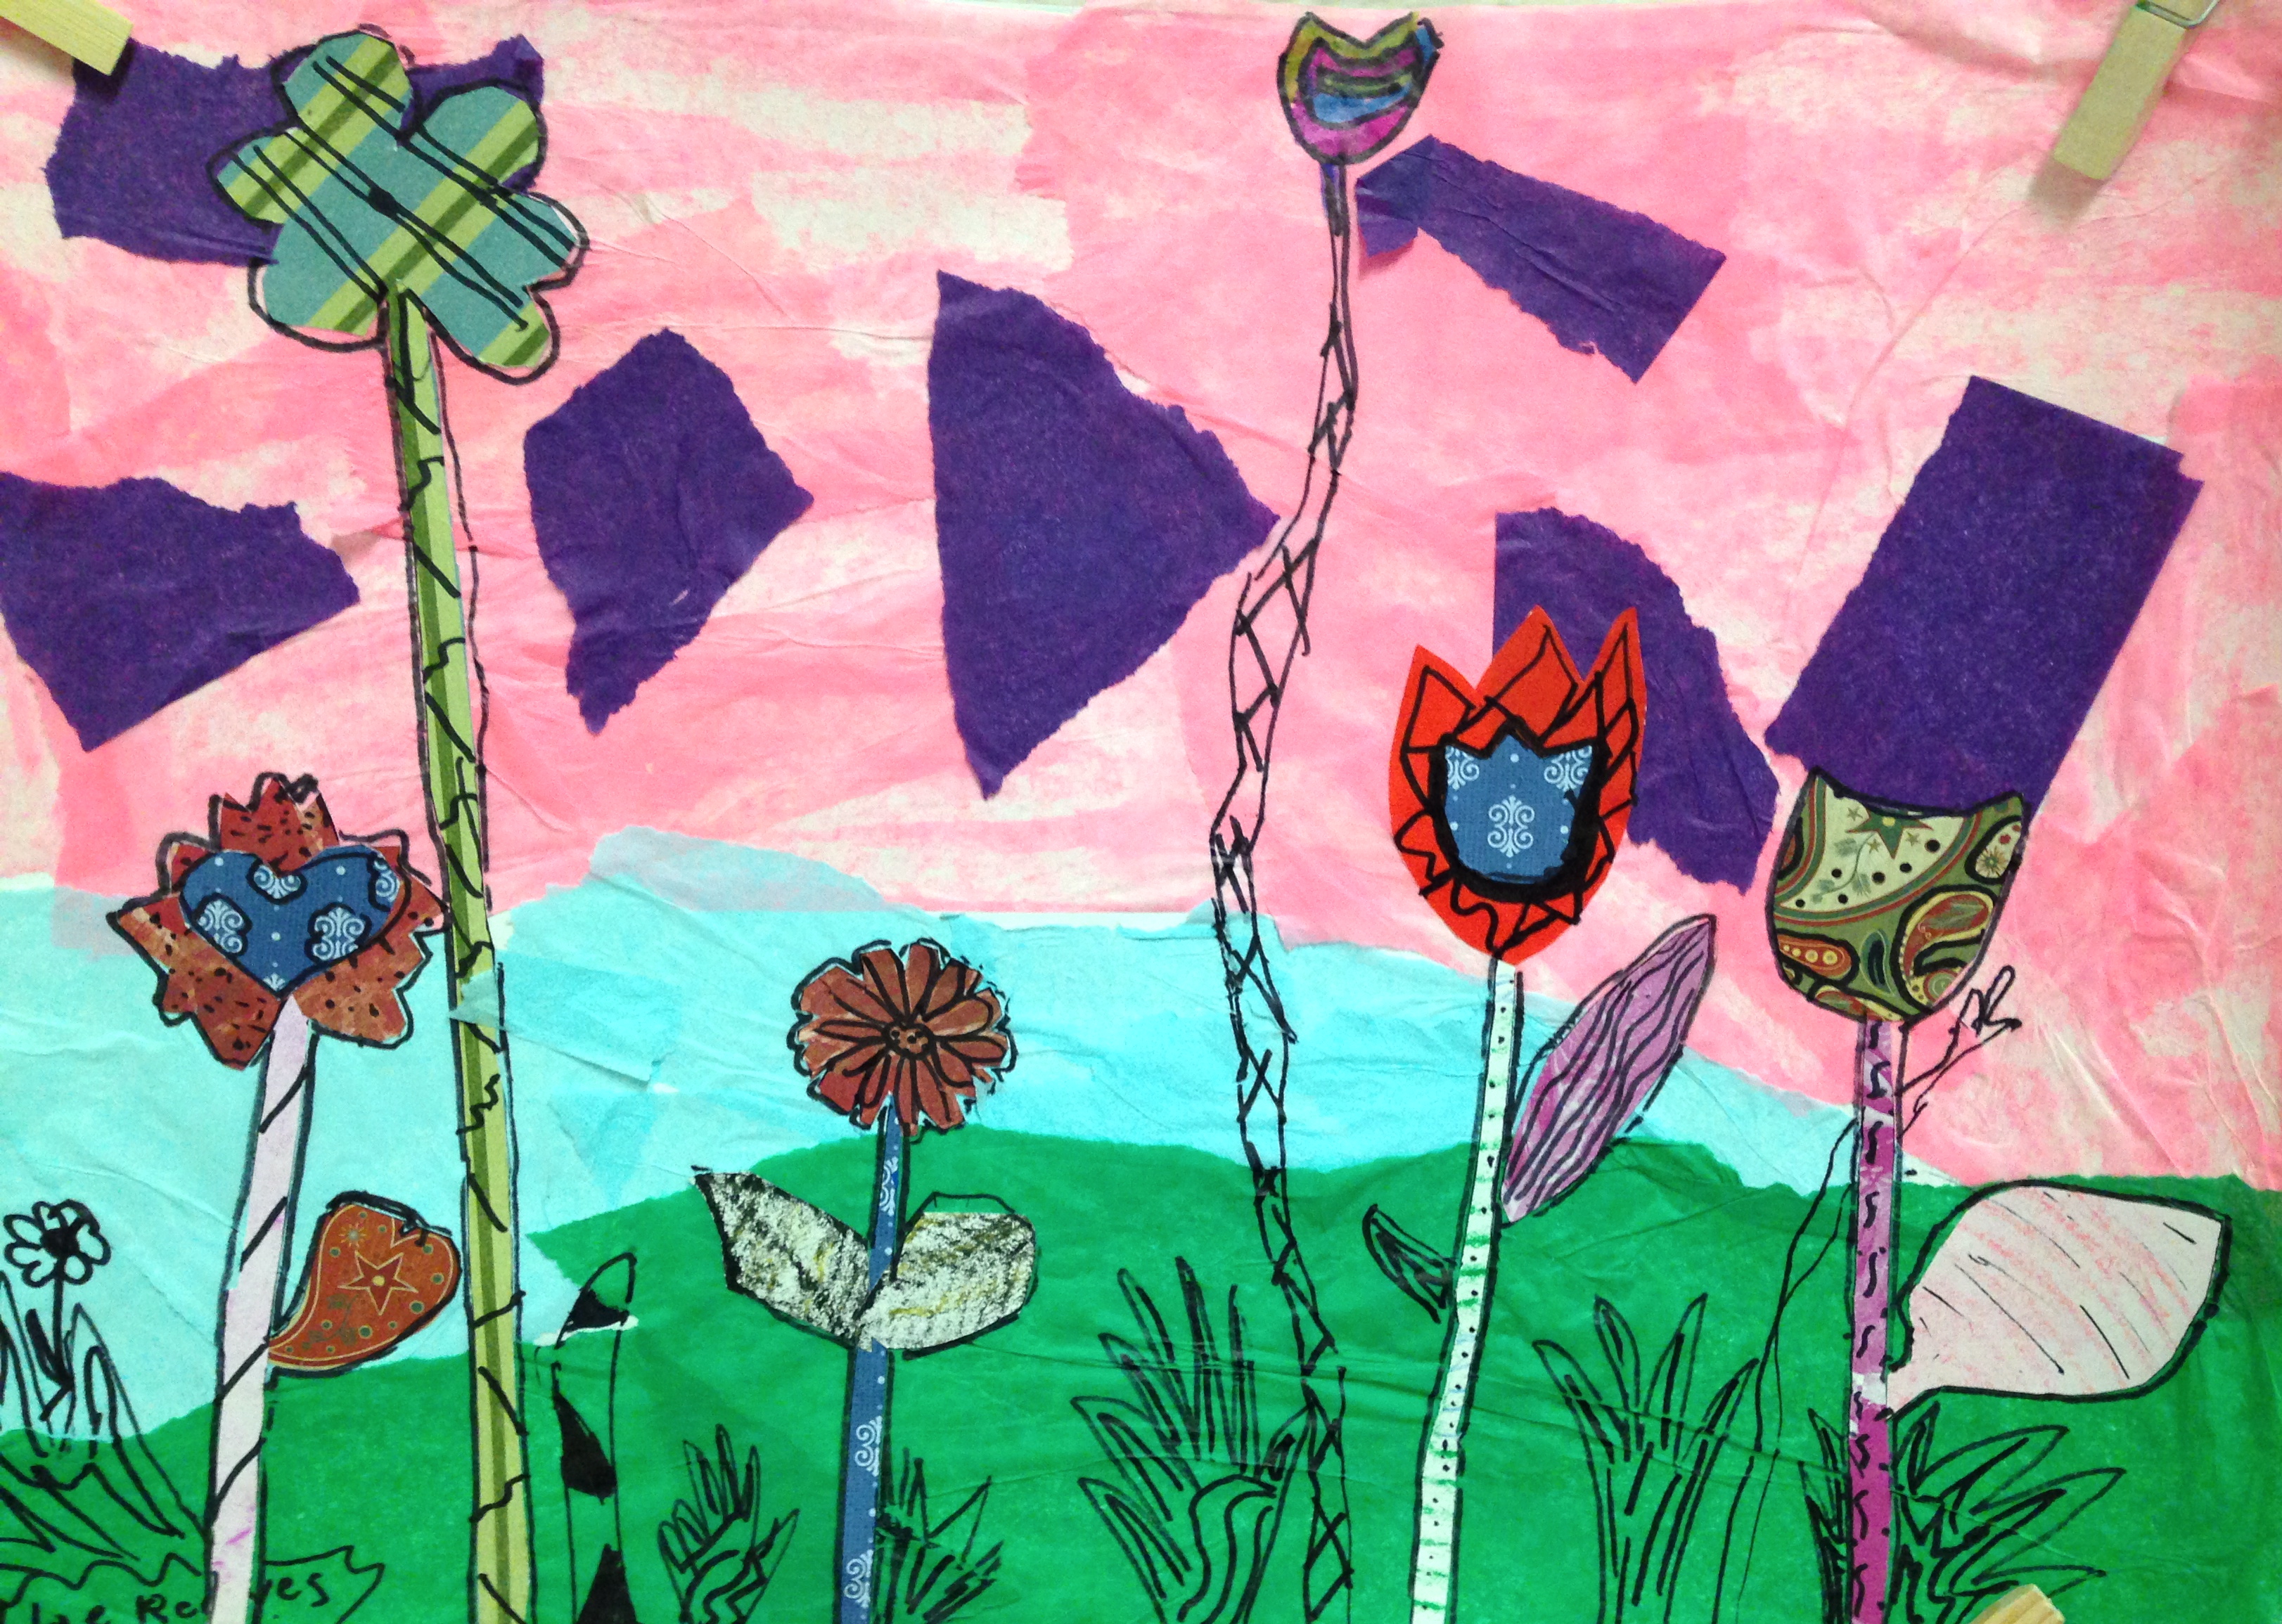
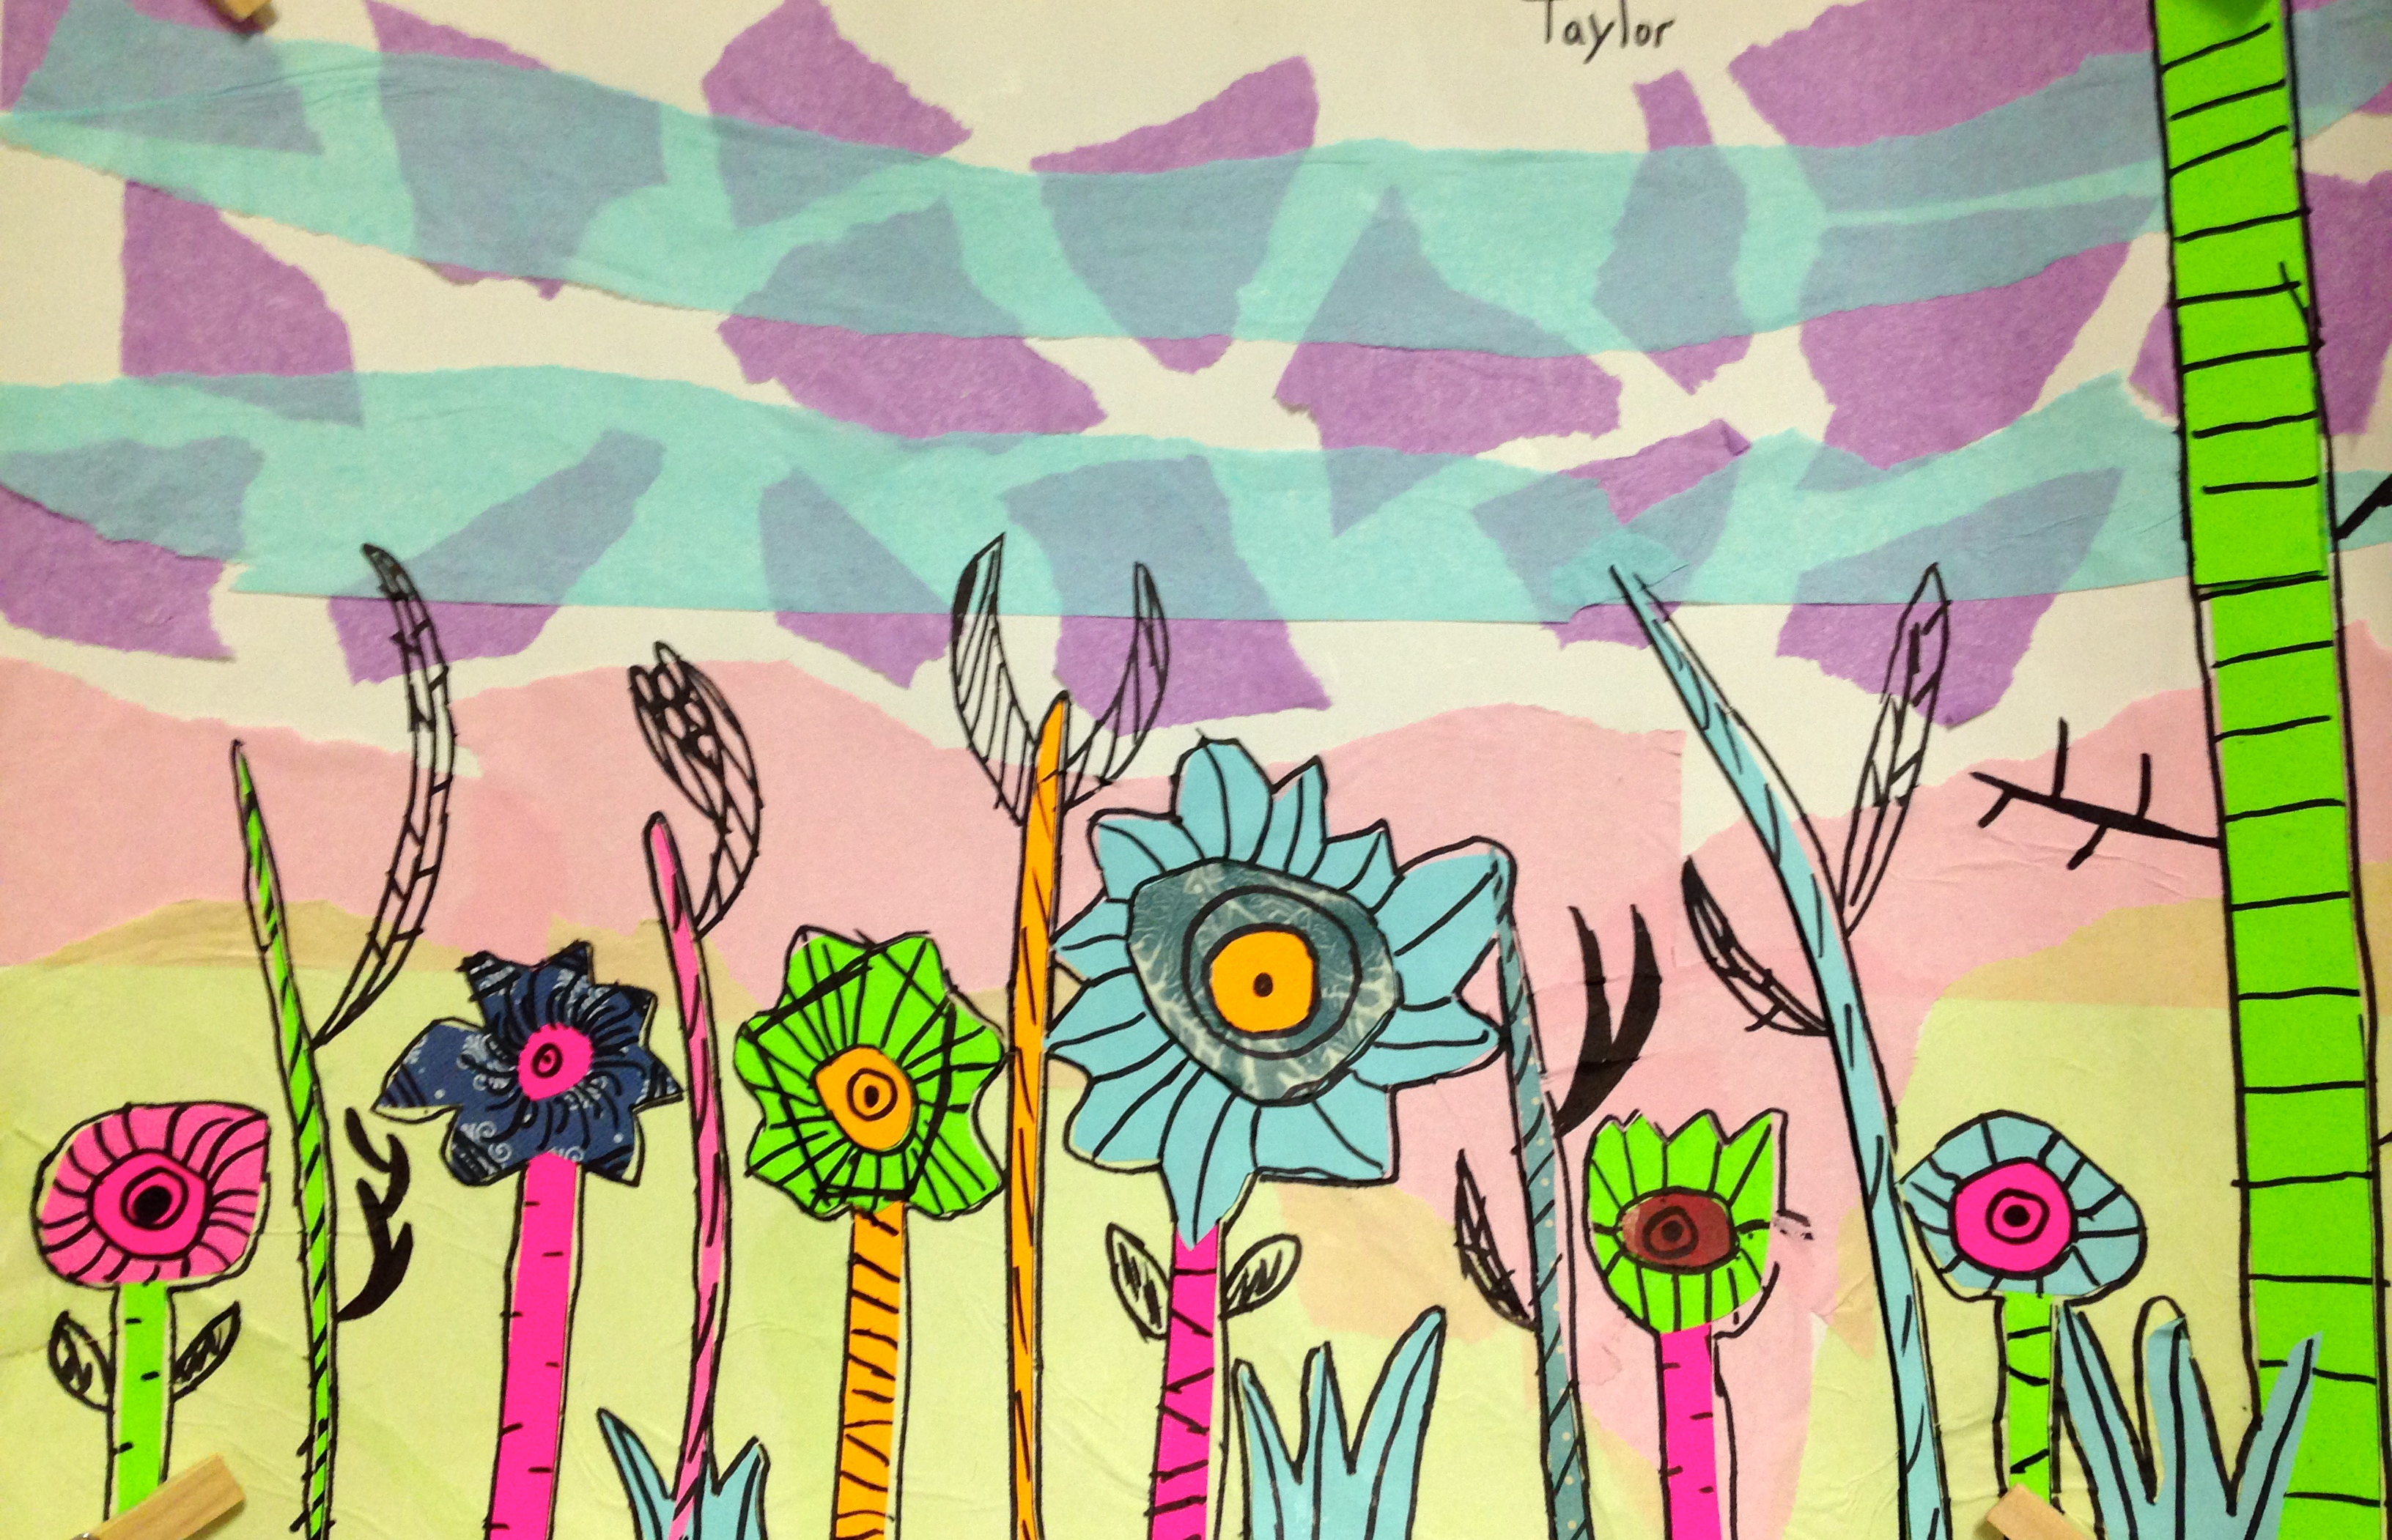
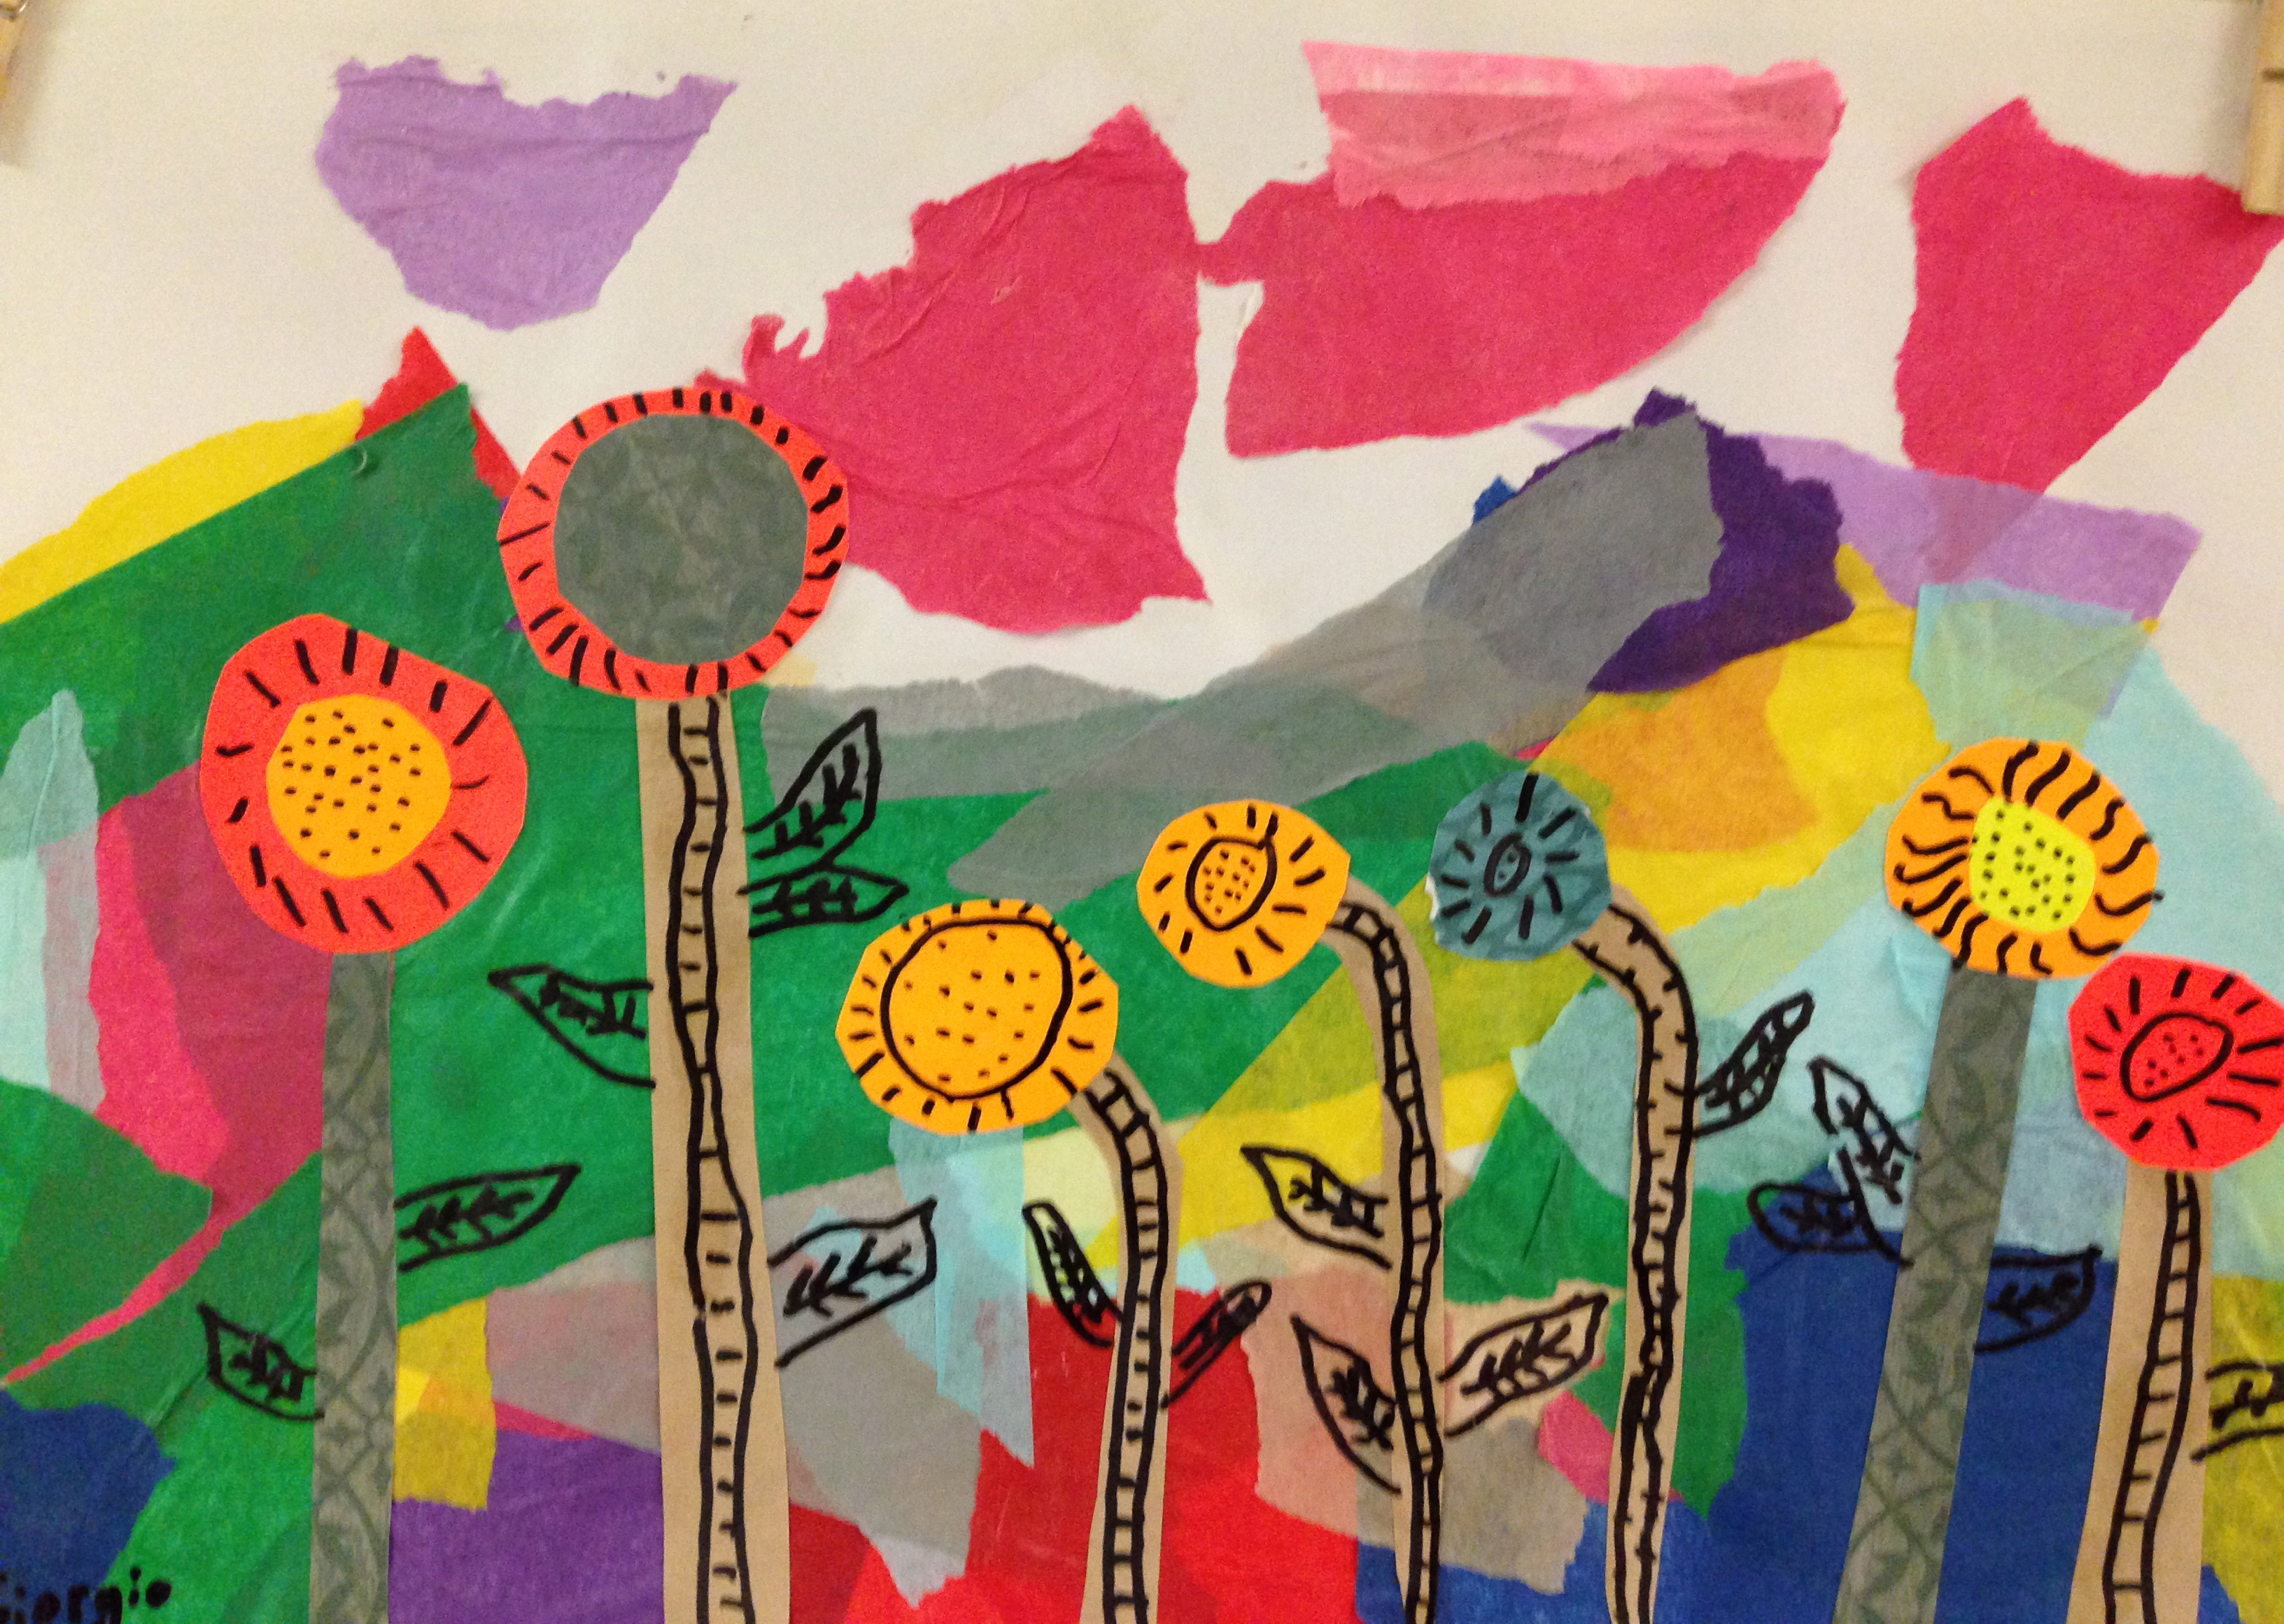
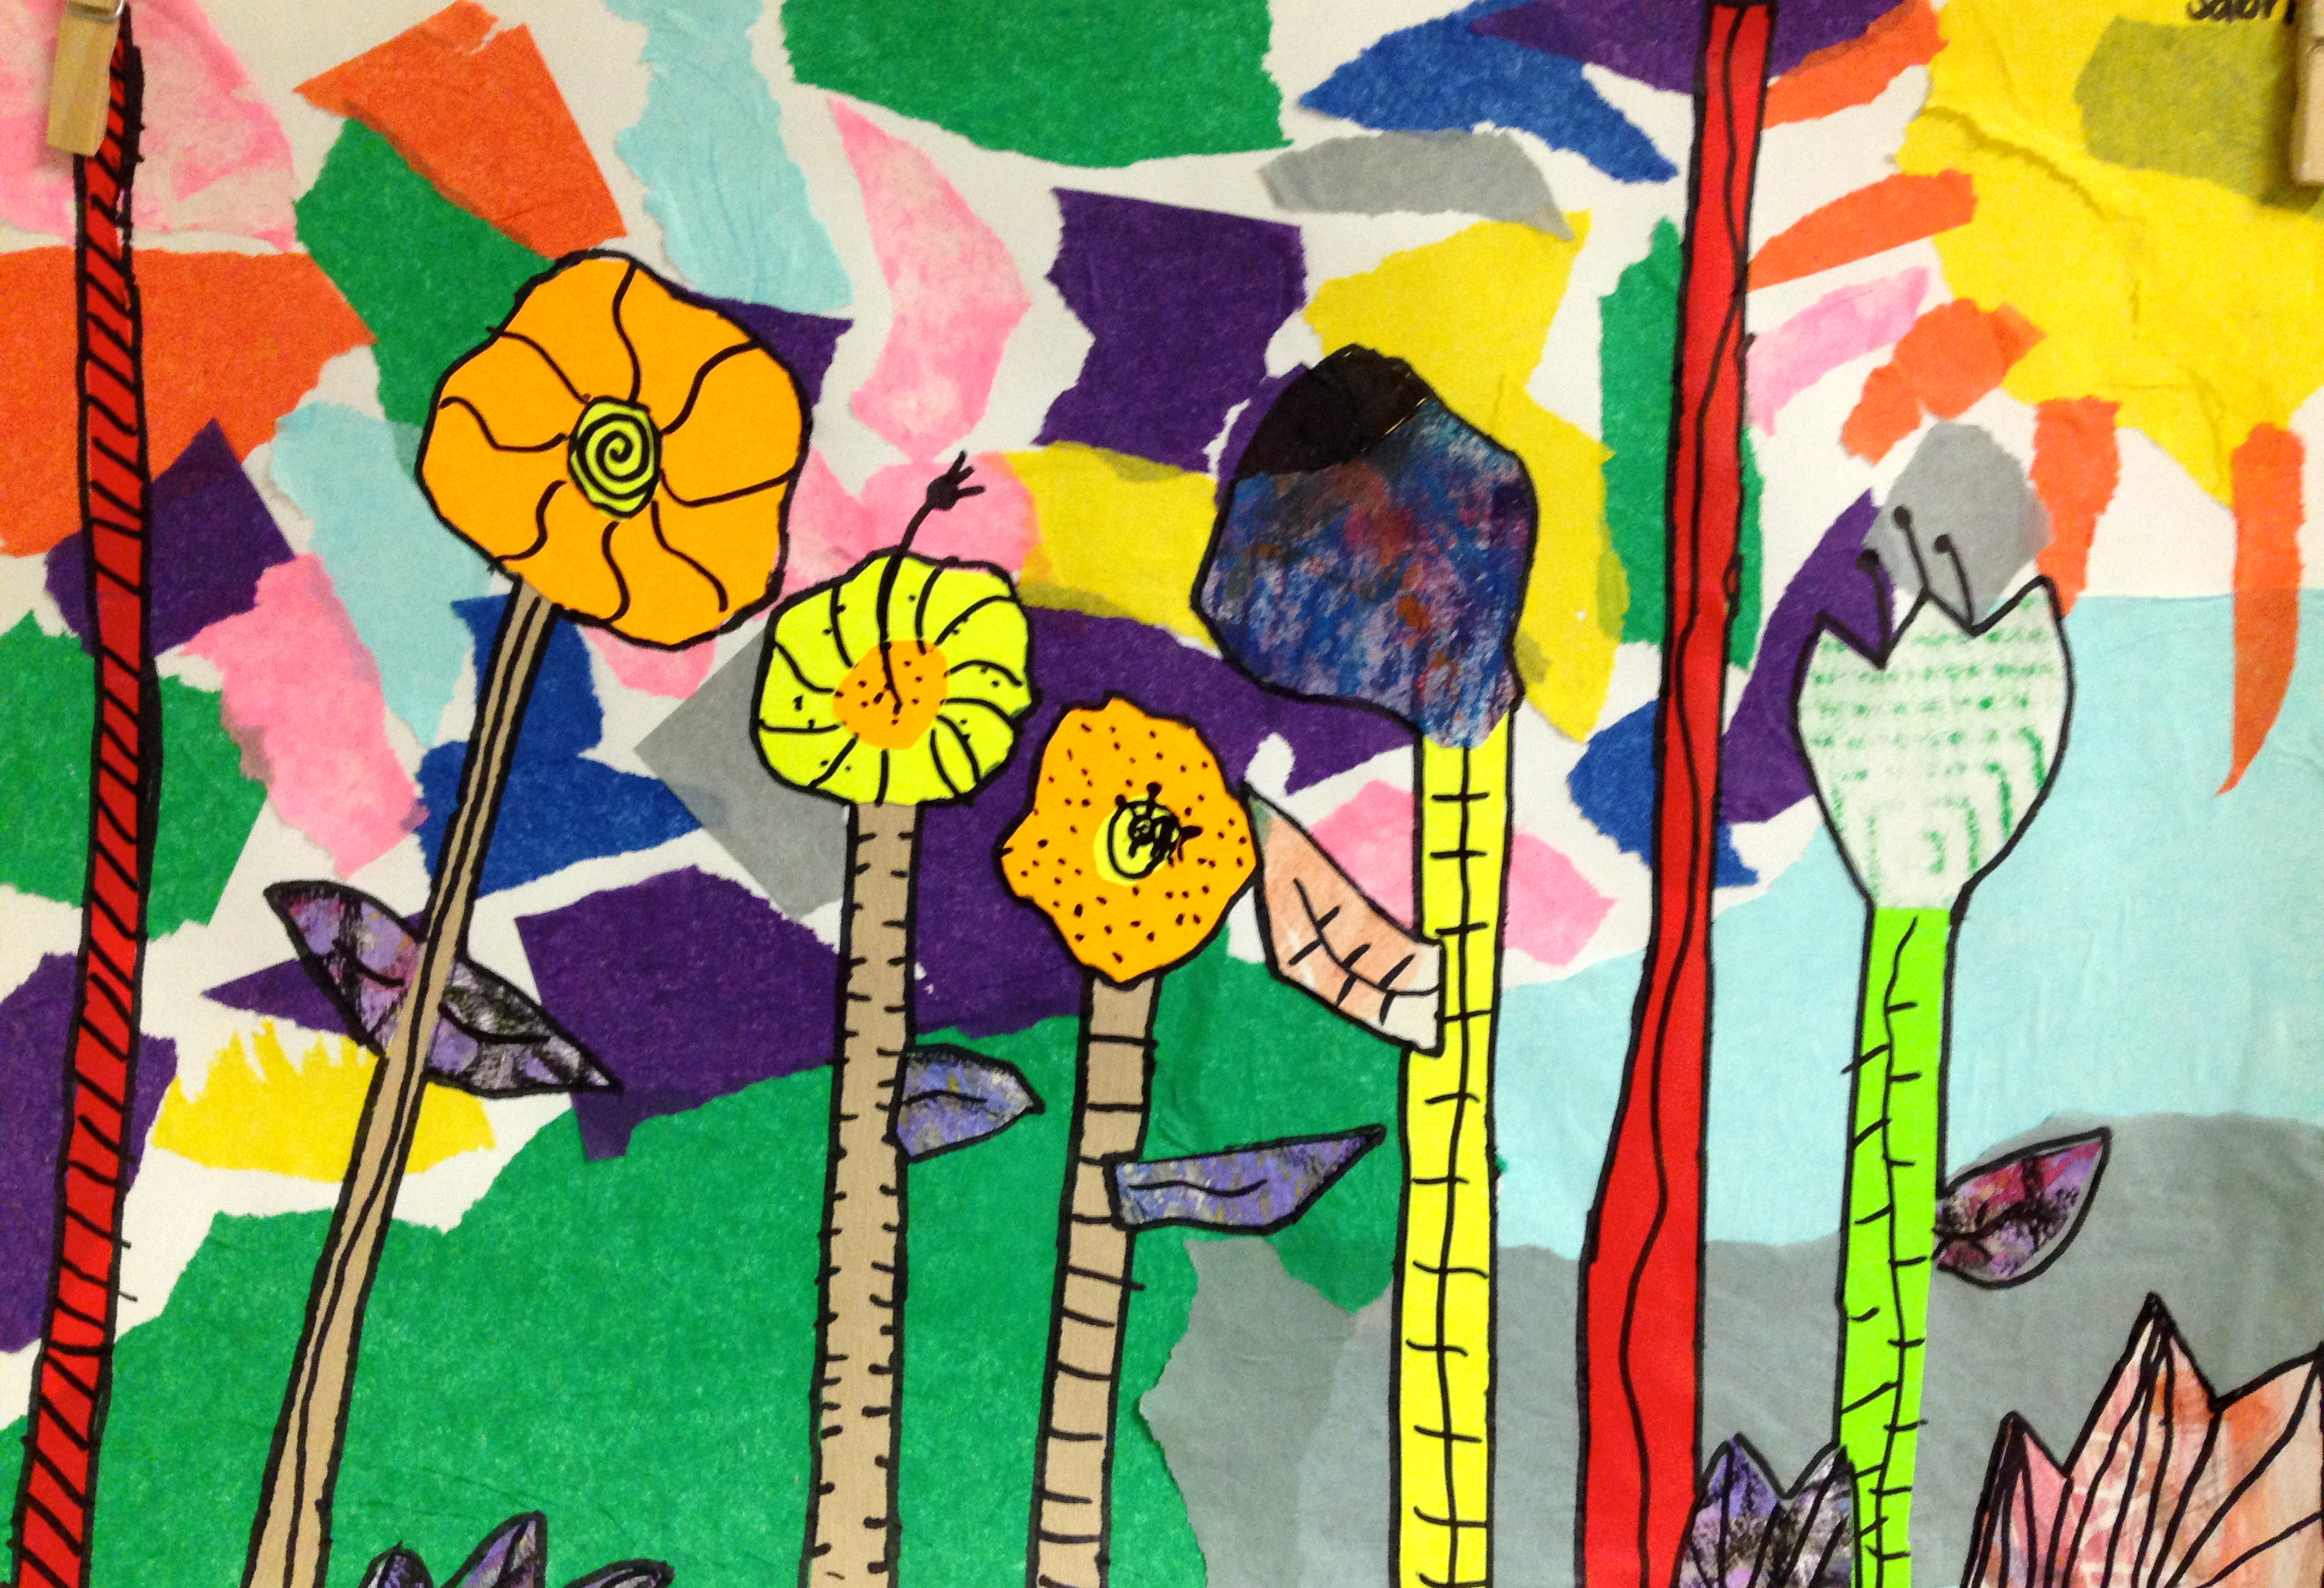
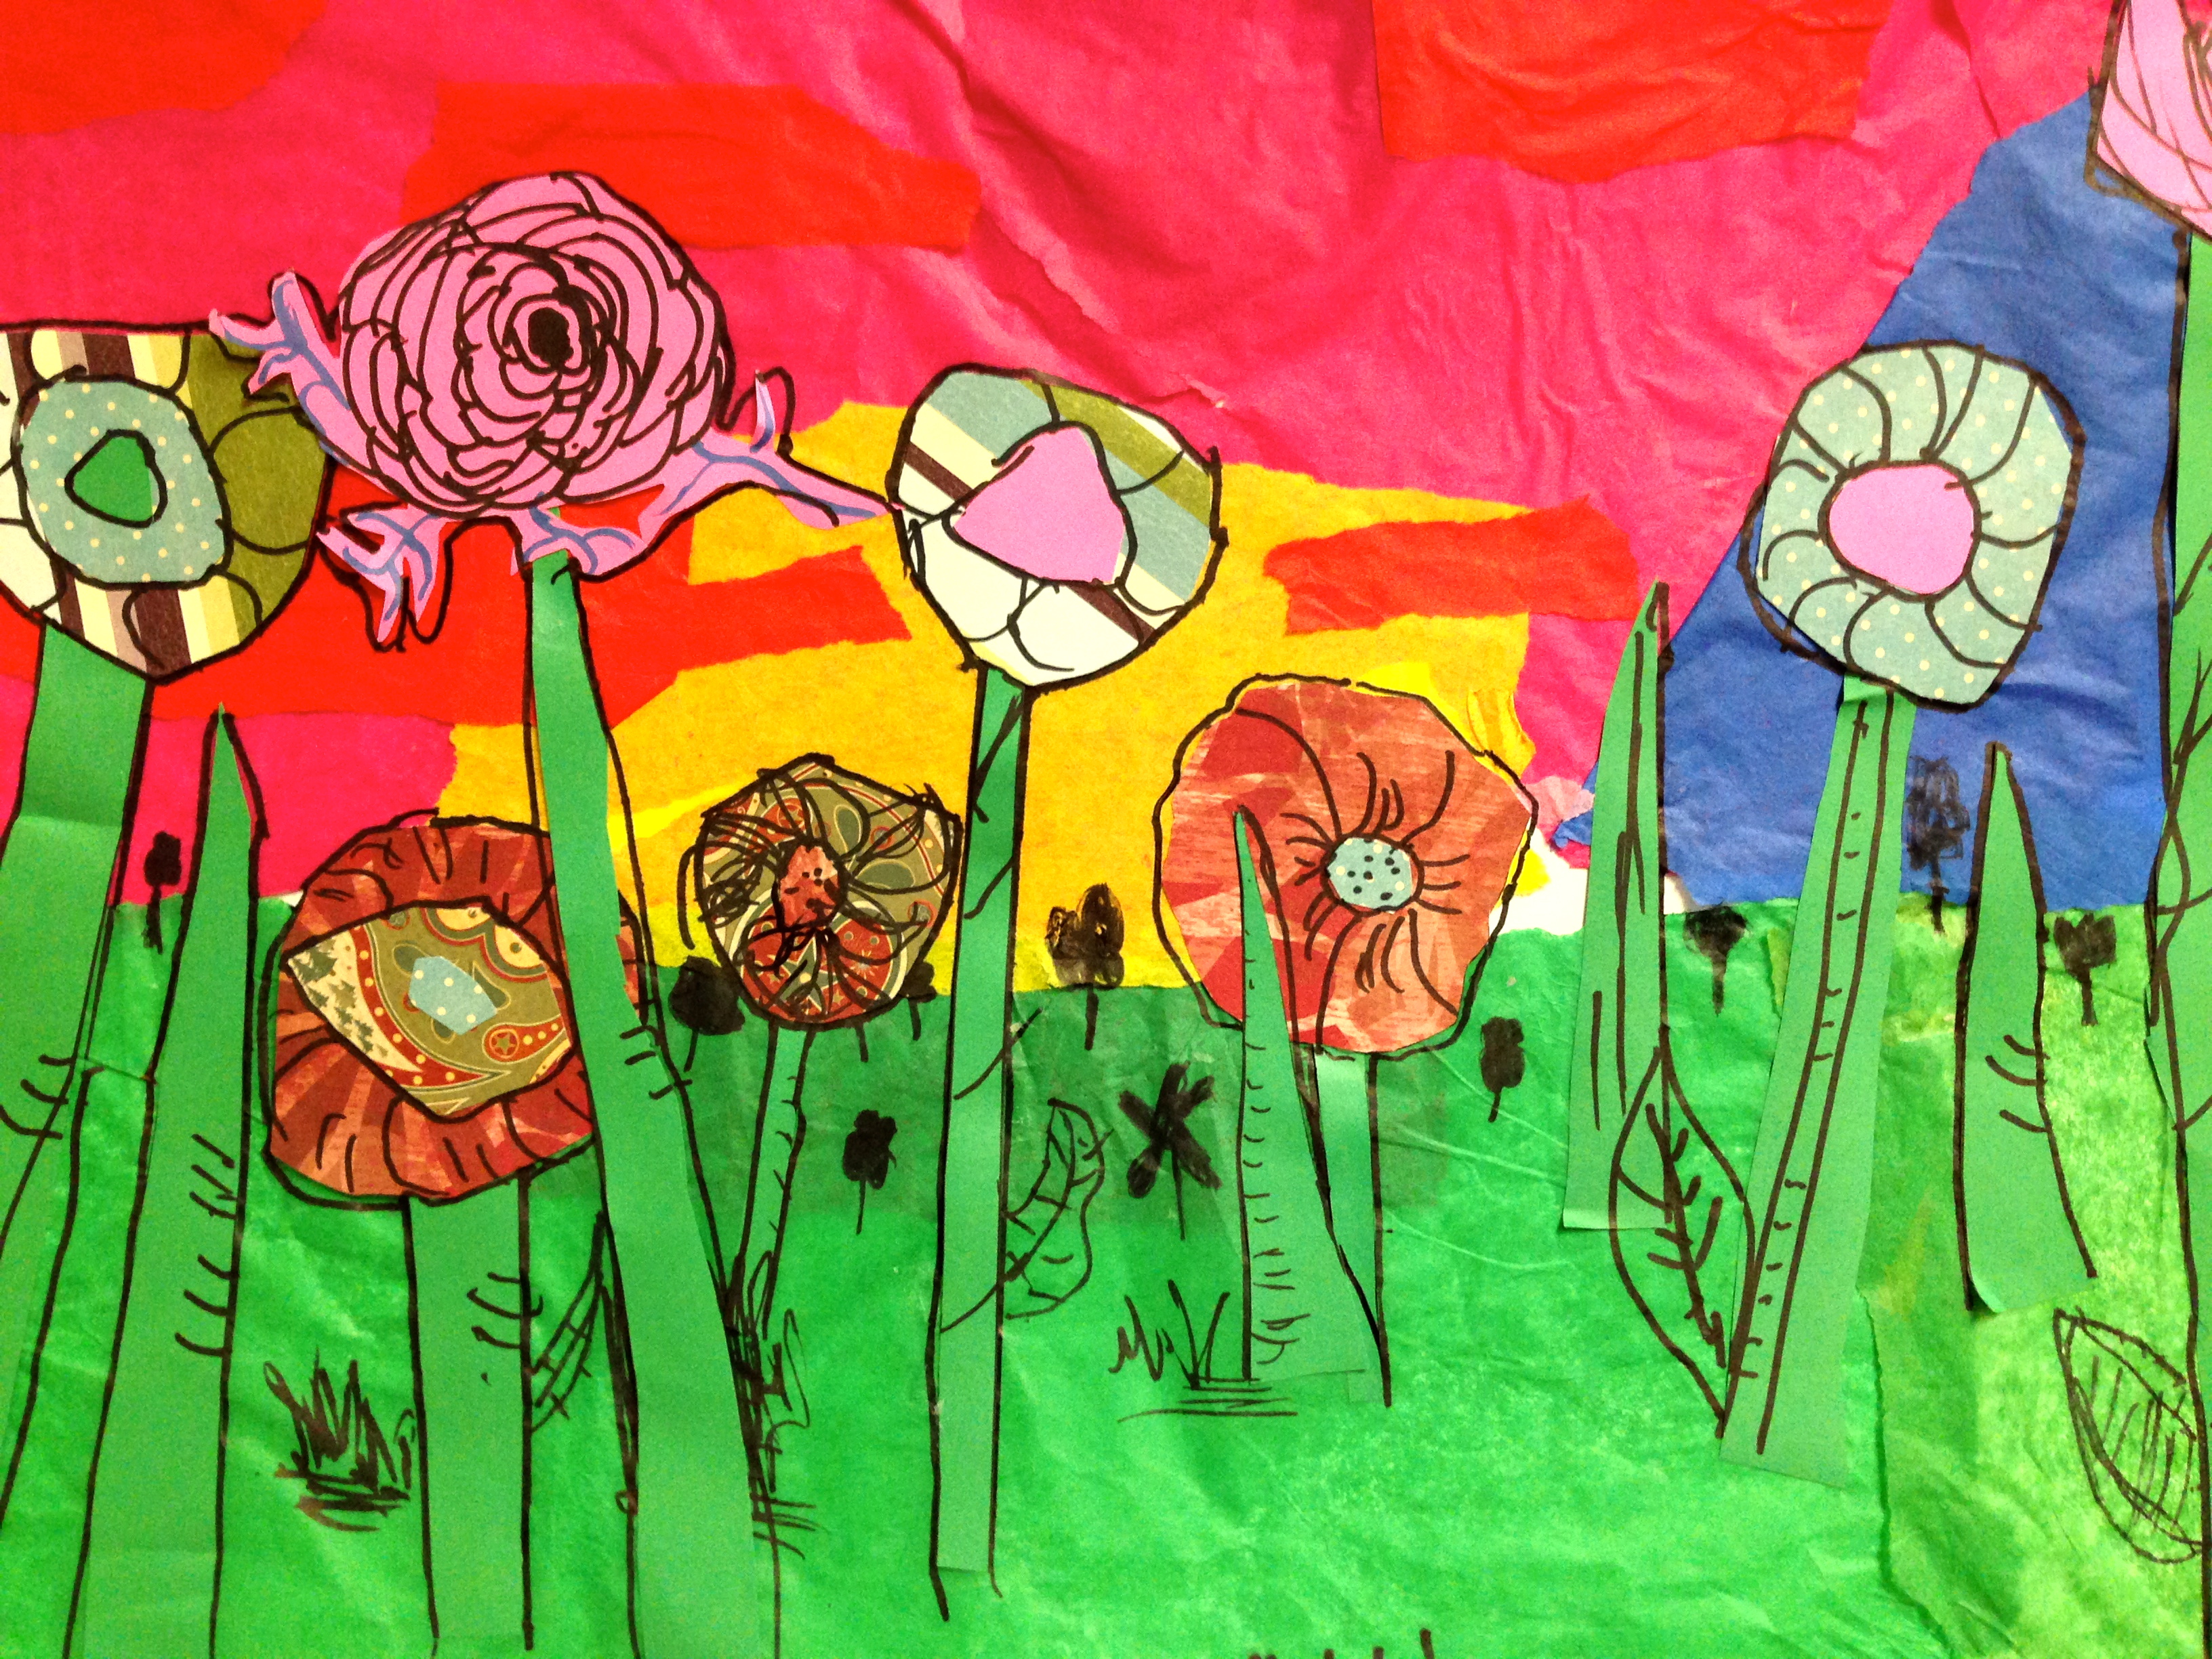
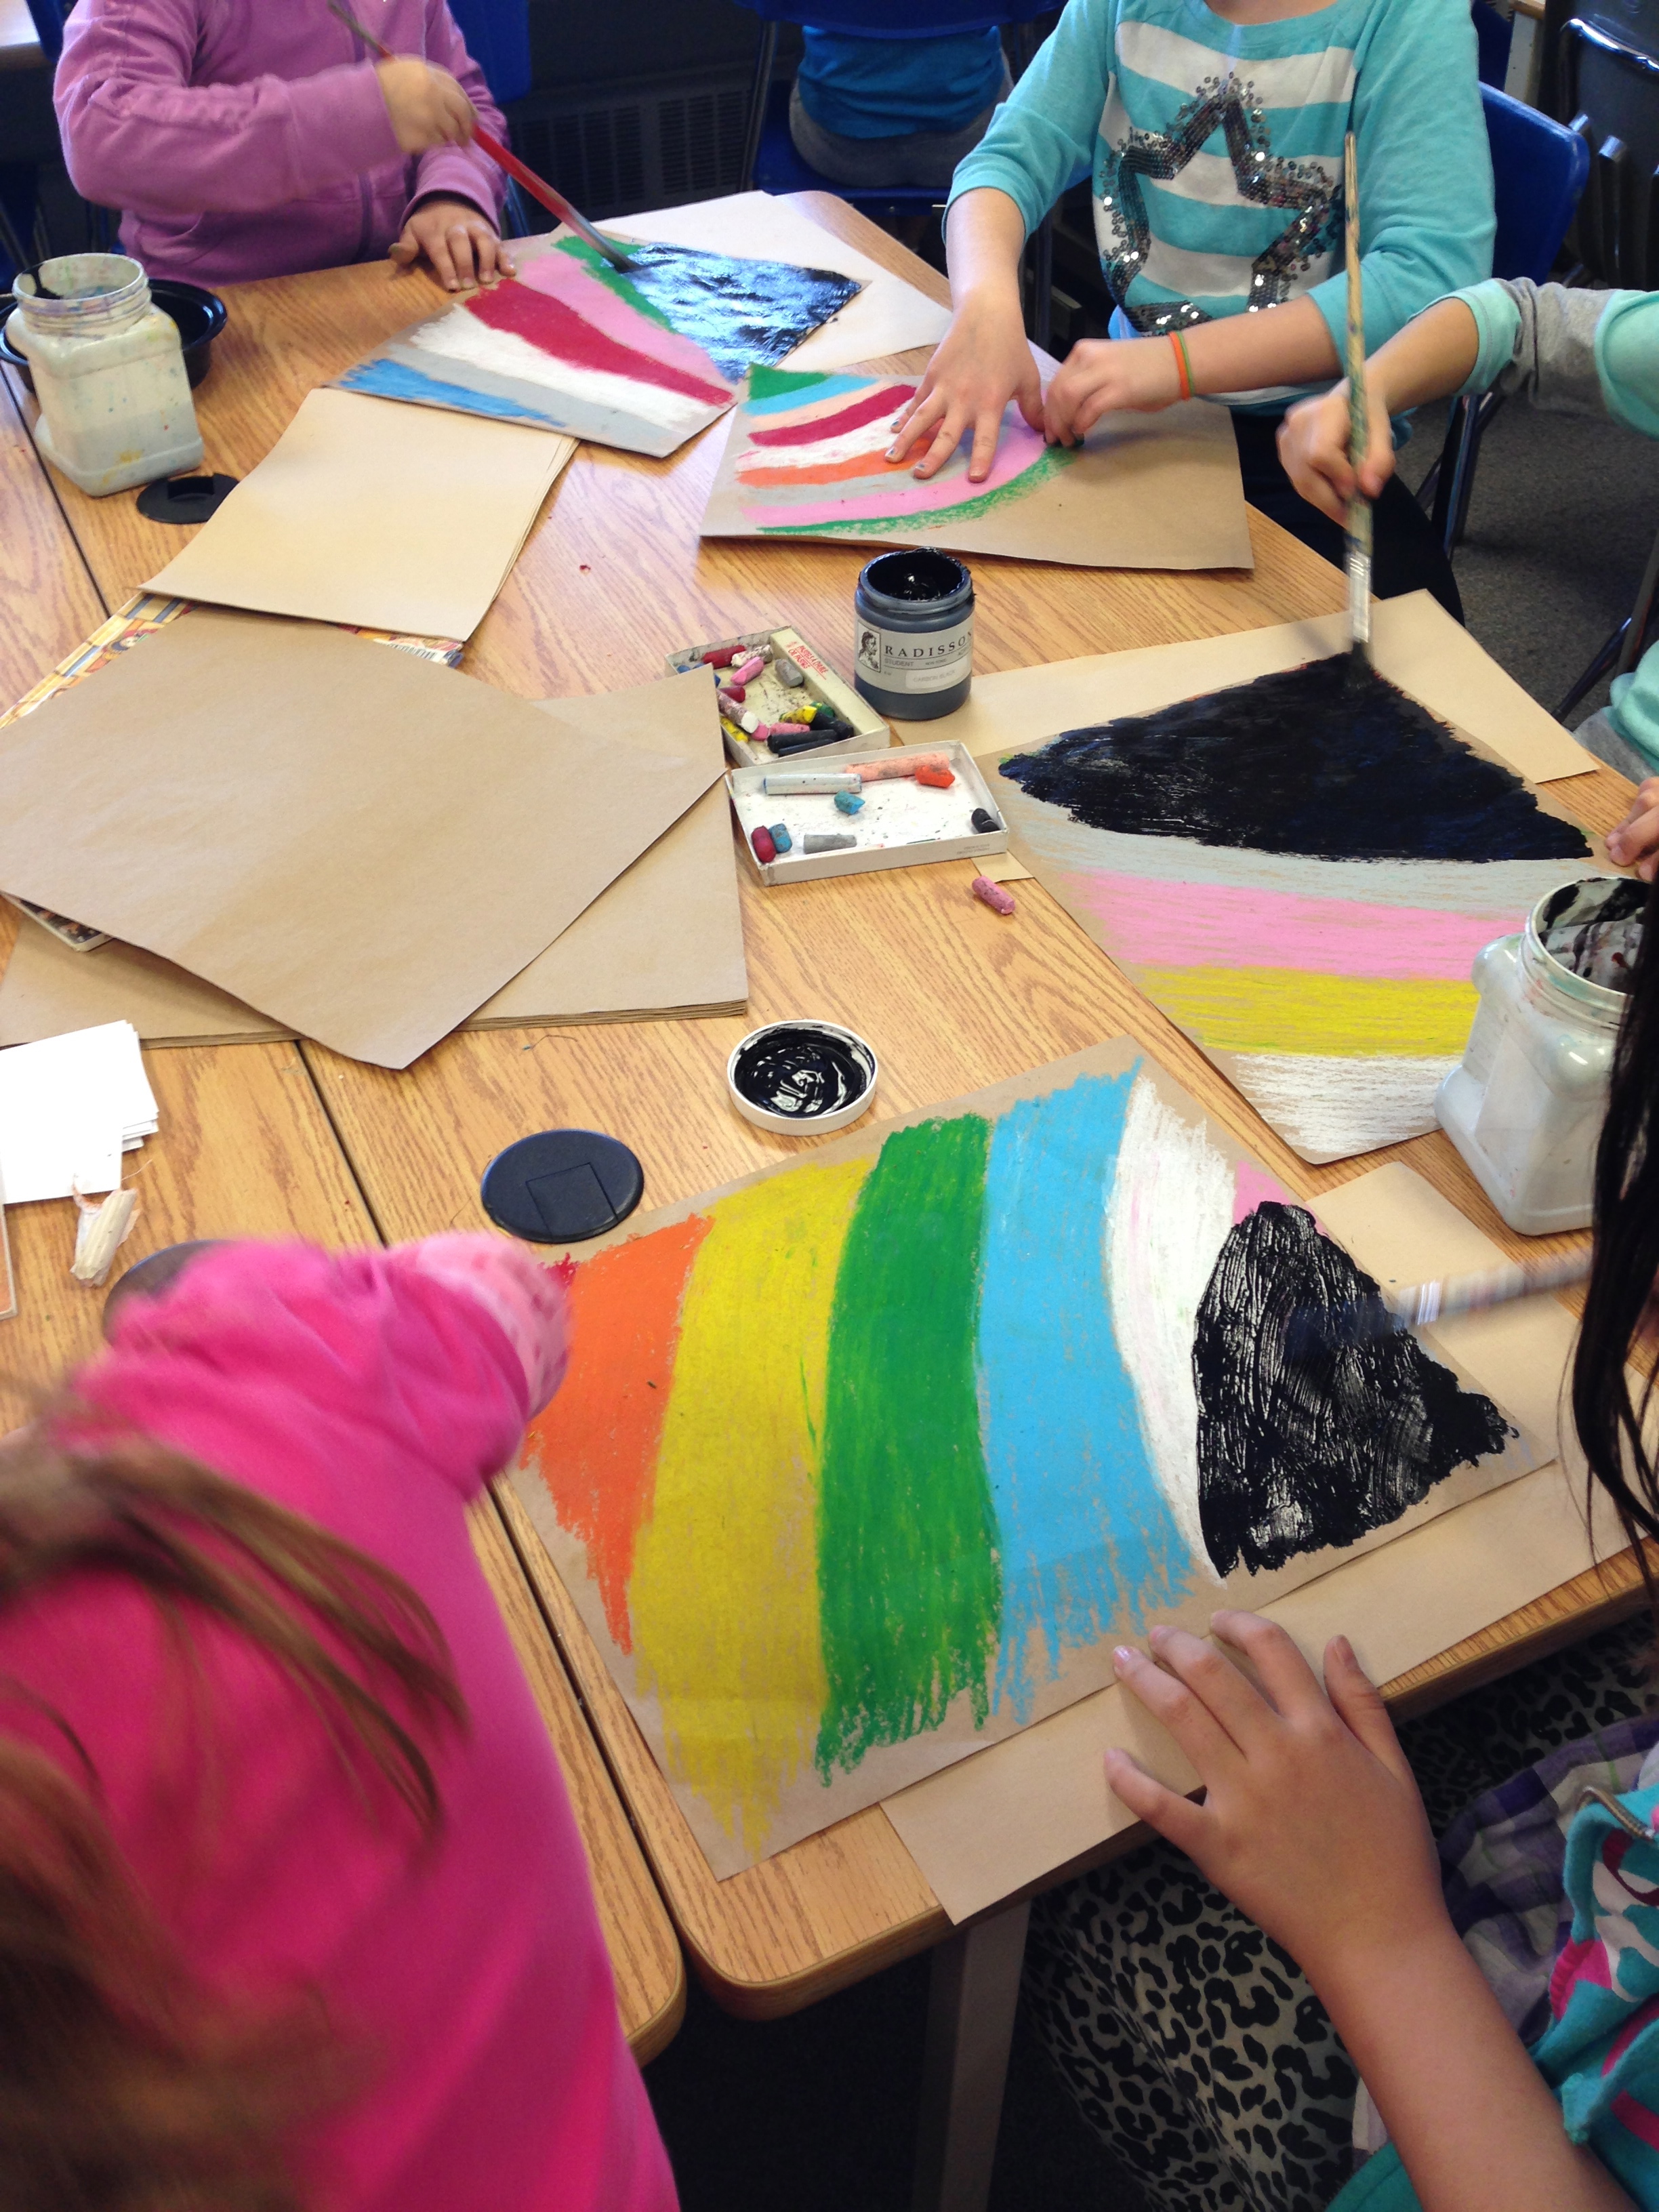
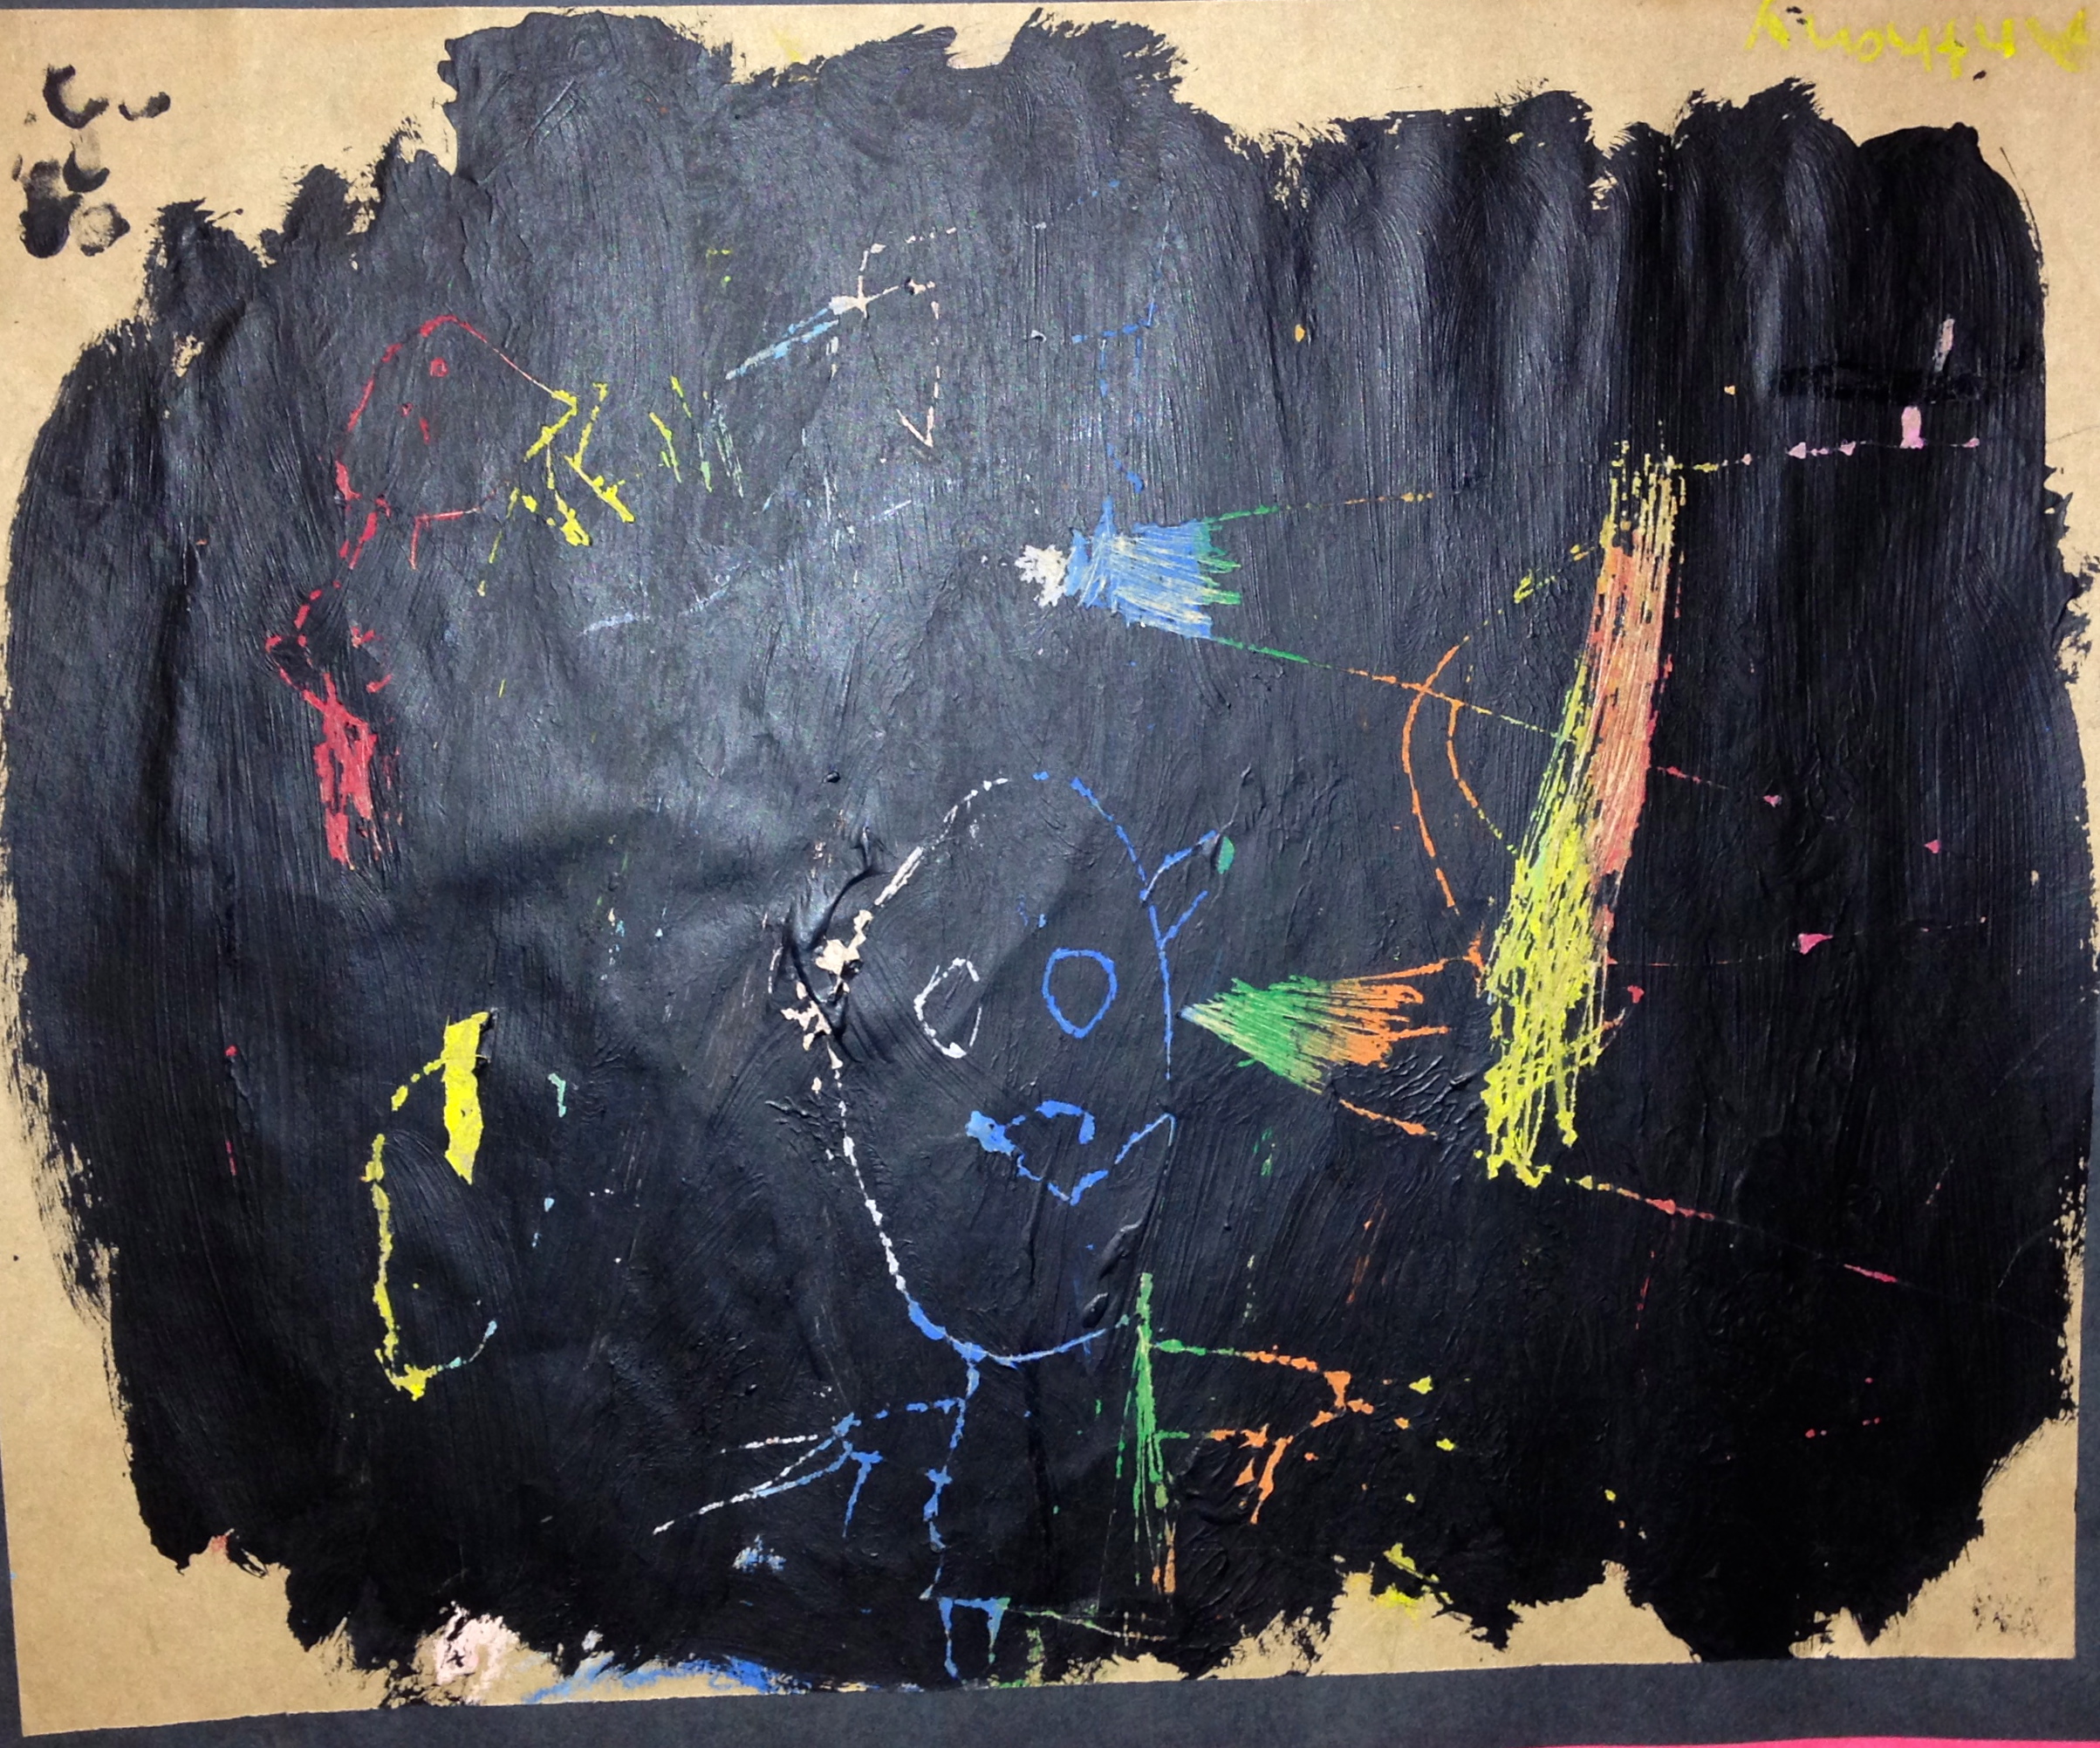
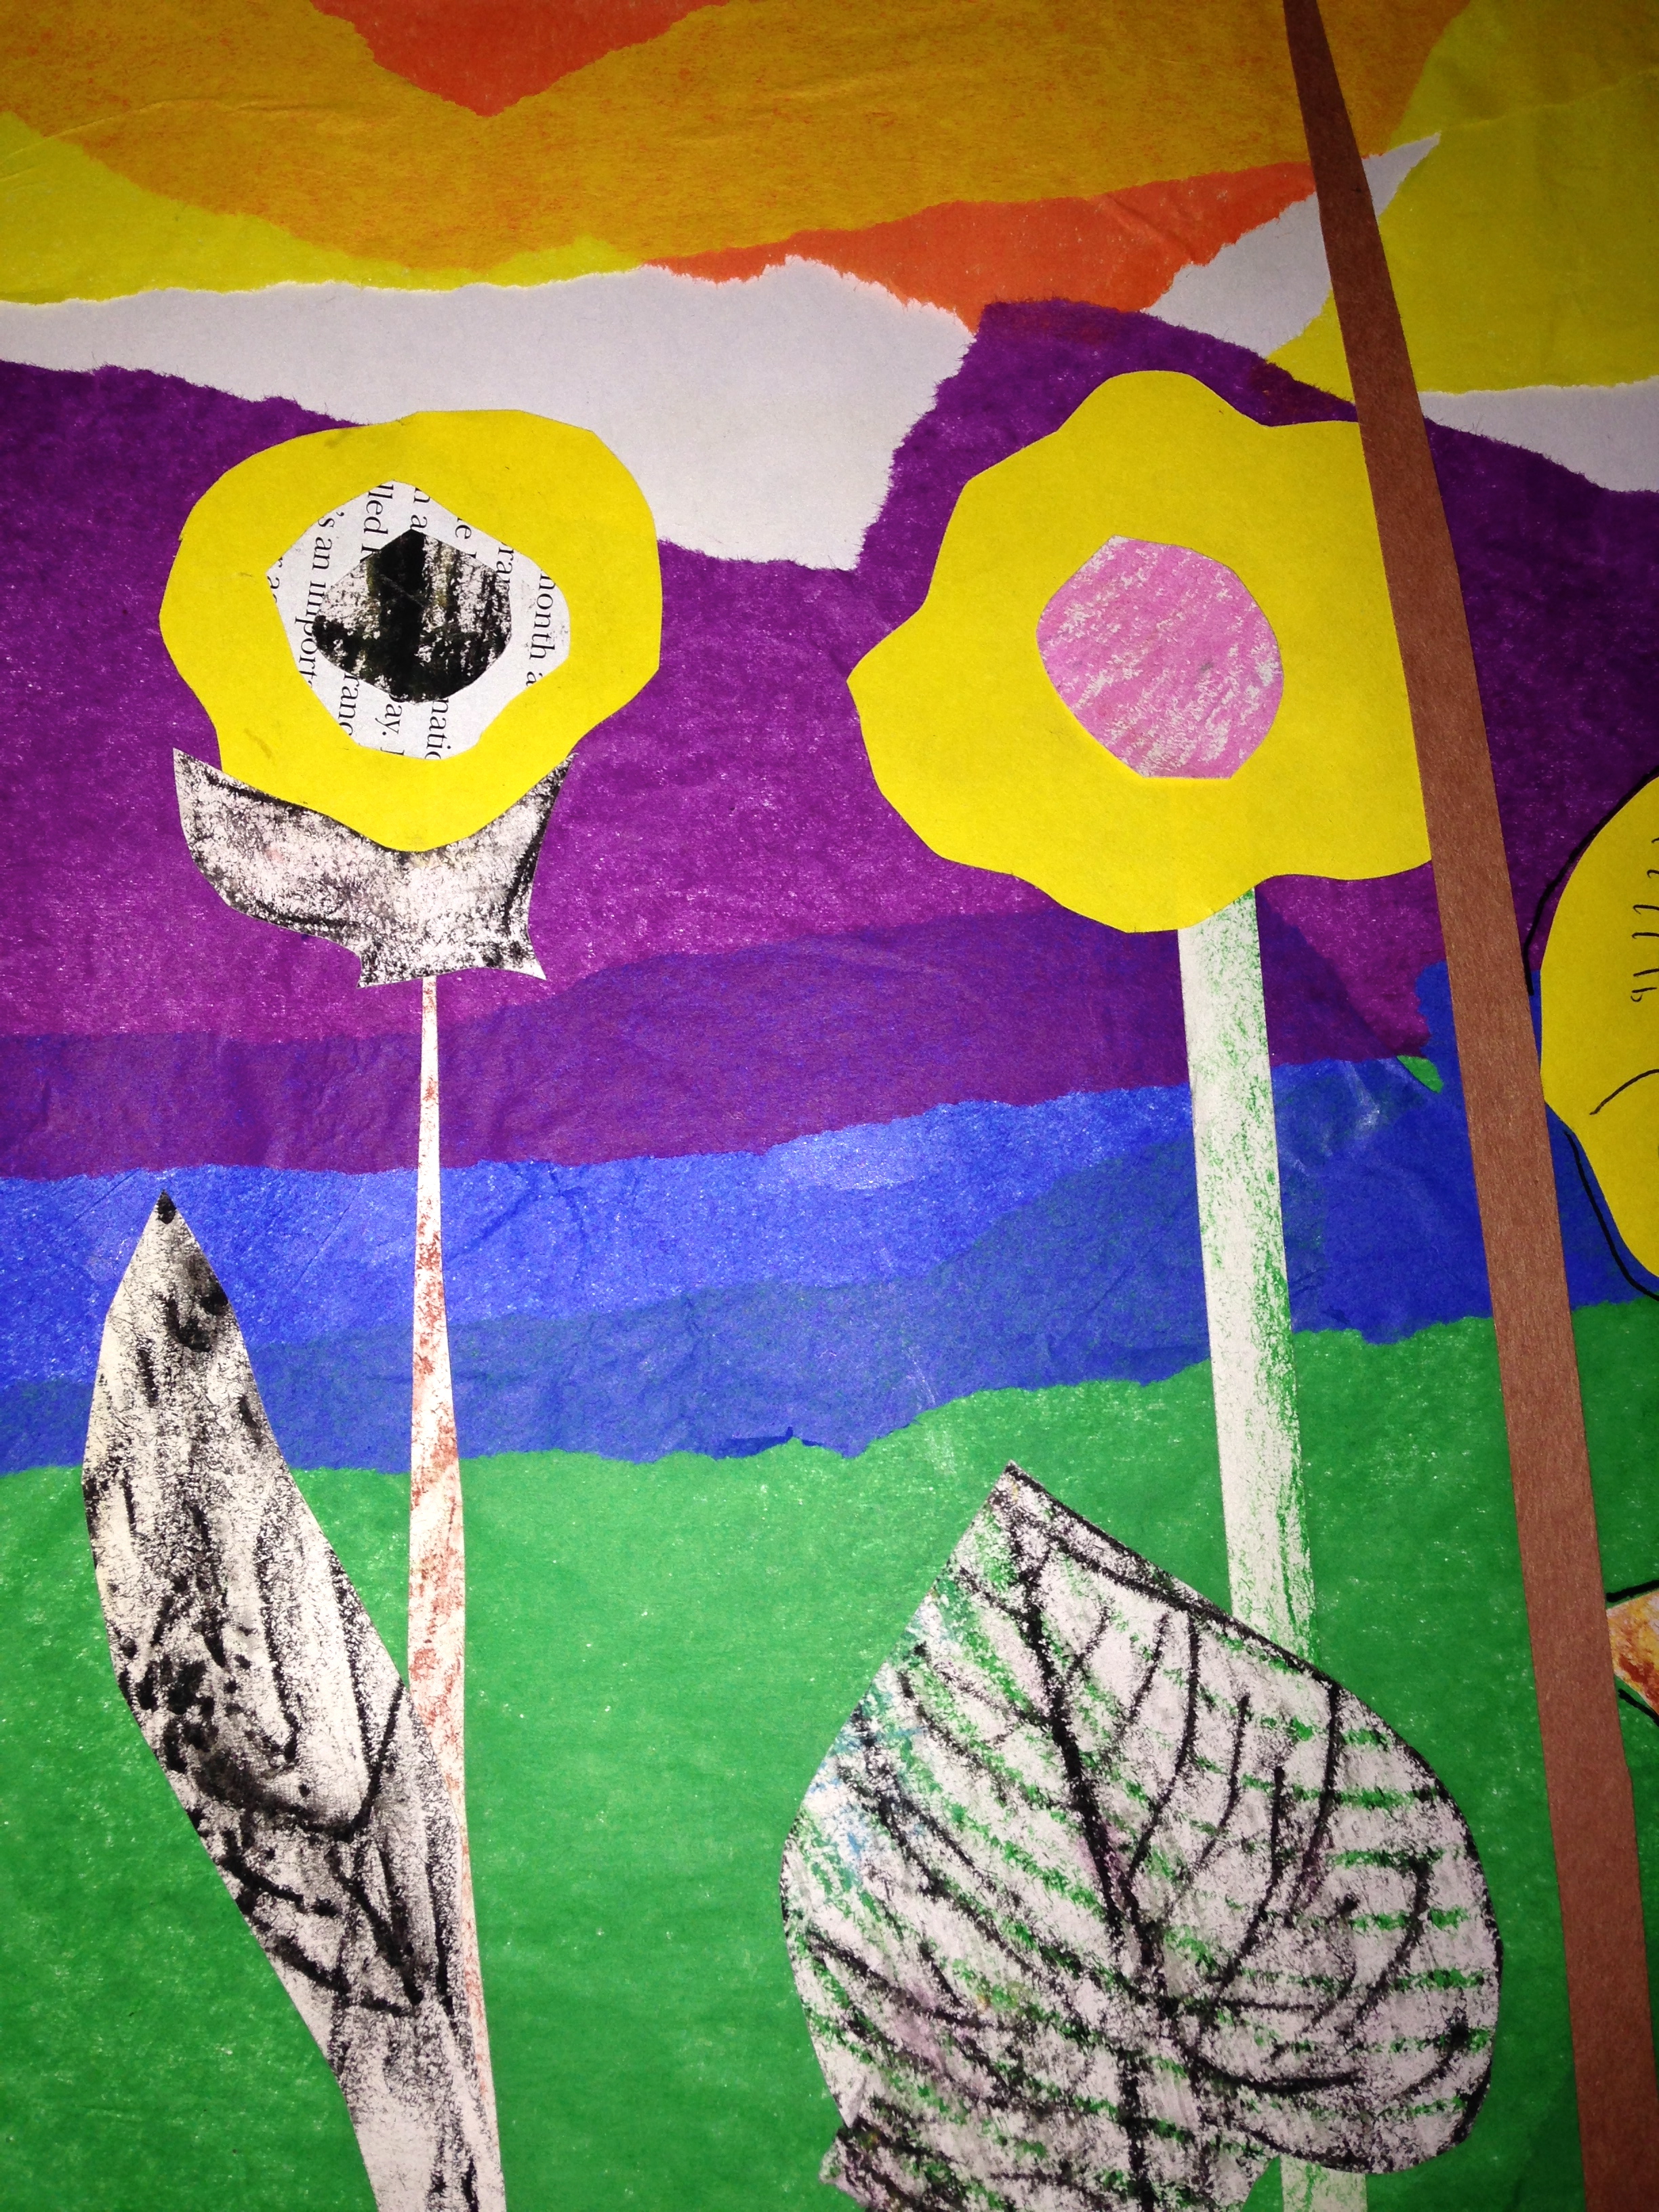
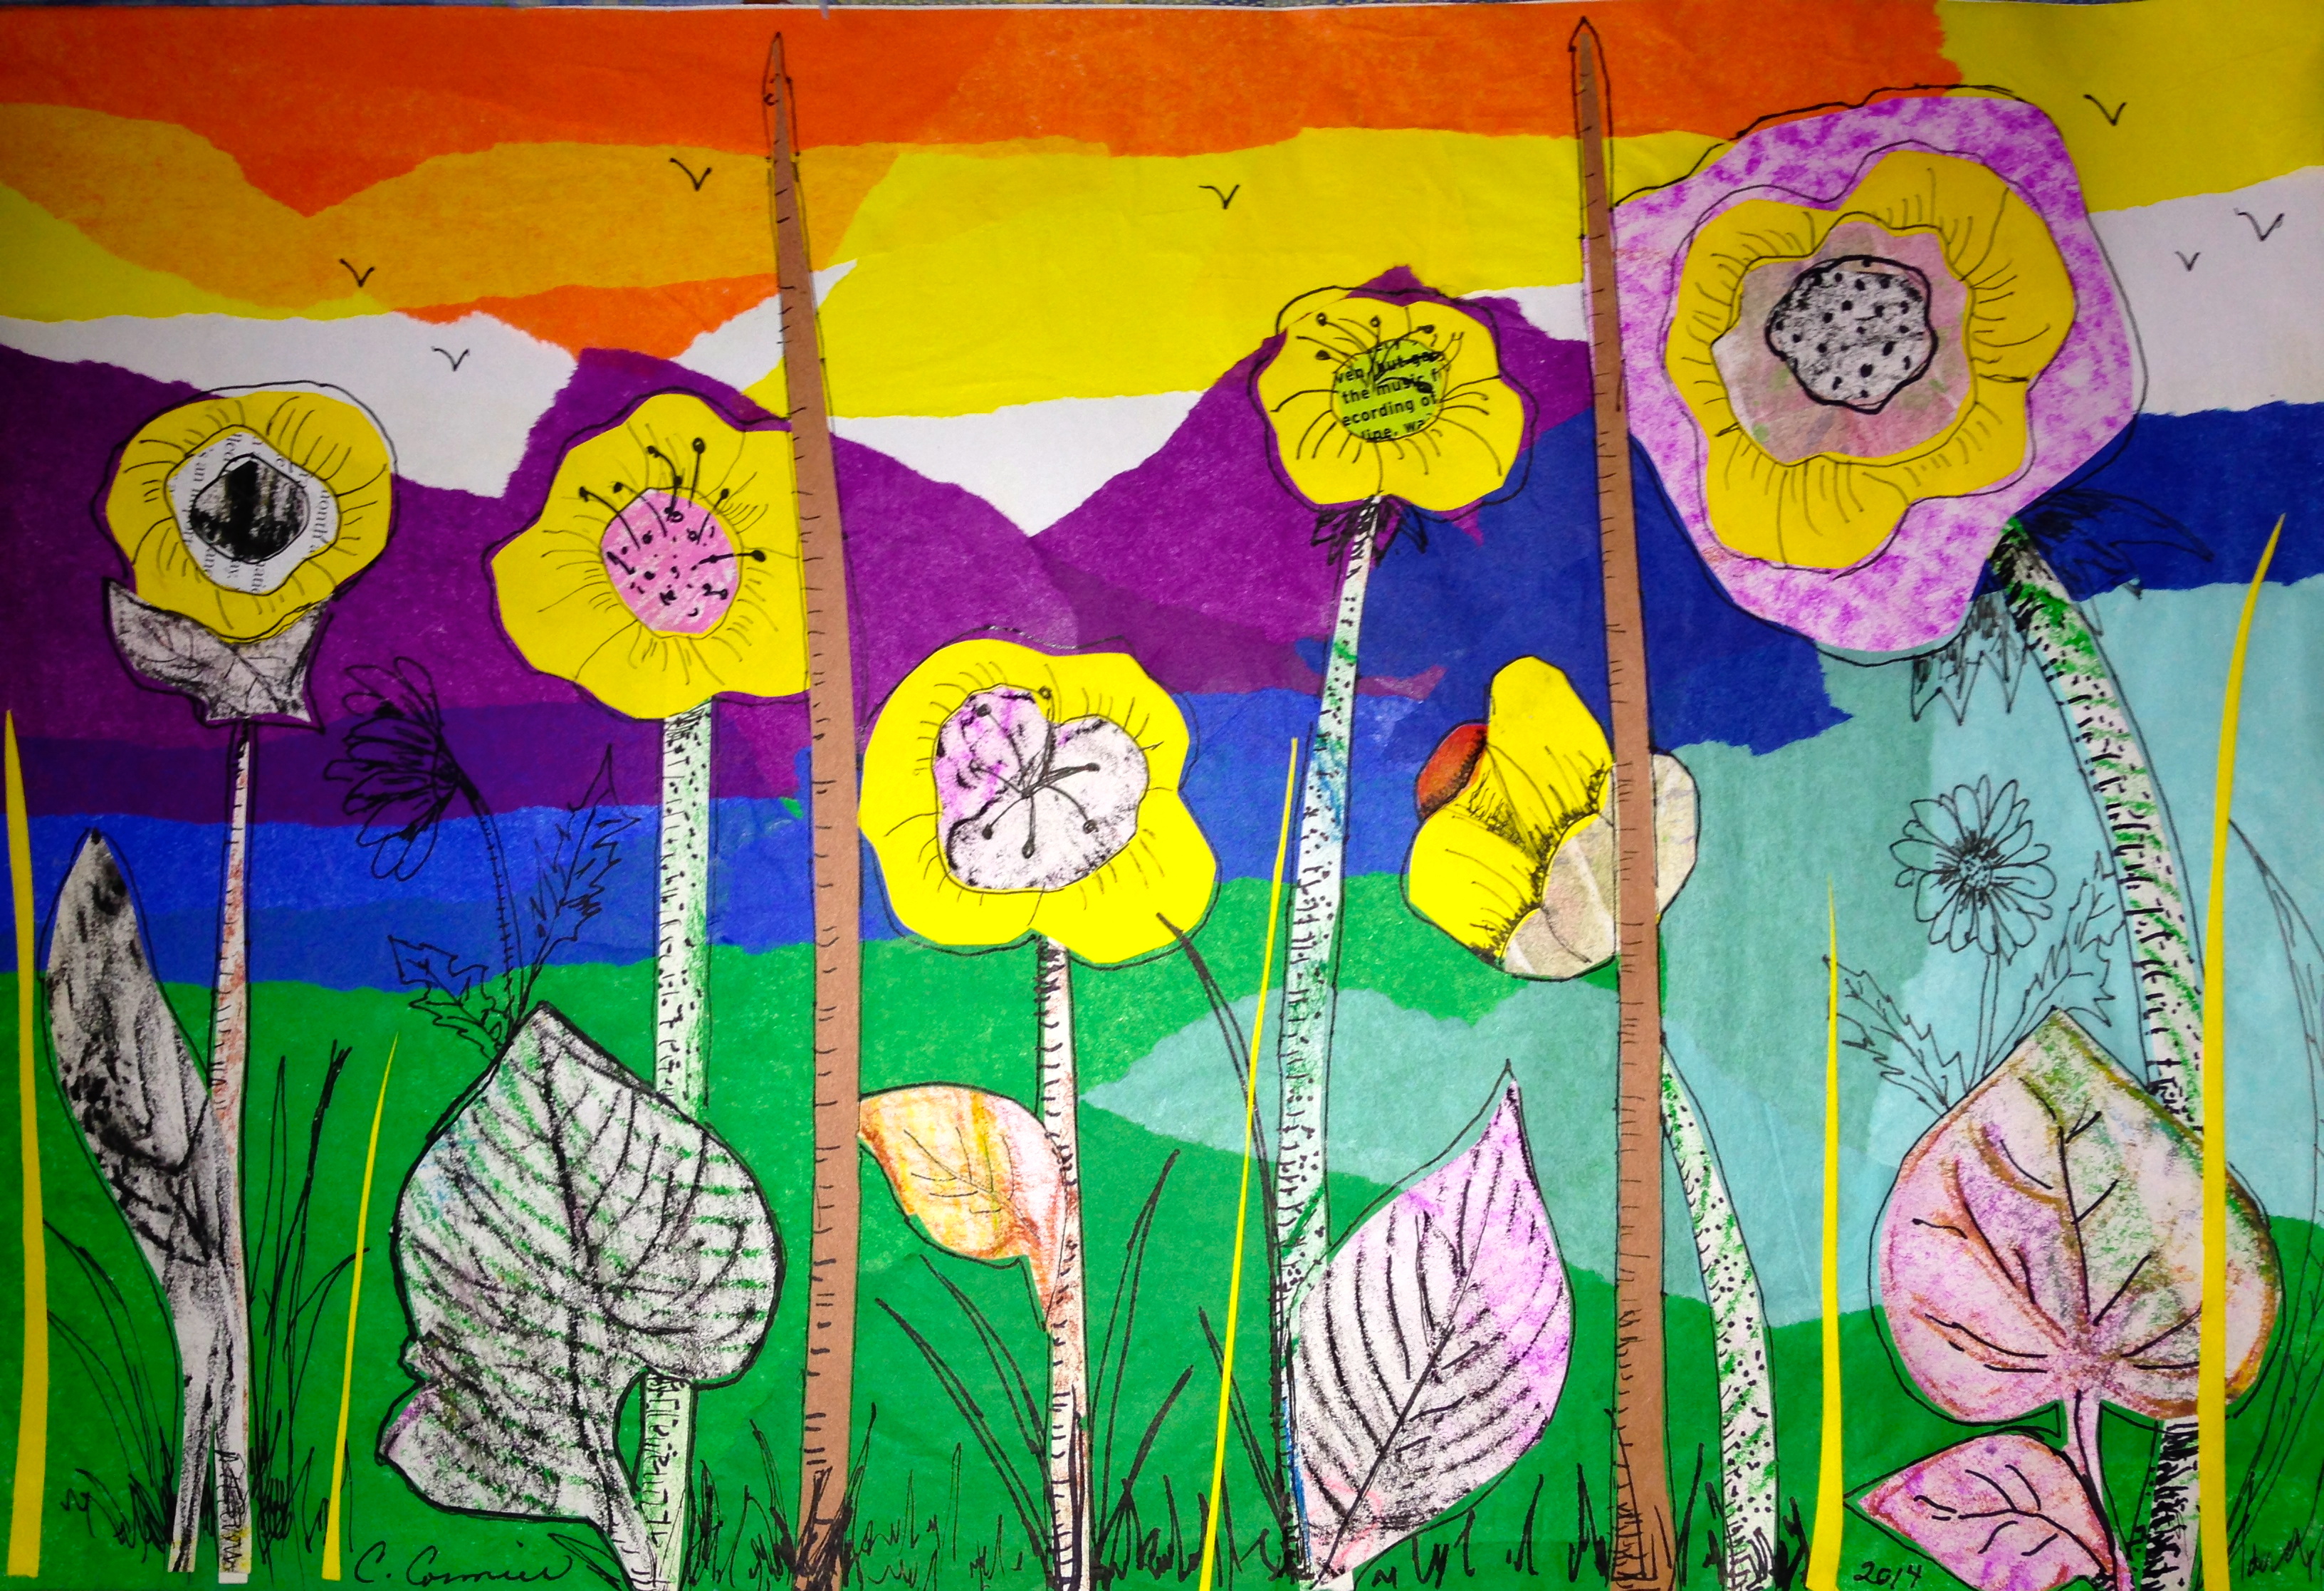
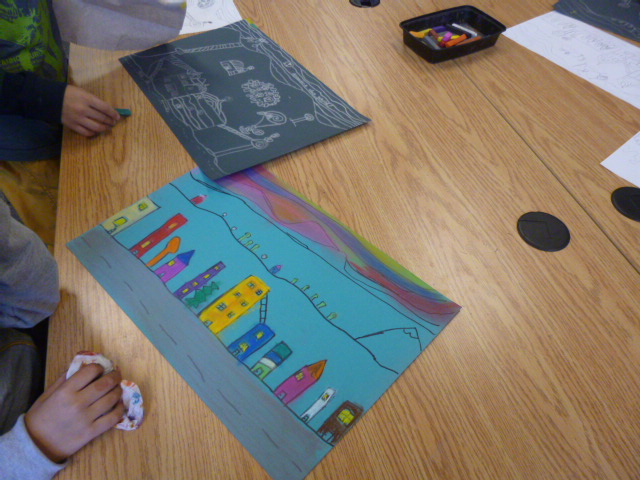
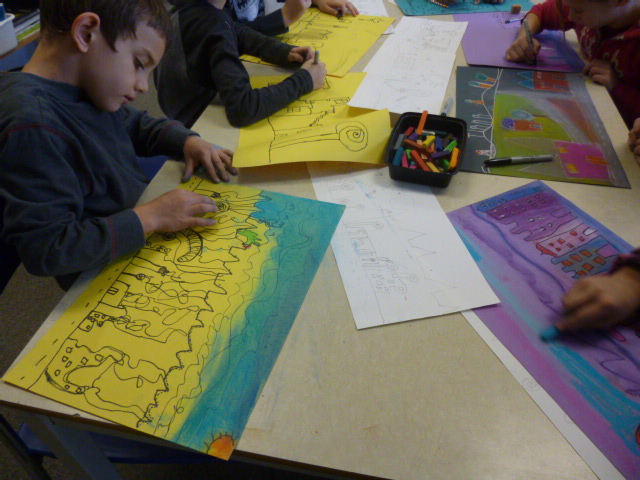
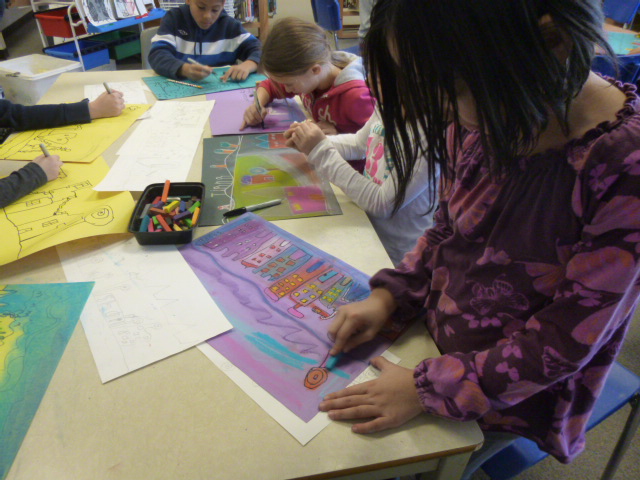
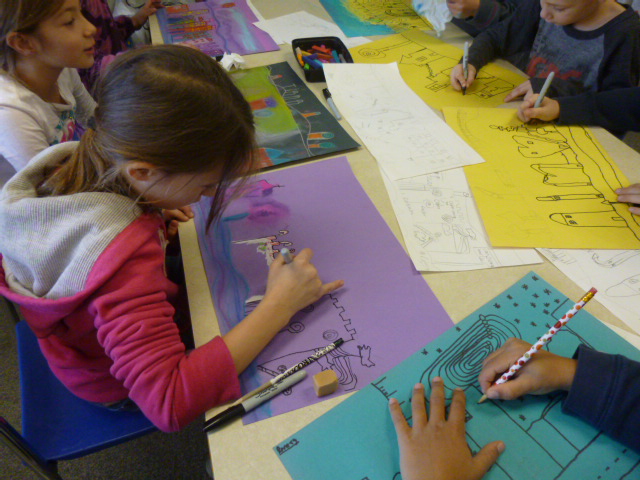
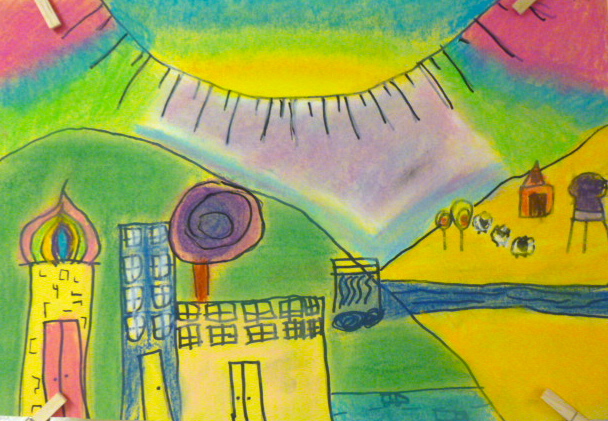
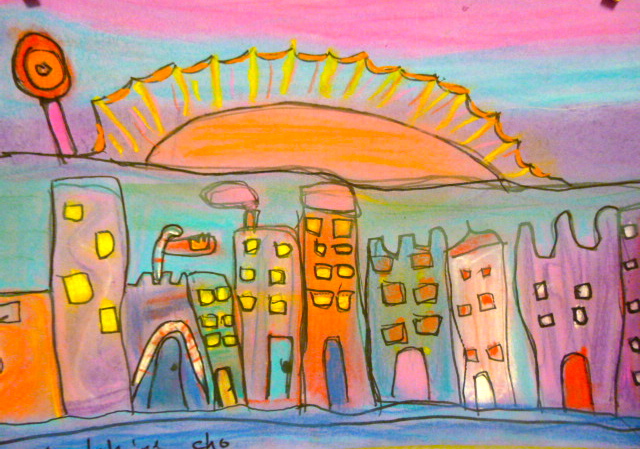
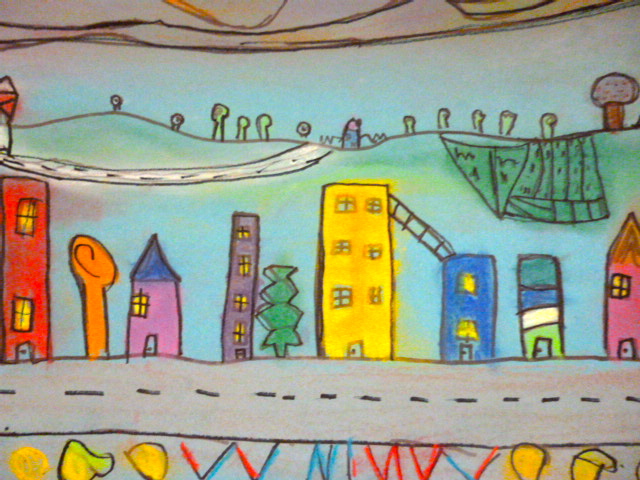
All my classes loved the book and took the message to heart. Very few chose a solid blue for their sky colour.

I started a sample with the children as they worked so that they could visualize what I had in mind. I think that the process is more important than the product and I find giving them a sample to look at helps them better understand the process. No two pictures are ever the same.

Today I finished my sample at home. The first picture shows the tissue in the background and the simple cut outs that are glued on top. In the second picture you can see a close-up of the detail that I drew in after with a fine tip black Sharpie and the third picture is the entire finished piece.

IMG_0221 IMG_0222

IMG_0224


I’m looking forward to seeing what my grade 3s come up with.

Cheers!


Simple Christmas Cards and Tags

….using fabric crayons and cotton swatches

During the last week of school before the Christmas holidays I needed a quick and easy project for the boys and girls to work on when they finished their art projects. For years I had fabric crayons sitting in my cupboard with no plans on how to use them. Last year I experimented with them and loved how they worked.

I gave each child a piece of photocopy paper and instructed them to fold it into four rectangles. On each rectangle the students had free reign to create any design they wanted. Many chose Christmas symbols, winter scenes or their names (the mirror image). The only thing they needed to do was fill in their design with lots of fabric crayon and sometimes they could get two or three prints from the same picture. They loved it when I ironed their designs onto a piece of cotton fabric. It was like magic.

ImageImageImage

Our Urban Rural Drawings

….in the Hundertwasser style

This week the grade 3 students have been working on their urban rural landscapes using vibrant chalk pastels.

We started the lesson discussing the components of a landscape; foreground, middle ground, background and horizon line. We talked about how objects in the foreground were larger and smaller in the background. I then showed the class images of Hundertwasser’s whimsical houses and lollipop trees.

The assignment was to draw city buildings in the foreground and a rural setting in the background. After drawing their rough copies, each student was allowed to choose a sheet of coloured construction paper and then redraw their landscape lines using first pencil and then black or silver marker.P1030784 P1030787

Starting at the top of their paper they then started to add colour using chalk pastels. I showed them how to blend colours using their fingers and pieces of tissue paper. Once all the colour was in place, the black lines were redrawn as the last step. P1030786P1030783 P1030782 P1030781 P1030780  The final results have been stunning. You be the judge. Enjoy!

P1030779

P1030778 P1030777 P1030790 P1030789 P1030788

More Morrisseau Paintings

….with shades of Ted Harrison

As my grade 3s completed their x-ray painting in the Morrisseau style it became clear that Ted Harrison’s style influenced many of them as well. Both artists were Canadians. Morrisseau was born in Northern Ontario and Harrison was born in England but later moved to Canada.

Morrisseau’s Spirit Bear

Inside Passage

Here are a few more finished x-ray paintings done by some of my grade 3 and grade 4 students.

IMGP0008 IMGP0009 IMGP0010 IMGP0015 IMGP0016

“Are you going to put our art on your blog, Mrs. Cormier?”

….I knew that some of my students knew about my blog but it still surprised me to hear this question

I needed a break from using paint. Most of the older students are pretty good at cleaning at the end of art class but some of the younger children, especially the boys, have a hard time with the cleaning concept. Two days ago I snapped and told my students that we were done with paint for awhile. When we go back I think I may limit the number of students who paint and have the rest of the students work with another medium. In other words, I’ll have two separate projects on the go.

Yesterday I introduced line drawing using pencil and then finishing if off with a fine tip Sharpie. I place a number of objects on their tables to arrange into an interesting still life.

I demonstrated how to draw what they see without lifting the pencil off the paper. We used rough copy paper to practise and then when they felt comfortable the students produced a final copy that was trimmed and then mounted on black construction paper. The following examples were done by grade 3s.

IMGP0001

So what’s next? Maybe I’ll use oil or chalk pastels. At least there won’t be any brushes to clean.

Cheers!