Warm and Cool Picasso Dogs

….this will be the last group of Picasso Dogs that I post

Carla Sonheim has inspired me to teach my students about Picasso. Each grade level was  approached slightly differently to meet the curriculum expectations for that grade. This gallery of Picasso Dogs was done by my grade three class and the emphasis was on cool and warm colours.

Filling in the Negative Space

….an art lesson that focuses on the negative space

When I took the on-line course called Table Top: Drawing and Painting by Diane Culhane I knew that I wanted to do one of the assignments with my grades 2 and 3 classes. It was a great lesson on contour drawing and positive and negative space.

I gave the students a variety of bottles and vases to arrange into a pleasing still life. They used a fine tipped black Sharpie and drew a contour drawing of their still life. Then they divided the negative space into smaller areas and filled them in with pencil crayon. They left the positive space blank.

Grade Threes Have Fun With Colour and Line

…..in this lesson I introduced a variety of lines and the difference between warm and cool colours

To start the lesson the students were instructed to draw a straight line, a thin line, a thick line, a zigzag line, a broken line and a loopy line. They were encouraged to draw the lines in different directions (horizontal, vertical and diagonal) and to extend the lines from one side of the paper to the other.

Then they had to choose two warm colours and one cool colour or two cool colours and one warm colour. Before they started to colour I suggested that they add more lines inside some of the shapes that they had created so that they had smaller blocks of any one colour and they could add some additional marks for added visual texture and variety.

This is a great lesson to leave with a supply teacher.

Crazy Flowers

…..produced by my grade 3s

This time of year I’m always looking for art projects that are easy to learn and quick to finish. Carla Sonnheim has come up with a great tutorial that shows you how to create this fabulous art.http://www.carlasonheim.com/abstracted-flowers/ It incorporates watercolour, gesso, sgraffito and stippling.

The kids loved it. Here are a few examples of this fabulous art projects.

IMG_1709 photo 3-161 photo 1-178 photo 5-134


Getting Ready for the Silent Auction

…..all the classes in the school are preparing an item to be sold at this year’s Fun Fair

For the 15th Anniversary of our annual Fun Fair the parents have asked all the teachers to prepare an art piece to be auctioned off at the Silent Auctions on May 31st. Since I teach art a couple of the teachers asked me to help them come up with something for their classes.

My grade 3 class agreed to come up with some designs for a simple abstract piece where every child in the glass would have a section that they could paint. One student had finished all his work and set about to come up with a plan. When he finished the class agreed that they wanted to use his design and apply it to the 24 x 24 inch canvas.

On painting day we looked at the paints and changed the original colour scheme. We mixed colours and tried them out side by side. We finally decided to use grey, white, yellow green and fuchsia. Here is where we started and how far we’ve come. Next week we’ll finish this project and maybe even start a second one.

ImageImageImage

Weaving Our Way to Happiness

….even the boys are enjoying this activity

We’re finally all working on the same project. We started with a paper loom so that everyone could experiment with different materials and weaving patterns. Once the paper loom was finished I gave each student a sturdy piece of cardboard and they each made their own loom. Students were encouraged to bring in yarn, fabric, lace and ribbon to create their wall hangings. I also had a lot of fancy yarns, raffia and trims that they were welcome to use.

The kids are really excited about this project. I’ve even taught a fair number of them how to finger knit. I think there are more boys then girls who are incorporating knitted chains into their weaving. A lot of the projects are about half finished but I thought you might like to see how they’re progressing.


Tissue Collage Landscape

….I introduced four different art projects this week

I had to think quickly this week as to what I was going to teach in art. I ordered some supplies before Christmas and they hadn’t come in yet so I scrambled to find a project(s) that required the materials I had on hand. Of all the projects that I assigned I think the one I introduced to my grade 3 class is my favourite so far.

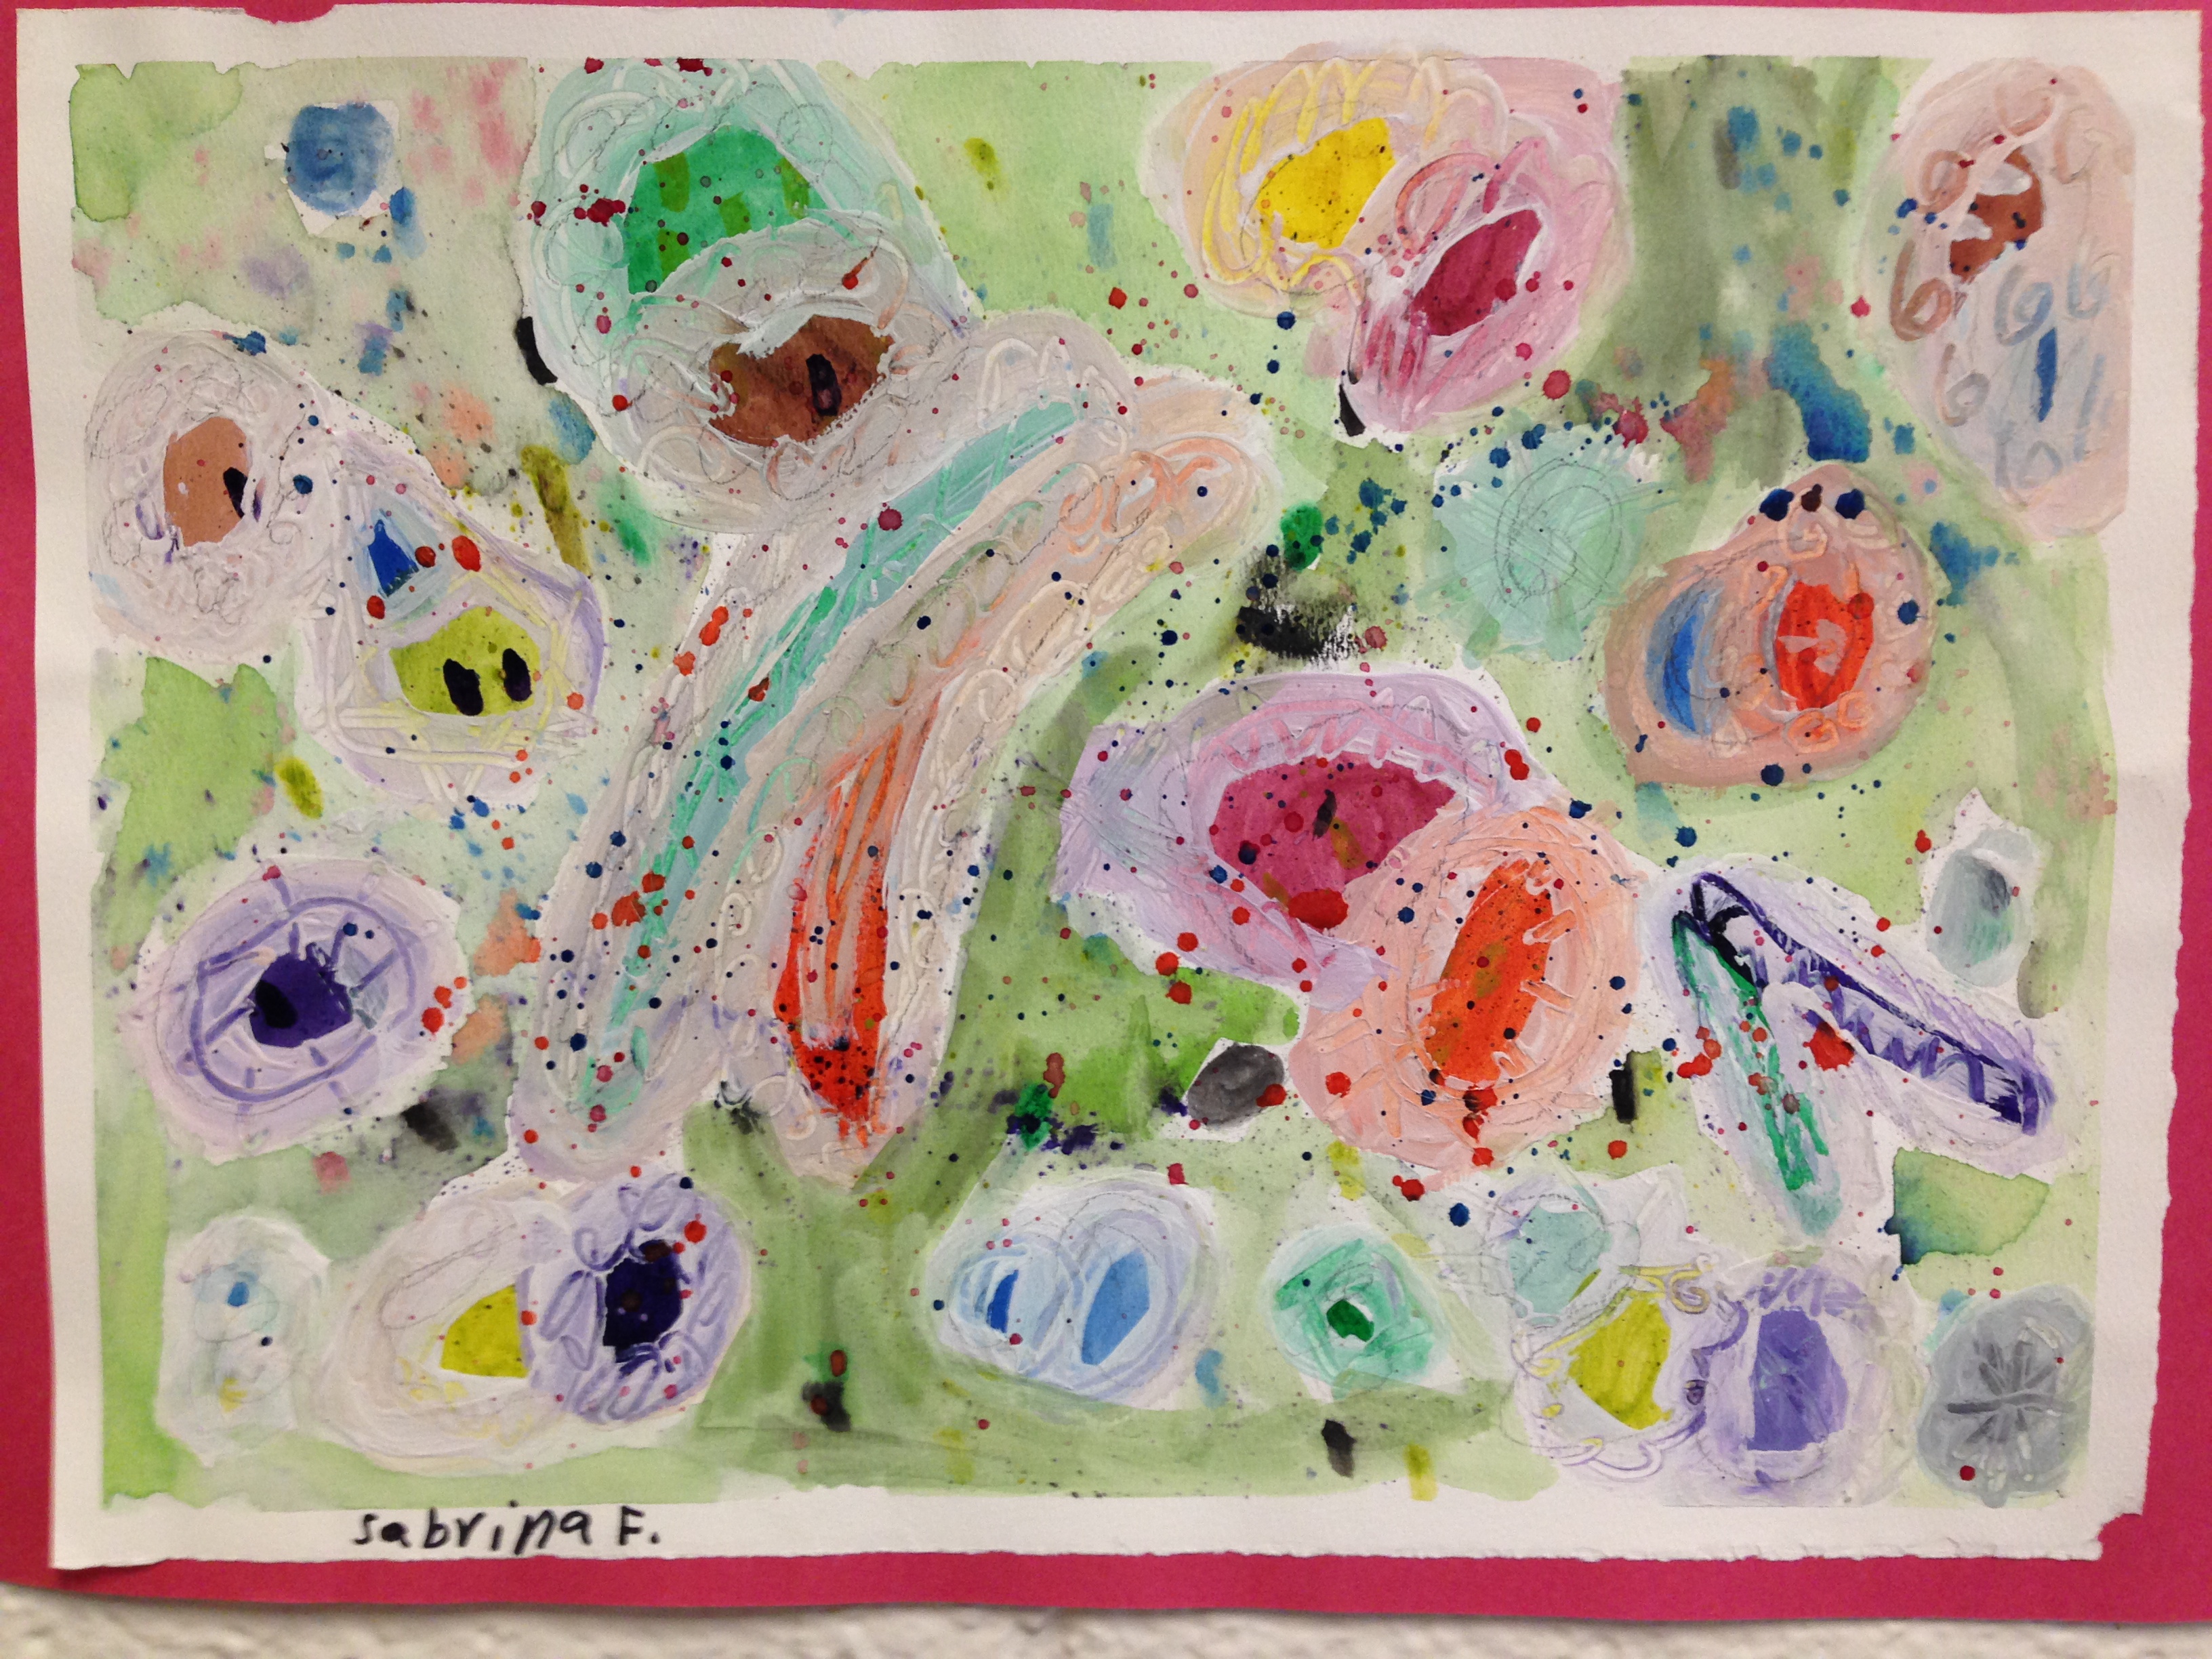
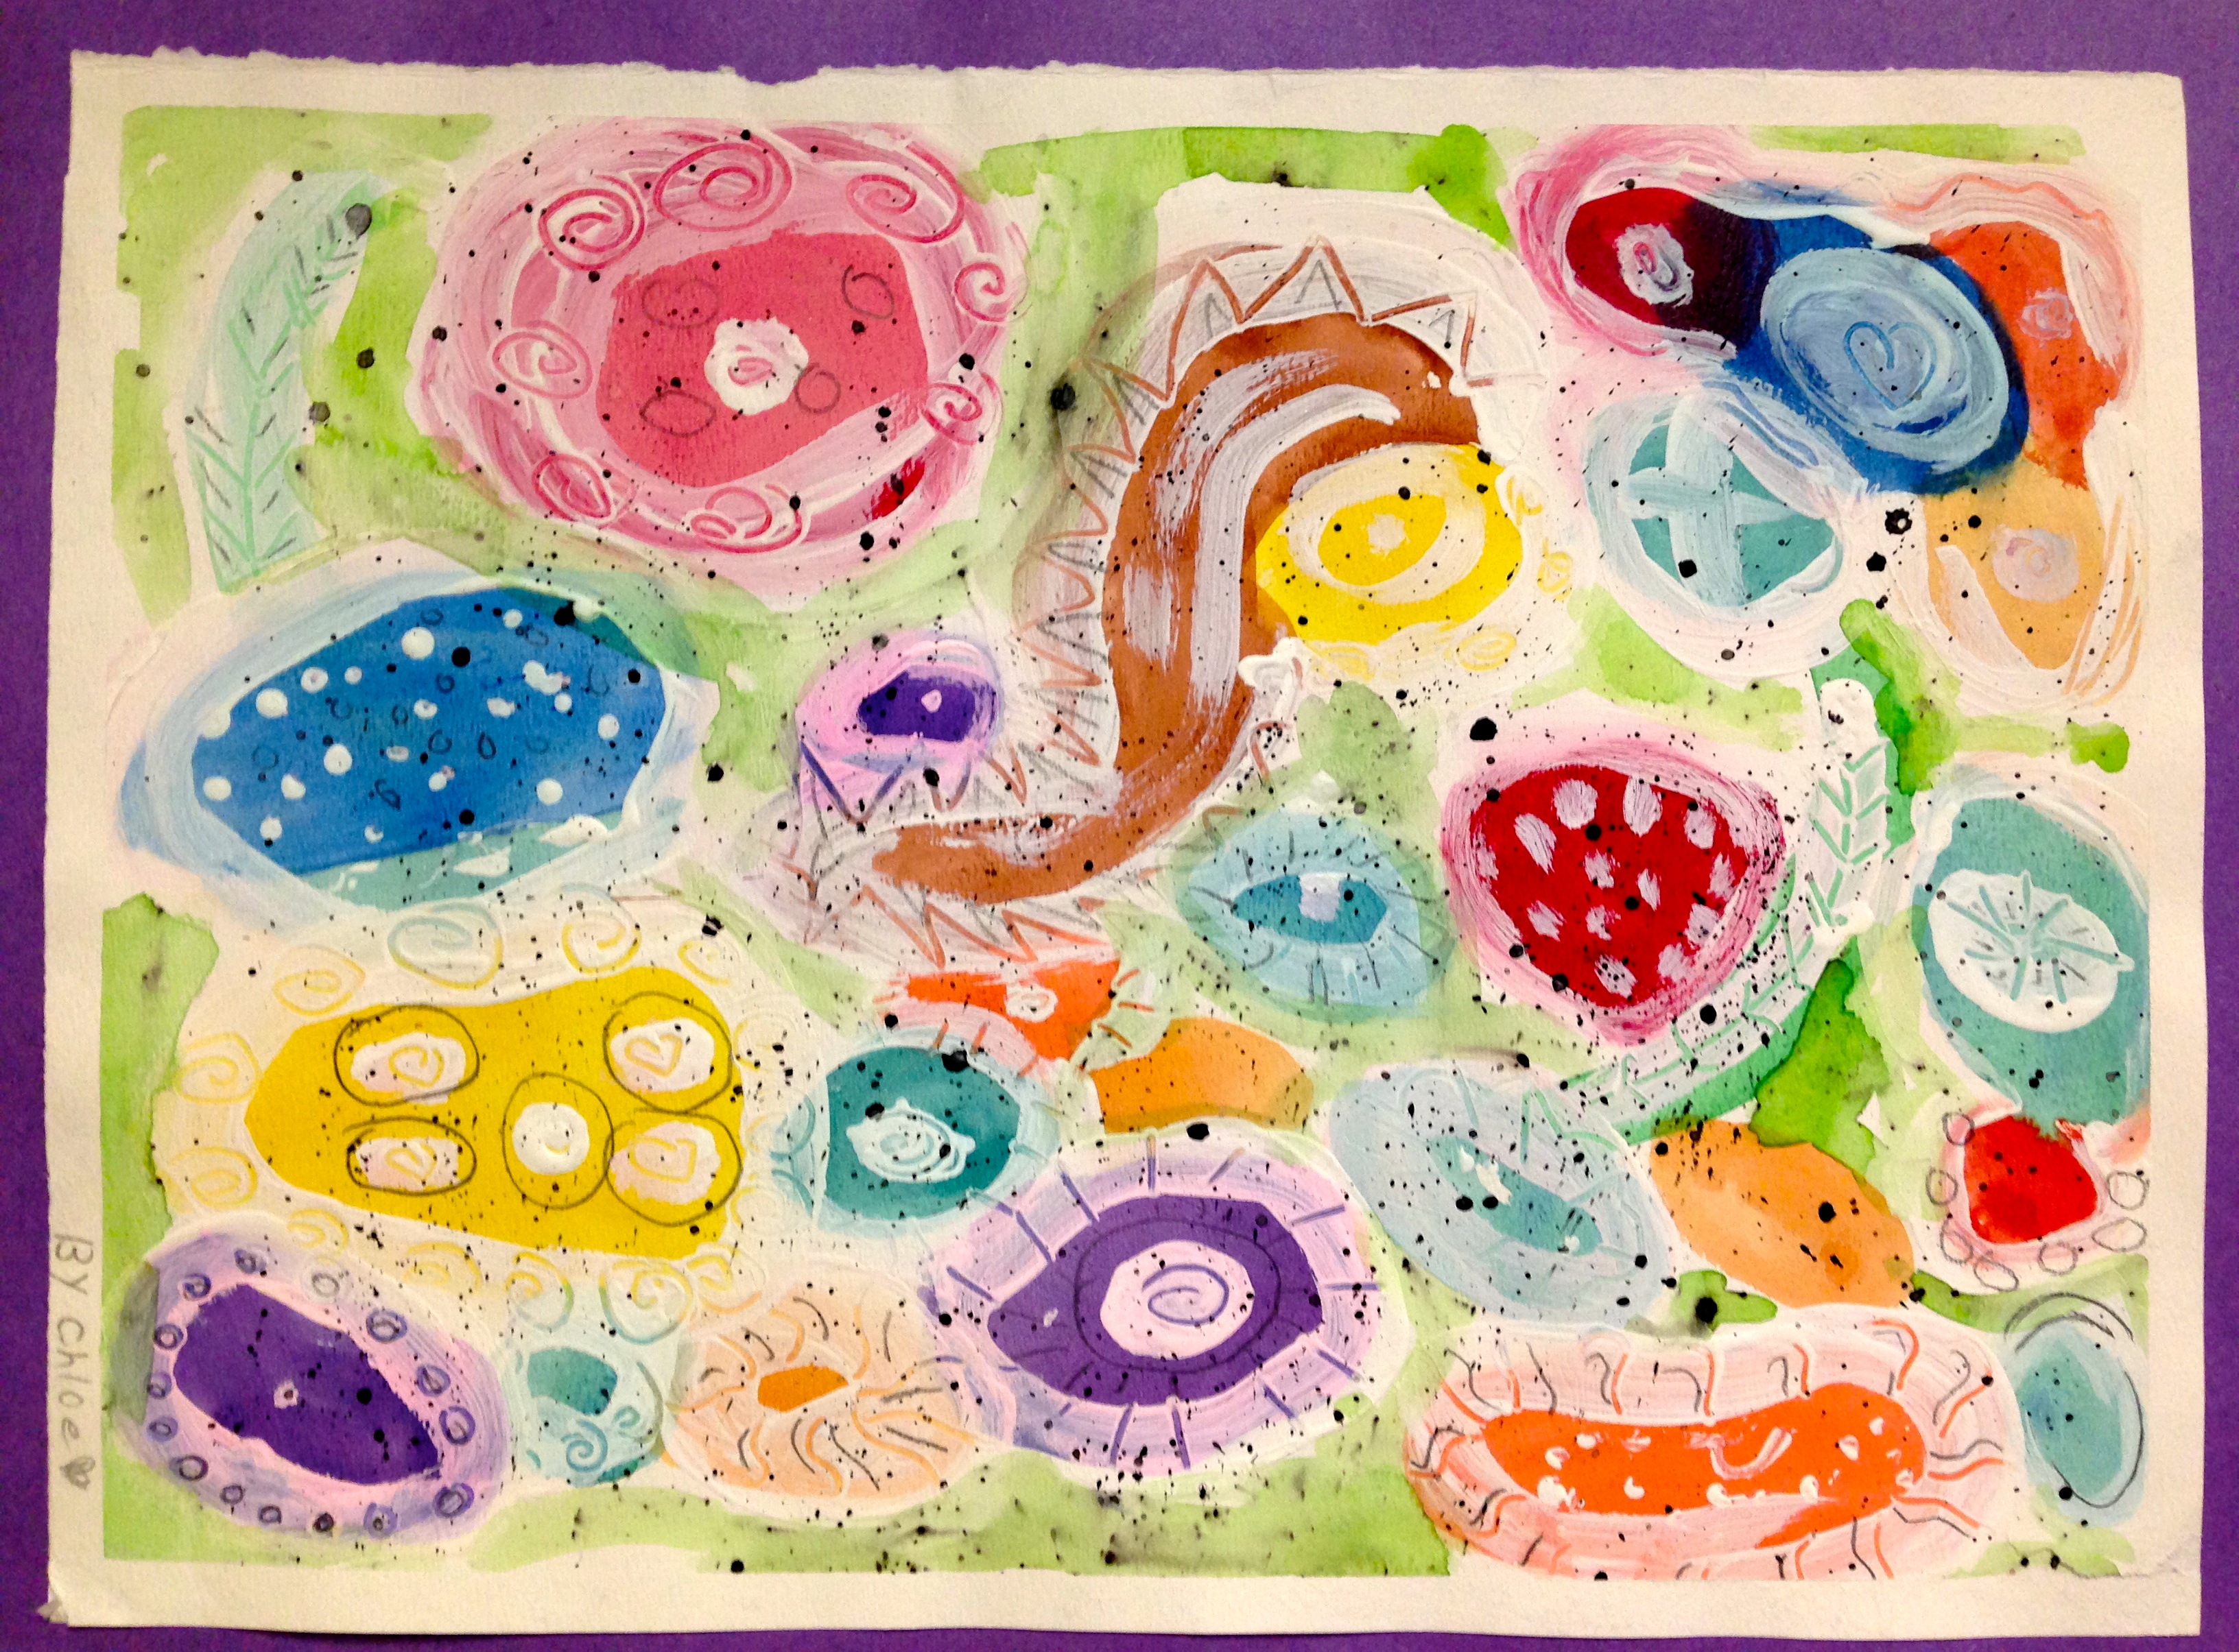
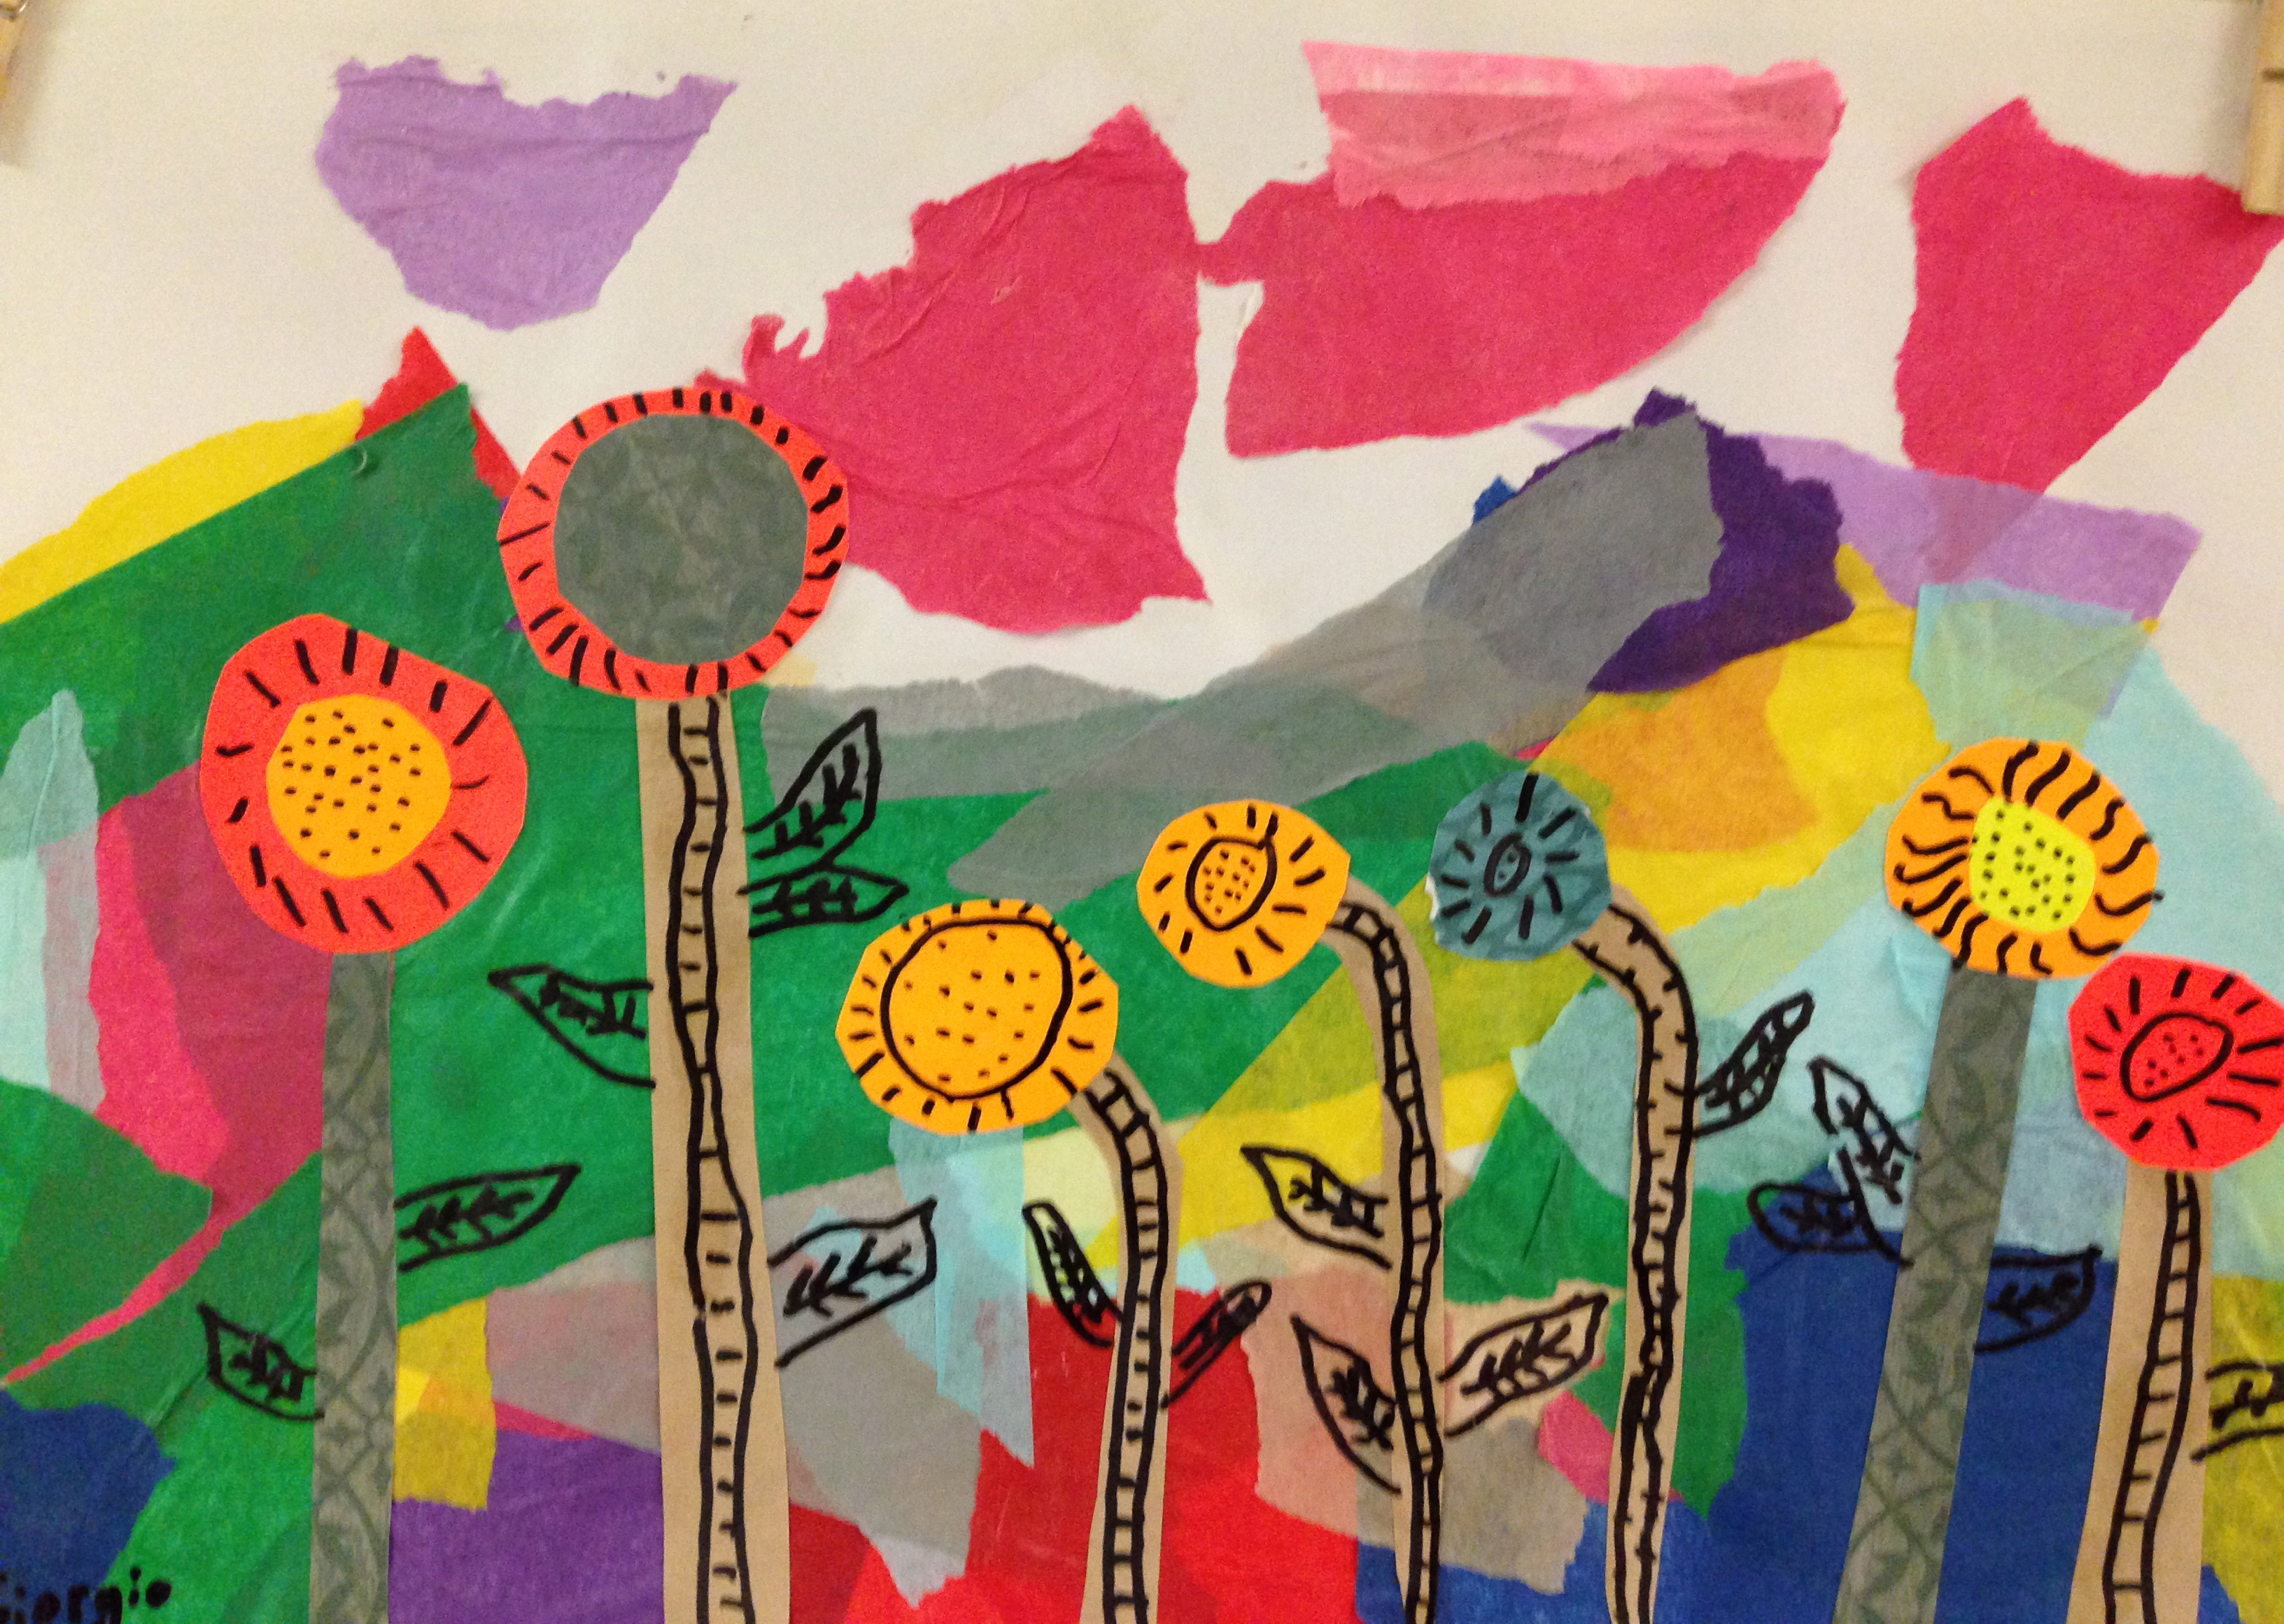
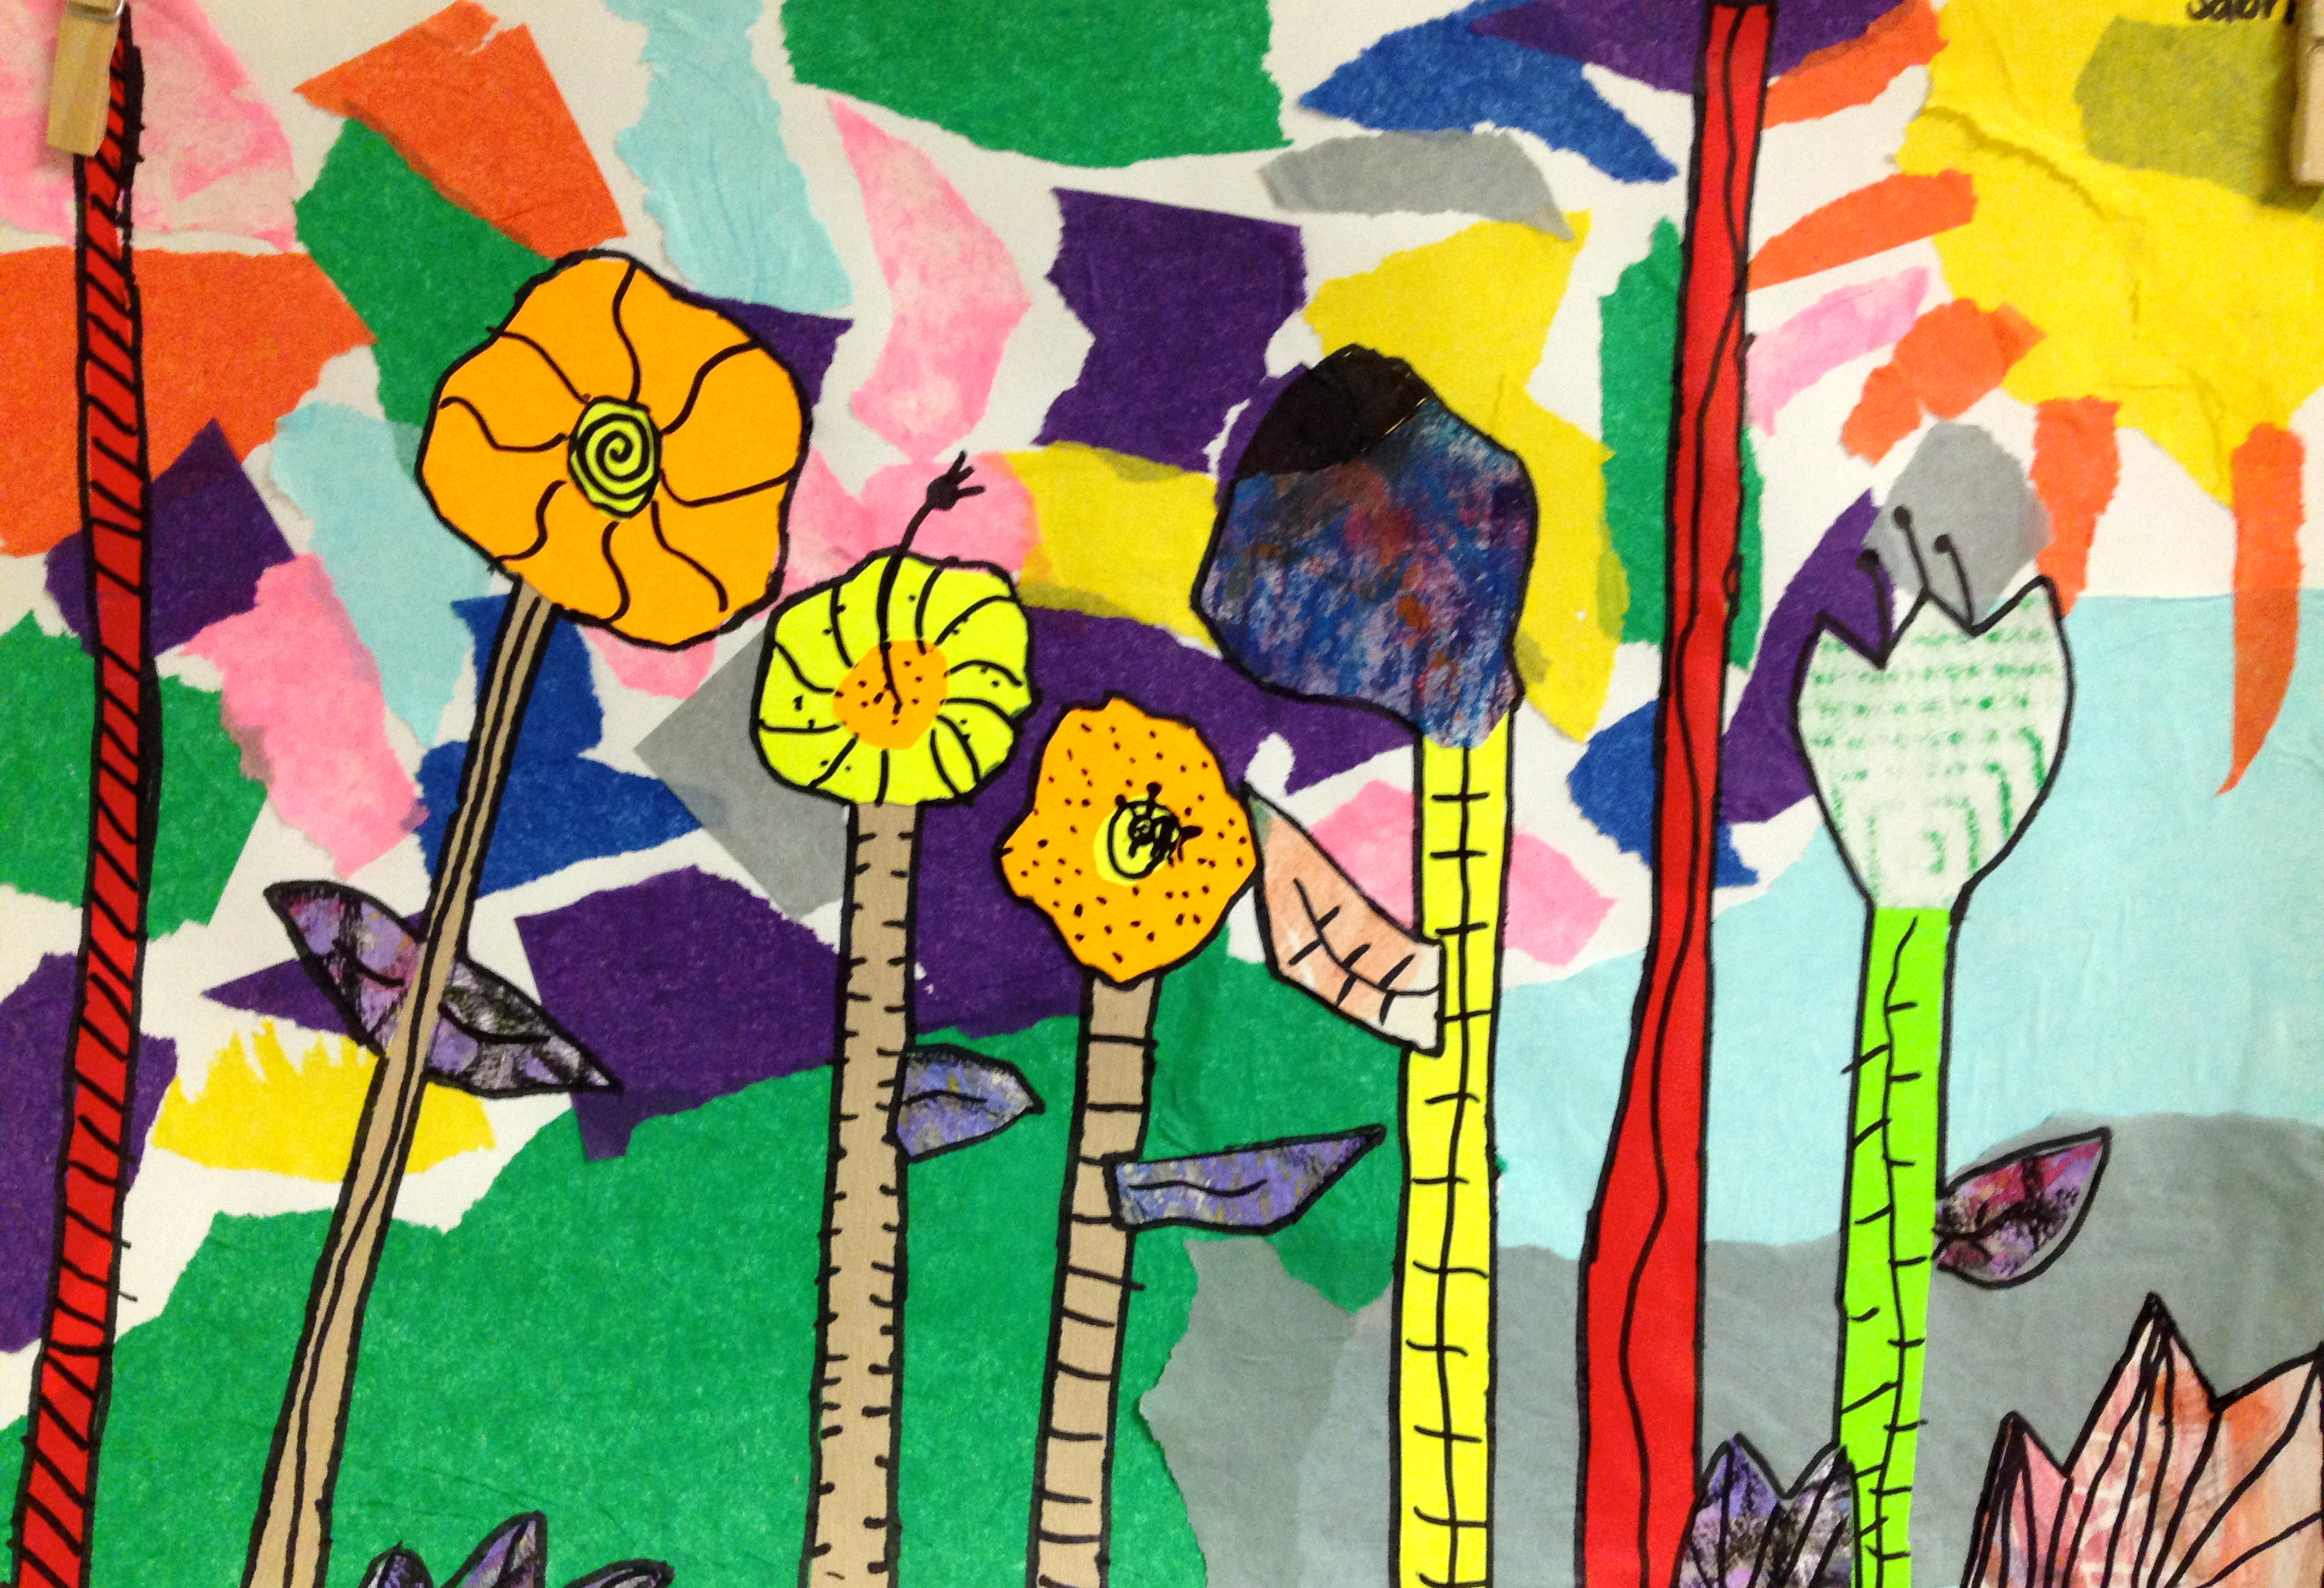
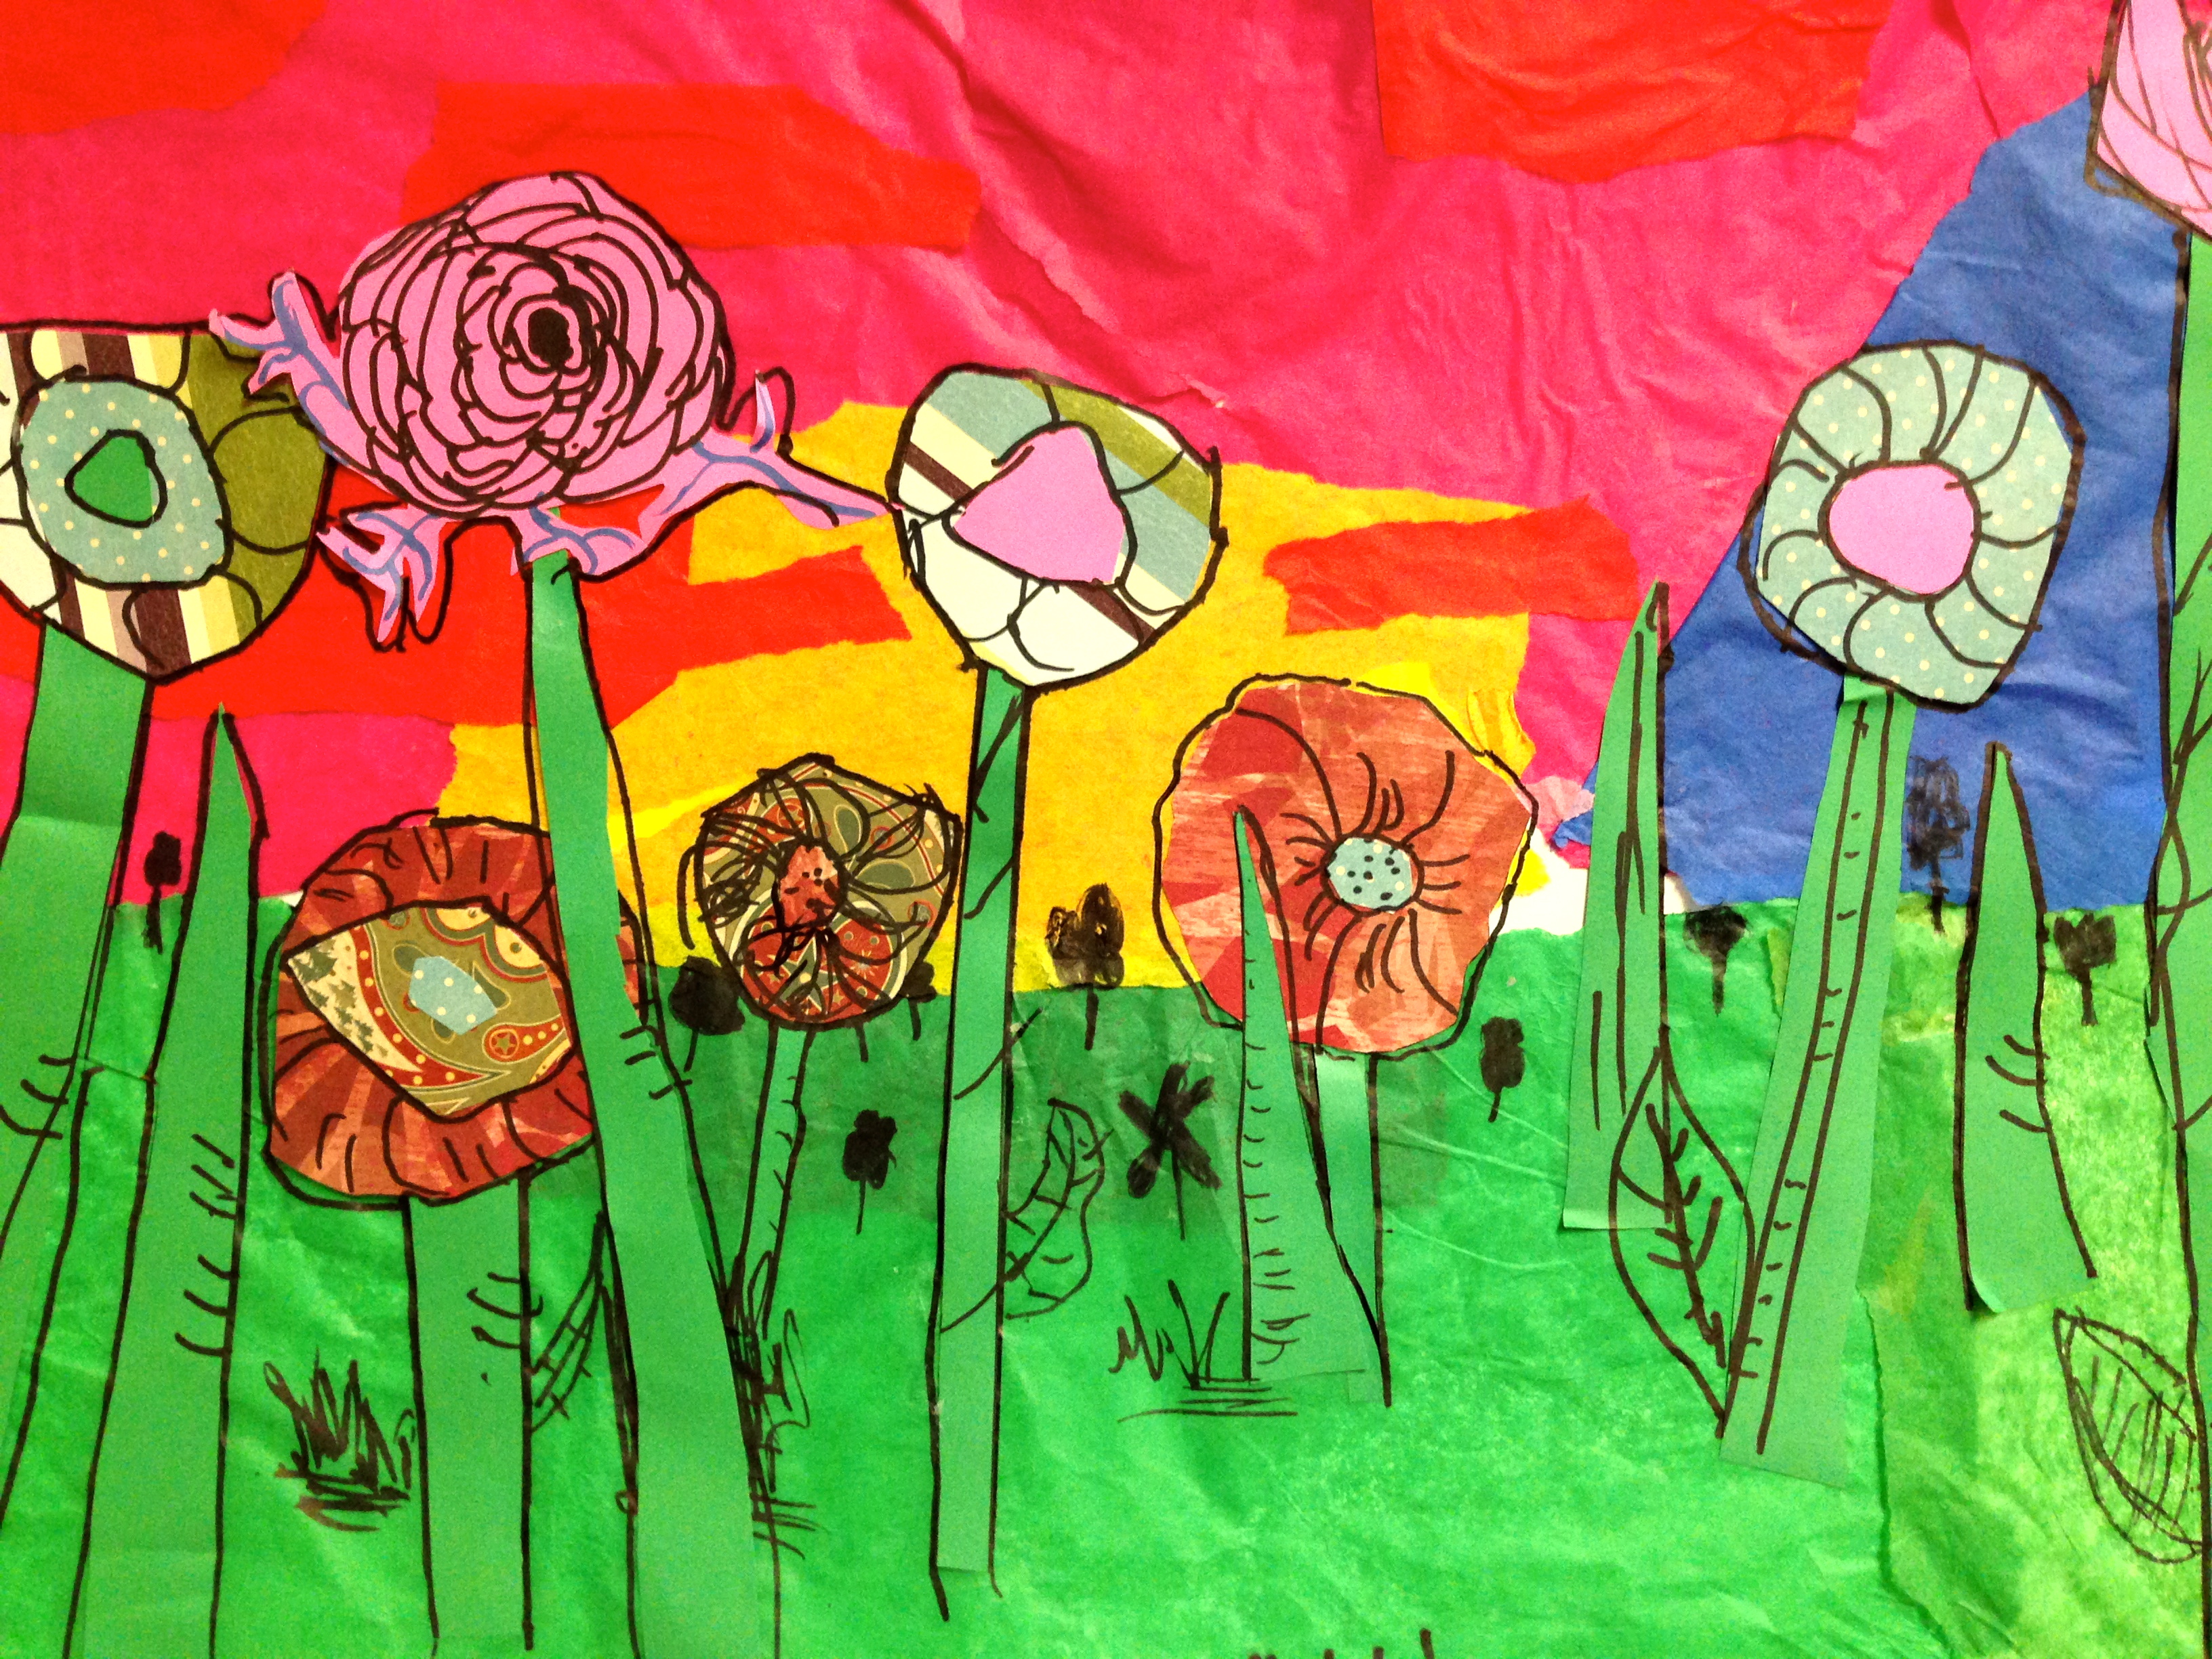
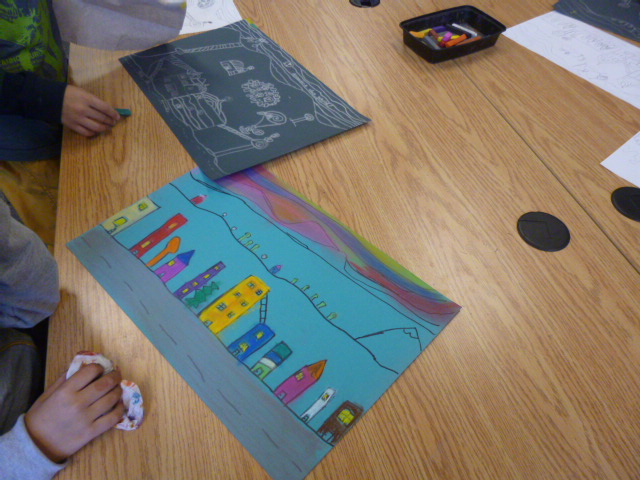
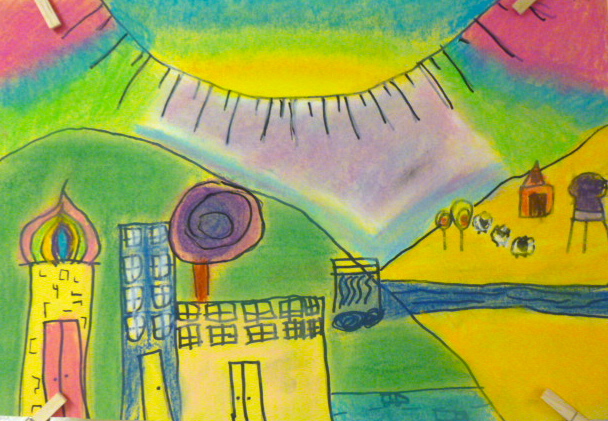
We talked about landscapes and reviewed the components: foreground, background and horizon line. I demonstrated how to tear the tissue and overlap the colours to give the picture more depth. I then explained that once the tissue layer was complete we were going to cut out shapes from construction paper, magazines and art papers that we had created last year to create a foreground of flowers.

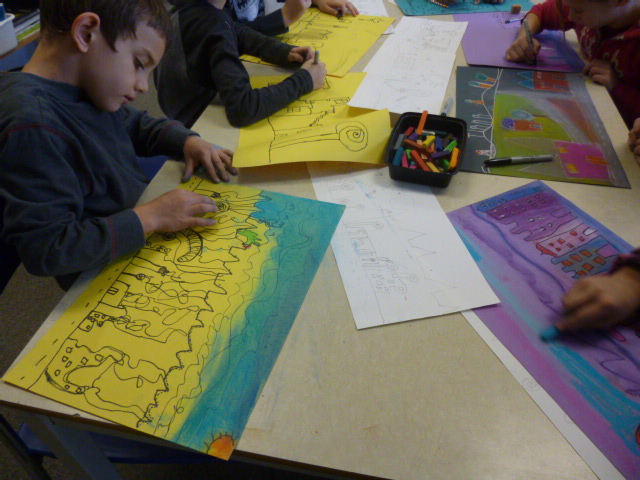
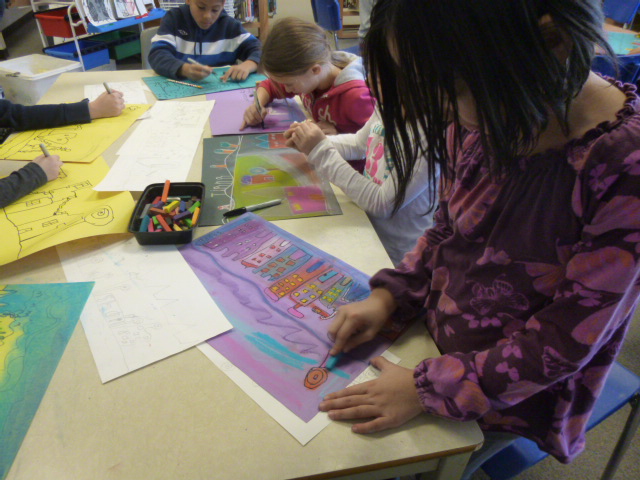
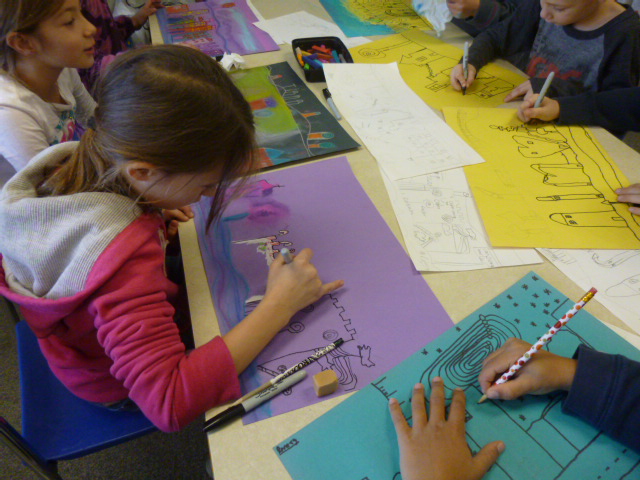
In the first class most of the students only finished gluing down the tissue paper. In the next class they will cut out their shapes from different materials, glue them into place and then using a fine tip black marker they will add detail to their cut outs and add some line drawings behind their collaged flowers.

I had lots of art books and posters to demonstrate the technique and show a variety of flowers that they could draw. I didn’t want everyone to gravitate to the blue tissue for their sky so I read them Peter Reynolds new book Sky Colour. It’s a wonderful book that every teacher who teaches art should have in their library.  All my classes loved the book and took the message to heart. Very few chose a solid blue for their sky colour.

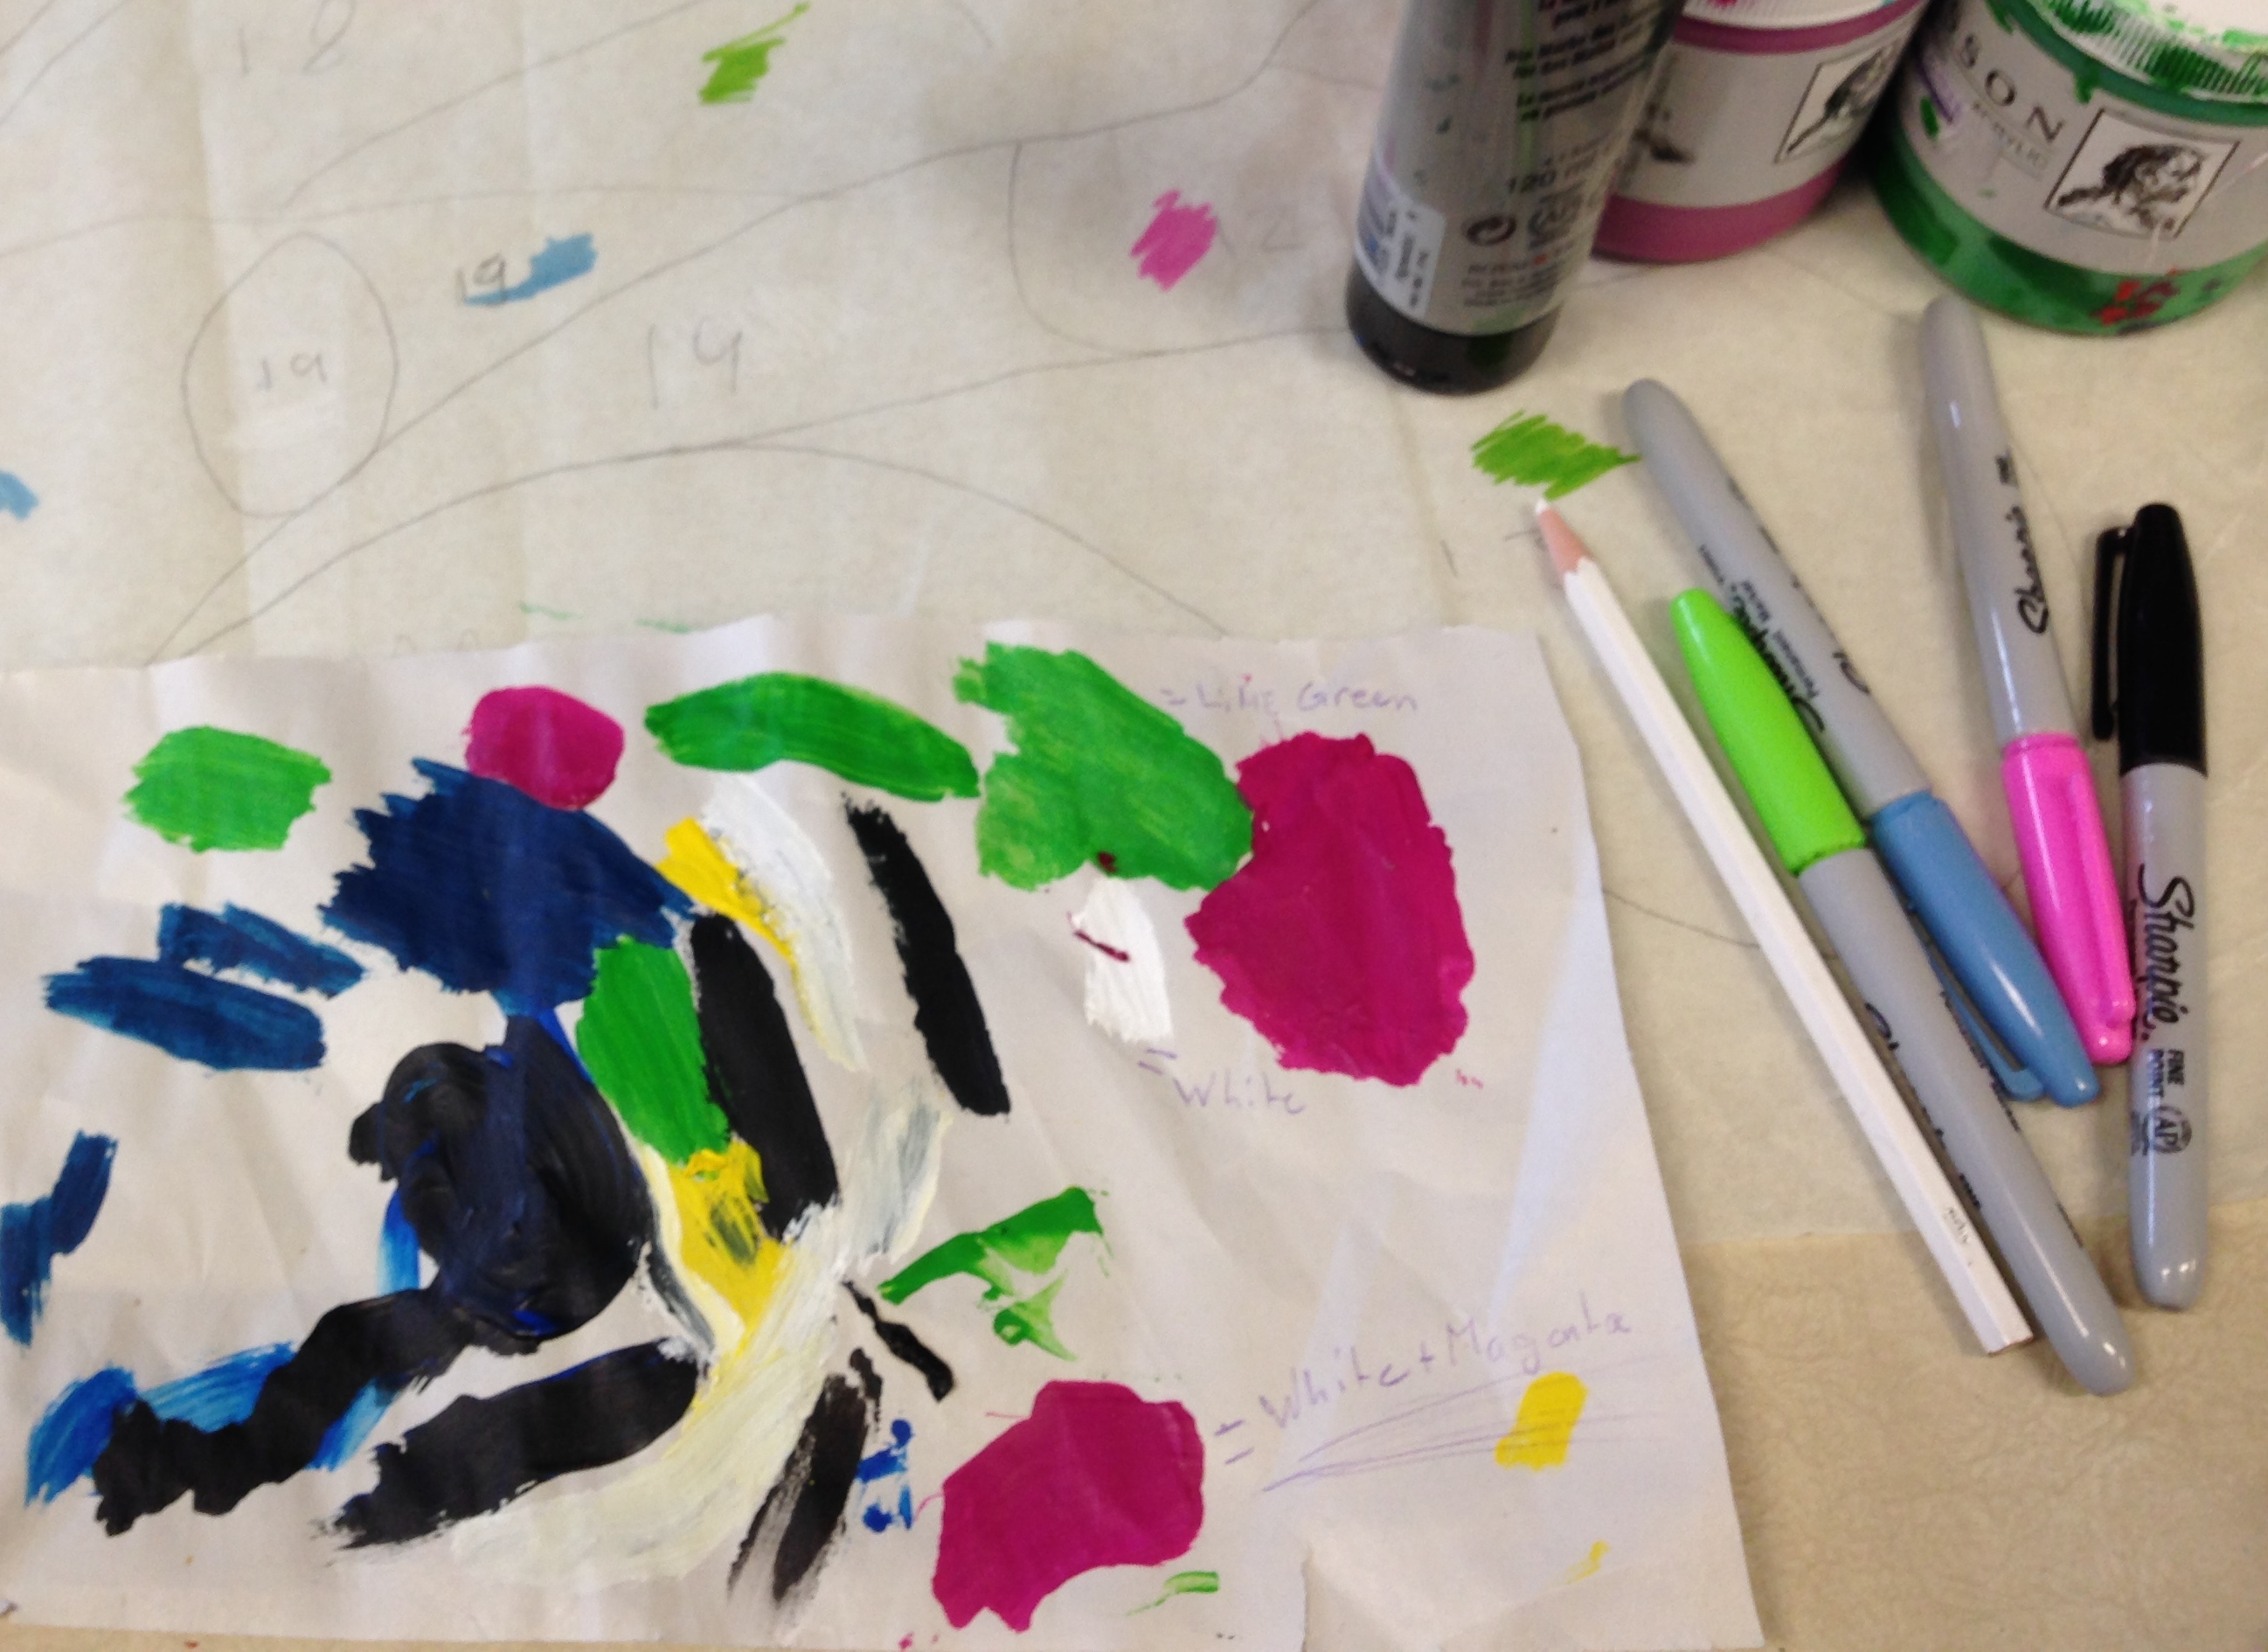
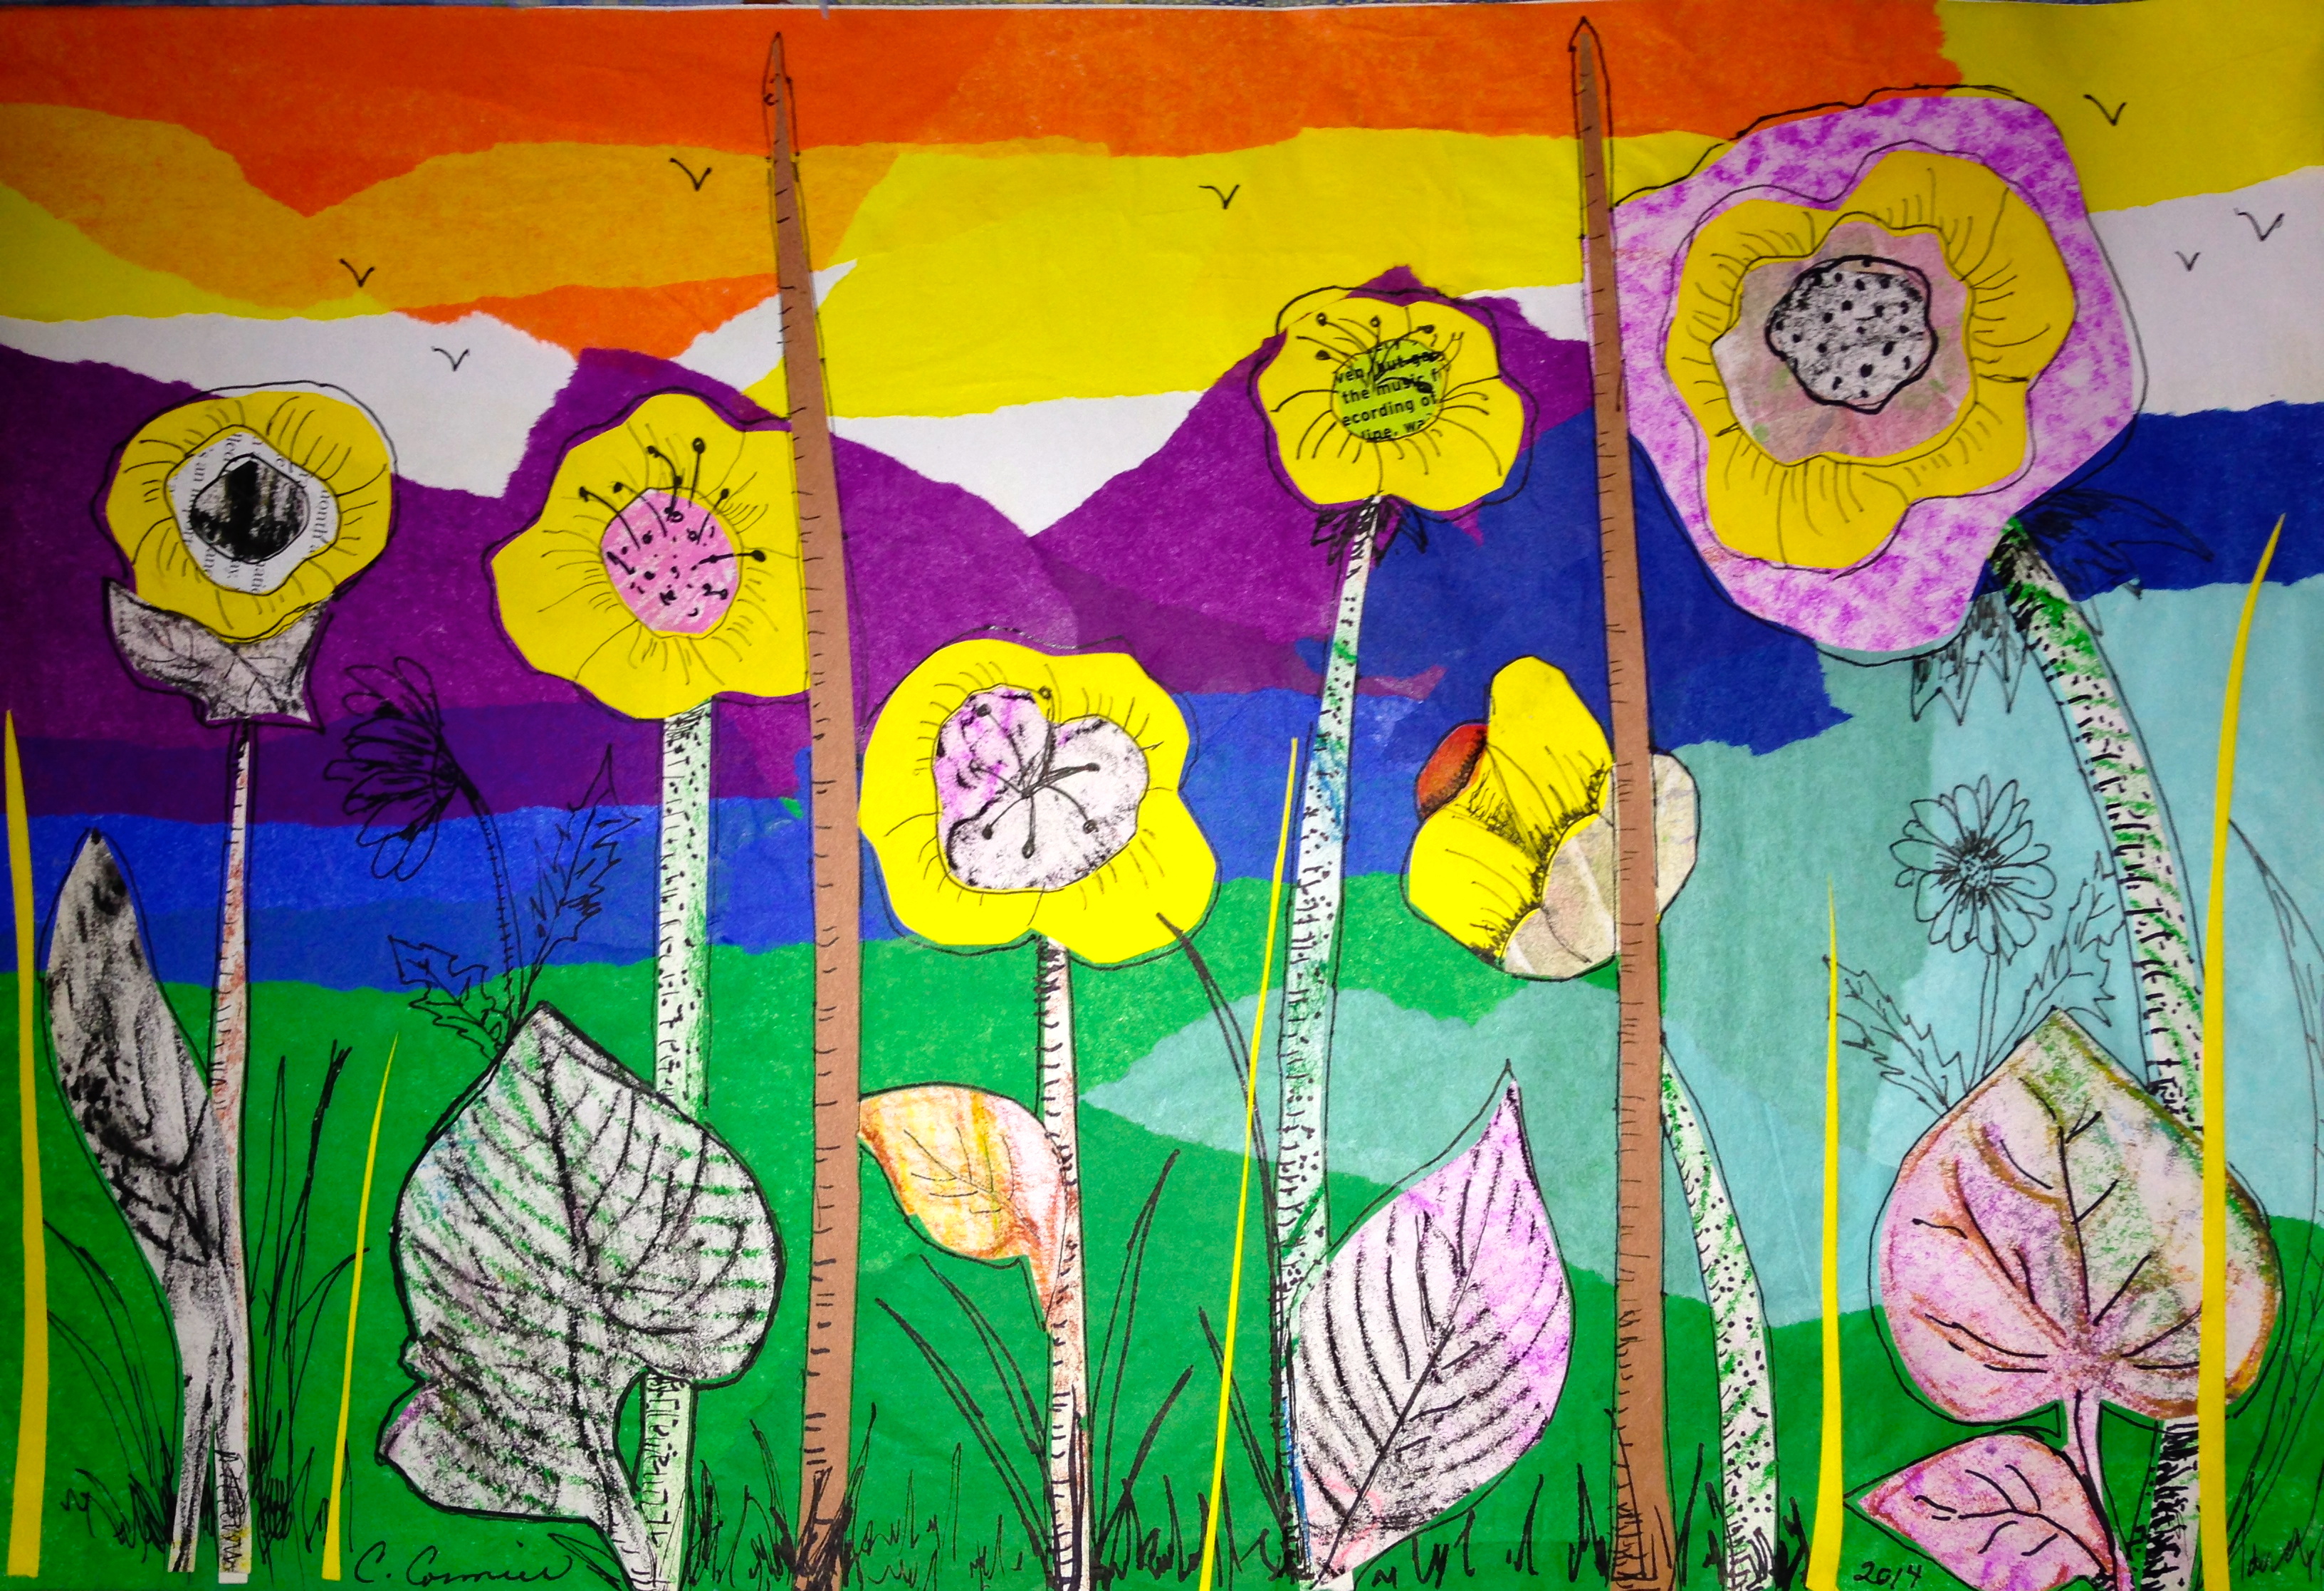
I started a sample with the children as they worked so that they could visualize what I had in mind. I think that the process is more important than the product and I find giving them a sample to look at helps them better understand the process. No two pictures are ever the same.

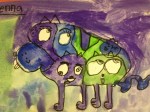
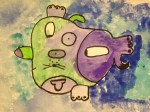
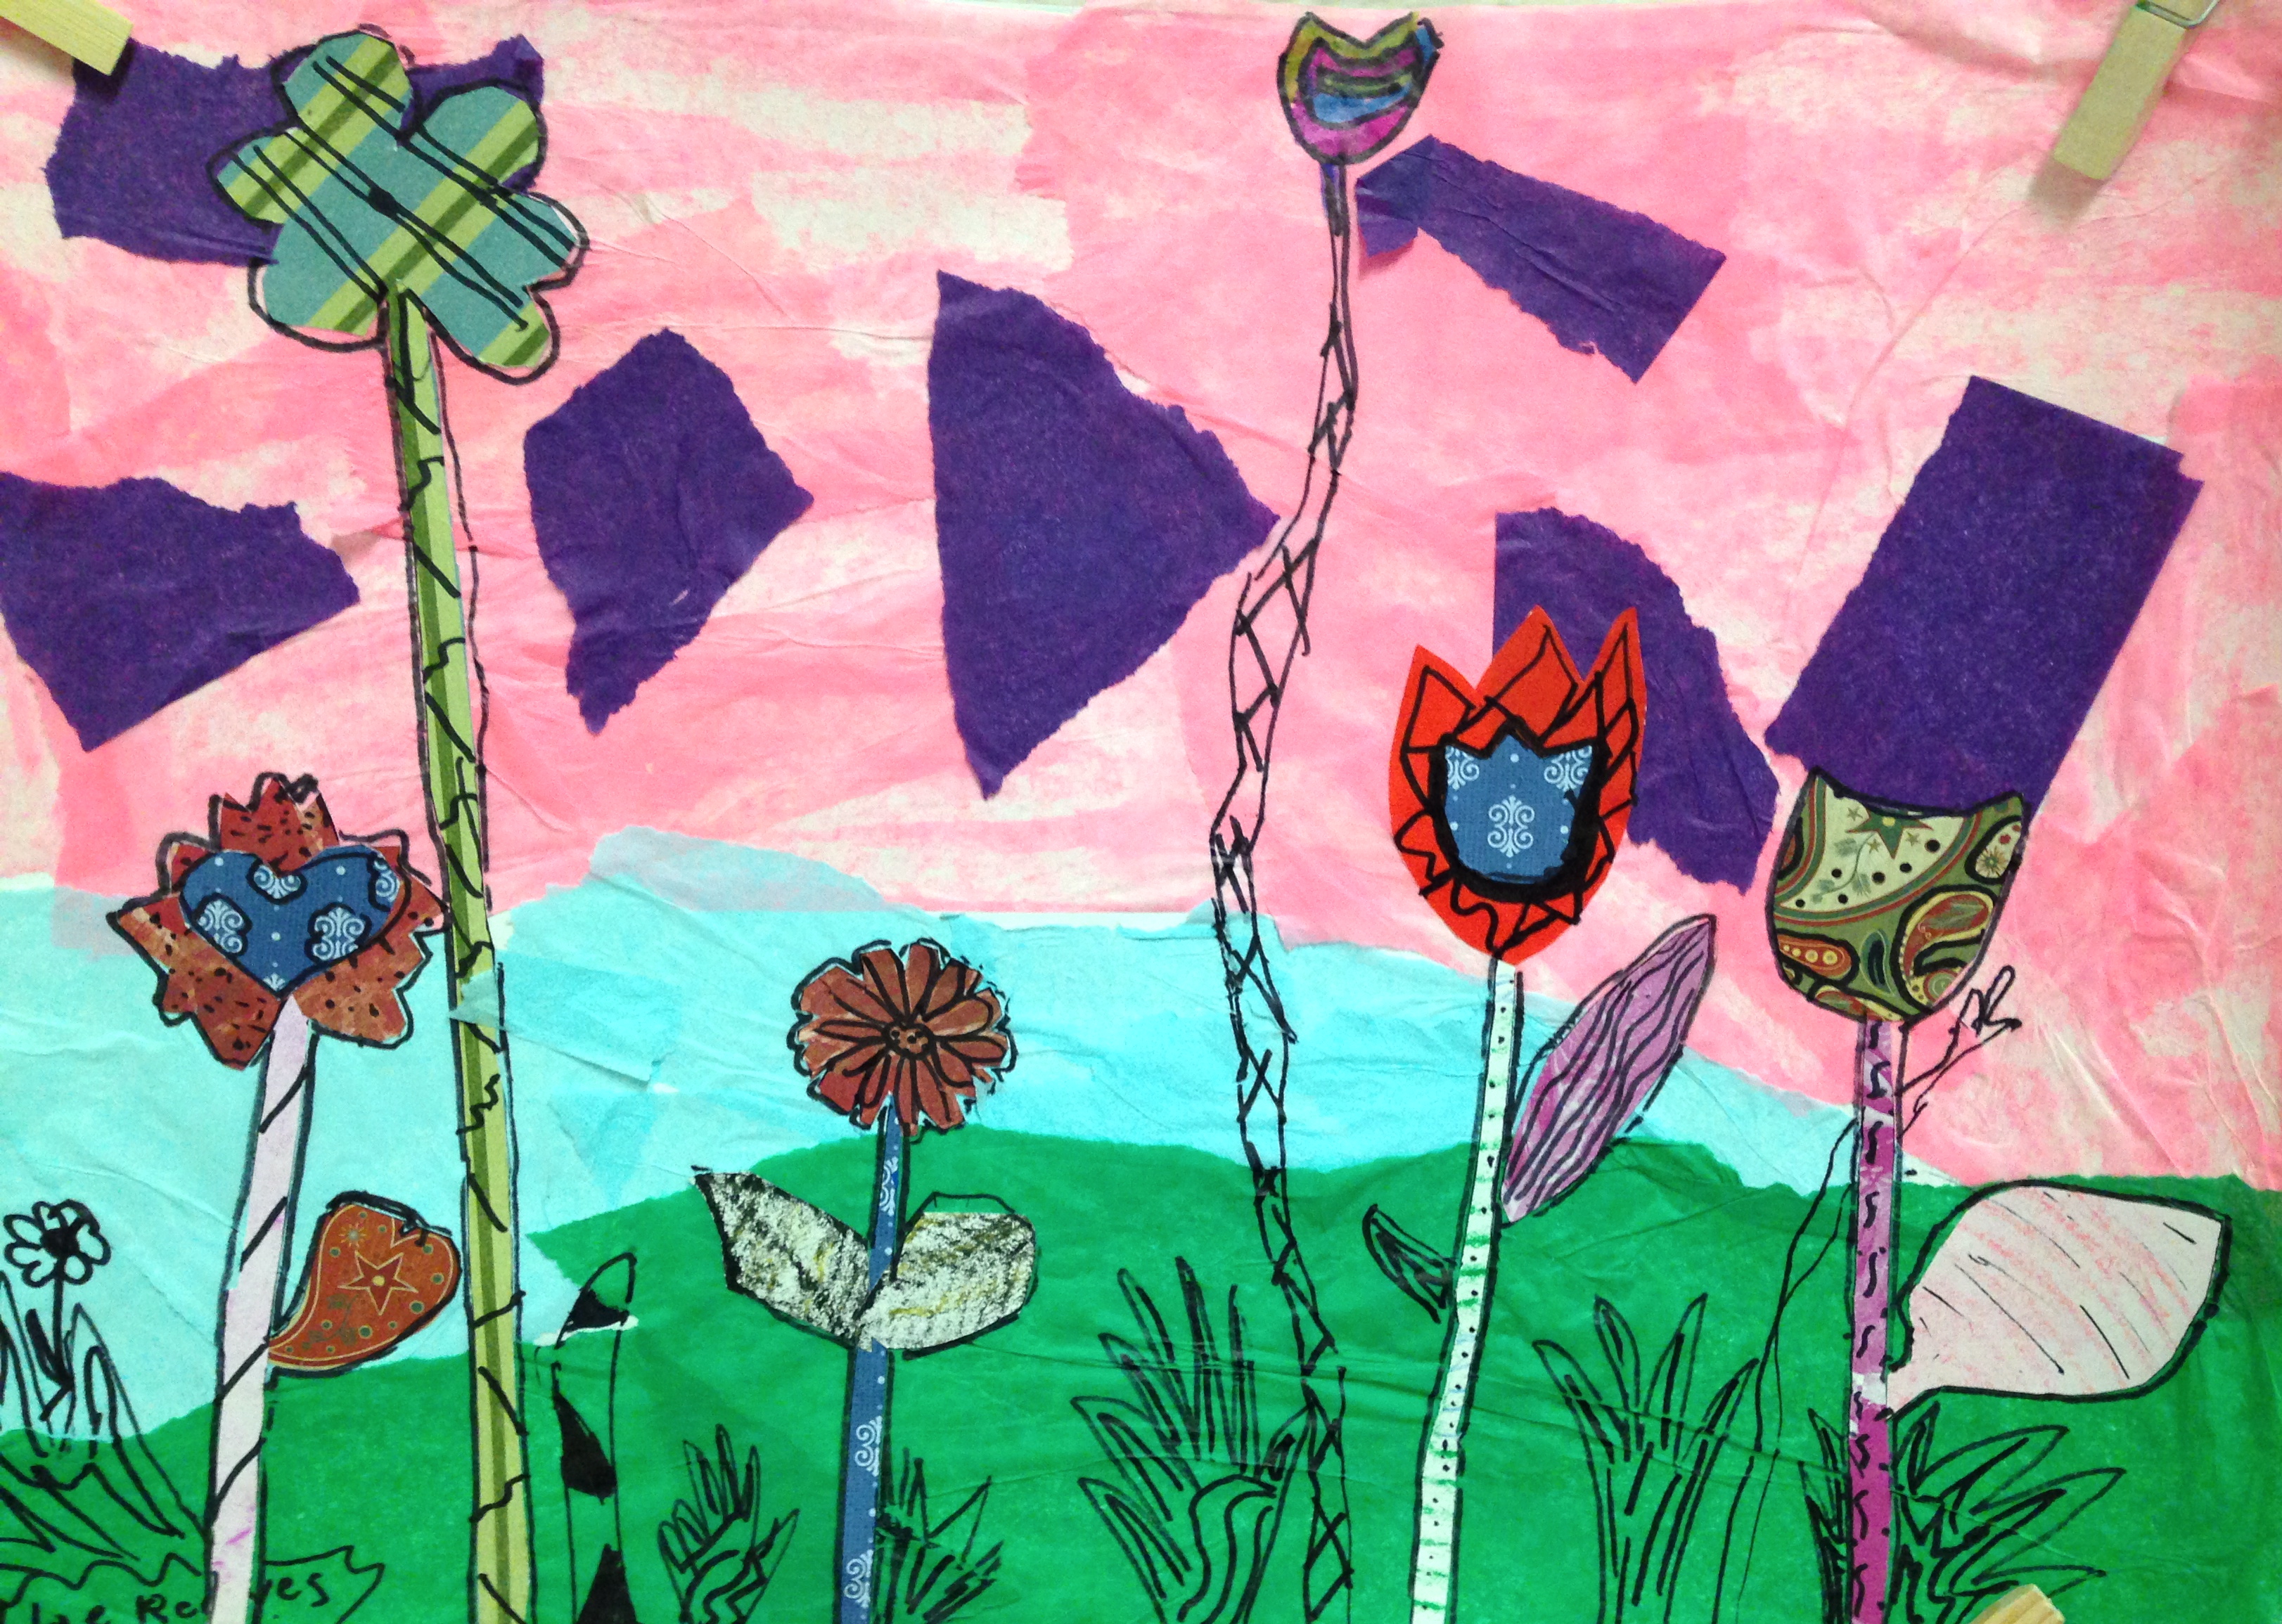
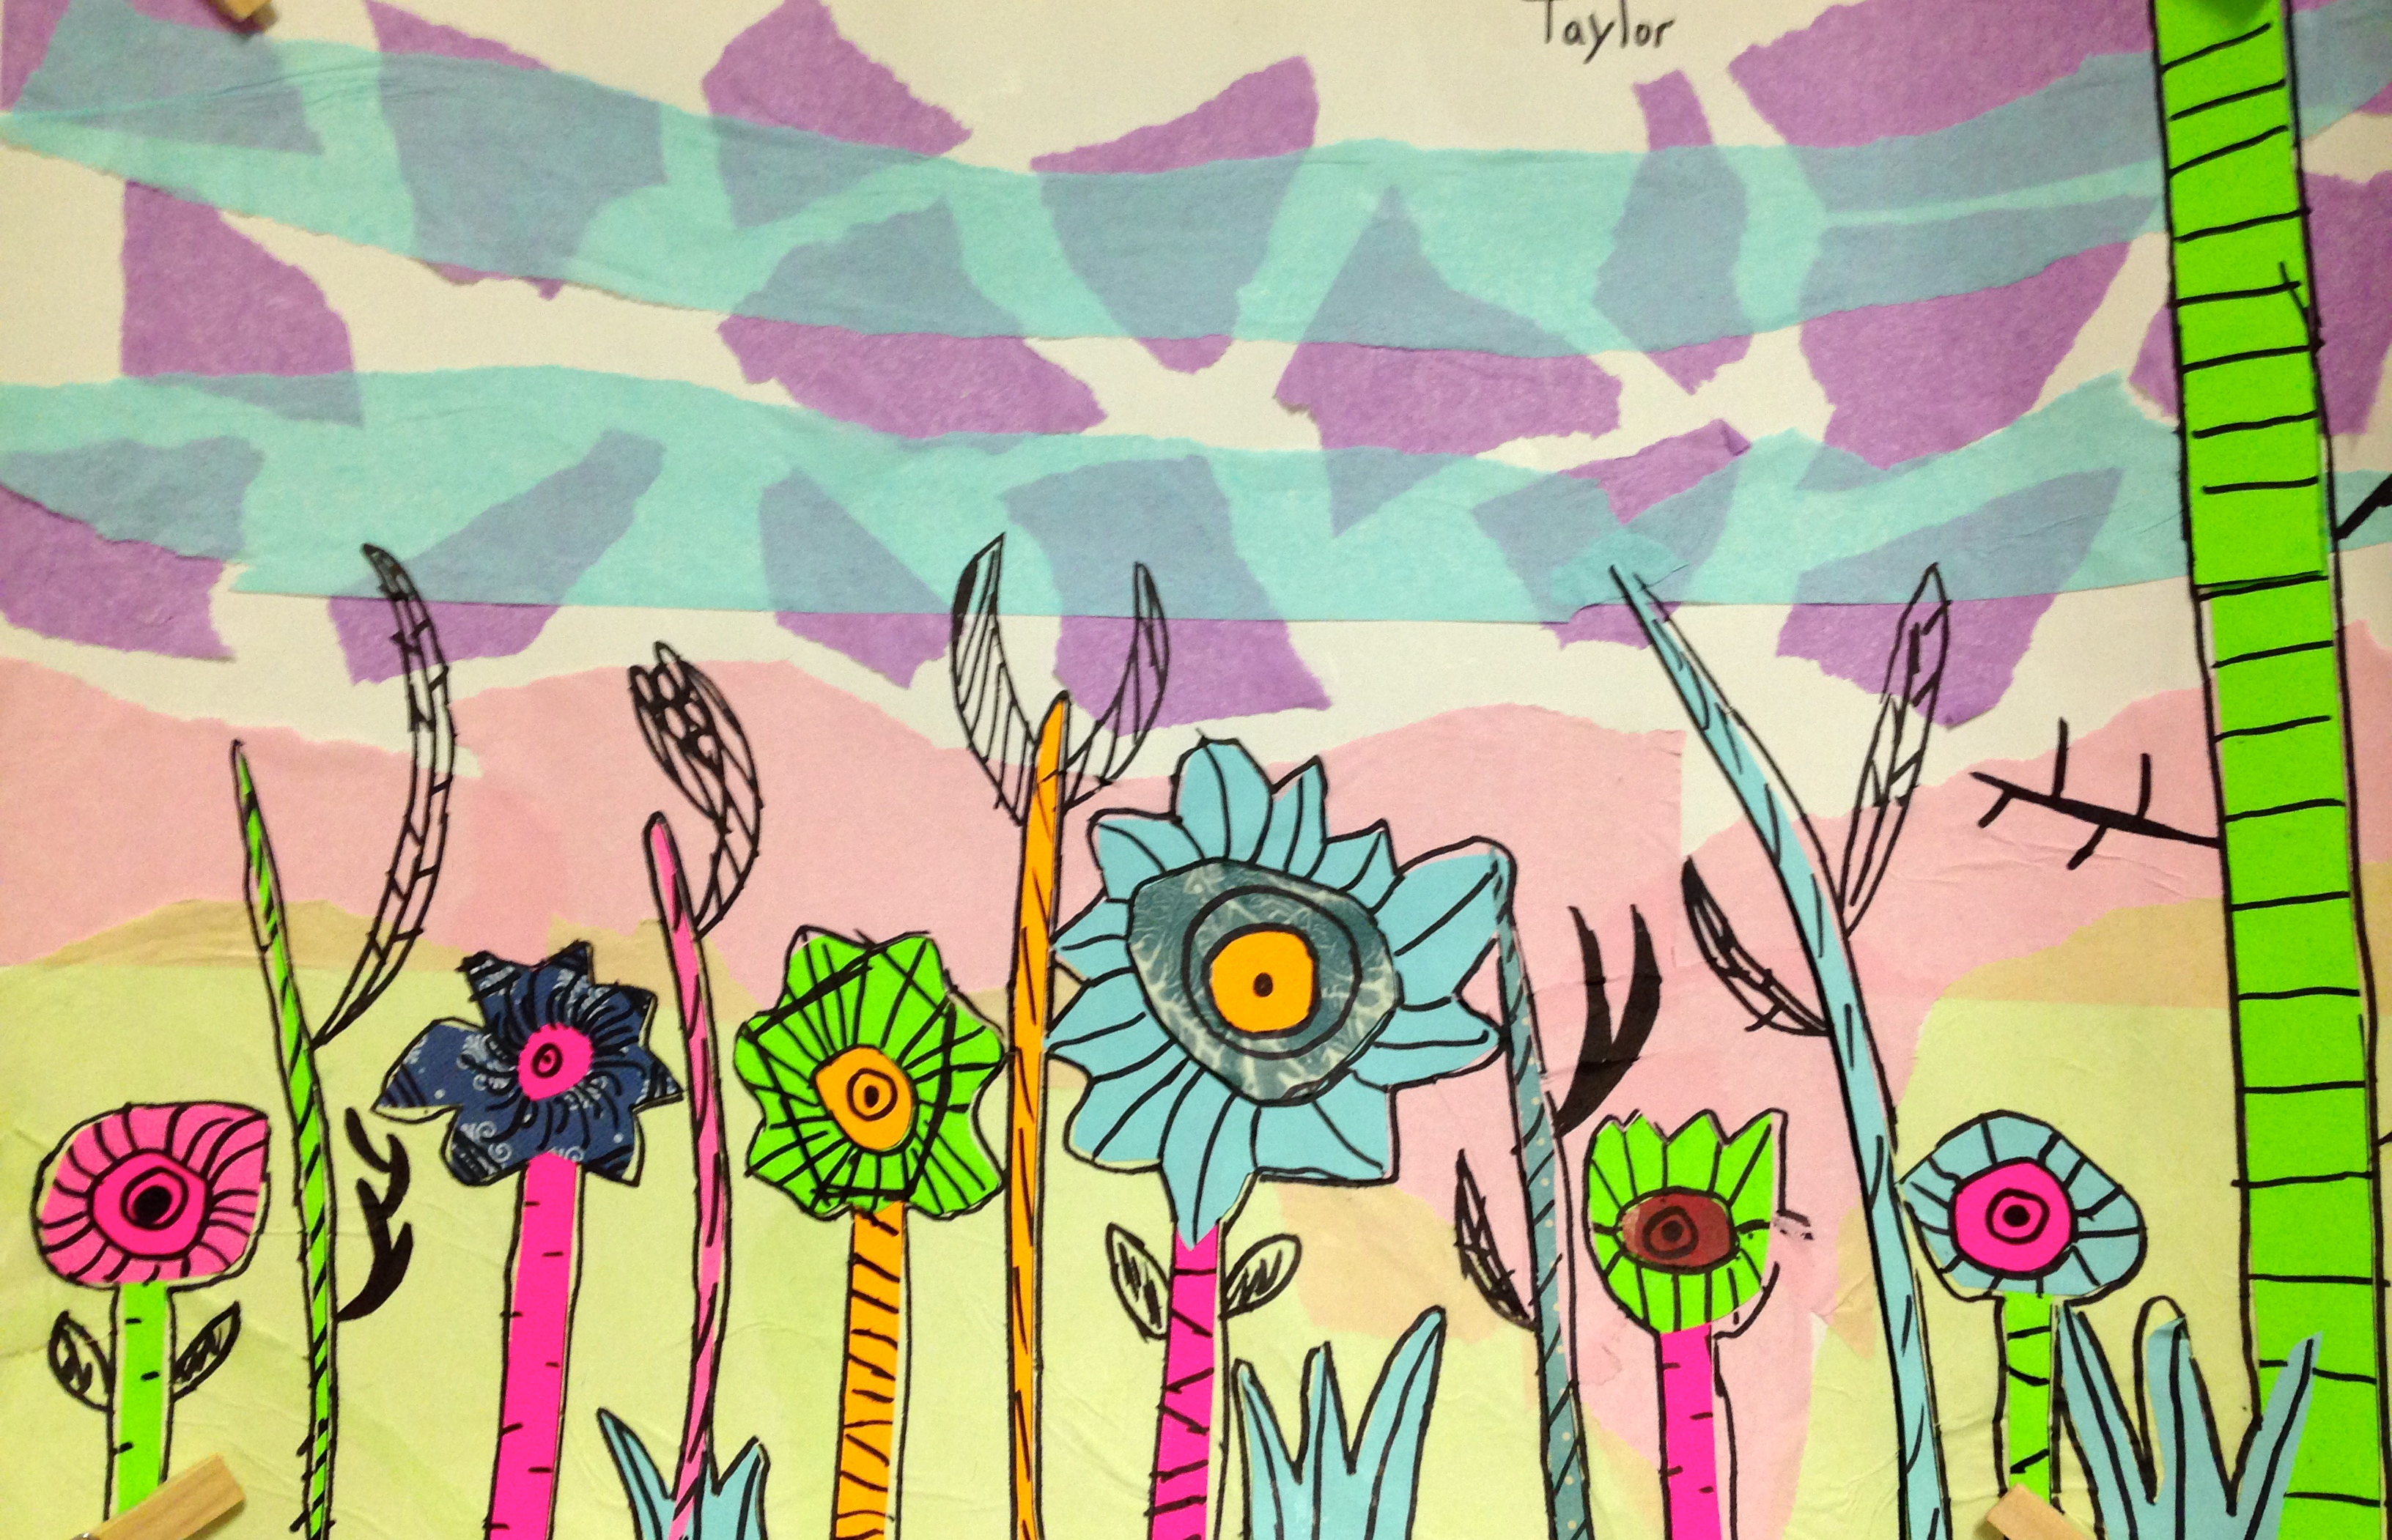
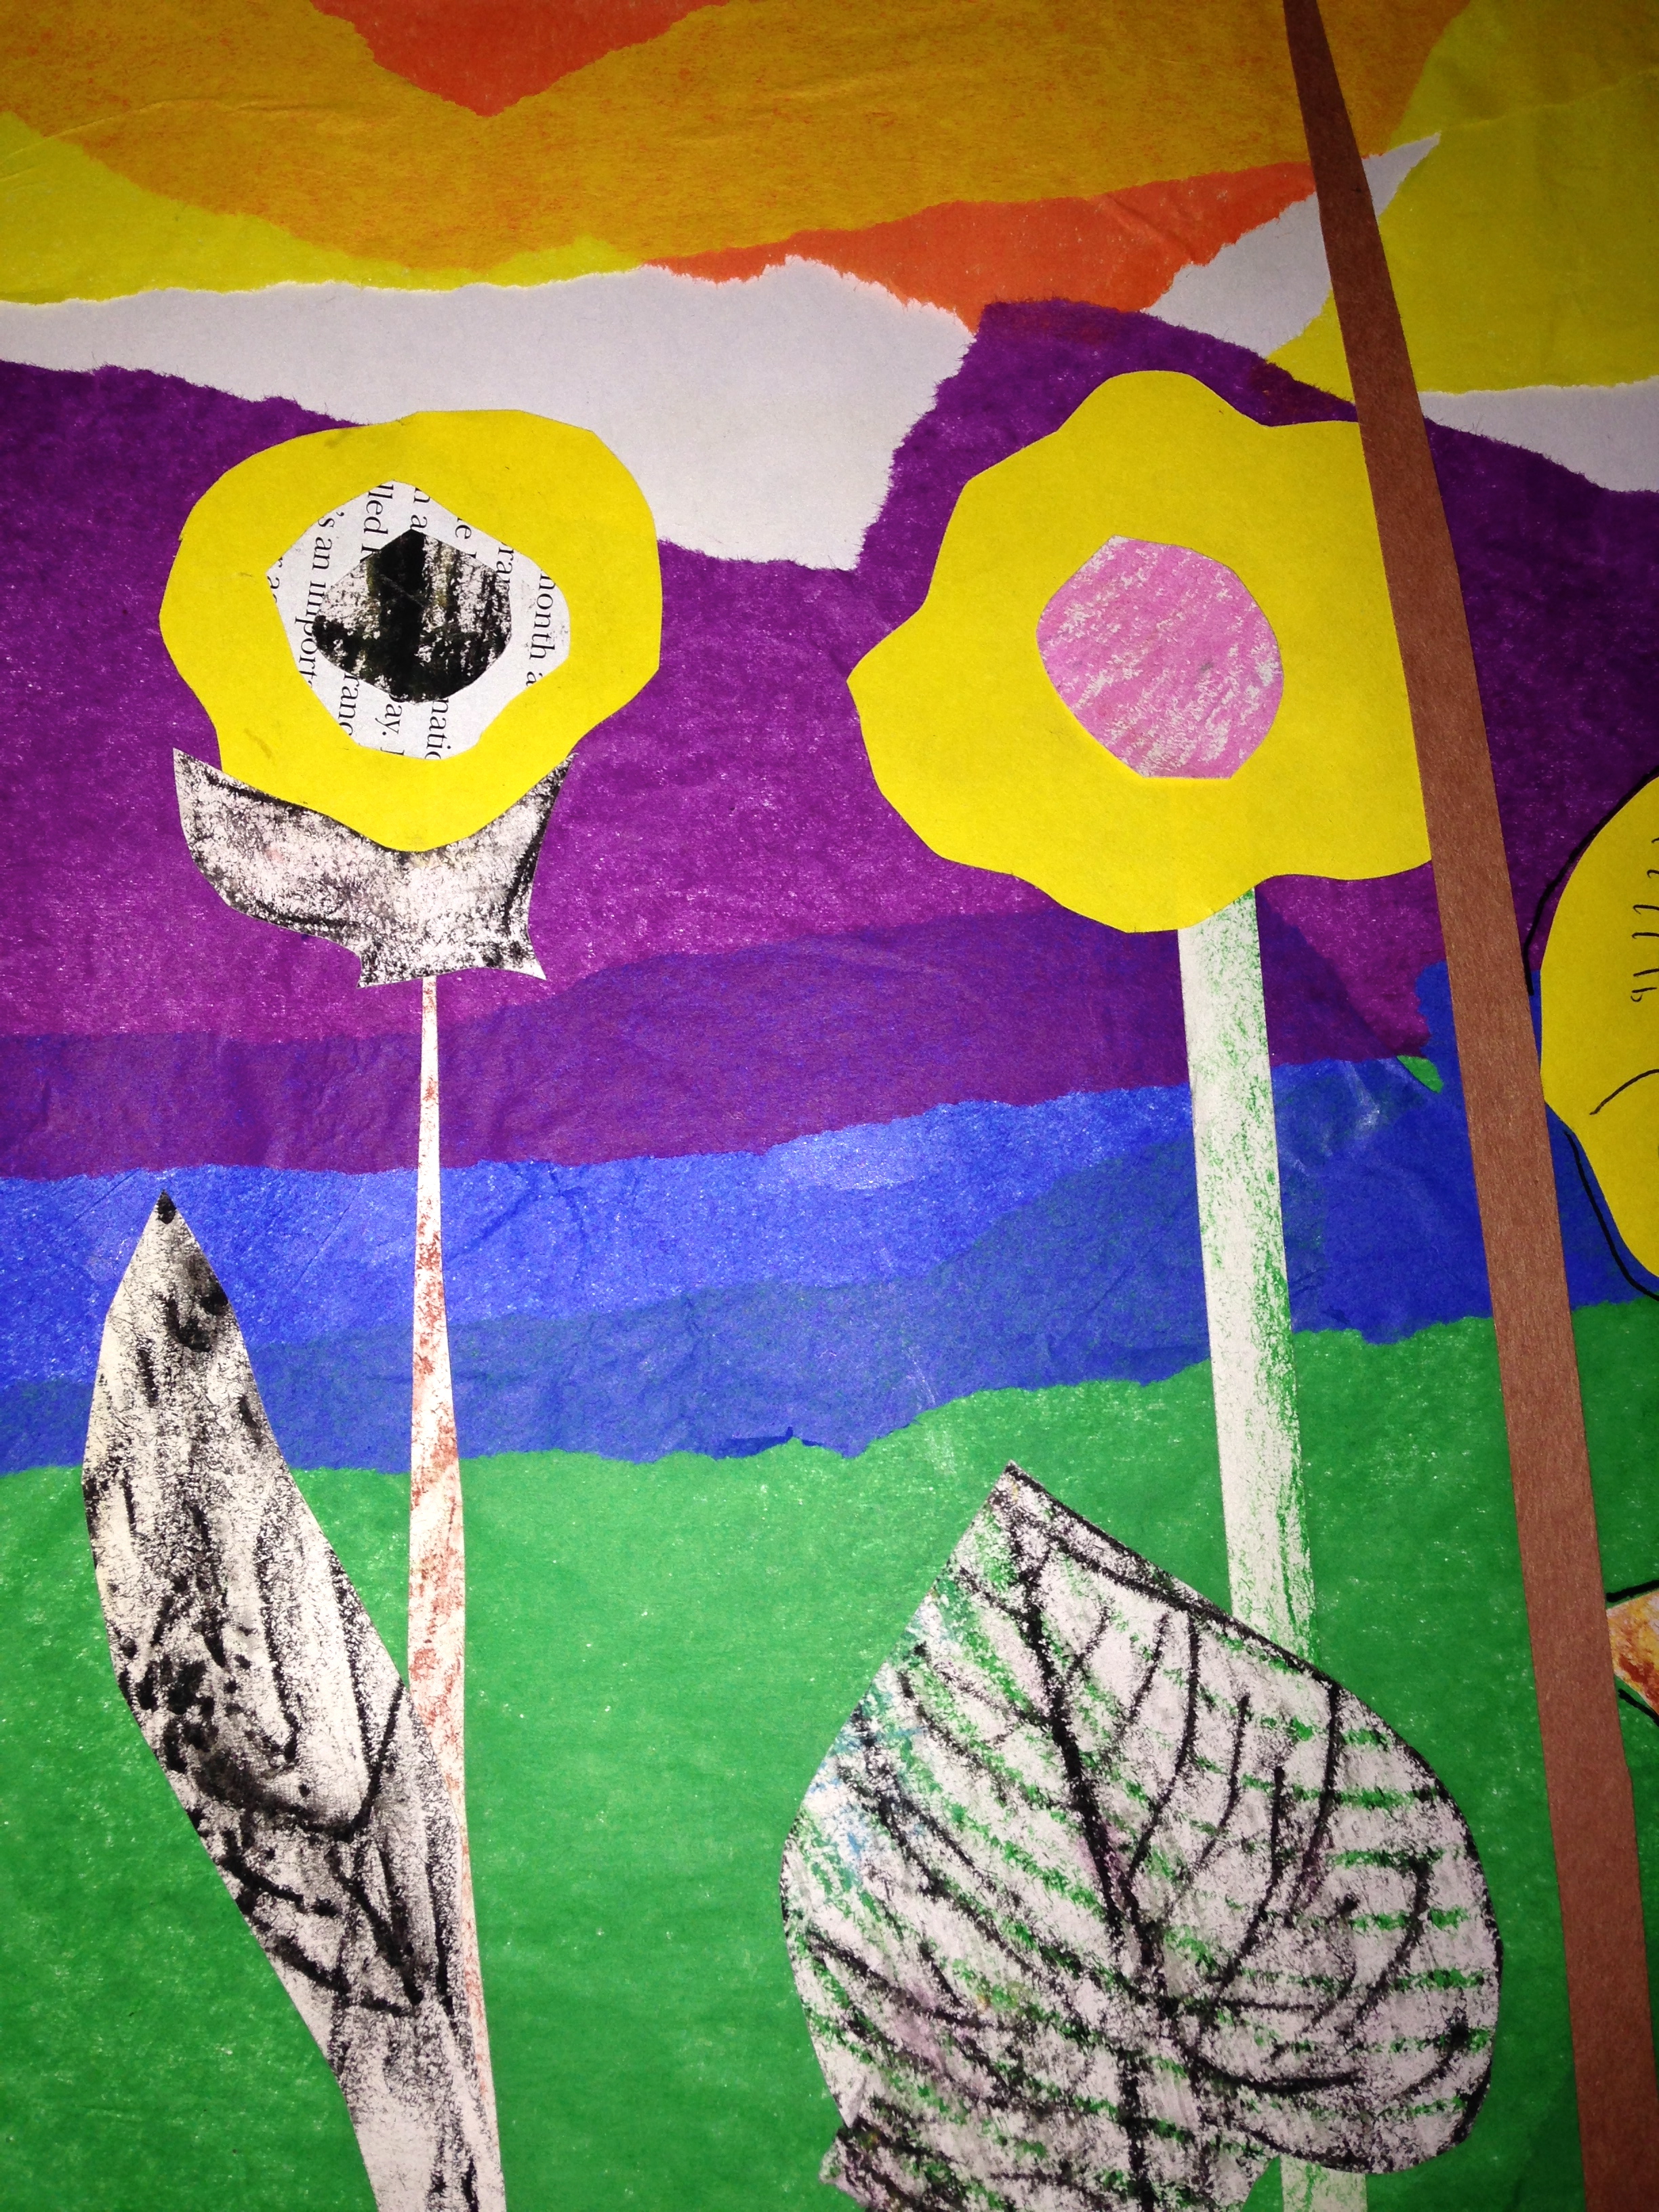
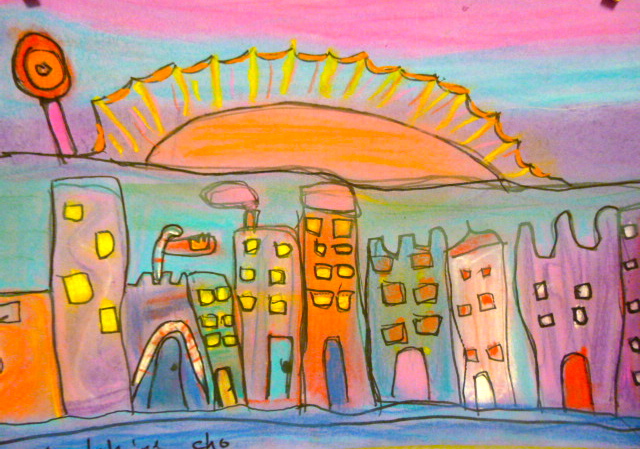
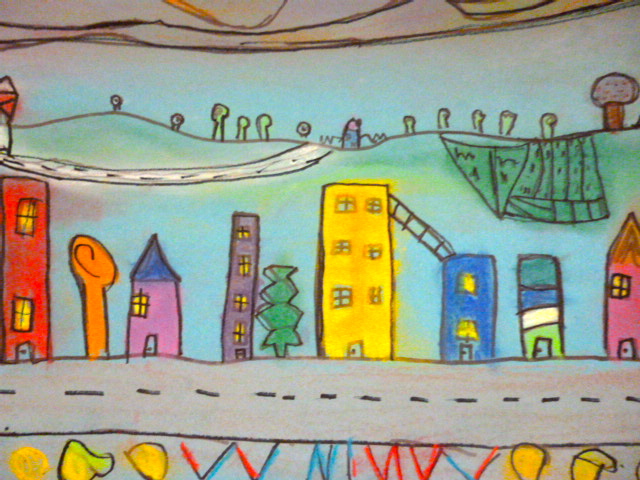
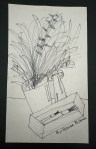
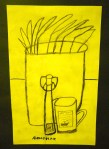
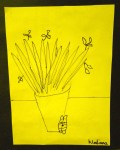
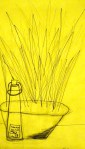
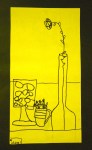
Today I finished my sample at home. The first picture shows the tissue in the background and the simple cut outs that are glued on top. In the second picture you can see a close-up of the detail that I drew in after with a fine tip black Sharpie and the third picture is the entire finished piece.

IMG_0221 IMG_0222

IMG_0224


I’m looking forward to seeing what my grade 3s come up with.

Cheers!


Our Urban Rural Drawings

….in the Hundertwasser style

This week the grade 3 students have been working on their urban rural landscapes using vibrant chalk pastels.

We started the lesson discussing the components of a landscape; foreground, middle ground, background and horizon line. We talked about how objects in the foreground were larger and smaller in the background. I then showed the class images of Hundertwasser’s whimsical houses and lollipop trees.

The assignment was to draw city buildings in the foreground and a rural setting in the background. After drawing their rough copies, each student was allowed to choose a sheet of coloured construction paper and then redraw their landscape lines using first pencil and then black or silver marker.P1030784 P1030787

Starting at the top of their paper they then started to add colour using chalk pastels. I showed them how to blend colours using their fingers and pieces of tissue paper. Once all the colour was in place, the black lines were redrawn as the last step. P1030786P1030783 P1030782 P1030781 P1030780  The final results have been stunning. You be the judge. Enjoy!

P1030779

P1030778 P1030777 P1030790 P1030789 P1030788

“Are you going to put our art on your blog, Mrs. Cormier?”

….I knew that some of my students knew about my blog but it still surprised me to hear this question

I needed a break from using paint. Most of the older students are pretty good at cleaning at the end of art class but some of the younger children, especially the boys, have a hard time with the cleaning concept. Two days ago I snapped and told my students that we were done with paint for awhile. When we go back I think I may limit the number of students who paint and have the rest of the students work with another medium. In other words, I’ll have two separate projects on the go.

Yesterday I introduced line drawing using pencil and then finishing if off with a fine tip Sharpie. I place a number of objects on their tables to arrange into an interesting still life.

I demonstrated how to draw what they see without lifting the pencil off the paper. We used rough copy paper to practise and then when they felt comfortable the students produced a final copy that was trimmed and then mounted on black construction paper. The following examples were done by grade 3s.

IMGP0001

So what’s next? Maybe I’ll use oil or chalk pastels. At least there won’t be any brushes to clean.

Cheers!