Combining Lesson One With Lesson Two

….my last random page 

In the first lesson we were instructed to paste random pictures or pieces of paper on different pages of our sketch book and then go back and add more detail and bits of collage to create a picture. I put aside seven pages and shared six with you before I started on lesson two.

Today I went back to my sketch book and decided to take my last random page and add some of the transparency film pieces that I had cut out for my abstract floral designs. The original piece was the Alice in Wonderland  illustration and the spider was the second bit. Today I added the bird like creature in blue and I added a crown of pink hair and a red starburst. I also added a couple of speech bubbles to add a little humour.

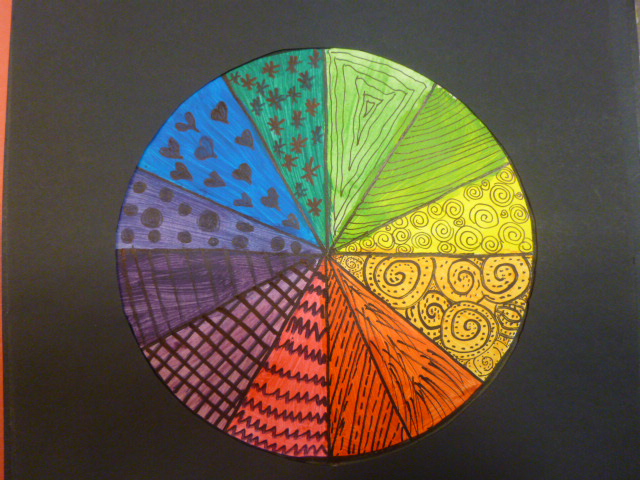
I love doing Zentangles so I decided to tie everything together with black lines and patterns. The whole process was very relaxing and ‘zen’ like.fullsizeoutput-7660

Hung Over 120 Pieces of Children’s Art This Week

…..90 of them were put up yesterday

I teach about 110 students art and I feel it’s important that every child’s work should be displayed. This week I knew it was time to take down some of the older work and replace it with newer assignments.

In grade 5, I taught the students about the colour wheel. Even though I’ve taught art as a prep coverage subject for only the last two years, when I had a grade 5 homeroom I always did my own art. So for the last 14 years, the colour wheel was always been an important aspect of my art program. This year I decided to change it up a bit and instead of giving them a prepared wheel that they added colour to, I had the students create their own wheels and I encouraged them to be somewhat creative while remaining true to the colours and placement of the colours.

Once the acrylic paint dried I had the students take it one step further and add a splash of Zentangle designs to their wheels. Zentangle is an art form using structured repetitive patterns to create beautiful images. It’s like doodling but more carefully applied. Here are a few examples of their amazing work:

P1030668 P1030669 P1030670 P1030672The other 90 pieces that I hung yesterday were inspired by Picasso’s Peace Art. Here’s a sneak preview.

P1030659 P1030661

I’ll post the lesson in the next day or so. Have a great weekend!

Throwing Clay and Graffiti Art

…..experimenting with new art forms

For the last five weeks I’ve been going to a pottery class. I started with simple pinch pots and then moved on to rolling out slabs of clay and cutting and shaping this clay into platters and bowls. Yesterday I had my first experience on a potter’s wheel and throwing the clay.

I was a little intimidated by the process but the wheel was there for the using so I went for it. I have an excellent and patient teacher. She gave clear instructions and let me manoeuvre the clay on my own. Feeling the clay spin between my hands was very relaxing and therapeutic.

Centering the clay is very tricky and takes a lot of practice to master. After playing with the clay for a while my instructor took over for a few minutes and finished centering the piece for me. Once properly centered I continued to work with the clay and started to form my bowl. I hadn’t really decided on the shape that I wanted to create. The shape was decided for me as the wheel turned and I pushed against the clay. I ended up with this bowl. What do you think?ImageImage

Earlier this week I decided to teach my students  some lettering techniques and I came across a great blog that focused on graffiti art. Create Art With Me displayed some wonderful examples of finished pieces done by students in grades 2 to 7. I know that my students will love this activity.

Before I teach a new technique I like to do it first. This activity had me totally immersed in the process. I added my own twist and added a layer of ‘Zentangling’.

P1020125

P1020126P1020127 P1020128  I introduced this lesson to one class so far and they’re very excited. I will post some of their finished work in the next couple of weeks.

Cheers!