Starry Nights in Oil Pastel and Watercolour

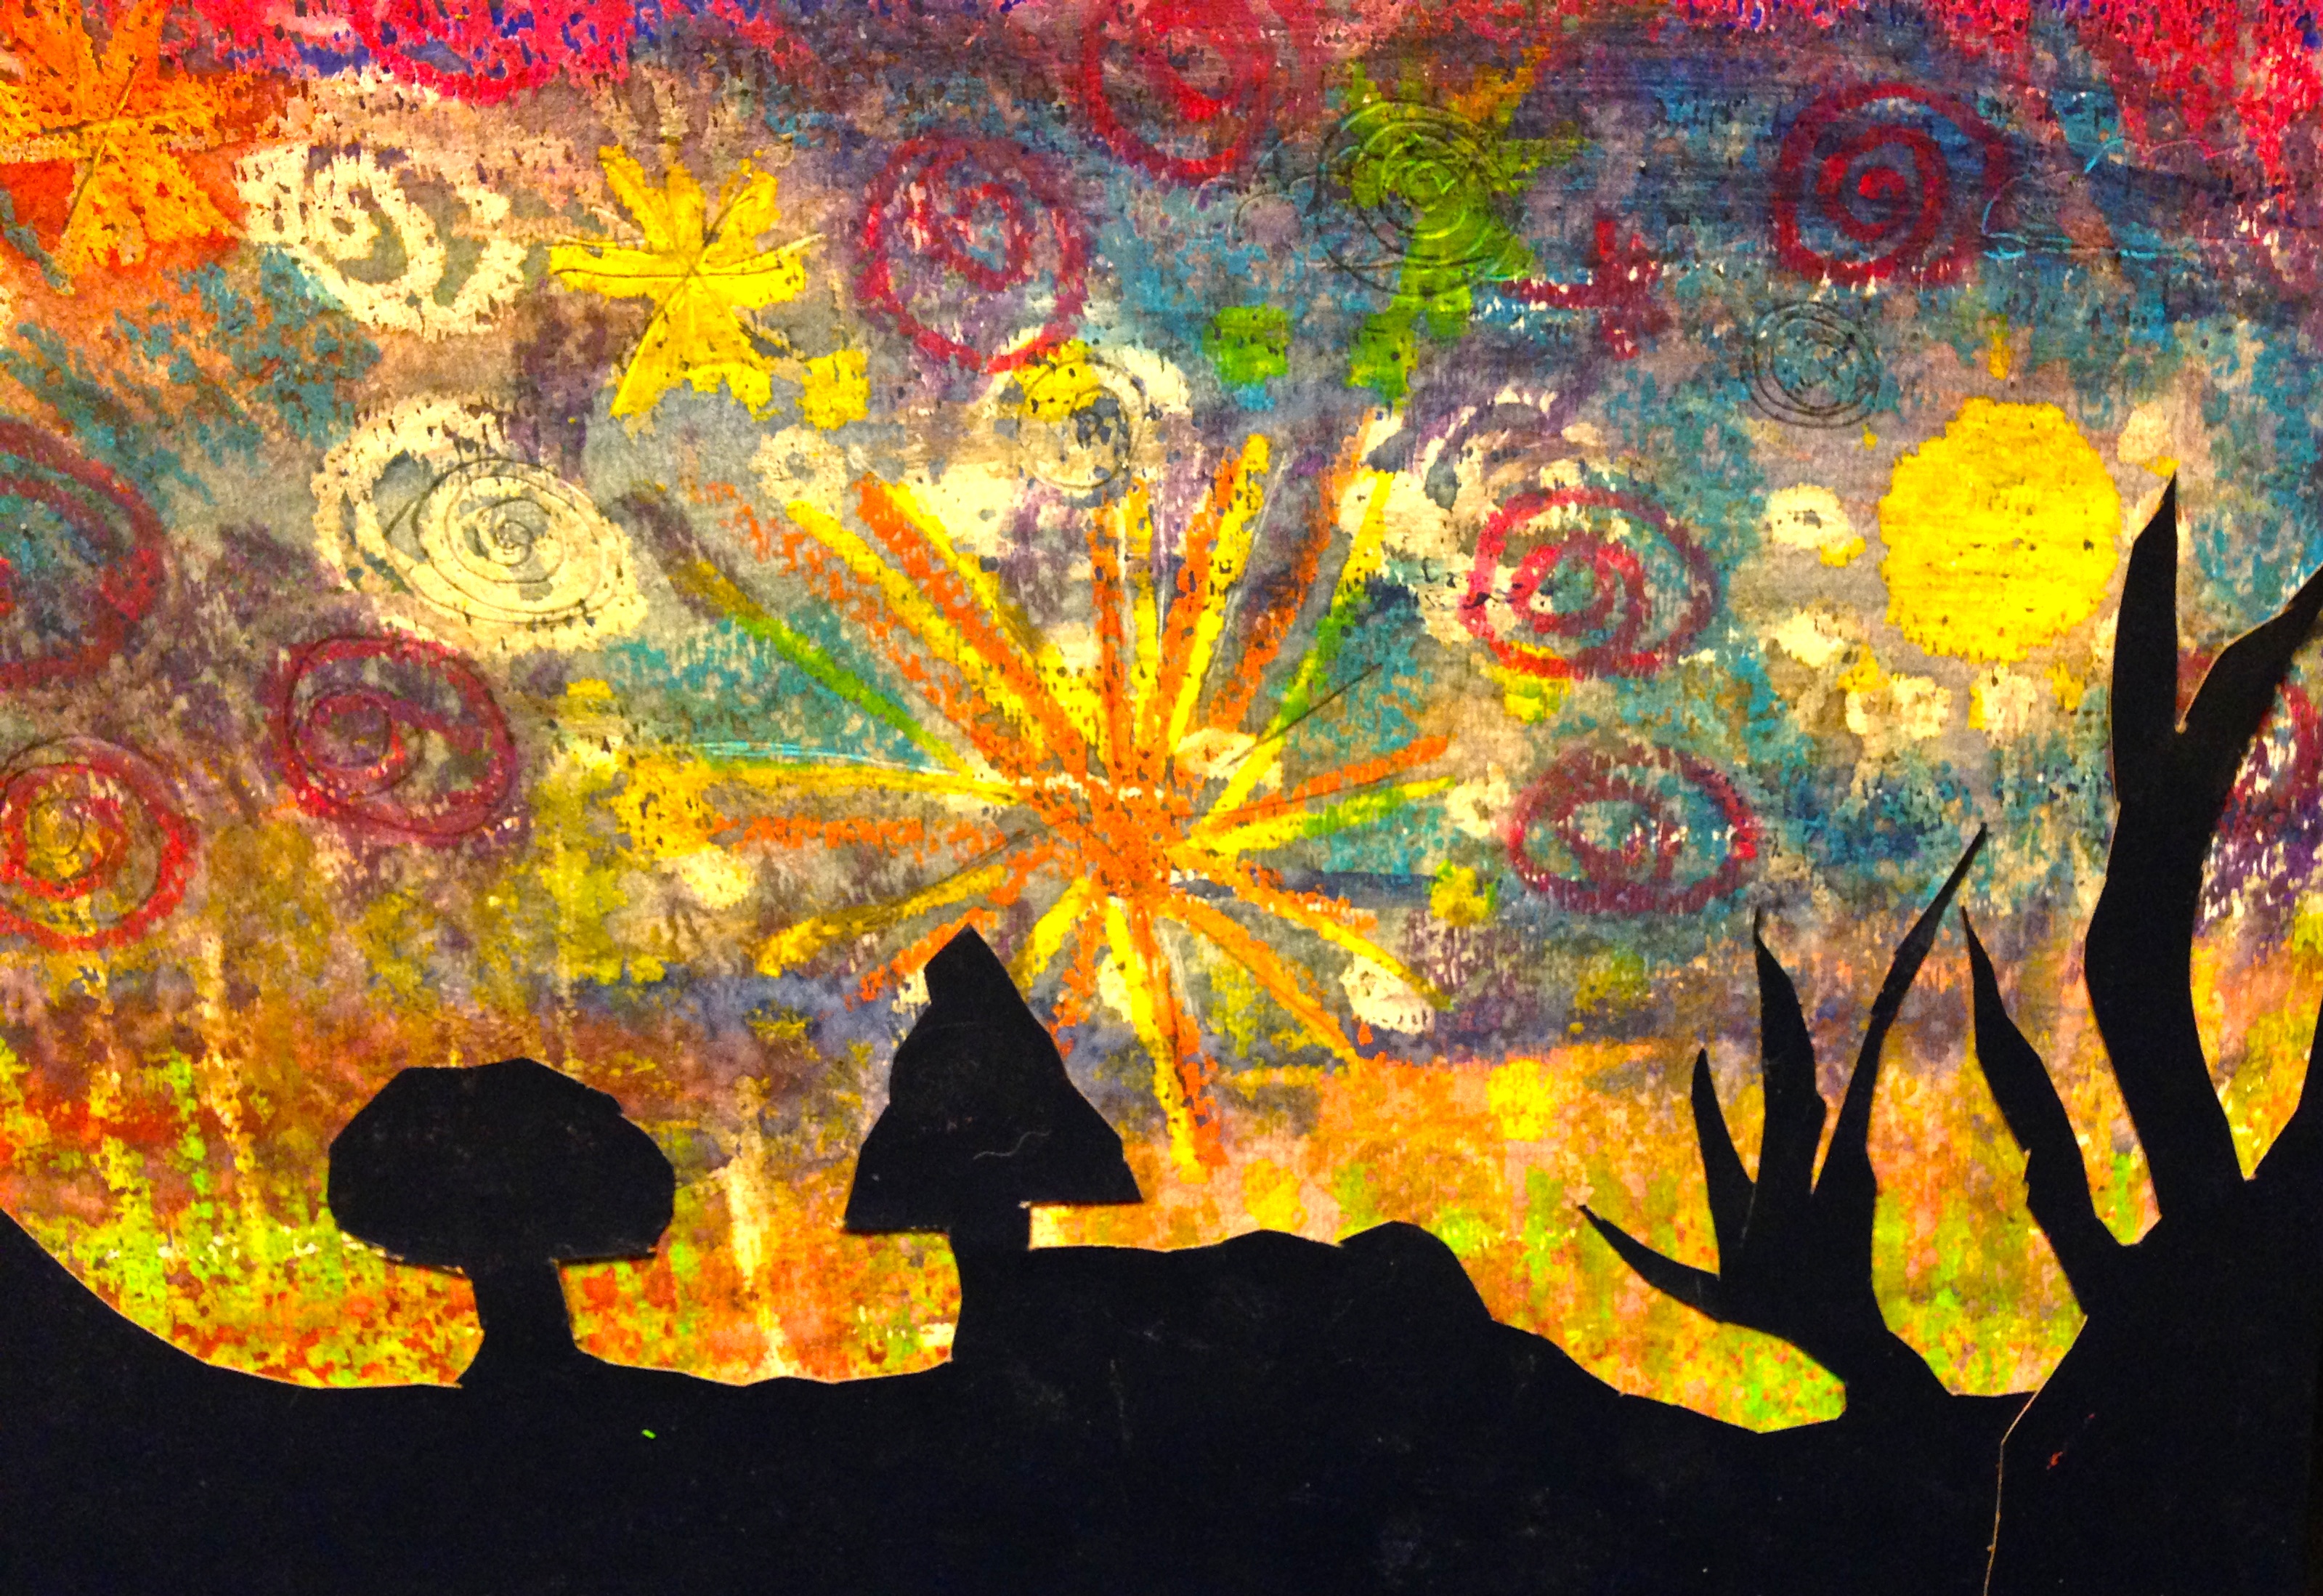
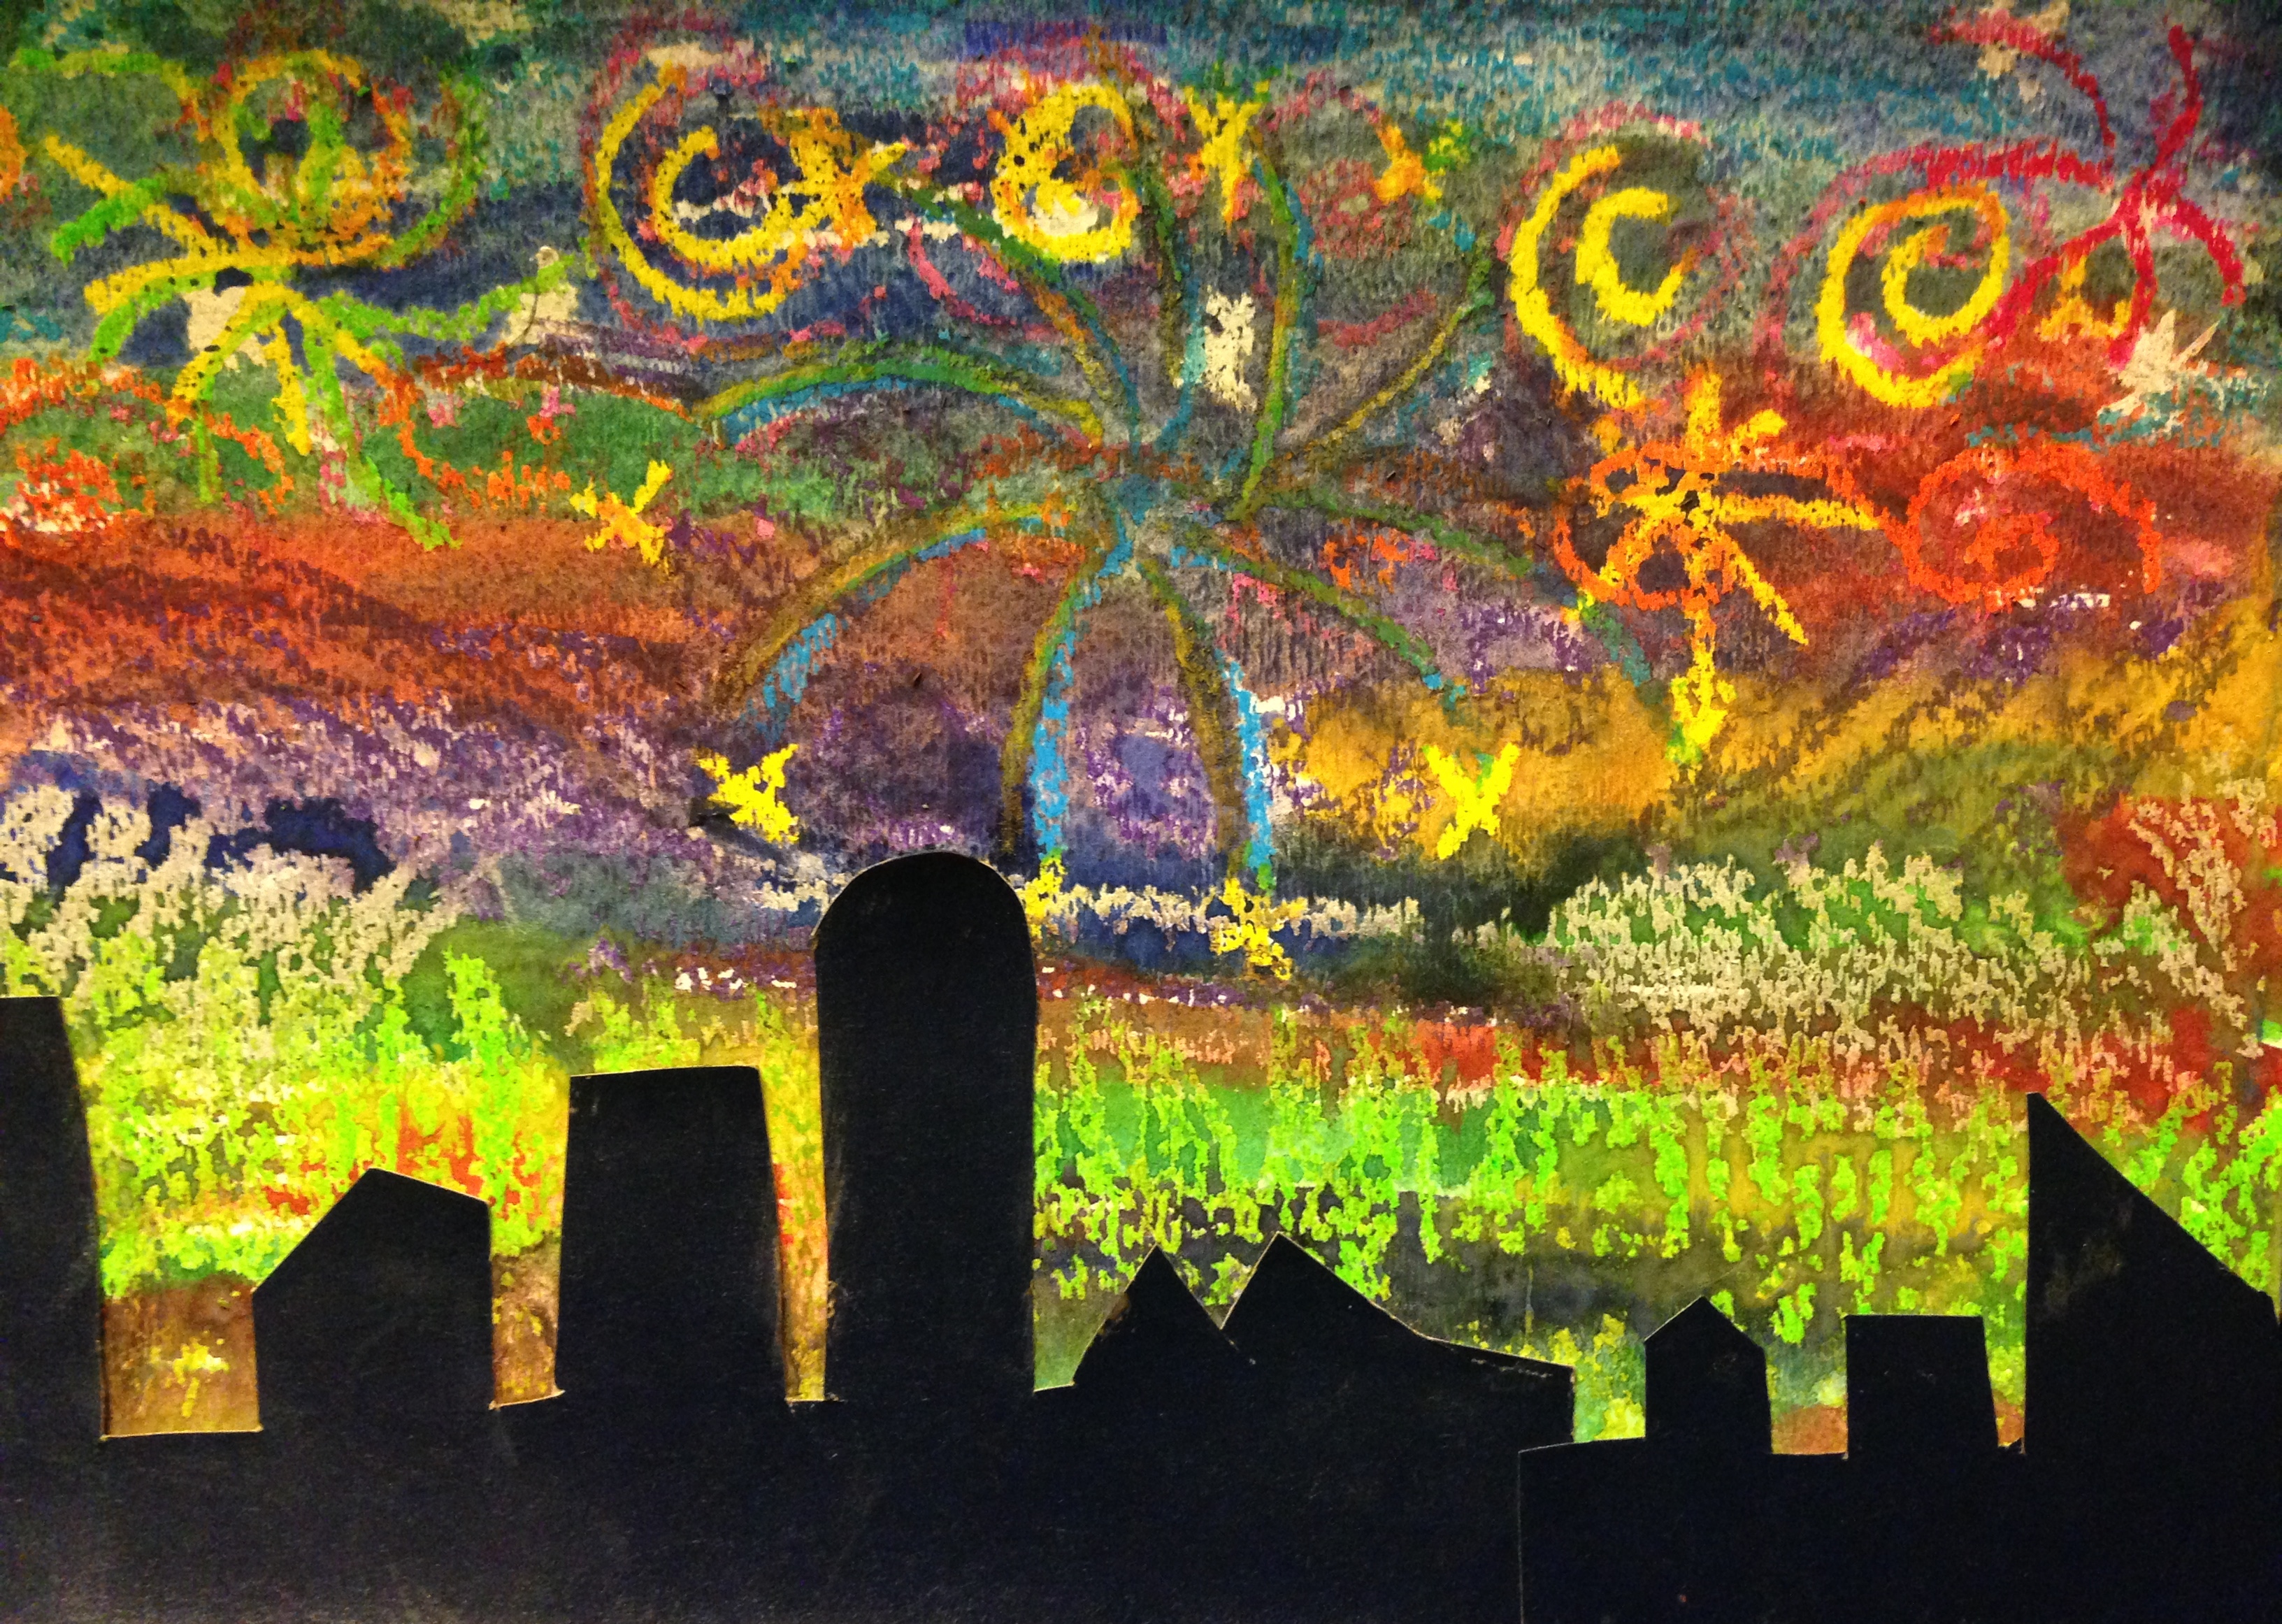
….children in grades one, two and three create their own version of Van Gogh’s Starry, Starry Night

Once again I was inspired by Carla Sonheim’s Free Kids Online Art Classes. In week two Diane Culhane introduced the kids to a crayon resist night sky.

The children loved how the watercolour brought up the crayon designs, especially the white marks. They also loved sprinkling salt over their creations. The concept of cutting out a black silhouette of a city or country skyline was a bit more challenging, especially for the grade ones. Here’s a collection of paintings created by my grade two class.

Starry Nights

….another great art lesson for kids 

Thanks to Carla Sonheim and Diane Culhane from Kids Art Week for this great lesson called Crayon Resist Night Sky.

This would be a great introduction to Vincent Van Gogh and his famous painting Starry Night. I used oil pastels but wax crayons would also work for this project. Students should be encouraged to use lighter colours from the crayon box, especially white. They make the most impact after the water colour is washed over them.

This could also be a lesson on texture so colouring in various directions and pressing quite hard are essential. Swirls and stars will add visual interest and are details seen in Van Gogh’s painting. Be brave and experiment with lots of different colours. Don’t limit yourself to colours that you think are sky colours. Reds, pinks and yellows and even greens make for very interesting night skies. Think of the Northern Lights and have fun.

Once the paper is filled with crayon or oil pastels move on to the water colours. Make them quite watery and start with the darker colours at the top of the page. Again use a variety of colours but avoid black. While the paint is wet you can also add salt to give your painting even more texture.

Using black or a very dark paper cut out silhouette shapes to add to the bottom of your painting. This can be anything you like; forests, hills, mountains, houses, fences and city skylines. When the paint is dry glue the shapes to the bottom of the paper. There you have it, your very own Starry Night painting.

IMG_5646 IMG_5647

Filling in the Negative Space

….an art lesson that focuses on the negative space

When I took the on-line course called Table Top: Drawing and Painting by Diane Culhane I knew that I wanted to do one of the assignments with my grades 2 and 3 classes. It was a great lesson on contour drawing and positive and negative space.

I gave the students a variety of bottles and vases to arrange into a pleasing still life. They used a fine tipped black Sharpie and drew a contour drawing of their still life. Then they divided the negative space into smaller areas and filled them in with pencil crayon. They left the positive space blank.

Table Top Painting and Drawing Part 2

….I finished my on-line course this week

I really enjoyed this on-line class with Diane Culhane. I don’t always finish all the assignments but for some reason this class held my interest and the assignments didn’t inhibit me. Carla Sonheim really has a knack for finding amazing art instructors for her on-line classes.

The last three days of this six-day class involved painting on gessoed paper, a textured wood panel and glazed canvas and making glazes with acrylic paint. All the compositions consisted of table top still life arrangements that we had to create. Here are my creations in the order that I finished.

On gessoed paper.

On gessoed paper.

On a textured wood panel.

On a textured wood panel.

On a glazed canvas.

On a glazed canvas.

Table Top Drawing and Painting

….some of the art that I’ve created in the last week

I’m taking an on-line class again with Carla Sonheim and Diane Culhane. This one is called Table Top Drawing and Painting and the focus is on contour drawing and using line to create depth. The materials we’re using include micron pens, pencil, vellum paper, watercolour paper, Prismacolour pencils, acrylic paint and wood and canvas.

So far I’ve completed lessons 1, 2 and 3 and have prepped for lessons 4, 5 and 6. Here are some of the completed pieces that I’ve done. The first two are contour drawings of  still life.

In the second assignment we had to use black paper and create another contour drawing but use Prismacolour pencils and a variety of hatching lines to create depth and texture. This was a lot of fun.

In the last picture I used vellum paper and drew a contour still life using pen and a variety of lines (continuous, broken, dashes, dots, etc.). Then I filled in the negative space using Prismacolour pencils. This was also a great exercise.

IMG_3170 IMG_3171 IMG_3341 IMG_3310The next three assignments use acrylic paint, glazes, moulding clay, paper, canvas and wood panels. Hopefully I can complete them this weekend.

Cheers!


Painting Your Garden

…..I’ve just completed another on-line painting course hosted by Carla Sonheim and taught by Diane Culhane

I loved this class. It was the first time I painted on wood and the first time I used the palette  of paint from one assignment as my canvas for the next assignment. There were six lessons in all with 3 large assignments all using different techniques or a combination of techniques from one week to the next.

The process involved putting gesso on the board to prep it for painting and then creating a garden scene inspired from your memory, magazine pictures, other artists or from your own garden. Most of my inspiration came from my imagination. The idea is not to create realistic flowers (but you can if you want) but to use a variety of techniques to create a more whimsical garden. It’s almost more like folk art. I loved doing this and am looking forward to creating more gardens. Maybe in future paintings I will include some buildings and maybe I’ll scratch in some fun characters coming out from behind the flowers.

photo-25 photo 2-204 photo 1-205