….only if it’s a feeling of joy and accomplishment
Yesterday I attended a 6 hour workshop on dyeing fabric with indigo at Articulations in the Junction. It was a Christmas gift from my youngest daughter. It was a small class with 8 students ranging in age from their 20s to 60s. We even had one man in the class who came with his partner.
Our instructor, Jane Jacobs, was truly inspirational. She had a multitude of samples for us to look at and an infinite number of objects to experiment with. Everyone brought their own fabric and articles of clothing to play with. There were also white silk scarves and infinity scarves that you could buy for the purpose of dyeing.
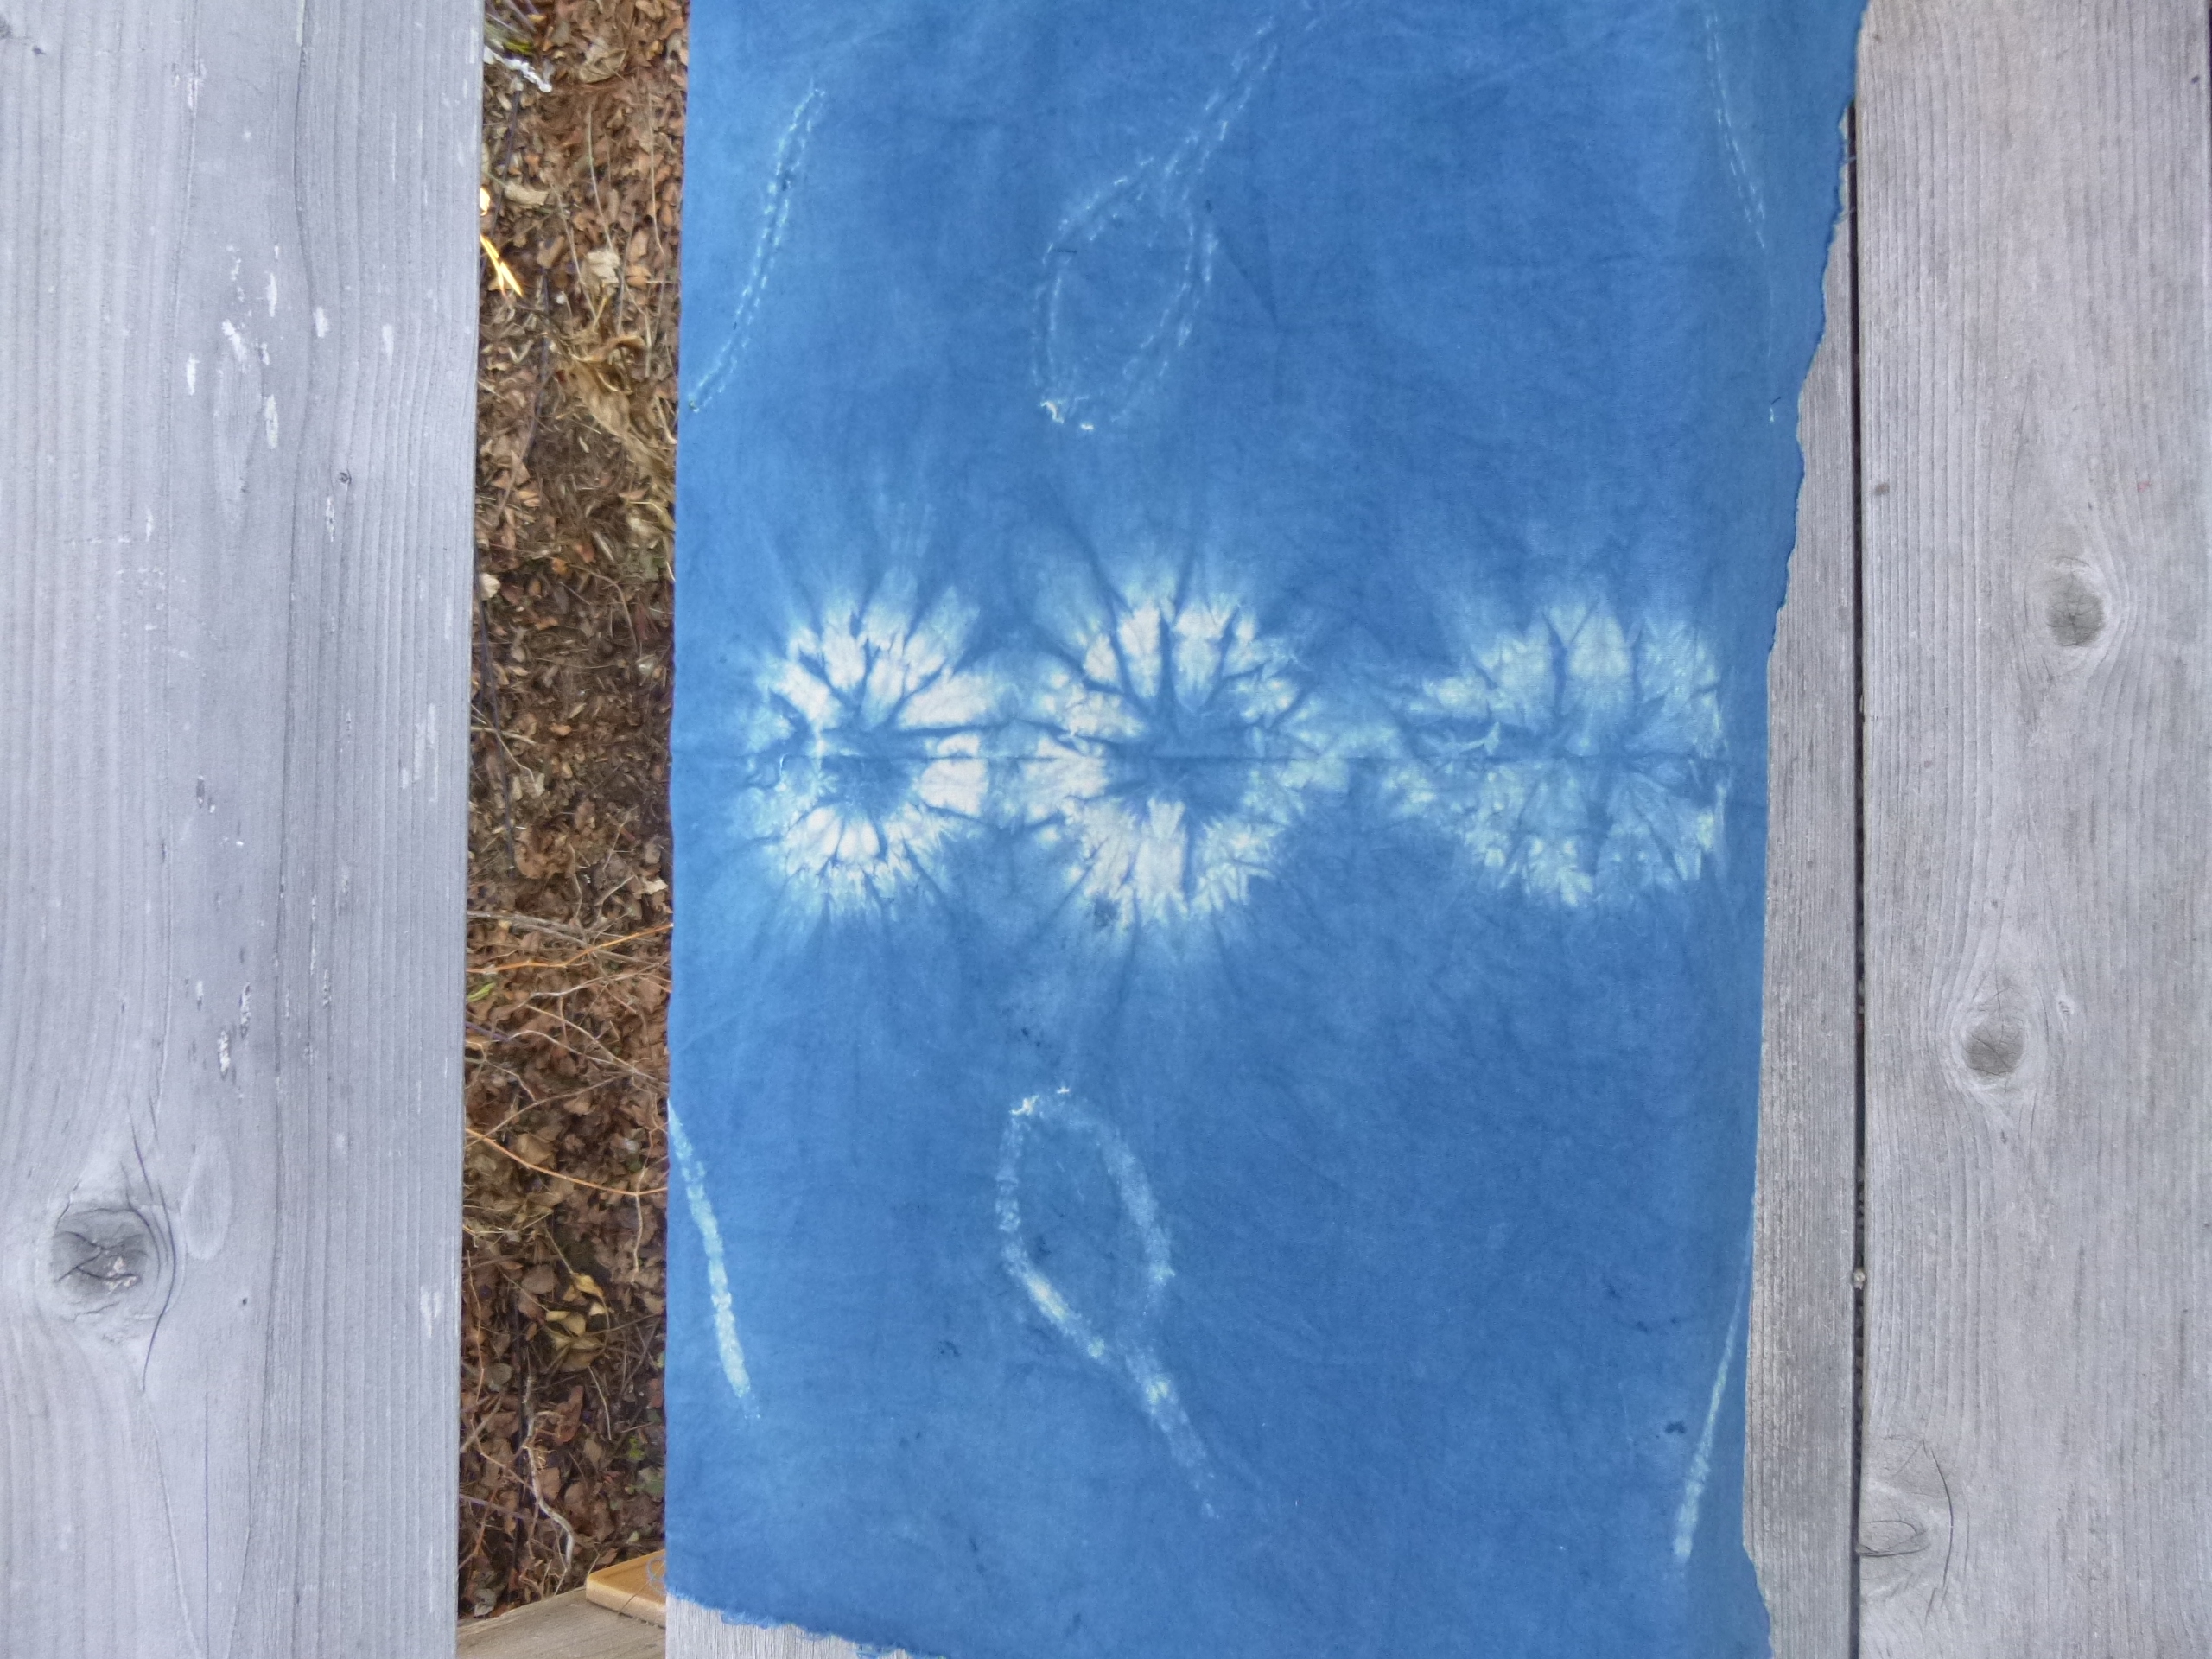
I experimented with a technique that involved stitching designs and pulling them tightly. I wish I had more time to make more of these but I think I may try more of these at home. The technique is called shibori and comes from Japan. The secret is to pull the thread really tightly. It will work with any kind of dye. I loved the indigo but it has a few more steps and requires more time to get it to the stage where it’s ready to use. Here is a website that demonstrates how to stitch on the fabric. Shibori from Japan.
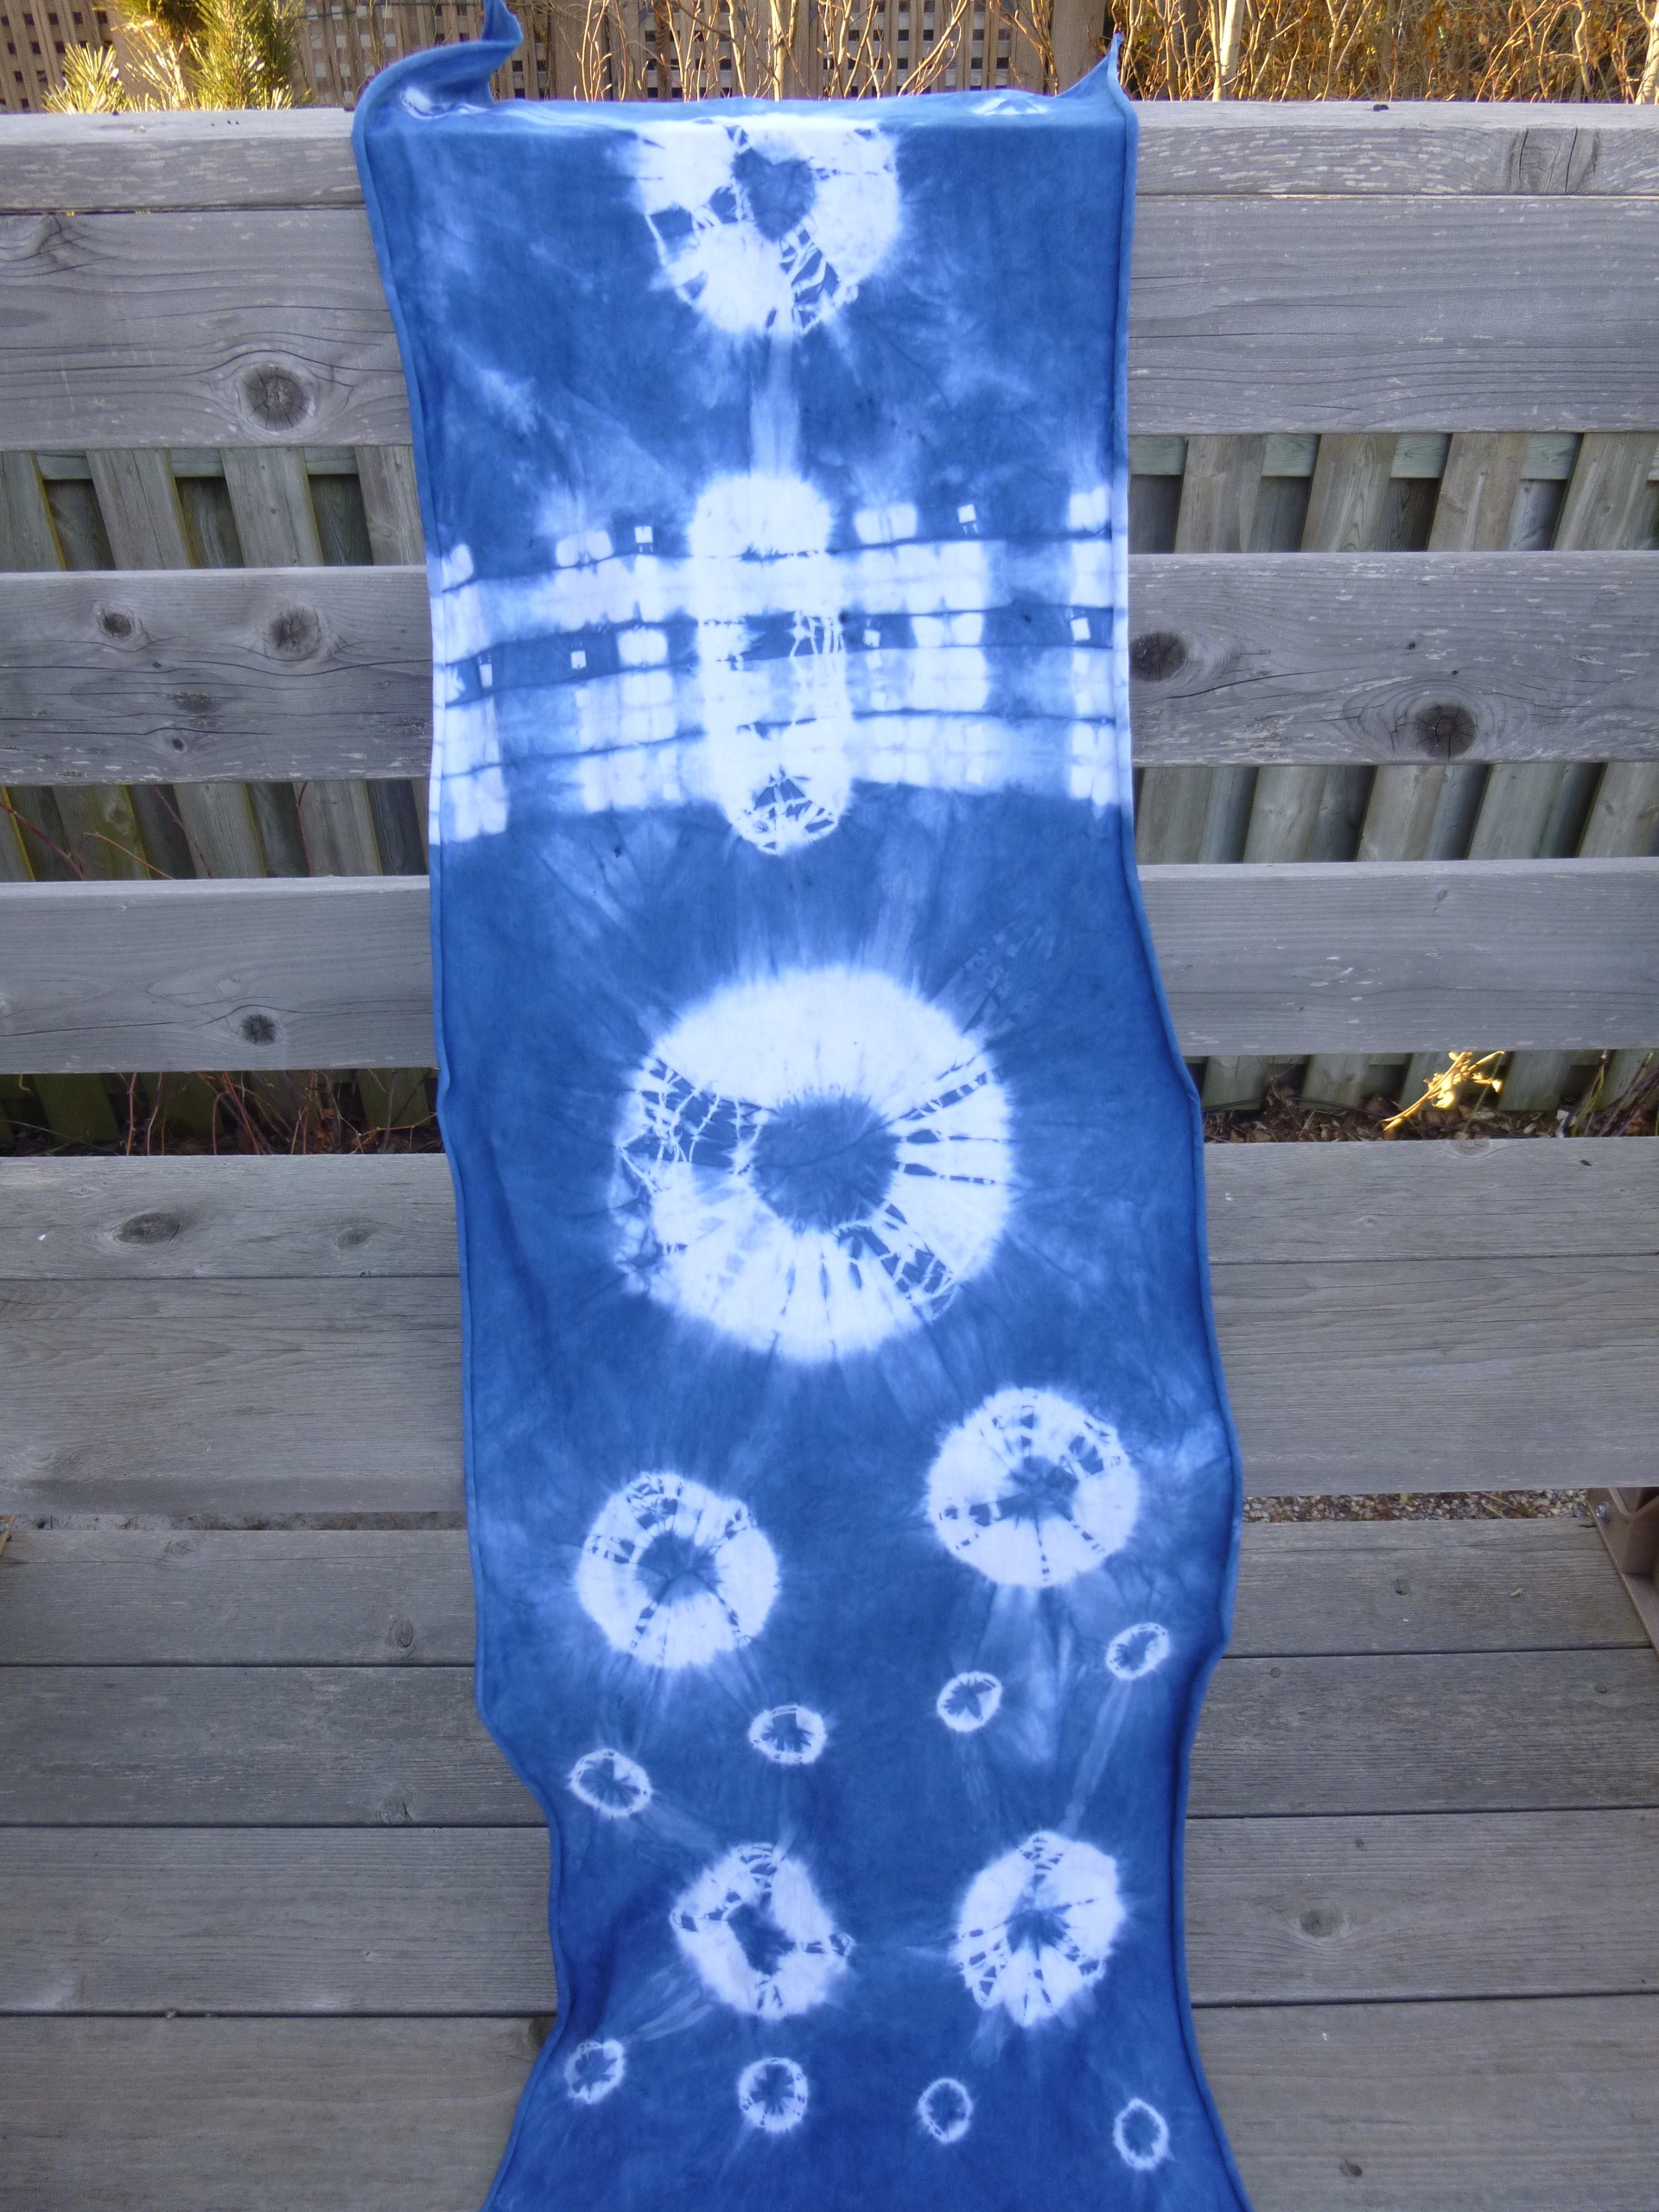
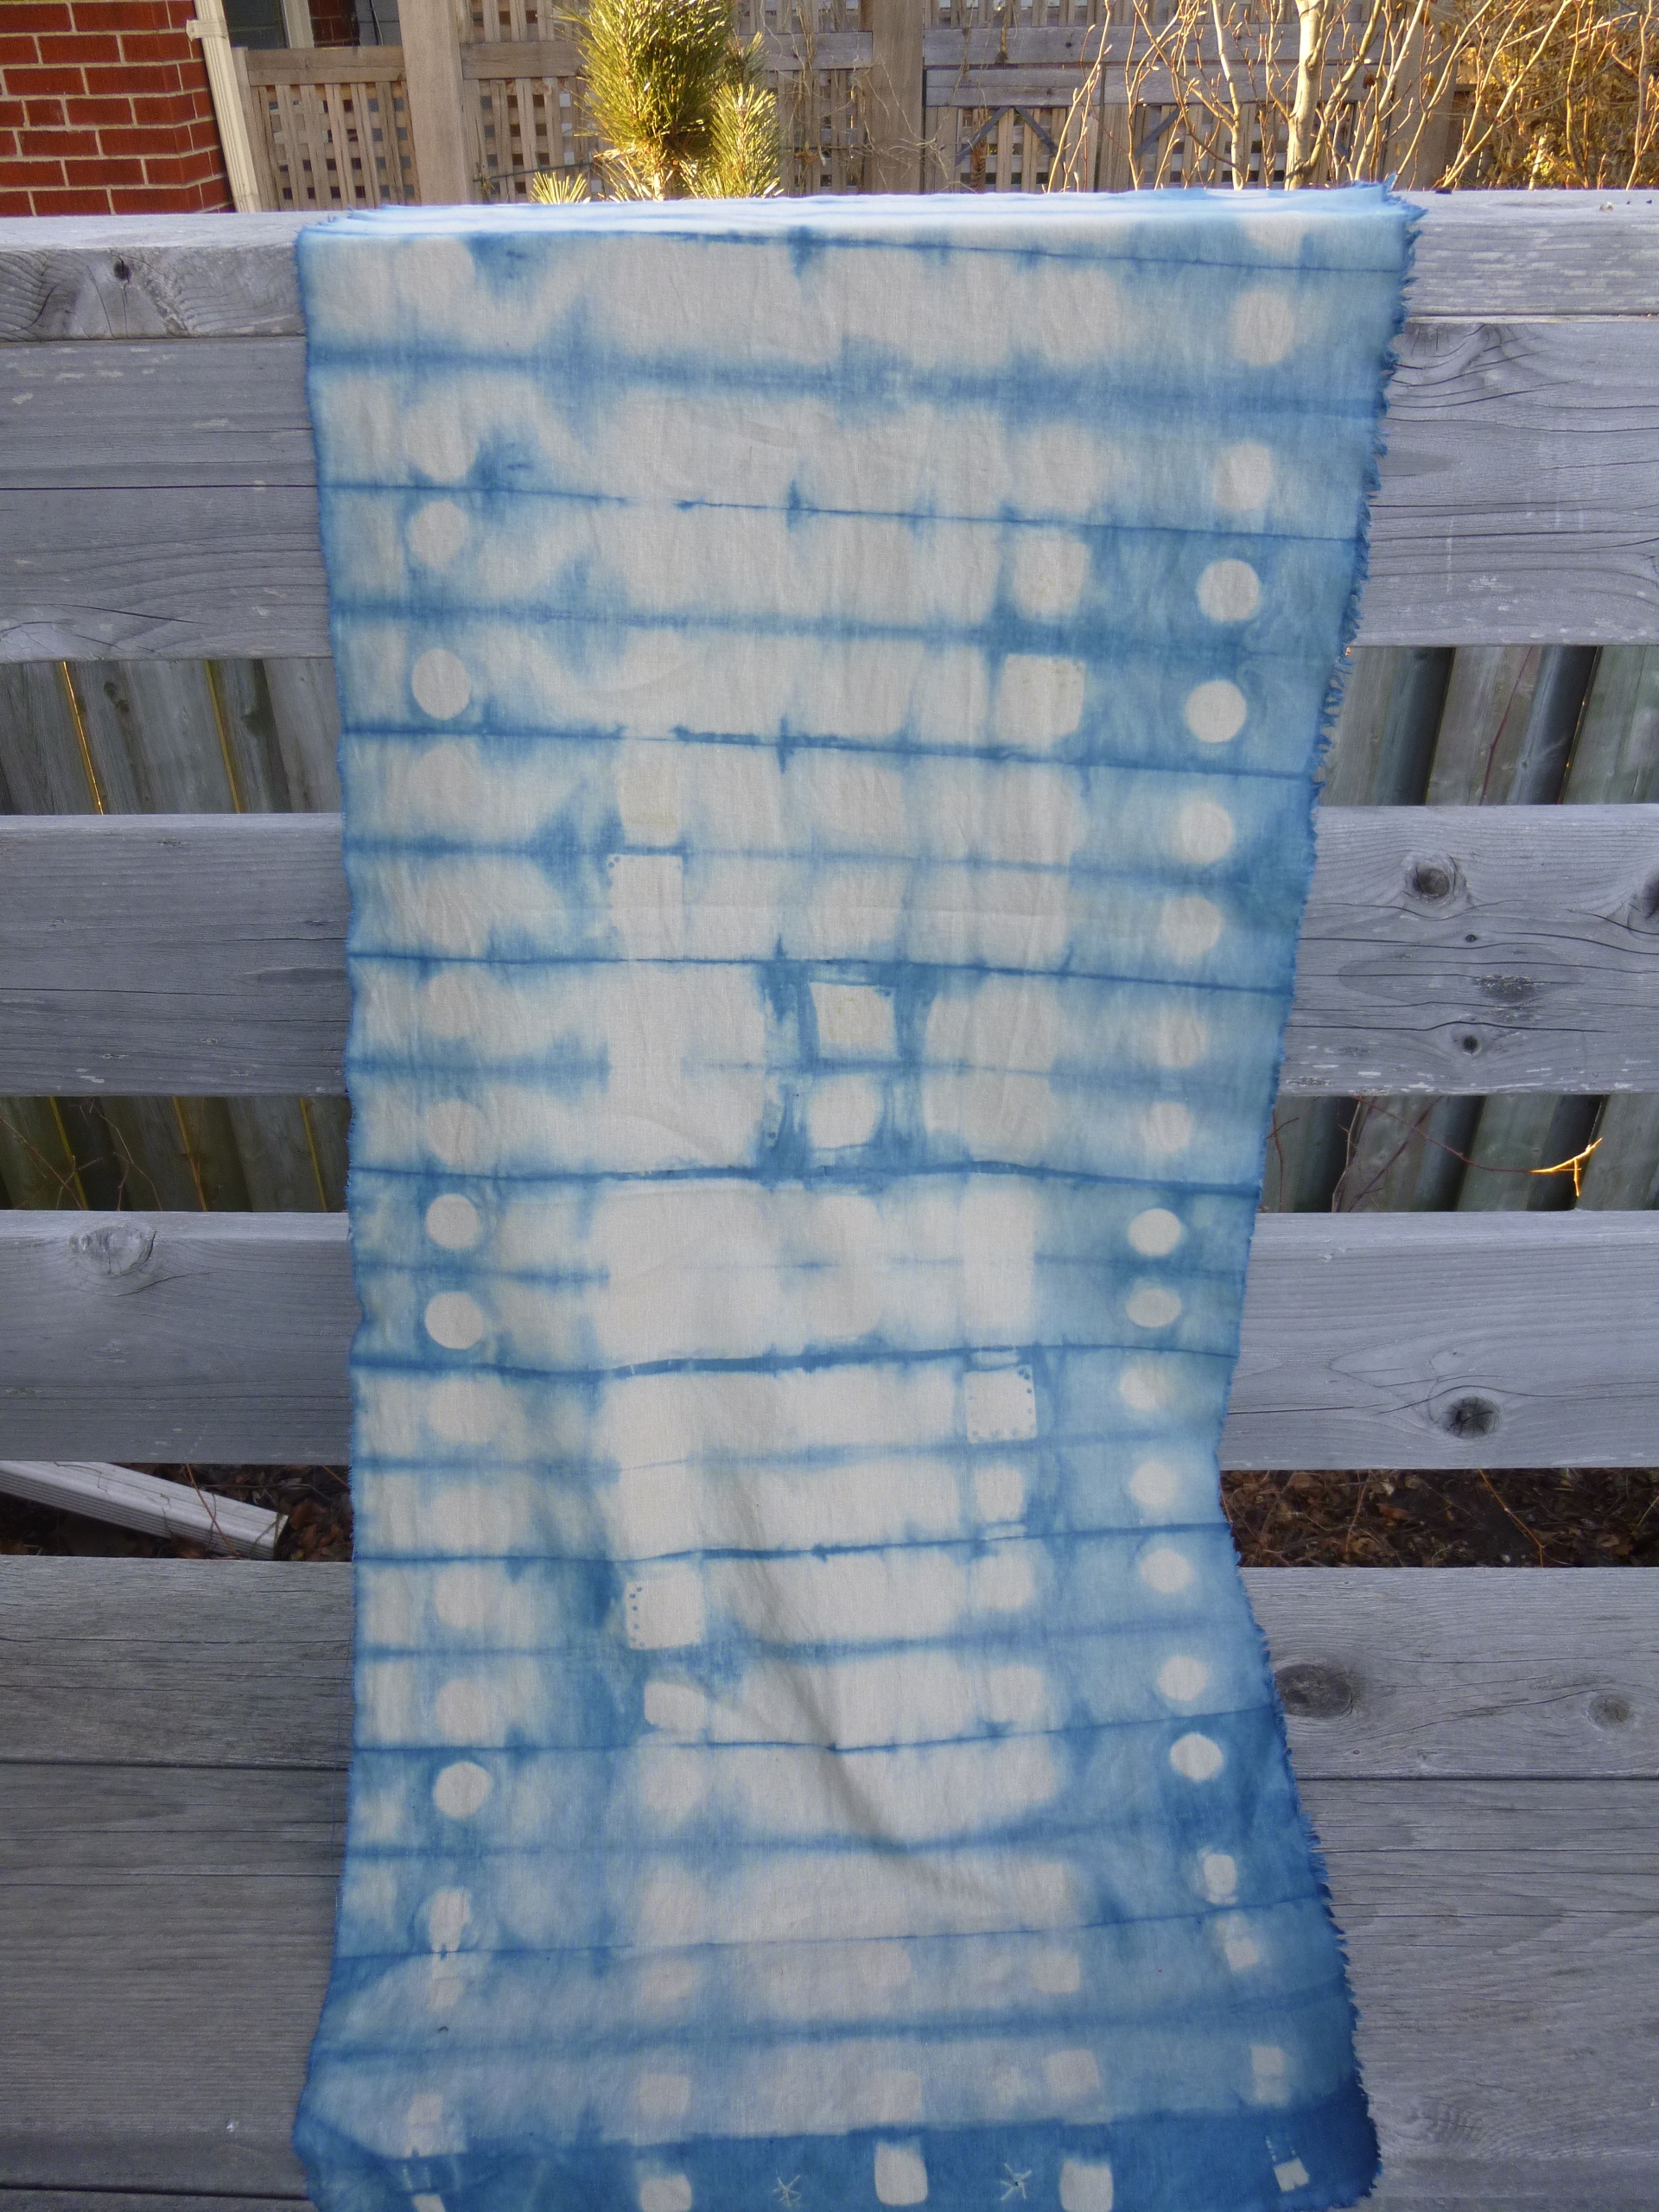
The dyeing techniques also included folding and clamping the fabric. I wrapped string around small stones that were buried into the fabric and I pulled fabric from the middle and put elastic bands around it. This created a real retro 60s look that was reminiscent of tie dye. I also clamped buttons and metal squares between folds of fabric. Some of the students wrapped their fabric around large plastic cylinders, then wrapped string around the fabric and kept pushing the wrapped fabric up the cylinder. That was hard work but the finished product was beautiful. If I go back for another class I will try that technique with silk.
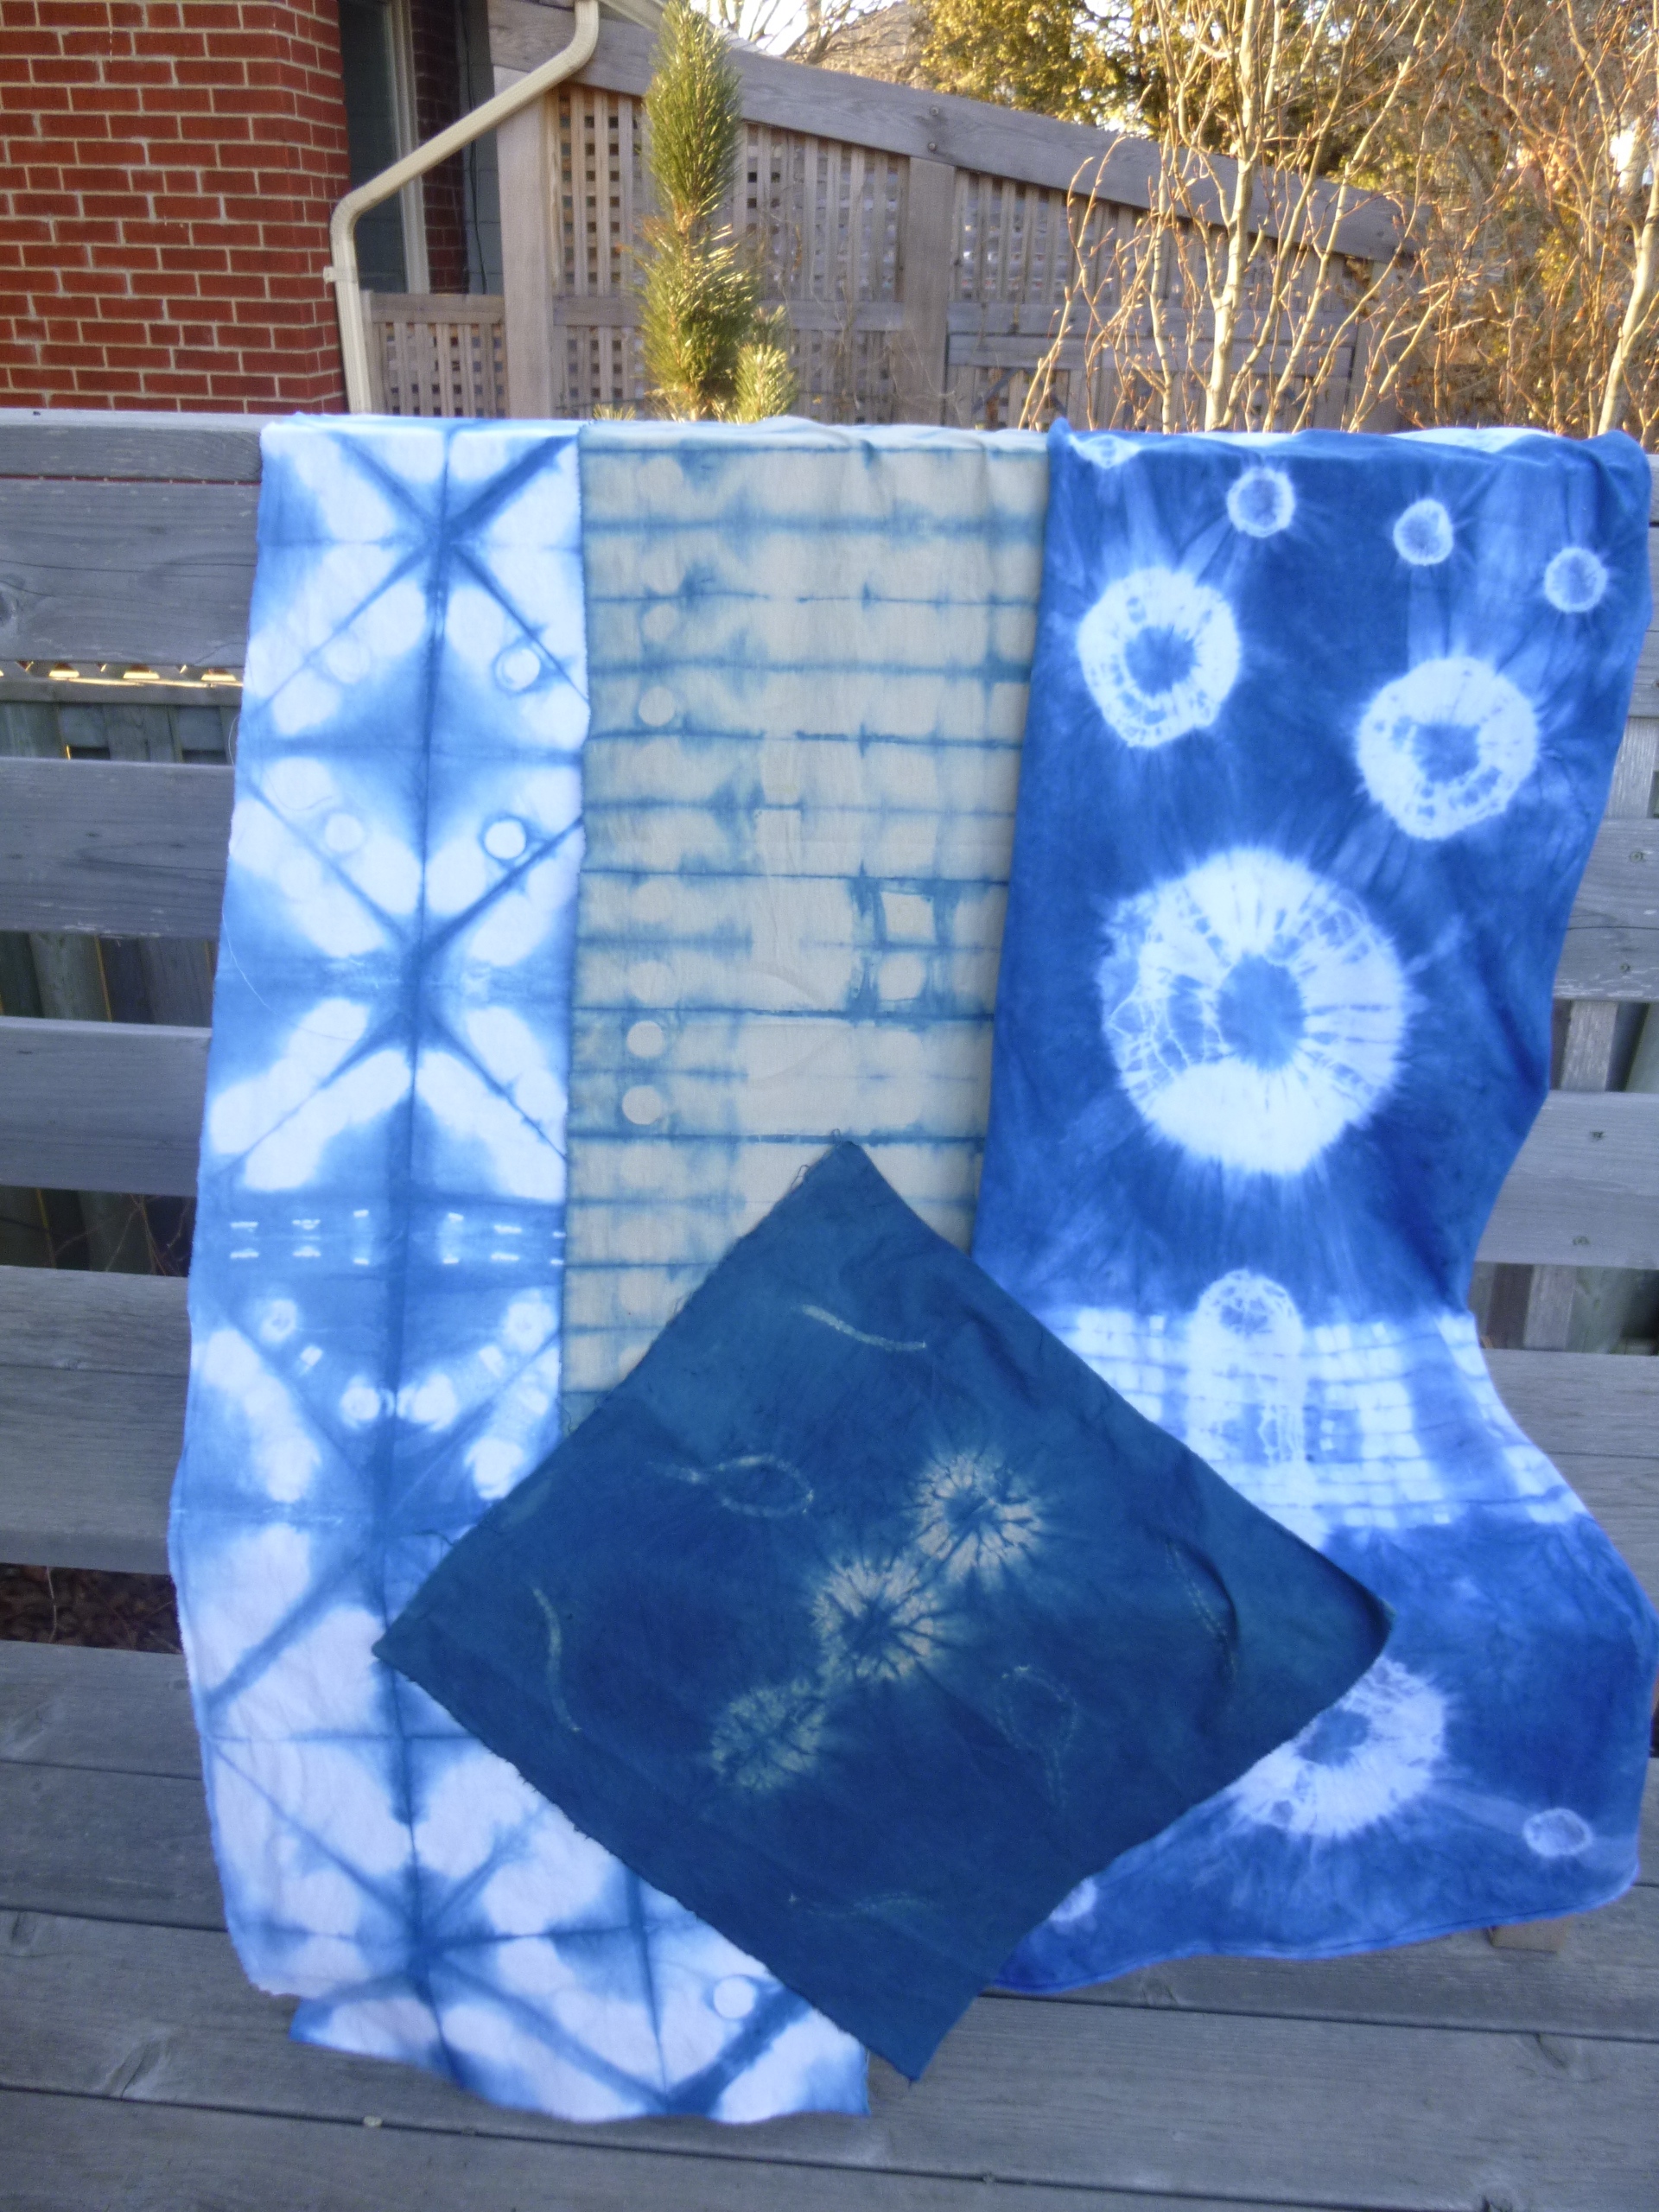
I brought a variety of fabrics to play with. I had two 100% cotton samples, one in white and one in taupe. I had a piece of linen and rayon that was also a taupe but with a tinge of green in it and my last piece that I played with was a white 100% cotton knit.
We weren’t sure how the coloured fabrics would take the dye but another student brought a grey fabric and all of them turned out well. The contrast wasn’t as dramatic as the white but the patterns showed up nicely against the blue.
Now I have to decide what I’m going to do with my pieces of fabric. I’ve already decided to make one into a pillow, one will be a table runner and the third I will sew into an infinity scarf. I’m not sure about the fourth piece but I’m sure I’ll think of something.


The following photos are my creations after they dried.