Paul Klee Inspired Art

….experimenting with Paul Klee’s style

The students in grades 1,2 and 3 that I teach art to were given a couple of quick assignments that could be finished in one or two periods. Seeing that we’re nearing the end of the school year this was important to me.

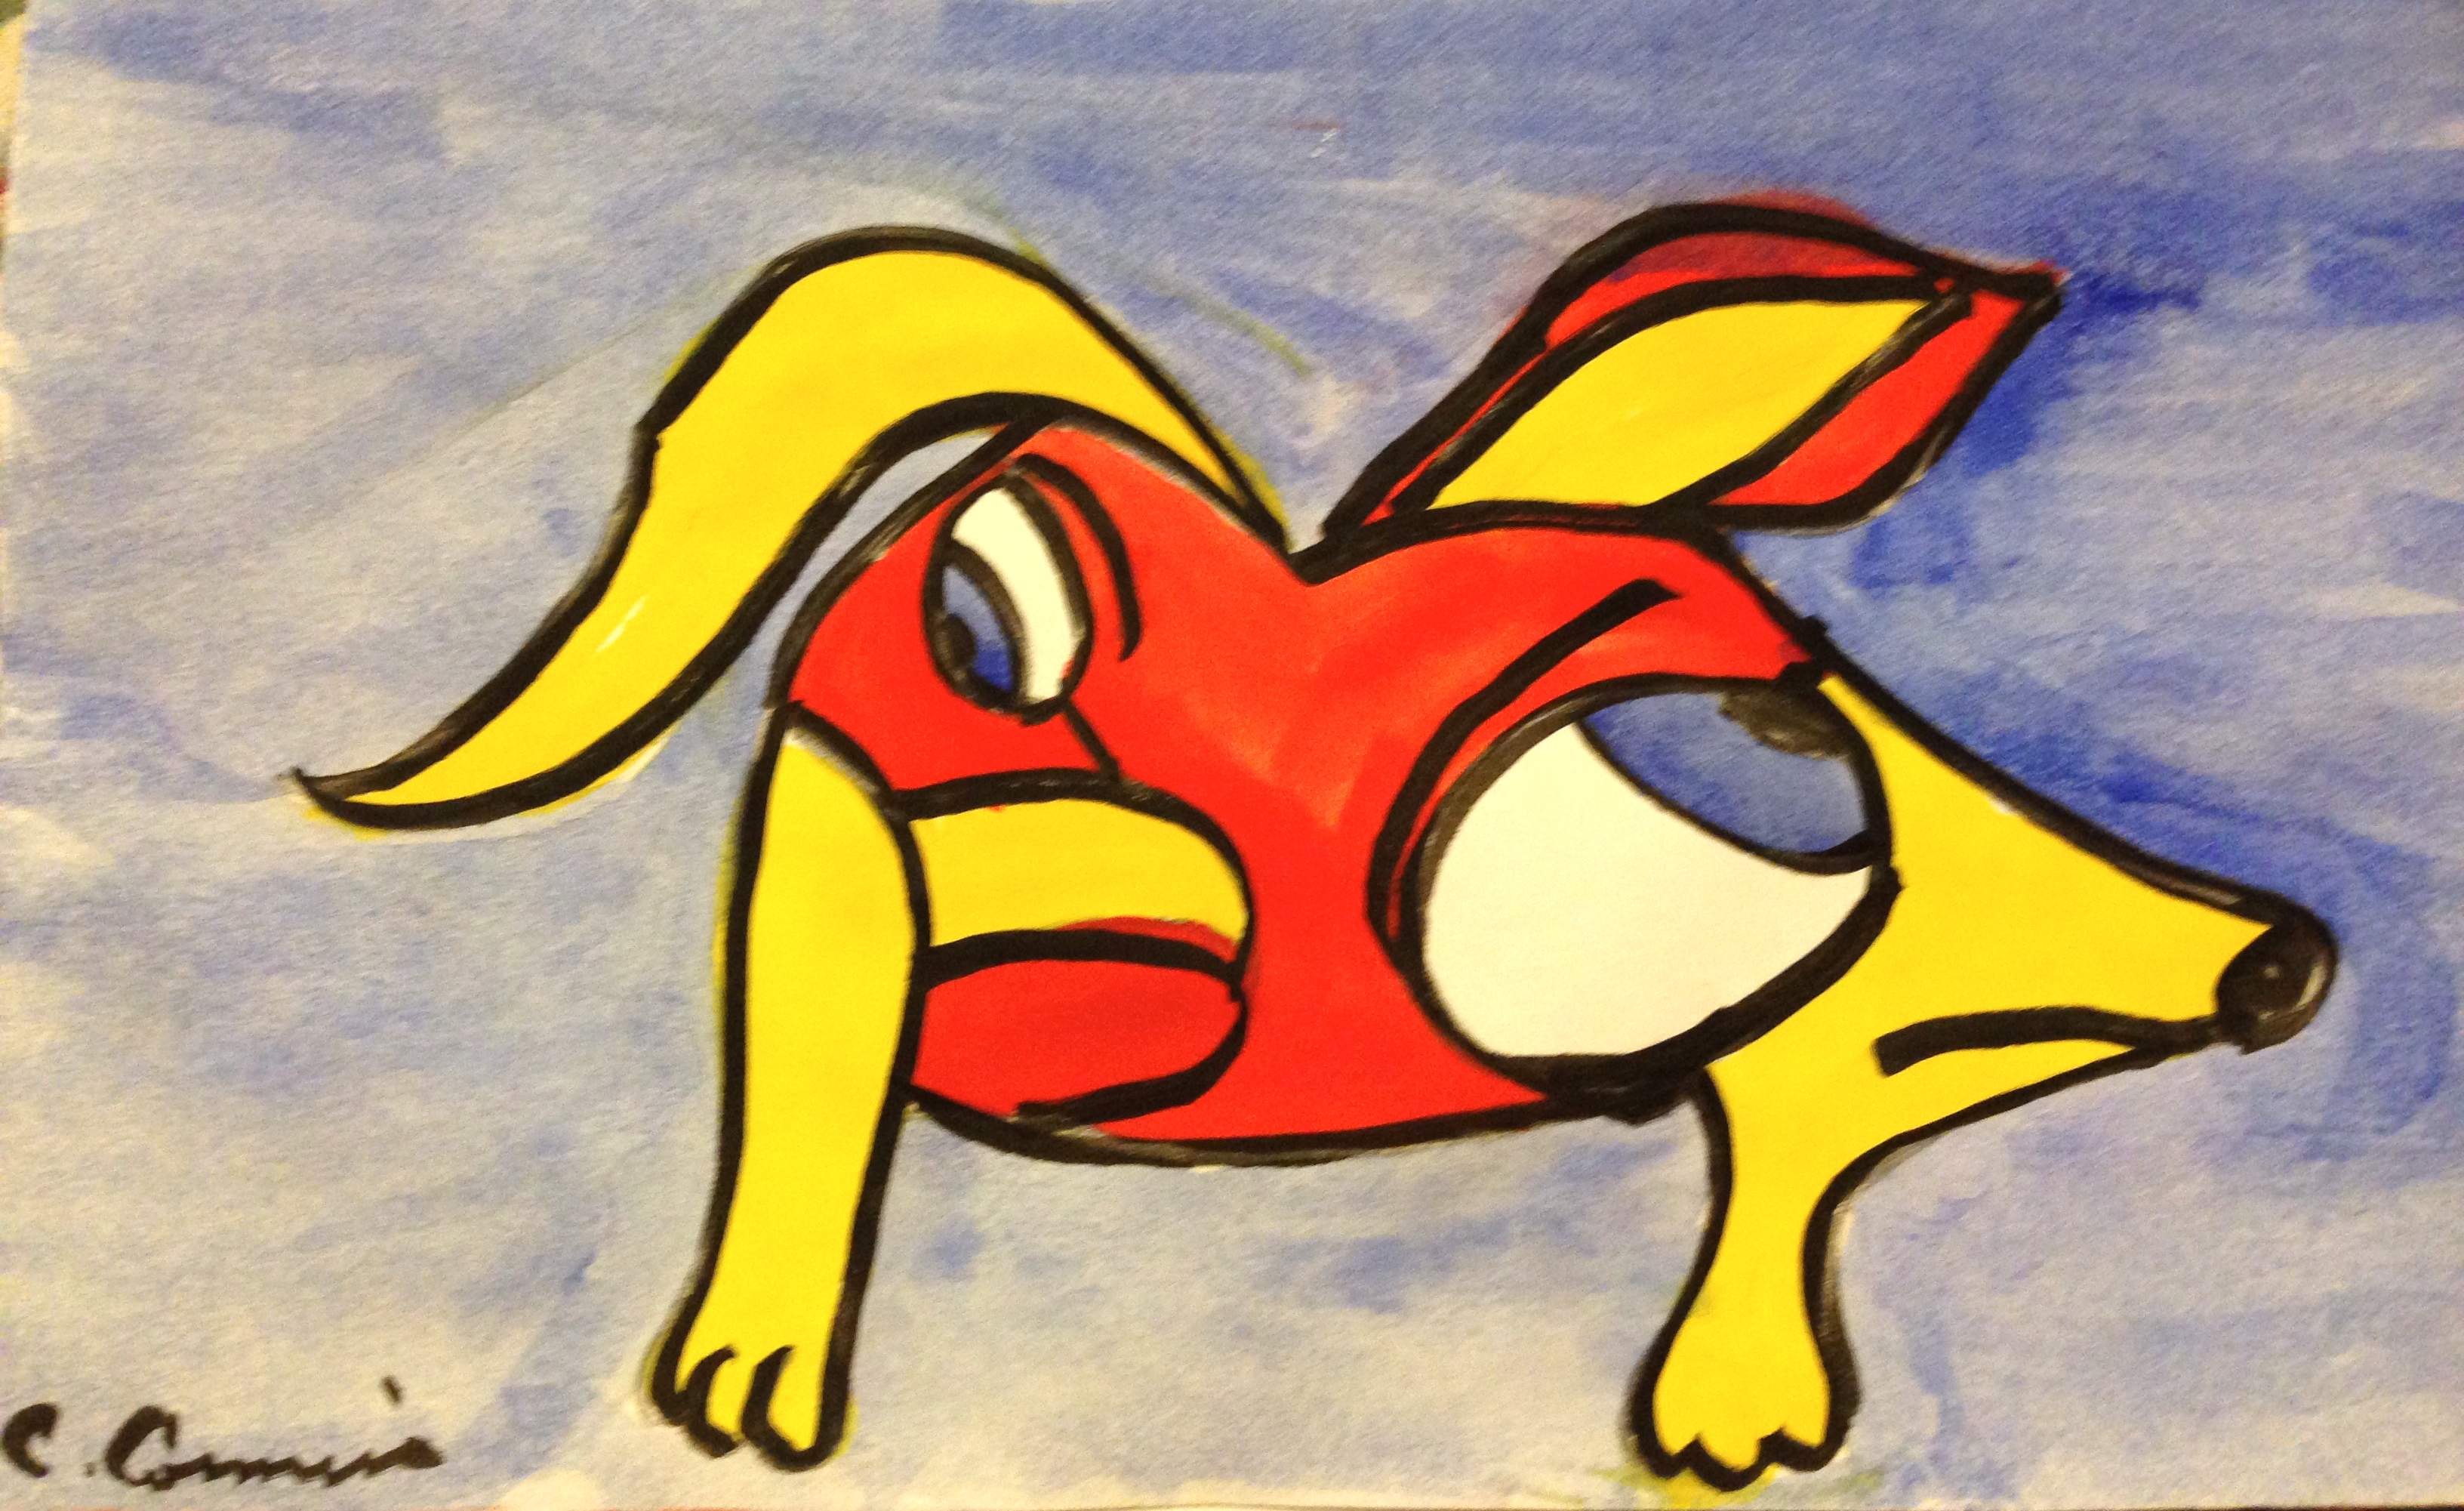
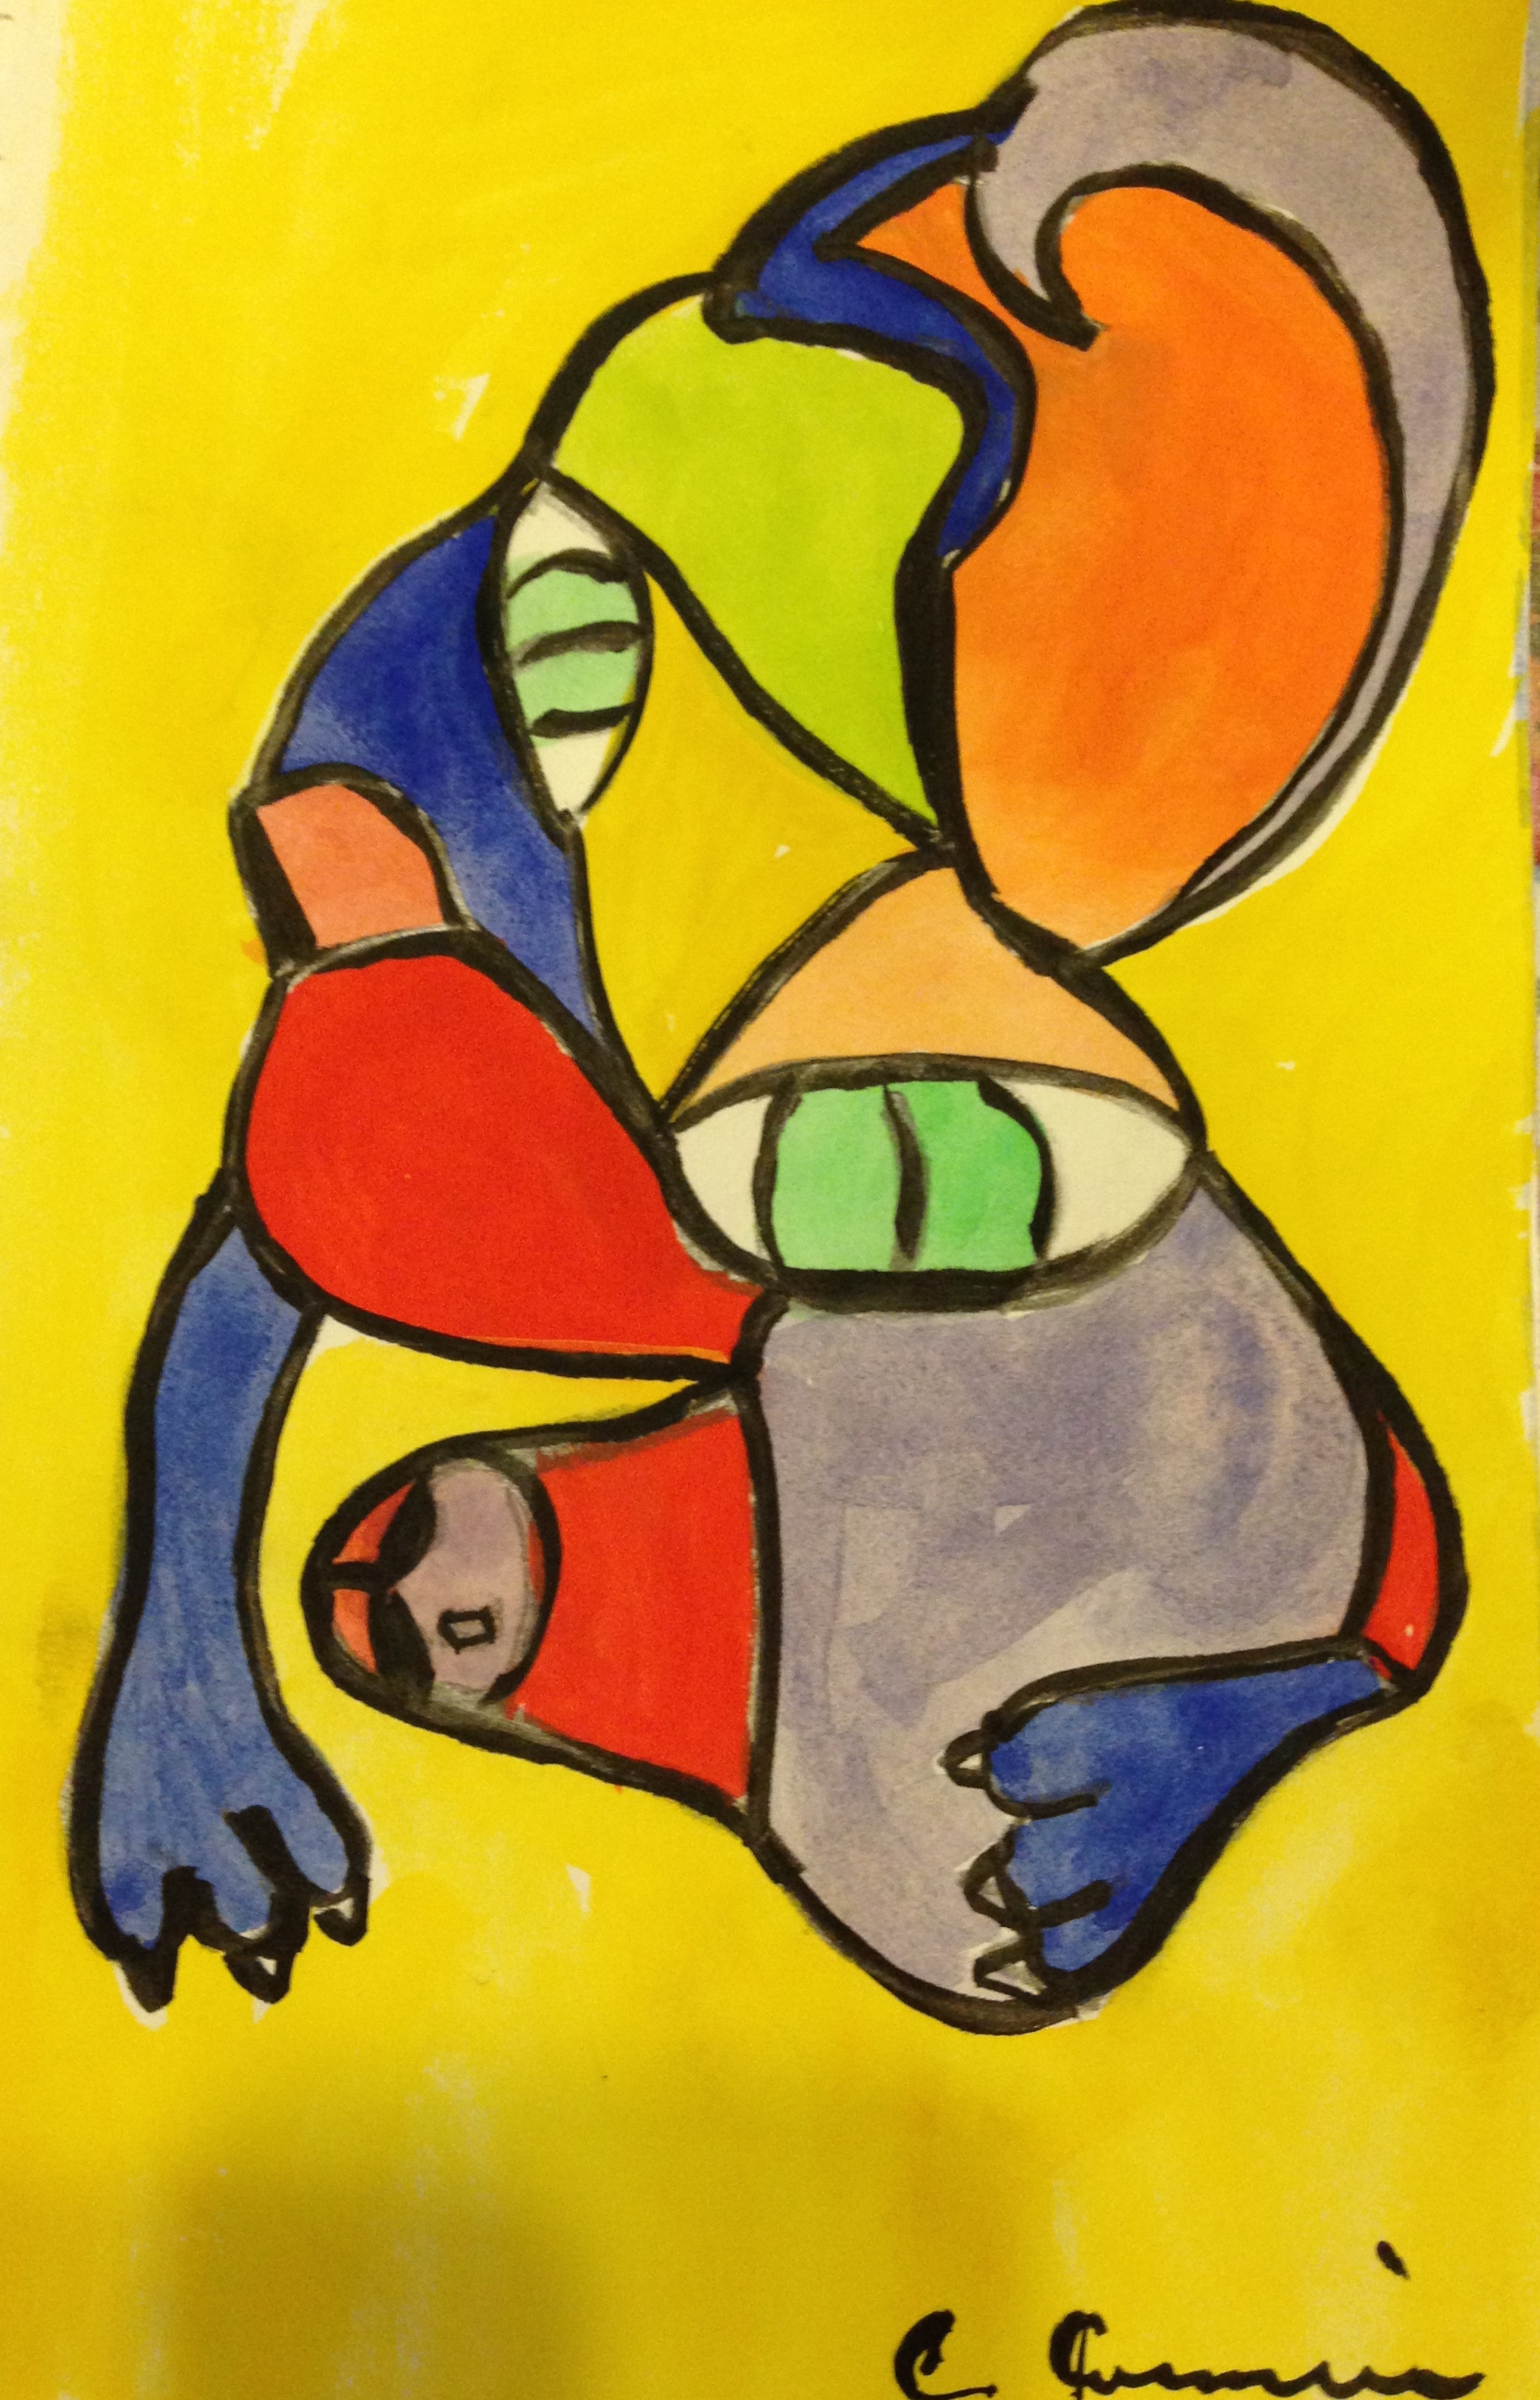
The first lesson I taught involved drawing a Klee style portrait. It didn’t have to be of a person. Many of the children chose to draw an animal. The technique that I used for this lesson came from Splat, Scrap and Glue Blobs and Deep Space Sparkle.

IMG_8621

This slideshow requires JavaScript.

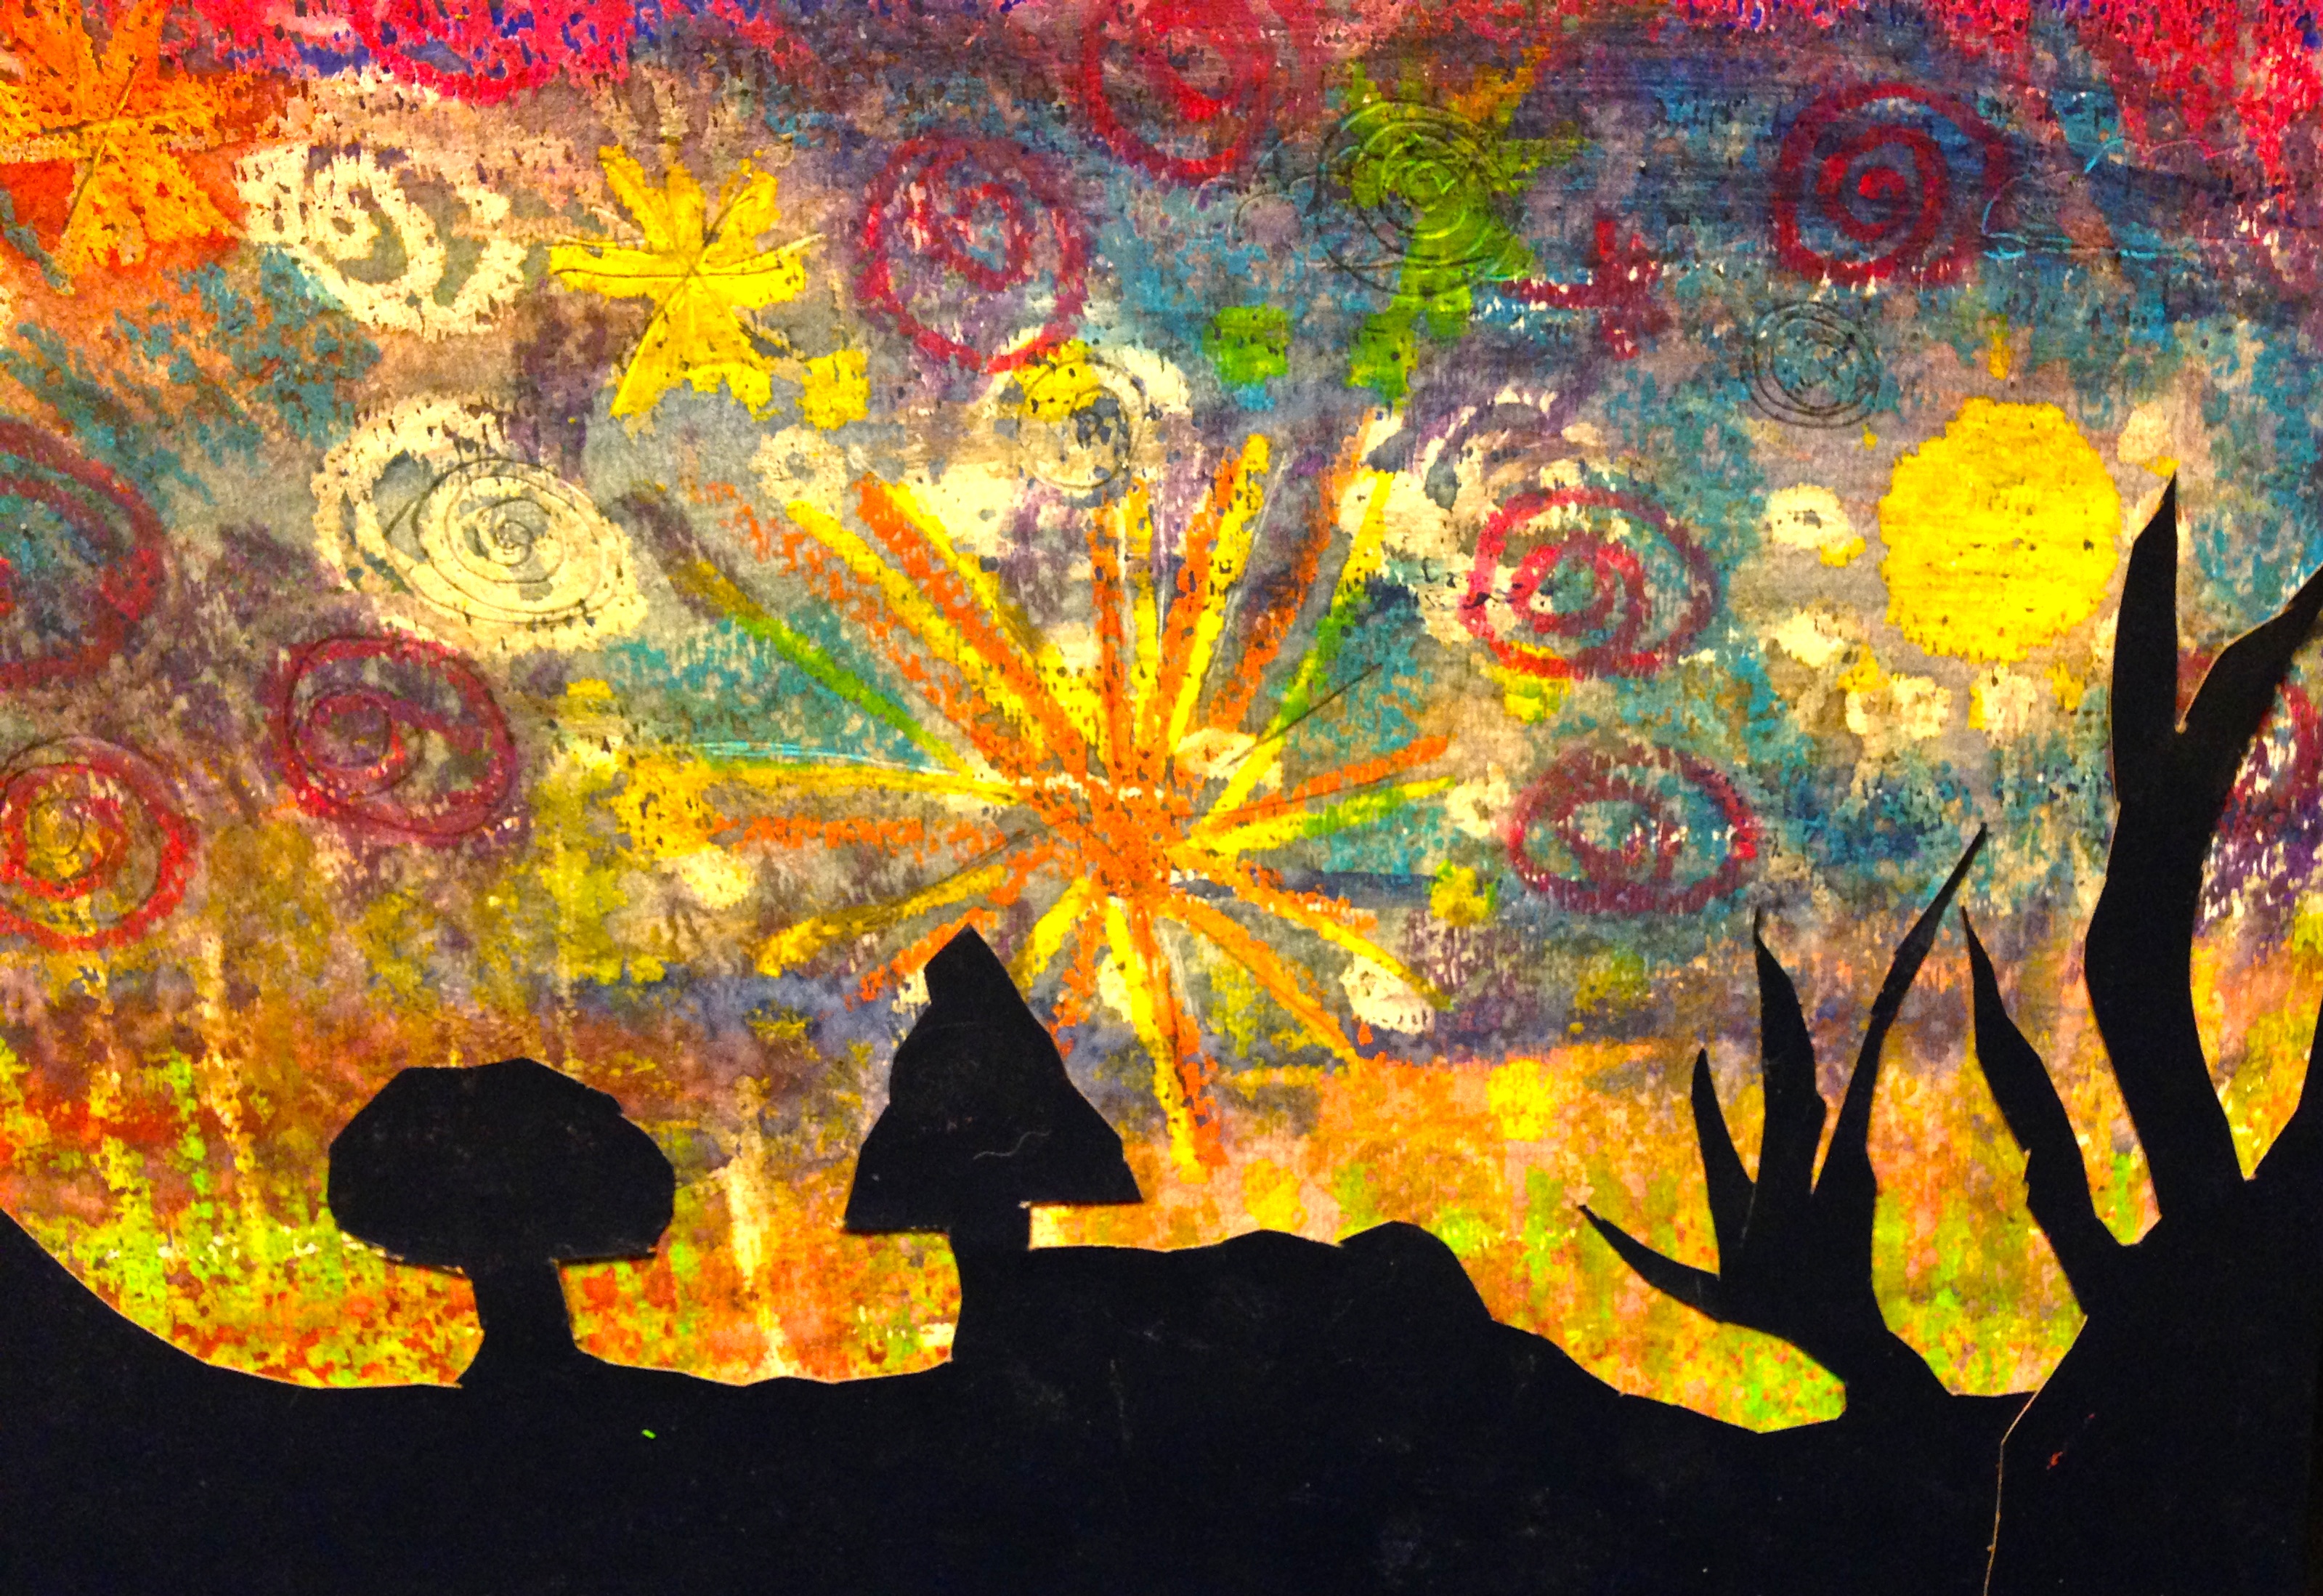
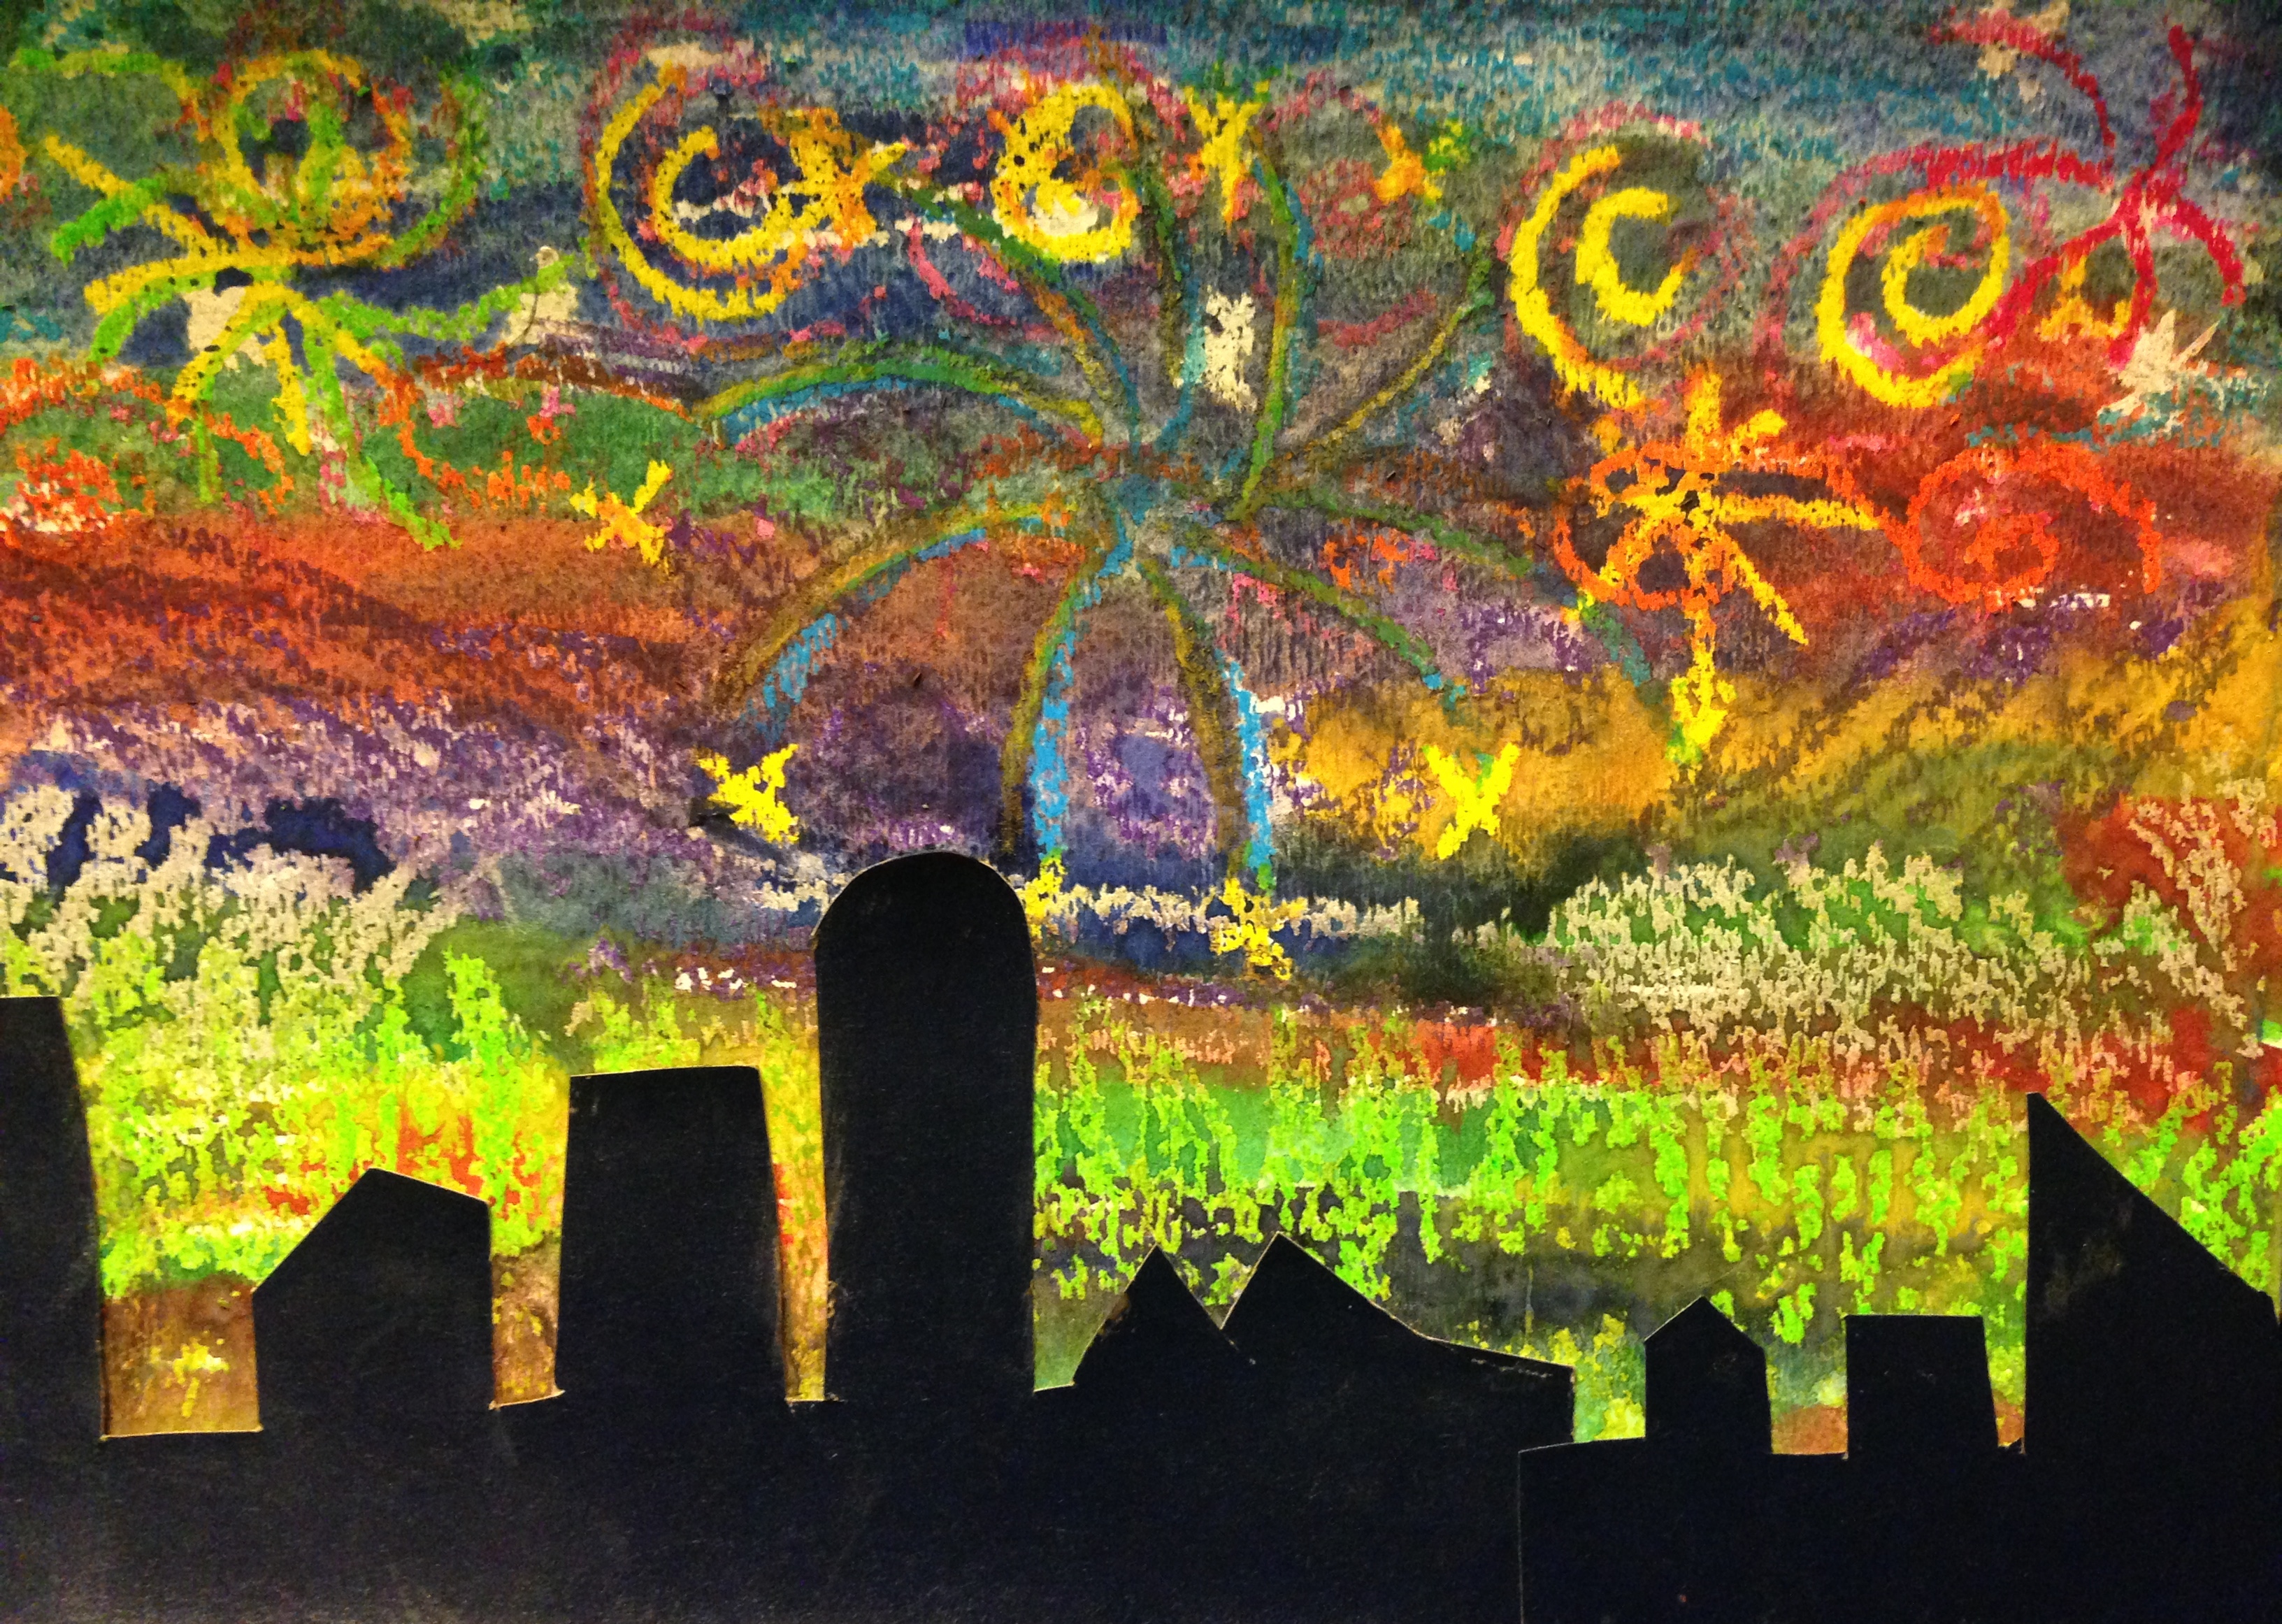
A couple of weeks after introducing my students to Paul Klee, Carl Sonheim from  my on-line course Y is for Yellow also introduced us to Paul Klee but instead of portraits she focused on his grid paintings. Some of my classes needed a quick project that could be framed for Father’s Day so I took a chance and taught the children how to draw a grid and how to carefully use watercolours to fill in the spaces. I limited them to three colours of their choice and demonstrated how to control the water and the amount of colour to use. They learned how to mix the water with the paints and control and change the darkness and lightness of the colour. They also learned how to erase mistakes by adding more water and dabbing away the excess water.

I’m always impressed with students who actually listen and follow the directions. Very few children created ‘mud’ and those who did were able to fix it or when they started again created a much better product the second time around. One of the grade one classes framed their paintings with a frame from the dollar store and wrapped them up for Father’s Day. Children’s art always looks so nice when it’s framed. I would have loved any one of them as a gift.


Starry Nights

….another great art lesson for kids 

Thanks to Carla Sonheim and Diane Culhane from Kids Art Week for this great lesson called Crayon Resist Night Sky.

This would be a great introduction to Vincent Van Gogh and his famous painting Starry Night. I used oil pastels but wax crayons would also work for this project. Students should be encouraged to use lighter colours from the crayon box, especially white. They make the most impact after the water colour is washed over them.

This could also be a lesson on texture so colouring in various directions and pressing quite hard are essential. Swirls and stars will add visual interest and are details seen in Van Gogh’s painting. Be brave and experiment with lots of different colours. Don’t limit yourself to colours that you think are sky colours. Reds, pinks and yellows and even greens make for very interesting night skies. Think of the Northern Lights and have fun.

Once the paper is filled with crayon or oil pastels move on to the water colours. Make them quite watery and start with the darker colours at the top of the page. Again use a variety of colours but avoid black. While the paint is wet you can also add salt to give your painting even more texture.

Using black or a very dark paper cut out silhouette shapes to add to the bottom of your painting. This can be anything you like; forests, hills, mountains, houses, fences and city skylines. When the paint is dry glue the shapes to the bottom of the paper. There you have it, your very own Starry Night painting.

IMG_5646 IMG_5647

My First Art Lesson for September is Ready to Go

…..thanks to Carla Sonheim and her free Kid’s Art Week

I’m always looking for new and fun ways to teach art to my students. Next year I’ll be teaching grades 1,2, and 3. I like to combine a little art history with the elements of design when I introduce a lesson. Carla’s Picasso Dogs is perfect. The kids will learn a little bit about Picasso, cubism and primary and secondary colours.

Students will be given a small piece of watercolour paper and a pencil or black oil pastel. They will be instructed to draw individual items that pertain to a dog or any animal that they choose. After drawing the first body part they will turn their papers 90 degrees and then draw the second part. They will do this six or seven times and then they will connect all the parts to create their Picasso animal or alien.

Once the parts are all connected the students will be given further instructions to draw lines across the animal to divide it into smaller sections (this is the cubism part). The first animal will use only primary colours. Once that piece is finished they may create a second animal and I will teach them how to mix the primary colours to create secondary colours. This animal will only be painted with secondary colours. The final step is to go over all the pencil lines with a black marker.

For students who work quickly they may draw a third animal and use a combination of primary and secondary colours. Here are my samples:

IMG_5643 IMG_5644 IMG_5645